“`html
Table of Contents
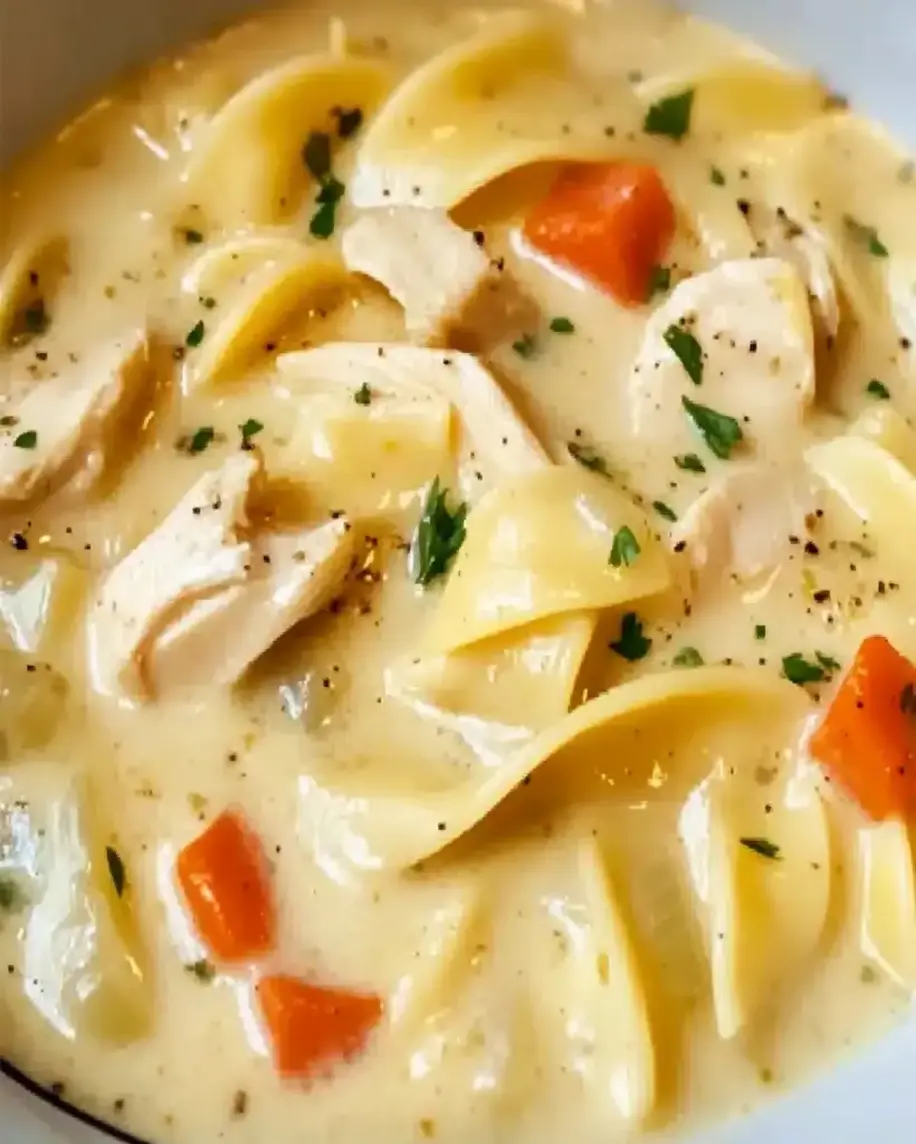
Creamy Chicken Noodle Soup 🥣 | Cozy & Easy Comfort Food!
Craving Comfort? You’re Not Alone!
Did you know that chicken noodle soup is consistently ranked as one of the top comfort foods worldwide, with searches for “easy chicken noodle soup recipe” peaking by an average of 40% during colder months? Welcome to this delicious recipe for Creamy Chicken Noodle Soup, a warm and comforting dish that’s perfect for any day of the year. Whether you’re craving a soothing meal during chilly weather or simply love the classic combination of tender chicken, creamy broth, and soft egg noodles, this soup is sure to be a family favorite! Let’s dive into this simple yet flavorful recipe that will warm both your body and soul.
Ingredients: The Heart of Your Creamy Soup
Gather these simple, wholesome ingredients to create a soup that’s both nourishing and incredibly satisfying. The magic lies in the fresh aromatics, tender chicken, and rich, creamy broth!
For the Soup Base:
- 1 tbsp Olive Oil: A good quality olive oil to start the sauté for a clean, bright flavor.
(Substitute: Avocado oil or unsalted butter) - 1 cup Diced Yellow Onion (about 1 medium): The sweet, pungent foundation of flavor. Make sure it’s diced finely so it melts into the broth.
(Substitute: Shallots for a milder, sweeter taste) - 2 large Carrots, peeled and diced: Adds a touch of sweetness and vibrant color. Aim for roughly ¼-inch pieces so they cook evenly.
(Substitute: Sweet potatoes for a different kind of sweetness and creaminess) - 2 Celery Stalks, diced: Brings a subtle herbaceous note and satisfying crunch. Like the carrots, aim for uniform small dice.
(Substitute: Fennel bulb for an anise-like hint that complements chicken beautifully) - 2 cloves Garlic, minced: The aromatic powerhouse that elevates every bite with its pungent warmth.
(Substitute: Garlic powder, though fresh is always best for depth) - 8 cups Chicken Broth: The soul of the soup! Use a good quality, low-sodium broth to control the saltiness.
(Substitute: Vegetable broth for a vegetarian option, or a mix of broth and water if you’re running low) - 1.5 lbs Boneless, Skinless Chicken Breasts or Thighs: Thighs offer more richness and stay wonderfully moist. Breasts are leaner.
(Substitute: Pre-cooked rotisserie chicken for ultimate convenience) - 1.5 tsp Dried Thyme: Earthy and savory, thyme is a classic partner to chicken.
(Substitute: Fresh thyme leaves, about 1 tbsp, added in the last 10 minutes of simmering) - 1 tsp Salt: Or to taste. A crucial flavor enhancer.
- ½ tsp Black Pepper: Freshly ground for the best aroma and bite.
For the Creaminess and Noodles:
- 6 oz Egg Noodles: The traditional choice, offering a tender bite that soaks up the broth.
(Substitute: Other pasta shapes like rotini, elbow macaroni, or even orzo. For a gluten-free option, use rice noodles or gluten-free pasta.) - ½ cup Heavy Cream: The secret to that luscious, velvety texture.
(Substitute: Half-and-half for a lighter creaminess, or full-fat coconut milk for a dairy-free, subtly tropical twist) - 2 tbsp Fresh Parsley, chopped for garnish: A pop of fresh green and a hint of bright, clean flavor to finish.
(Substitute: Fresh dill or chives)
Soup Perfection: When to Expect Deliciousness
This recipe is designed for speed and flavor, making it perfect for a weeknight meal. Compared to the average homemade chicken noodle soup which can take upwards of an hour, our 45-minute total time is a real winner for busy kitchens!
Crafting Your Creamy Chicken Noodle Soup: A Step-by-Step Journey
Step 1: Sauté Aromatics
Grab a large pot or Dutch oven and heat the olive oil over medium heat. Add your diced onion, carrots, and celery. Sauté for about 5-7 minutes, stirring occasionally, until the vegetables begin to soften and the onion becomes translucent. This gentle cooking process coaxes out their natural sweetness. Now, stir in the minced garlic and cook for another minute until fragrant – be careful not to burn it!
Step 2: Add Chicken and Broth
Nestle the whole chicken breasts or thighs into the pot with the softened vegetables. Pour in the chicken broth, ensuring the chicken is mostly submerged. Add the dried thyme, salt, and black pepper. Give everything a good stir.
Step 3: Simmer and Shred
Bring the pot to a boil over medium-high heat, then immediately reduce the heat to low, cover, and let it simmer gently for 15-20 minutes, or until the chicken is cooked through and no longer pink in the center. Once cooked, carefully remove the chicken from the pot and set it on a plate to cool slightly. While the chicken cools, you can continue simmering the broth for a few more minutes if you like a more concentrated flavor (but don’t let it reduce too much!).
Step 4: Cook Noodles
While the chicken is cooling, increase the heat back to medium and bring the broth to a gentle boil. Add your egg noodles to the pot. Cook according to package directions, usually about 7-10 minutes, until they are tender but still have a slight bite (al dente). Don’t overcook them, as they will continue to soften in the hot soup.
Step 5: Add Creaminess
Once the noodles are cooked, turn off the heat. While the chicken is still warm enough to handle, shred it using two forks. Return the shredded chicken to the pot. Now for the magic: slowly stir in the heavy cream until it’s fully incorporated, creating that wonderfully creamy texture. Taste and adjust seasoning if needed.
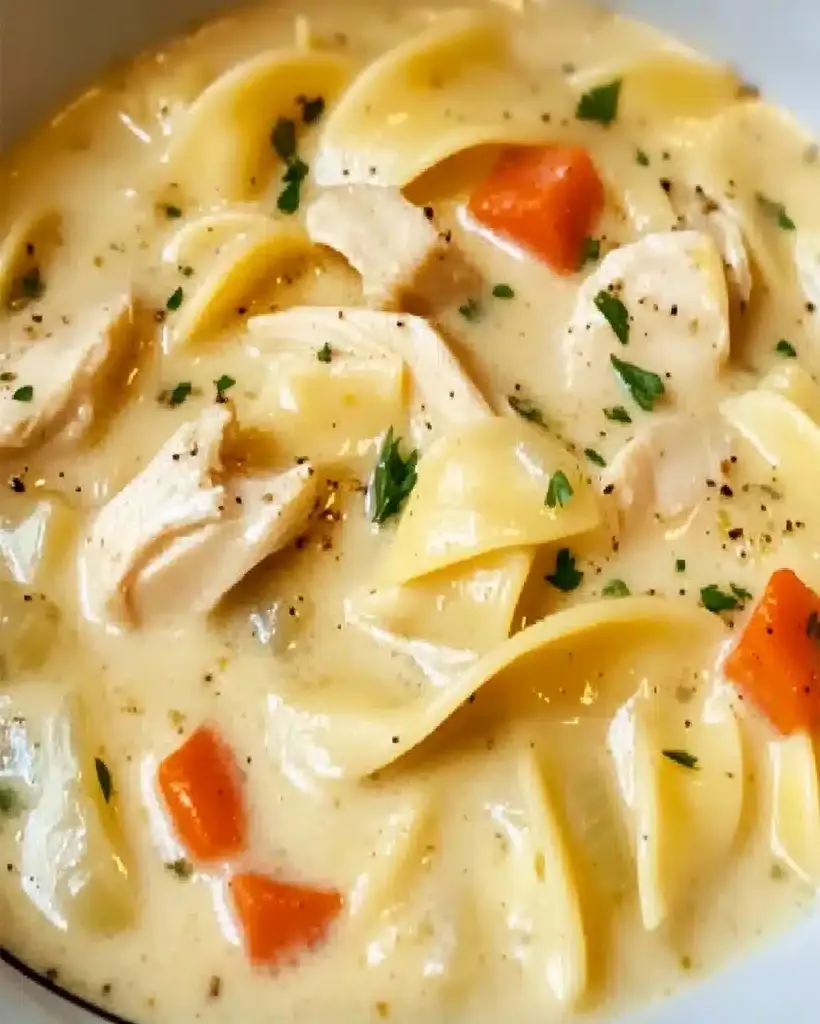
Step 6: Final Touches
Ladle the hot, creamy soup into bowls. Garnish generously with fresh chopped parsley. Serve immediately and bask in the cozy, delicious comfort!
Nutritional Snapshot
While exact nutritional values can vary based on ingredients and portion sizes, a typical serving of this Creamy Chicken Noodle Soup offers approximately:
- Calories: 350-450 kcal
- Protein: 25-35g
- Fat: 15-25g (varies with creaminess)
- Carbohydrates: 20-30g
- Fiber: 3-5g
Note: These are estimates and can change based on the specific ingredients and brands you use.
Keeping It Light: Healthier Swaps
Want to enjoy this comforting soup with a lighter touch? Here are some flavor-preserving alternatives:
- Reduced Fat: Swap heavy cream for half-and-half or even a blend of milk and a touch of cornstarch slurry for thickening.
- Leaner Protein: Stick to chicken breast and trim any visible fat.
- Whole Grains: Use whole wheat egg noodles or add brown rice for extra fiber.
- More Veggies: Bulk it up with extra carrots, celery, and also consider adding peas, corn, or spinach in the last few minutes of cooking.
- Lower Sodium Broth: Always opt for low-sodium chicken broth to manage your salt intake.
Serving Suggestions: Elevate Your Bowl
This creamy chicken noodle soup is a meal in itself, but here are some ideas to make it even better:
- Crusty Bread: Perfect for dipping into that luscious broth.
- Side Salad: A crisp green salad offers a refreshing contrast.
- Crackers: A humble yet satisfying accompaniment.
- Garnishes: Beyond parsley, consider a sprinkle of red pepper flakes for a hint of heat, or a dollop of sour cream for extra tang.
Common Mistakes to Avoid
Even with simple recipes, a few slip-ups can affect the outcome. Here’s what to watch out for:
- Overcooking Noodles: Soggy noodles are the enemy! Cook them al dente as they continue to soften in the hot soup.
- Not Sautéing Aromatics: Skipping the sauté step means missing out on a crucial layer of flavor development.
- Using Low-Quality Broth: The broth is the foundation. A bland broth will result in a bland soup.
- Adding Cream Too Early: Adding heavy cream before the chicken is cooked can sometimes cause it to separate slightly. Add it at the end when the heat is off or very low.
Storing Your Cozy Creation
Leftovers are a gift! Store your creamy chicken noodle soup in an airtight container in the refrigerator for up to 3-4 days. Reheat gently on the stovetop over low heat, stirring frequently. You might need to add a splash more broth or milk/cream to loosen it up if it has thickened considerably.
Sip, Savor, and Share the Comfort
There you have it – a truly comforting, creamy chicken noodle soup that’s surprisingly easy to make. This recipe is more than just a meal; it’s a warm hug in a bowl, perfect for chilly days, sick days, or simply days when you need a little extra coziness. Give it a try and let the delicious aroma fill your home!
Ready to make this delightful soup? Share your creations with us in the comments below or tag us on social media!
Frequently Asked Questions
***Can I make this soup ahead of time?***
Yes, you can make the soup base (without noodles and cream) a day in advance. Store it in the refrigerator, and then reheat it, add the noodles, and stir in the cream just before serving for the best texture.
***How can I make this dairy-free?***
Substitute the heavy cream with full-fat coconut milk or a dairy-free creamer. For thickening, you can create a slurry with cornstarch and water. Ensure your chicken broth is also dairy-free.
***What type of chicken is best?***
Boneless, skinless chicken thighs are recommended for their fat content, which keeps them moist and flavorful. Chicken breasts work too, but can dry out more easily, so be careful not to overcook them.
***Can I freeze this soup?***
Creamy soups can be a bit tricky to freeze and thaw, as the cream may separate. It’s best to freeze the soup base without the noodles and cream. Once thawed and reheated, you can then add the cooked noodles and fresh cream.
***My soup seems too thin. How can I thicken it?***
If your soup is too thin after adding the cream and noodles, you can make a slurry with 1-2 tablespoons of cornstarch mixed with an equal amount of cold water. Stir this slurry into the simmering soup and cook for a minute or two until thickened. Alternatively, some people mash a few cooked noodles against the side of the pot to release their starches.

Creamy Chicken Noodle Soup Recipe | Comforting & Easy
Description
Welcome to this delicious recipe forCreamy Chicken Noodle Soup, a warm and comforting dish that’s perfect for any day of the year. Whether you’re craving a soothing meal during chilly weather or simply love the classic combination of tender chicken, creamy broth, and soft egg noodles, this soup is sure to be a family favorite! Let’s dive into this simple yet flavorful recipe that will warm both your body and soul.
Ingredients
- Substitutions:
Instructions
- Start by heating the olive oil and butter in a large soup pot over medium-high heat. Sauté the celery, carrots, and onion for about 5-7 minutes until they are softened.
- Once the vegetables are softened, stir in the minced garlic and cook for about 30 seconds. Then, sprinkle in the flour and cook for another minute to form the base of the soup.
- Slowly pour in the chicken broth, stirring constantly to dissolve the flour. Add the uncooked chicken breasts, Italian seasoning, and heavy cream. Bring the soup to a gentle boil.
- Cover the pot partially, reduce the heat, and let the soup simmer for about 10 minutes, allowing the chicken to cook through.
- Stir in the egg noodles and continue simmering for another 8-10 minutes, or until the noodles are tender. Stir occasionally to prevent sticking.
- Remove the chicken breasts from the pot, shred them, and return them to the soup. Season with salt and pepper to taste, then stir in the fresh parsley before serving.
“`