Table of Contents
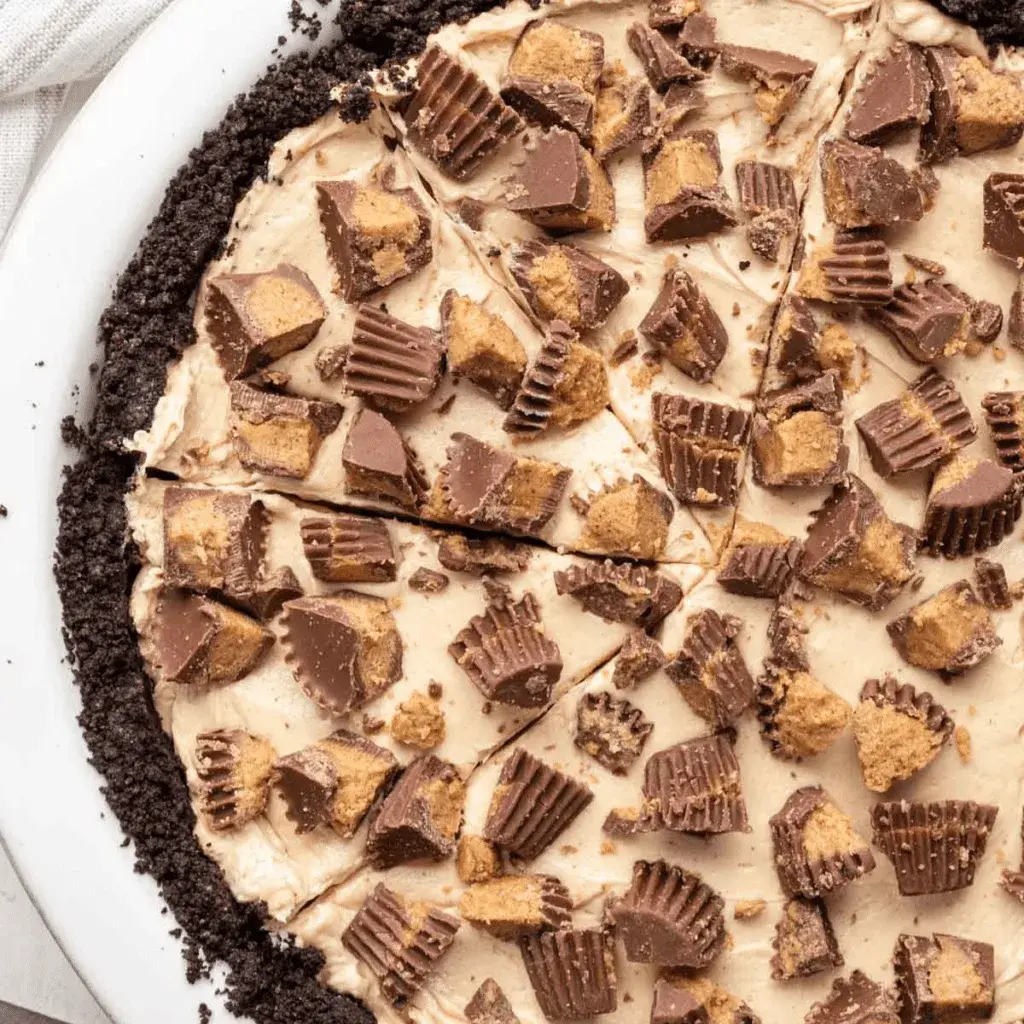
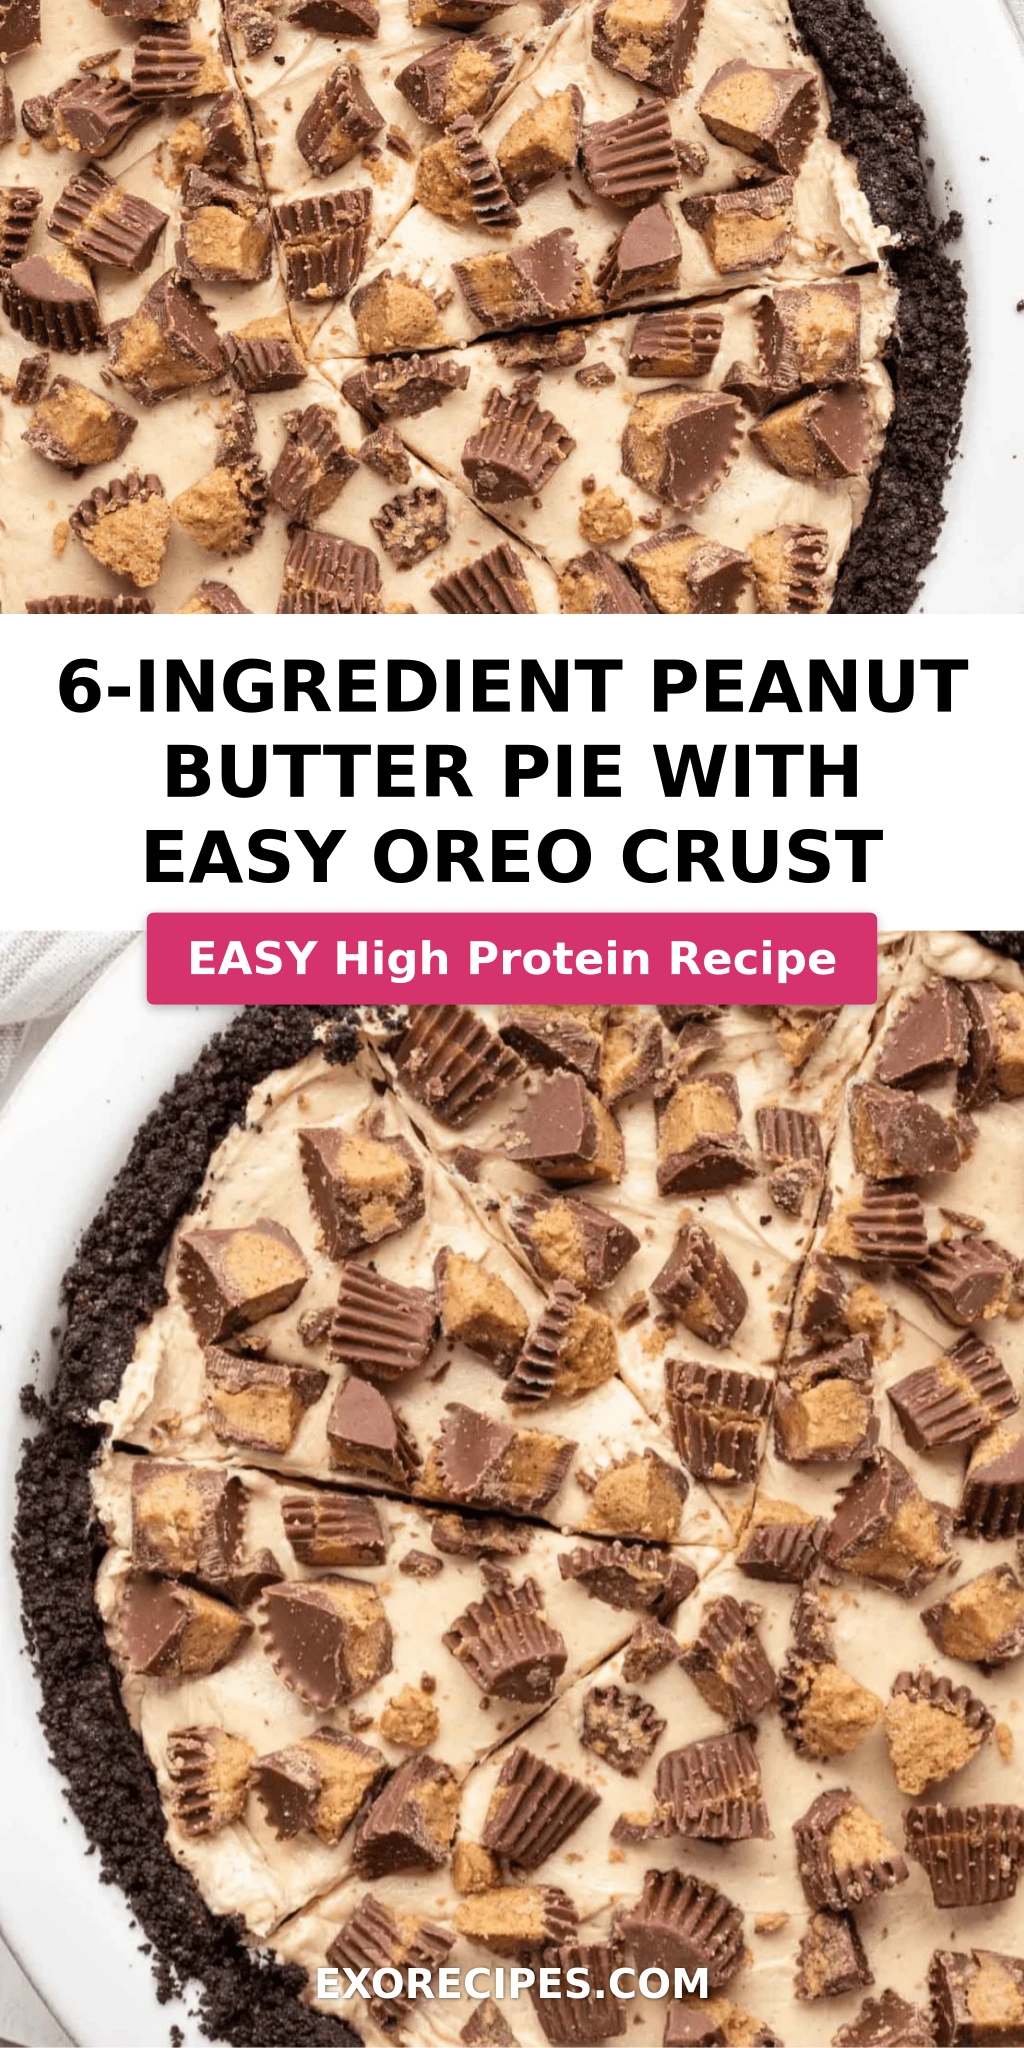
6-Ingredient Peanut Butter Pie with Easy Oreo Crust – Rich, Creamy, No-Bake Perfection
The first time I made this peanut butter pie recipe, I was standing in my tiny Manhattan apartment kitchen, missing my mother’s sweet table in Marrakech. She’d layer phyllo, nuts, and honey — I had a block of cream cheese, a jar of peanut butter, and a bag of Oreos. That night, this easy oreo crust pie was born, and it has since earned over 40 five-star votes from readers who say it tastes like a chilled peanut butter cup in pie form. With only 6 ingredients and no complicated techniques, this no-bake dessert delivers incredible richness with minimal effort.
Imagine sinking a fork into a firm, chocolatey Oreo crust that shatters ever so slightly, then gliding through a silky, peanut butter filling that’s simultaneously light and decadent. The filling is velvety from the cream cheese, intensely nutty from the peanut butter, and sweetened just enough with powdered sugar. A cloud of Cool Whip keeps everything airy rather than heavy. And those chopped peanut butter cups on top? They add a salty-sweet crunch that makes every bite irresistible. It’s the kind of pie that disappears at parties — and no one believes it came together in half an hour.
What separates this 6 ingredient peanut butter pie from others is a technique I picked up in pastry school in Paris: beating the cream cheese and peanut butter together until completely smooth before adding anything else. This ensures a filling with no lumps — just pure, silky richness. I also bake the Oreo crust for exactly 8 minutes, which firms it up without making it hard to slice. One common mistake home cooks make is under-chilling the pie; I’ll show you exactly how long to set it so each slice comes out clean. This really is the easiest no bake peanut butter pie you’ll ever make.
Why This Peanut Butter Pie Recipe Is the Best
The Flavor Secret. My version of this oreo peanut butter dessert uses creamy peanut butter — not natural, not crunchy — because it provides the perfect stable fat content for a sliceable filling. Growing up in Morocco, my mother taught me that the best sweets balance richness with a touch of salt. That’s why I leave a little salt in the crust and let the peanut butter cups on top bring their signature salty-sweet magic. Every forkful hits that perfect note.
Perfected Texture. In Paris, I learned that the order of mixing changes everything. I beat the cream cheese and peanut butter together for a full two minutes before adding the powdered sugar. This aerates the base just enough so the final pie is both dense and fluffy — never gluey. The Cool Whip is folded in last, by hand, to preserve every bit of air. The result is a filling that cuts like a dream and melts on your tongue.
Foolproof & Fast. This really is a 6 ingredient peanut butter pie — and three of those ingredients are for the crust and topping. You don’t need a stand mixer, a water bath, or any special equipment. A food processor for the cookies and a hand mixer for the filling are all you need. I’ve tested this recipe with beginner bakers in my NYC cooking workshops, and every single person walked away with a perfect pie. If you can crush a cookie and stir, you can make this.
Peanut Butter Pie Recipe Ingredients
I pick up my Oreos at the bodega down the street in Brooklyn, and the cream cheese from the farmers market in Union Square. The peanut butter is always the classic creamy kind — the one my French chef instructor would have scoffed at, but that my Moroccan mother would have quietly approved of for its reliable texture. Here’s everything you need:
Ingredients List
- 30 Oreos (crushed — about 3 cups of crumbs)
- 5 tbsp butter (melted)
- 8 oz cream cheese (softened to room temperature)
- 1 cup creamy peanut butter
- ¾ cup powdered sugar
- 8 oz Cool Whip (thawed)
- Reese’s cups, Reese’s pieces, crushed Oreos, and chocolate/caramel/peanut butter drizzle (optional, for topping)
Ingredient Spotlight
Oreos are the backbone of this easy oreo crust pie. You need the whole cookie — cream and all — because the filling helps bind the crust. I recommend standard Oreos, not Double Stuf, for the right crumb-to-butter ratio. If you can only find Double Stuf, reduce the butter by 1 tablespoon.
Creamy Peanut Butter is non-negotiable for the smoothest filling. Natural peanut butter (the kind that separates) will cause the filling to be grainy and may separate as it chills. Skippy or Jif work beautifully. For a deeper flavor, try using a peanut butter that lists only peanuts and salt — just stir it well before measuring.
Cool Whip keeps this no bake peanut butter pie light and airy. You can substitute 2 cups of freshly whipped heavy cream (with 2 tbsp powdered sugar) if you prefer, but Cool Whip is more stable for make-ahead pies and holds its texture beautifully after freezing.
Cream Cheese must be at room temperature — this is crucial. Cold cream cheese will leave lumps in your filling that no amount of mixing can fix. Set it out on the counter 45 minutes before you start. Full-fat cream cheese gives the best texture, but Neufchâtel (reduced fat) works in a pinch, though the filling will be slightly less firm.
| Original Ingredient | Best Substitution | Flavor / Texture Impact |
|---|---|---|
| Oreos (30) | Chocolate graham crackers (2 ½ cups crumbs + 3 tbsp sugar) | Less sweet, slightly less firm crust; add 1 extra tbsp butter |
| Creamy peanut butter (1 cup) | Crunchy peanut butter or almond butter | Crunchy adds texture; almond butter is milder and less sweet |
| Cool Whip (8 oz) | 2 cups heavy cream + 2 tbsp powdered sugar, whipped | Lighter, more luxurious texture; less stable for freezing |
How to Make 6-Ingredient Peanut Butter Pie — Step-by-Step
Follow these simple steps and you’ll have a stunning peanut butter pie recipe that looks like you spent hours on it — but we know the truth!
Step 1: Prep the Crust
Preheat your oven to 350°F. Coat a 9-inch pie pan with non-stick spray. Pulse the 30 Oreos in a food processor until you have fine crumbs. (You can also crush them in a sealed plastic bag with a rolling pin — great for releasing some frustration!) Pour in the melted butter and pulse a few more times until the mixture looks like wet sand.
💡 mia’s Pro Tip: Use a glass or metal pie pan for the crispest crust. Ceramic dishes take longer to cool, which can make the crust soggy.
Step 2: Form and Bake the Crust
Press the crumb mixture firmly into the bottom and up the sides of your pie pan. I use the flat bottom of a measuring cup to pack it tight — this prevents crumbling later. Bake for 8–10 minutes, until the crust is fragrant and set. Place it on a wire rack to cool completely before filling.
⚠️ Common Mistake to Avoid: Don’t overbake! The crust will continue to firm up as it cools. Overbaking makes it hard to cut cleanly.
Step 3: Make the Filling
In a large bowl, beat the softened cream cheese and creamy peanut butter with an electric mixer on medium speed until completely smooth — about 2 minutes. Scrape the bowl well. Add the powdered sugar and beat until incorporated, then fold in the Cool Whip with a rubber spatula until no streaks remain. The mixture will be thick, glossy, and incredibly inviting.
💡 mia’s Pro Tip: For the silkiest filling, make sure your cream cheese is truly at room temperature. If it’s still cool, microwave it in 10-second bursts until soft but not warm.
Step 4: Assemble and Chill
Once the crust is completely cool, spoon the peanut butter filling into it and spread into an even layer. Top with chopped Reese’s cups, Reese’s pieces, crushed Oreos, and a drizzle of chocolate or caramel if desired. Cover loosely with plastic wrap and chill in the freezer for at least 3 hours, or in the refrigerator for 5 hours, until firm.
⚠️ Common Mistake to Avoid: Rushing the chill time! If the pie isn’t fully set, slices will be messy. Freezer-chilled pies cut the cleanest — just let them sit at room temperature for 5 minutes before slicing.
| Step | Action | Duration | Key Visual Cue |
|---|---|---|---|
| 1 | Crush Oreos + mix with butter | 5 mins | Mixture looks like wet, dark sand |
| 2 | Press into pan + bake | 8–10 mins | Crust is fragrant and slightly darker |
| 3 | Beat cream cheese + peanut butter | 2 mins | Smooth, no lumps, pale and thick |
| 4 | Add powdered sugar + fold in Cool Whip | 3 mins | Glossy, uniform, no white streaks |
| 5 | Fill crust + top + chill | 3 hrs (freezer) or 5 hrs (fridge) | Filling is firm and holds shape when sliced |
Serving & Presentation
This oreo peanut butter dessert is a showstopper right out of the pan. For the cleanest slices, use a sharp chef’s knife dipped in hot water and wiped dry between cuts. Serve each slice with a dollop of fresh whipped cream, an extra drizzle of warm chocolate sauce, and a light sprinkle of flaky sea salt if you’re feeling fancy — that salt trick is something I picked up at a pastry shop near the Marché des Enfants Rouges in Paris.
For a NYC-style presentation, plate the pie on a wooden board with a few extra peanut butter cups and fresh berries on the side. It’s rich enough to stand alone, but a scoop of vanilla ice cream or a pour of cold milk never hurt anyone. This pie is equally at home on a summer picnic table or a holiday dessert spread — it’s that versatile.
| Pairing Type | Suggestions | Why It Works |
|---|---|---|
| Side Dish | Fresh berries, sliced bananas, or a citrus salad | Bright acidity cuts through the rich, creamy filling |
| Sauce / Dip | Warm chocolate sauce, caramel drizzle, or peanut butter glaze | Adds a glossy, indulgent finish and extra flavor layer |
| Beverage | Cold milk, strong coffee, or a bourbon milkshake | Milk and coffee balance sweetness; bourbon adds grown-up warmth |
| Garnish | Flaky sea salt, crushed peanuts, or chocolate shavings | Adds texture and a salty contrast that deepens the flavor |
Make-Ahead, Storage & Reheating
Between my busy NYC schedule and recipe testing, I rely on make-ahead desserts. This no bake peanut butter pie is a dream for meal prep — you can completely assemble it, cover it tightly, and refrigerate for up to two days before serving. I often make the crust and filling the night before a dinner party, then just add the toppings right before serving for the freshest presentation.
| Method | Container | Duration | Reheating Tip |
|---|---|---|---|
| Refrigerator | Covered pie plate or airtight container | Up to 5 days | Serve cold; no reheating needed |
| Freezer | Well-wrapped in plastic + foil, or in a freezer-safe pie box | Up to 3 months | Thaw in fridge overnight, then let sit 10 mins before slicing |
| Make-Ahead | Assembled in pie pan, covered | Up to 2 days in advance | Add toppings just before serving for best texture |
If you’re storing leftover slices, press a piece of plastic wrap directly onto the cut surface of the pie to prevent it from drying out. For frozen pie, I recommend slicing it while still semi-frozen for the cleanest cuts — then let the slices thaw in the fridge for about 20 minutes before serving. The texture remains silky and luscious, never icy.
Variations & Easy Swaps
| Variation | Key Change | Best For | Difficulty Impact |
|---|---|---|---|
| Chocolate-Peanut Butter Swirl | Swirl ½ cup melted dark chocolate into filling before chilling | Chocolate lovers who want a marbled effect | Easy — same steps, one extra swirl |
| Gluten-Free Version | Use gluten-free chocolate sandwich cookies | Guests with gluten sensitivities | Easy — same method, swap cookies |
| Salted Honey Peanut Pie | Replace powdered sugar with ½ cup honey + ¼ cup powdered sugar; top with flaky salt | A sophisticated twist with North African honey notes | Medium — honey changes the sweetness and set |
Chocolate-Peanut Butter Swirl
For a dramatic marble effect, melt ½ cup of dark chocolate chips with a teaspoon of coconut oil, then gently fold it into the finished filling in three broad strokes — just enough to create swirls, not blend it fully. This trick came from my Paris days, where we’d marbleize everything from brioche to cheesecake. The result is a pie that looks like a work of art and tastes even better.
Gluten-Free Version
This is the easiest swap of all: simply use gluten-free chocolate sandwich cookies in place of regular Oreos. I’ve tested this with two popular brands, and the crust holds together perfectly — just be sure to press it firmly. All other ingredients are naturally gluten-free. This version has been a hit at my NYC supper clubs, where no one even notices the difference.
Salted Honey Peanut Pie
Inspired by the honey-drizzled pastries of my Moroccan childhood, this variation swaps half the powdered sugar for honey. The filling becomes slightly softer, so I recommend freezing the pie for the full 3 hours. Top with a generous sprinkle of flaky sea salt and a drizzle of warm honey before serving. It’s a stunning balance of sweet, salty, and nutty that feels both exotic and comforting.
Share Your Version!
I’d love to see how this peanut butter pie recipe turns out in your kitchen! Leave a star rating and a comment below — tell me which topping combo you chose and whether you tried any of the variations. Your feedback helps other home bakers discover what works best, and I personally read every single comment.
Snap a photo of your pie and share it on Instagram or Pinterest — tag @exorecipes so I can feature your creation in my stories. Did you try the salted honey version? Or maybe you stacked extra Reese’s cups on top? Let me know in the comments — I’m always looking for new twists to test in my NYC kitchen.
From my NYC kitchen to yours — I hope this recipe brings as much warmth to your table as it does to mine. — mia 🧡
Love This Recipe? Save It to Pinterest!
If you enjoyed this 6-Ingredient Peanut Butter Pie recipe, don’t let it get lost in your browser tabs! 😄 Pin it now so you can find it again anytime — and explore hundreds more tried-and-tested recipes waiting for you on my Pinterest boards.
👉 Follow mia on Pinterest @exorecipe
📌 Pin this recipe · 🔁 Re-pin your favorites · 💬 Tag me when you make it — I love seeing your creations!
🎉 Tried this recipe? Tell us about it!
Click the stars below to rate it and leave a comment. Your feedback makes this community amazing! ⭐
6-Ingredient Peanut Butter Pie with Easy Oreo Crust
Description
With over 40 5-star votes, this homemade peanut butter pie will be the star of your next gathering! It’s made with a thick, buttery oreo crust, a rich and decadent peanut butter filling, and topped with chopped peanut butter cups. This pie only takes about 30 minutes to prep and you need 6 simple ingredients to make it!
Ingredients
- 30 oreos (crushed)
- 5 tbsp butter (melted)
- 8 oz cream cheese (softened to room temperature)
- 1 cup creamy peanut butter
- ¾ cup powdered sugar
- 8 oz cool whip
- Reese's cups
- Reese's pieces
- crushed oreos
- chocolate, caramel, or peanut butter drizzle
Instructions
- Preheat oven to 350°. Coat a pie pan with non-stick spray and set aside.
- Pulse cookies in a food processor (other options include using a blender or crushing cookies by hand in a plastic bag). Pour melted butter into the cookie crumbs and stir until coated.
- Press crumbs evenly into the bottom and up the sides of the pie plate, making sure to pack it tightly. Bake for 8-10 minutes. Set on a wire rack to cool completely.
- With an electric mixer, beat the peanut butter and cream cheese until smooth (this mixture will be thick). Add in the powdered sugar and mix, followed by the cool whip.
- When your crust is completely cooled, fill it with the peanut butter mixture and spread into an even layer. Then finish it with peanut butter cups on top (or other toppings).
- Chill in the freezer for at least 3 hours or fridge for 5 hours before serving. This pie is best served cold.
Nutrition
- Calories: 694 kcal
- Sugar: 39 g
- Fat: 47 g
- Carbohydrates: 59 g
- Protein: 15 g
Tried This Recipe? Leave a Comment!
Did you make this recipe? I’d love to hear how it turned out! Please leave a comment and a rating below. Your feedback helps other home cooks and supports cheerychop.com!
For more delicious inspiration, follow me on Pinterest!
