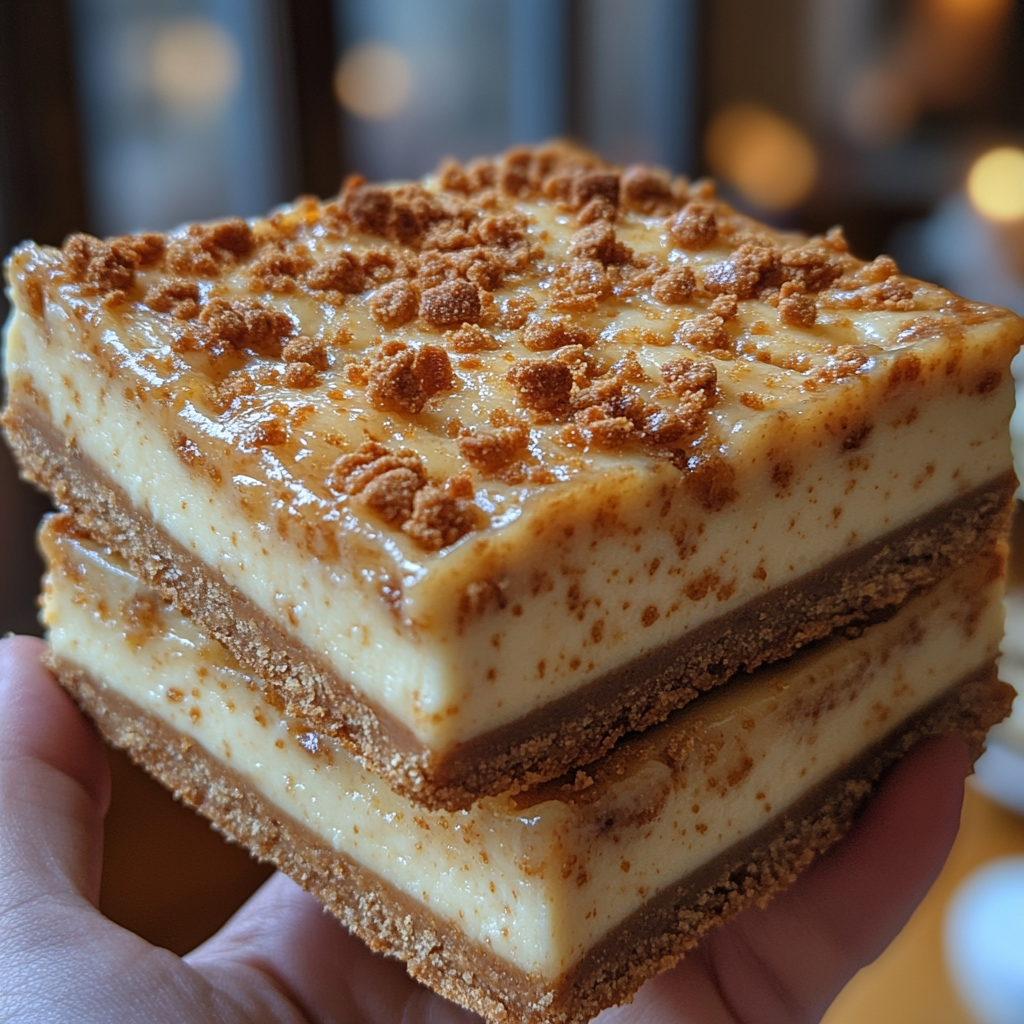
How to Make the Best Butterscotch Graham Cracker Cheesecake Bars
Butterscotch Graham Cracker Cheesecake Bars are the perfect blend of creamy cheesecake, crunchy graham crackers, and rich butterscotch flavor. This guide will walk you through the steps to make this crowd-pleasing dessert, ensuring it turns out perfectly every time.
For those who enjoy comfort food classics, you might also love The Ultimate Comfort Food Crockpot Potato Soup with Hashbrowns. Desserts like these bars add a delicious twist to traditional cheesecake recipes, bringing a unique flavor profile that’s hard to resist.
Ingredients for Butterscotch Graham Cracker Cheesecake Bars
To create the perfect butterscotch graham cracker cheesecake bars, gather these ingredients:
- Graham Cracker Crust: Crushed graham crackers, melted butter, and a dash of sugar.
- Butterscotch Filling: Butterscotch chips, cream cheese, and heavy cream for the creamy layer.
- Optional Add-ins: Chopped pecans or a caramel drizzle for added flavor and texture.
For easy dessert layering inspiration, try exploring S’mores Jars: Bringing the Campfire to Your Kitchen for creative ideas.
Preparing the Graham Cracker Crust
- Crushing the Graham Crackers
Start by crushing the graham crackers until fine crumbs form. Mix them with melted butter and sugar, pressing the mixture firmly into the base of your pan. - Ensuring a Firm Base
Bake the crust briefly to create a sturdy base, which is essential for holding the cheesecake filling and adding a delightful crunch. - Cool Before Adding Filling
Allow the crust to cool completely before pouring the butterscotch filling on top.
Making the Butterscotch Cheesecake Filling
The filling is what brings the rich, creamy butterscotch flavor to these bars.
- Creaming the Ingredients
In a bowl, beat the cream cheese until smooth, adding sugar and heavy cream gradually. Melt the butterscotch chips separately, then fold them into the cream cheese mixture. - Smooth Consistency
Ensure the mixture is smooth to avoid lumps, creating a creamy consistency that complements the crunchy crust.
For more creamy, comforting meals, check out Slow Cooker Magic: Unveiling the Ease of Crock-Pot Baked Ziti.
Assembling and Baking the Cheesecake Bars
- Layering the Cheesecake Bars
Pour the butterscotch cheesecake filling over the cooled graham cracker crust, spreading it evenly with a spatula. - Baking Tips
Bake at 325°F (160°C) for about 30 minutes or until the filling is set but still slightly jiggly in the center. - Cooling and Setting
Let the bars cool to room temperature, then refrigerate for at least 2 hours to fully set the cheesecake layer.
Adding Final Touches
- Butterscotch Drizzle
Melt some extra butterscotch chips and drizzle over the bars for a rich, decorative touch. - Optional Toppings
Chopped pecans or a sprinkle of sea salt add extra flavor and texture, enhancing the sweet and salty profile.
Variations to Try
For a twist on this classic recipe, try some of these flavor variations:
- Nutty Variation: Add a handful of chopped pecans or walnuts for a crunchy bite.
- Chocolate Butterscotch Combo: Swirl in melted chocolate with the butterscotch for a marbled effect.
- Salted Caramel: Drizzle salted caramel sauce on top to balance the sweetness.
FAQs about Butterscotch Graham Cracker Cheesecake Bars
How long do these cheesecake bars last?
These cheesecake bars can last up to a week if stored in an airtight container in the refrigerator.
Can I use a different type of crust?
Yes, you can substitute with other types of cookie crusts, like chocolate wafers or digestive biscuits.
Is there a way to make this recipe gluten-free?
Simply use gluten-free graham crackers, and follow the recipe as usual for a delicious gluten-free dessert.
Can I freeze these cheesecake bars?
Yes, you can freeze them. Wrap each bar individually, and store in a freezer-safe container for up to three months.
Conclusion
With their creamy texture, buttery graham cracker base, and rich butterscotch flavor, these Butterscotch Graham Cracker Cheesecake Bars are sure to be a hit at any gathering. Whether you make them for a special occasion or just to treat yourself, these bars are as satisfying as they are easy to make.
Enhance your baking repertoire with more comforting recipes and layer-based treats like these! Enjoy the process and savor each bite of this delightful dessert.

