Bacon and Cheese Quiche: Easy Recipe for Any Meal

classic quiche recipe, bacon cheese tart, savory quiche, cheesy bacon pie, easy quiche recipe, breakfast quiche, creamy bacon quiche

Bacon and Cheese Quiche: A Classic Dish for Any Meal

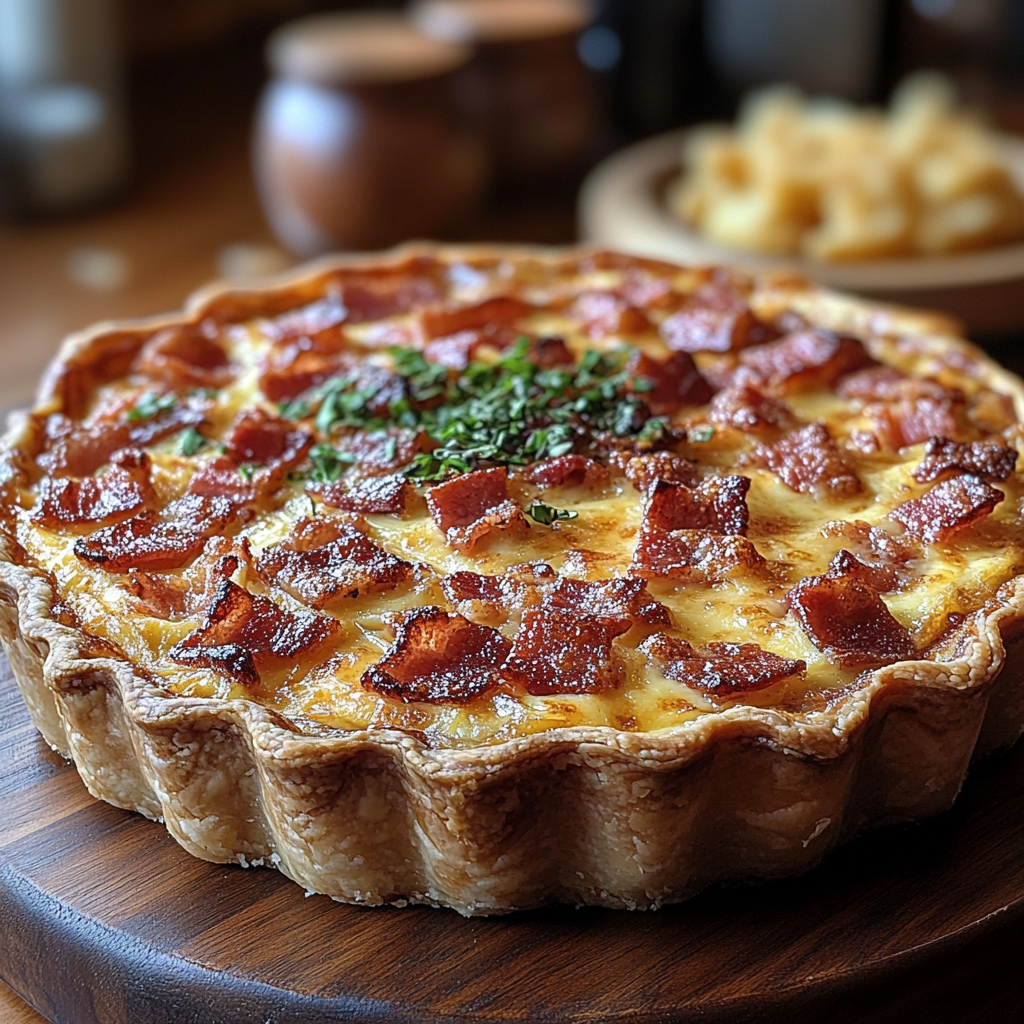
The Bacon and Cheese Quiche is a timeless classic that combines the smoky flavor of bacon with the creamy richness of cheese in a flaky pastry crust. This versatile dish is perfect for breakfast, brunch, lunch, or even a light dinner, offering a satisfying blend of textures and flavors.

For a variation of savory dishes, explore Savory Bacon Bread for another bacon-inspired recipe.


Why Make Bacon and Cheese Quiche?

This dish is loved for its:

  • Simplicity: Requires minimal ingredients and effort.
  • Flexibility: Easily customized with additional fillings like vegetables or herbs.
  • Appeal: A perfect balance of savory and creamy flavors.

Pair this quiche with The Ultimate Potato Salad for a complete meal that complements its richness.


Ingredients for Bacon and Cheese Quiche

For the Crust:

  • 1 pre-made or homemade pastry crust
  • 2 tablespoons butter (optional, for brushing)

For the Filling:

  • 6 strips of bacon, cooked and crumbled
  • 1 cup shredded Gruyère or cheddar cheese
  • 3 large eggs
  • 1 cup heavy cream or half-and-half
  • Salt, pepper, and a pinch of nutmeg

Optional Additions:

  • Sautéed onions or leeks
  • Spinach or kale for a healthier twist
  • A sprinkle of fresh herbs like thyme or chives

Step-by-Step Preparation

Step 1: Prepare the Crust

  • Preheat oven to 375°F (190°C).
  • Roll out the pastry crust and press it into a quiche or pie pan.
  • Blind bake the crust for 10 minutes to prevent sogginess.

Step 2: Prepare the Filling

  • Cook bacon until crispy, then crumble into bite-sized pieces.
  • Whisk together eggs, cream, salt, pepper, and nutmeg.

Step 3: Assemble and Bake

  • Spread bacon and cheese evenly over the crust.
  • Pour the egg mixture over the filling.
  • Bake for 35–40 minutes, or until the center is set and golden brown.

Tips for the Perfect Quiche

  • Blind Baking the Crust: Use pie weights or dried beans to keep the crust from puffing up.
  • Balance the Flavor: Add a pinch of nutmeg to enhance the creaminess.
  • Avoid Overbaking: Remove the quiche as soon as the center is set.

For more baking techniques, check out Perfect Crusty Bread for helpful crust-making tips.


Creative Variations

Vegetables:

  • Add sautéed mushrooms, bell peppers, or zucchini for extra nutrition.

Protein Options:

  • Swap bacon with diced ham or cooked sausage.

Cheese Choices:

  • Experiment with cheeses like feta, mozzarella, or Swiss.

FAQs About Bacon and Cheese Quiche

Can I Make Quiche Ahead of Time?

Yes, prepare and bake the quiche, then refrigerate. Reheat in the oven before serving.

Can I Freeze Quiche?

Absolutely! Wrap tightly in plastic wrap and foil, and freeze for up to 2 months. Thaw in the fridge before reheating.

What is the Best Cheese for Quiche?

Gruyère and cheddar are classic choices, but any cheese that melts well can work.


Internal Linking Opportunities


Conclusion

The Bacon and Cheese Quiche is a delightful dish that is easy to prepare and endlessly versatile. Whether served warm or at room temperature, it’s a guaranteed crowd-pleaser. Experiment with ingredients and pair it with your favorite sides for a meal that’s as satisfying as it is delicious.

For more savory recipes and creative kitchen ideas, visit ExoRecipes to elevate your everyday meals!
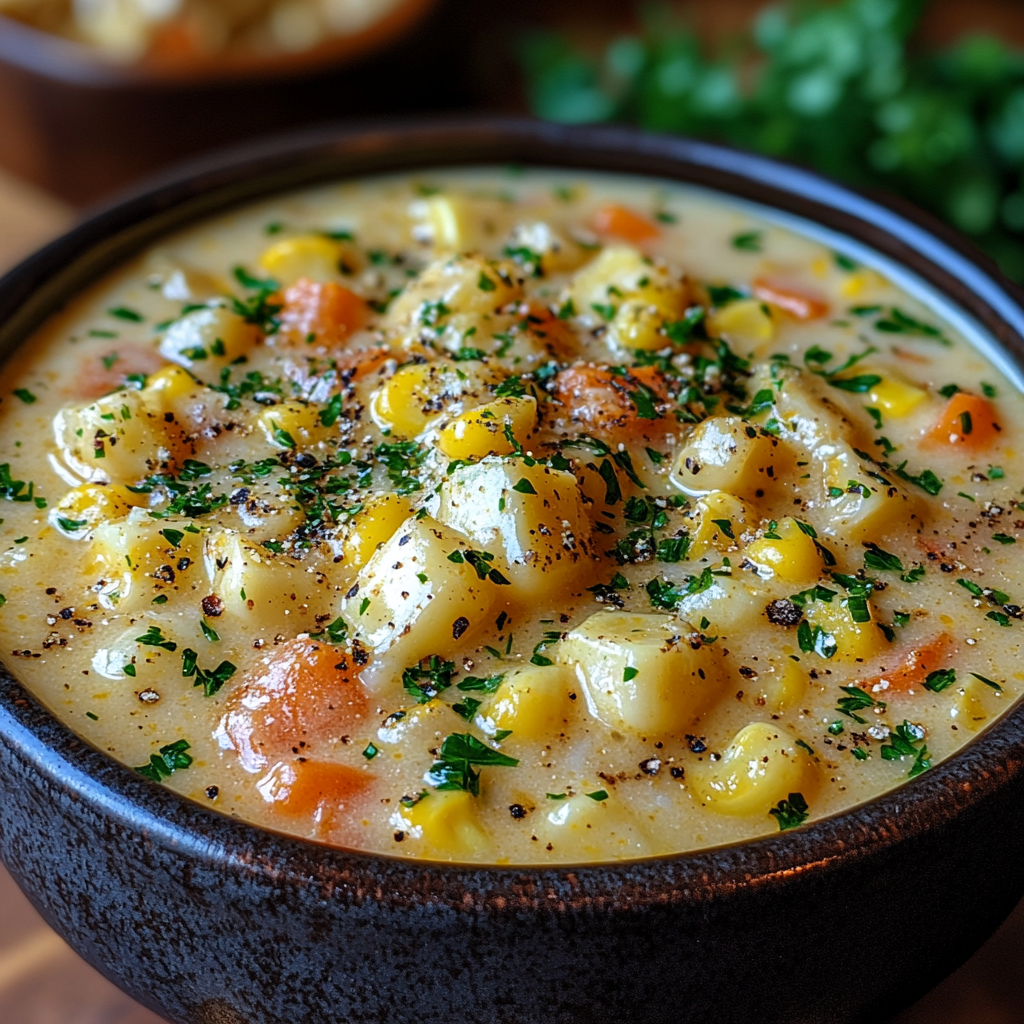
Easy Corn Chowder Recipe: Creamy, Delicious, and Perfect for Any Season

simple corn chowder, creamy potato corn soup, homemade chowder recipe, quick corn soup, hearty chowder with corn, sweet corn chowder recipe

Easy Corn Chowder Recipe: Creamy Comfort in Every Bowl

The Easy Corn Chowder Recipe is a rich and hearty dish that blends the sweetness of corn with the creaminess of a traditional chowder. Perfect for any season, this recipe is quick, versatile, and packed with flavor.

For another comforting soup recipe, explore Hearty Ham Potato Soup for a satisfying and warming meal.


Why This Corn Chowder Recipe is a Must-Try

This recipe stands out because:

  • Simple Ingredients: Uses pantry staples for a quick meal.
  • Customizable: Add proteins like bacon or shrimp for a unique twist.
  • Perfect for Meal Prep: Tastes even better the next day.

For a side dish to pair with your chowder, try The Best Potato Salad in the World for a creamy and satisfying combination.


Ingredients for Easy Corn Chowder

Essential Ingredients:

  • 3 cups fresh, frozen, or canned corn (drained)
  • 2 medium Yukon Gold potatoes, diced
  • 1 medium onion, finely chopped
  • 2 cups milk (or a non-dairy alternative)
  • 1 cup chicken or vegetable broth
  • 2 tablespoons butter
  • Salt and pepper to taste

Optional Additions:

  • Bacon bits or ham for smoky flavor
  • Diced bell peppers for sweetness
  • Fresh herbs like parsley or thyme

Step-by-Step Instructions

Step 1: Prep the Ingredients

  • Dice potatoes and onions for even cooking.
  • Use fresh or frozen corn for vibrant flavor, or canned for convenience.

Step 2: Cook the Base

  • In a large pot, melt butter over medium heat.
  • Sauté onions until translucent.
  • Add diced potatoes and cook for 5 minutes, stirring occasionally.

Step 3: Simmer and Season

  • Pour in broth and bring to a gentle simmer.
  • Add corn and season with salt and pepper.
  • Cover and cook for 15–20 minutes, or until potatoes are tender.

Step 4: Add Creaminess

  • Stir in milk, reducing heat to low.
  • Simmer for an additional 5 minutes without boiling.

Tips for Perfect Corn Chowder

  • Consistency Matters: For a thicker chowder, mash some of the potatoes or use a cornstarch slurry.
  • Enhance the Flavor: Add a pinch of cayenne or smoked paprika for warmth.
  • Fresh Herbs Finish: Top with parsley or chives for added brightness.

For more soup inspiration, check out Easy Vegetable Soup Recipe for a healthy, veggie-packed option.


Creative Variations

Add Proteins:

  • Incorporate cooked shrimp or shredded chicken for a hearty meal.

Make it Vegan:

  • Replace butter with olive oil and milk with almond or coconut milk.

Spice it Up:

  • Add diced jalapeños or a drizzle of hot sauce.

FAQs About Easy Corn Chowder Recipe

Can I Freeze Corn Chowder?

Yes, but note that milk-based soups may separate when reheated. Stir well to restore consistency.

How Long Does Corn Chowder Last in the Fridge?

Store in an airtight container for up to 3–4 days.

Can I Use Sweet Corn for This Recipe?

Absolutely! Sweet corn enhances the natural flavors and adds a touch of sweetness.


Internal Linking Opportunities


Conclusion

The Easy Corn Chowder Recipe is a comforting classic that’s both versatile and flavorful. Whether you’re preparing it for a weeknight meal or a special occasion, it’s sure to become a family favorite. Pair it with a side of crusty bread or a fresh salad for a complete and satisfying meal.

For more comforting recipes and creative cooking ideas, visit ExoRecipes and transform your everyday meals into culinary delights!

Easy Chicken Marsala Recipe: A Classic Italian Delight

classic chicken Marsala, Marsala wine chicken recipe, Italian chicken with mushrooms, quick chicken Marsala recipe, creamy Marsala chicken

Easy Chicken Marsala Recipe: A Classic Italian Delight

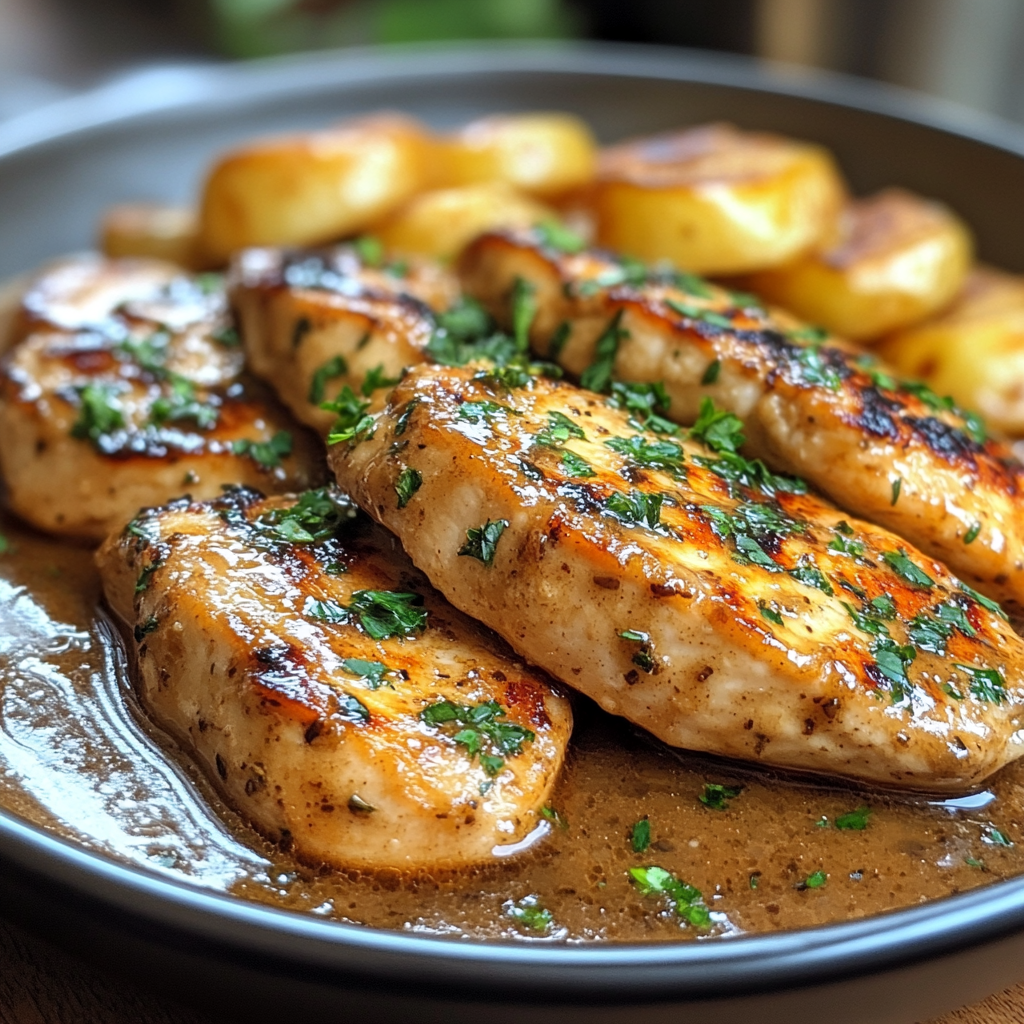
The Easy Chicken Marsala Recipe is a fusion of simplicity and rich flavor, perfect for both weeknight dinners and elegant occasions. This classic Italian-American dish combines tender chicken with a velvety Marsala wine sauce for a culinary experience that is both comforting and luxurious.

For more creamy chicken recipes, explore Creamy Garlic Parmesan Chicken: A Symphony of Flavors for another comforting dish idea.


Why This Recipe Stands Out

This dish is beloved because:

  • Rich and Flavorful Sauce: The Marsala wine adds depth, while mushrooms enhance its earthy taste.
  • Quick and Simple Preparation: It’s ready in under an hour, making it ideal for busy cooks.
  • Versatility: Serve with pasta, potatoes, or vegetables for a complete meal.

For more easy dinner recipes, check out One-Pot Creamy Broccoli and Parmesan Noodles for a quick, delicious option.


Ingredients for Chicken Marsala

For the Chicken:

  • 4 boneless, skinless chicken breasts, thinly sliced or pounded
  • ½ cup all-purpose flour (or gluten-free flour for dietary needs)
  • 2 tablespoons olive oil
  • Salt and pepper to taste

For the Marsala Sauce:

  • 1 cup dry Marsala wine
  • 1 cup chicken broth
  • 2 cups sliced cremini mushrooms
  • 2 garlic cloves, minced
  • 2 tablespoons unsalted butter
  • Fresh parsley for garnish

Step-by-Step Preparation

Step 1: Prepare the Chicken

  1. Pound chicken breasts to an even thickness for uniform cooking.
  2. Dredge in flour, shaking off excess, and season with salt and pepper.
  3. Heat olive oil in a skillet over medium-high heat and brown chicken on both sides. Set aside.

Step 2: Create the Sauce

  1. In the same skillet, sauté garlic and mushrooms until softened.
  2. Deglaze the pan with Marsala wine, scraping up browned bits for flavor.
  3. Stir in chicken broth and simmer to reduce slightly.

Step 3: Combine and Serve

  1. Return chicken to the skillet, spooning sauce over the top.
  2. Simmer for 10 minutes until chicken is fully cooked and sauce thickens.
  3. Garnish with parsley and serve.

Tips for Success

  • Use Quality Marsala Wine: Opt for dry Marsala for the best flavor.
  • Don’t Overcook the Chicken: Cook just until done to keep it tender.
  • Thicken the Sauce as Needed: A cornstarch slurry can help achieve the desired consistency.

For more dinner inspiration, try Rediscovering the Joy of Simple Meals: Kielbasa, Potatoes, and Green Beans.


Creative Variations

Creamy Marsala Sauce:

  • Add ½ cup heavy cream to the sauce for a richer texture.

Vegetarian Marsala:

  • Replace chicken with portobello mushrooms or tofu.

Gluten-Free Option:

  • Use gluten-free flour for dredging.

FAQs About Easy Chicken Marsala Recipe

Can I Substitute Marsala Wine?

Yes, dry sherry or white wine can be used as alternatives, but the flavor will differ slightly.

How Long Does Chicken Marsala Last?

Store leftovers in an airtight container in the refrigerator for up to 3 days.

What Should I Serve with Chicken Marsala?

Pair it with pasta, mashed potatoes, or sautéed spinach for a balanced meal.


Internal Linking Opportunities


Conclusion

The Easy Chicken Marsala Recipe is a timeless classic that brings restaurant-quality dining to your home kitchen. Its simplicity, rich flavors, and versatility make it a go-to recipe for any occasion. Pair it with your favorite sides and enjoy a meal that’s as satisfying as it is delicious.

For more inspiring recipes and cooking tips, visit ExoRecipes, your ultimate guide to culinary creativity!

Chicken Avocado Ranch Burritos: Easy, Creamy, and Delicious

avocado ranch chicken wraps, creamy chicken burritos, Tex-Mex chicken burritos, avocado burrito recipe, easy chicken wraps, ranch chicken tortilla wraps

Chicken Avocado Ranch Burritos: A Perfect Blend of Flavors and Ease

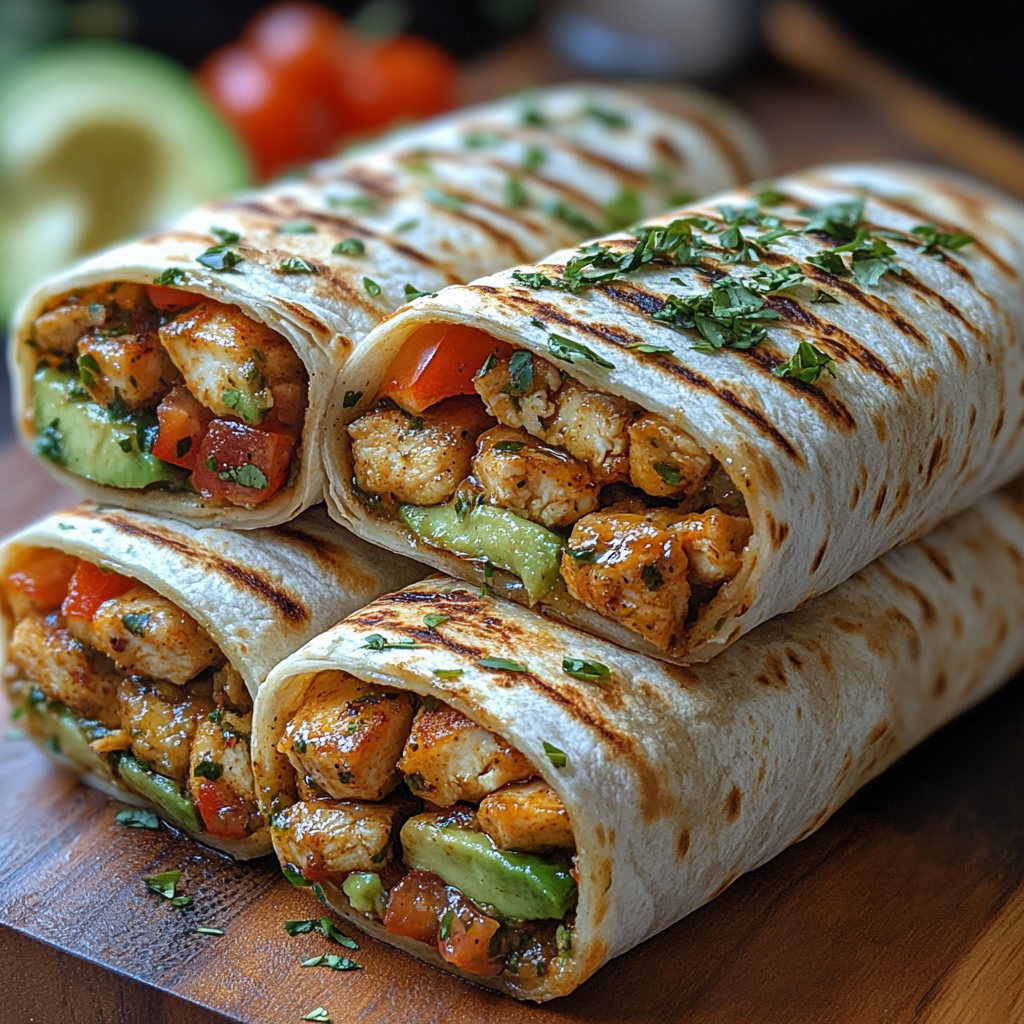
The Chicken Avocado Ranch Burritos are a delicious Tex-Mex-inspired dish that brings together tender chicken, creamy avocado, and tangy ranch dressing, all wrapped in a warm tortilla. This versatile and satisfying recipe is perfect for quick meals, gatherings, or meal prep.

Discover other comforting chicken recipes like Chicken Bacon Ranch Potatoes: Your New Favorite Comfort Dish for a rich and hearty dinner option.


Why Chicken Avocado Ranch Burritos Are a Must-Try

This recipe is loved for its:

  • Flavor Combination: The creamy avocado and tangy ranch dressing pair perfectly with the savory chicken.
  • Easy Customization: Add vegetables, swap proteins, or adjust spices to fit your preferences.
  • Convenience: Great for on-the-go meals or prepping ahead for busy days.

For more quick and tasty recipes, try Reinventing Breakfast with Pancake Muffins to start your day right.


Ingredients for Chicken Avocado Ranch Burritos

Main Ingredients:

  • 2 cups cooked, shredded chicken (rotisserie or grilled chicken works well)
  • 2 large avocados, diced
  • ½ cup ranch dressing
  • 1 cup shredded cheddar cheese
  • 4 large flour tortillas

Optional Additions:

  • Diced tomatoes
  • Sliced jalapeños for heat
  • Cooked bacon crumbles for extra flavor

How to Make Chicken Avocado Ranch Burritos

Step 1: Prepare the Filling

  1. In a large mixing bowl, combine shredded chicken, diced avocado, and ranch dressing.
  2. Mix gently to avoid mashing the avocados.

Step 2: Assemble the Burritos

  1. Warm tortillas on a skillet or microwave.
  2. Layer each tortilla with the chicken mixture, shredded cheese, and any additional toppings.
  3. Roll tightly, folding in the sides to seal the filling.

Step 3: Grill or Heat (Optional)

  1. Lightly grill the burritos in a skillet or panini press for a crispy outer layer.

Tips for the Perfect Burrito

  • Use ripe avocados for maximum creaminess.
  • Avoid overfilling the tortillas to prevent tearing.
  • For meal prep, wrap ungrilled burritos in foil and refrigerate for up to 2 days.

Pair this recipe with The Ultimate Avocado Preservation Hack to keep avocados fresh longer.


Creative Variations

Protein Alternatives:

  • Swap chicken for grilled shrimp or seasoned tofu.

Add Vegetables:

  • Include spinach, bell peppers, or corn for added nutrients.

Spice it Up:

  • Drizzle with hot sauce or sprinkle with chili powder for a fiery kick.

Frequently Asked Questions (FAQs)

Can I Make These Burritos Ahead of Time?

Yes, you can prepare and refrigerate them for up to 2 days. Reheat on a skillet or in the microwave.

How Do I Prevent Soggy Burritos?

Avoid overloading with ranch dressing, and grill them for a crispy exterior.

Can These Be Made Gluten-Free?

Use gluten-free tortillas to adapt this recipe for dietary needs.


Internal Linking Opportunities


Conclusion

The Chicken Avocado Ranch Burritos are a delicious and versatile meal that’s easy to customize for any occasion. Whether you’re looking for a quick weeknight dinner or a flavorful meal prep option, these burritos are sure to satisfy.

For more innovative and comforting recipes, visit ExoRecipes and get inspired in the kitchen!

Slow Cooker Chinese Orange Chicken: Sweet, Tangy, and Effortless

crockpot orange chicken, Chinese orange chicken recipe, slow cooker Asian chicken, homemade orange chicken, sweet and tangy chicken

Slow Cooker Chinese Orange Chicken: A Sweet and Tangy Delight

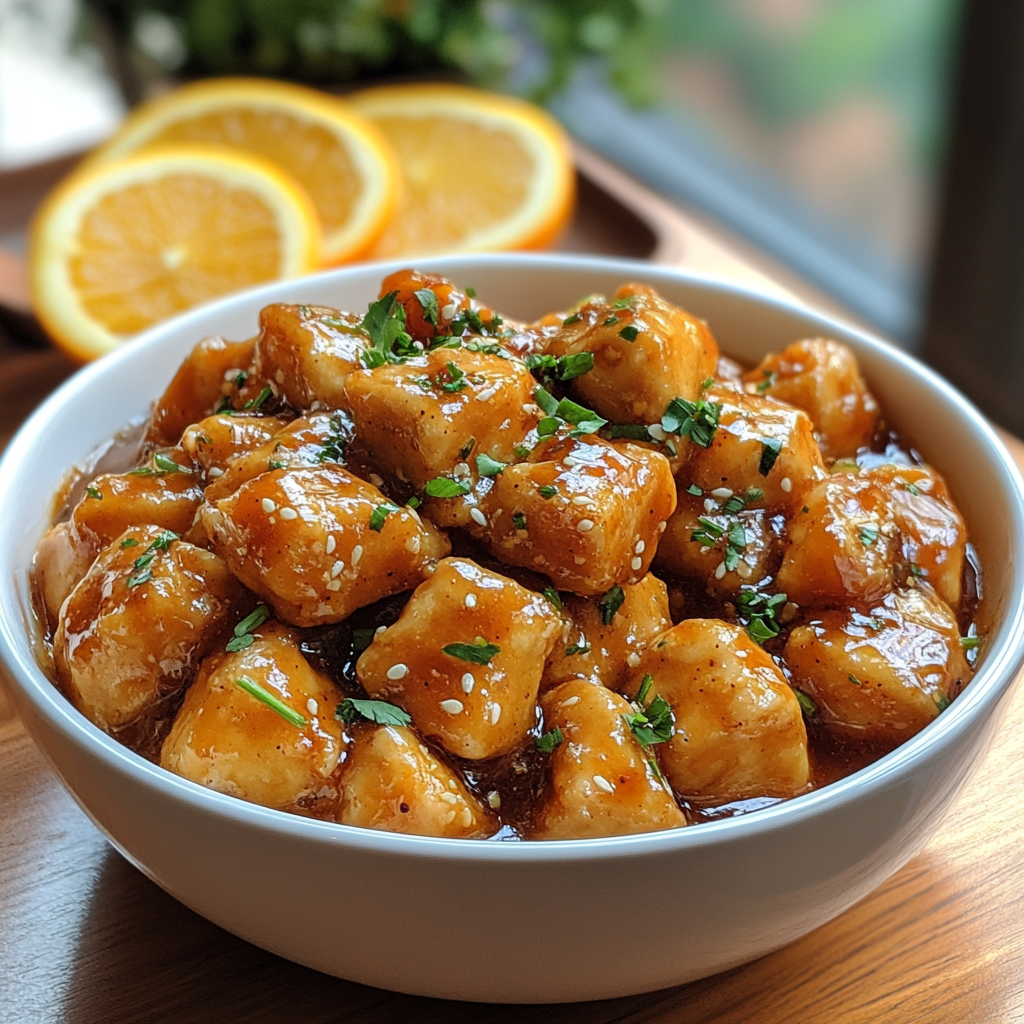
The Slow Cooker Chinese Orange Chicken is a flavorful and convenient way to recreate a classic takeout favorite at home. Combining tender chicken with a sweet and tangy orange sauce, this recipe is perfect for busy weeknights and special family dinners.

For more slow cooker inspiration, try Crockpot Shredded BBQ Chicken for a hearty meal option.


Why Slow Cooker Orange Chicken?

This dish stands out because:

  • Effortless Cooking: The slow cooker does the work, making it ideal for busy schedules.
  • Healthier Alternative: Skip the frying and use wholesome ingredients.
  • Deliciously Versatile: Serve it with rice, noodles, or as a filling for lettuce wraps.

For another comforting meal, explore Crockpot Potato Soup with Hashbrowns for a creamy and warm option.


Ingredients for Slow Cooker Chinese Orange Chicken

Main Ingredients:

  • 1.5 lbs boneless, skinless chicken breasts or thighs, cut into bite-sized pieces
  • ¾ cup orange marmalade or orange juice concentrate
  • ½ cup low-sodium soy sauce
  • ½ cup honey or brown sugar
  • 2 tablespoons rice vinegar or apple cider vinegar
  • 1 tablespoon grated ginger
  • 2 cloves garlic, minced

Optional Additions:

  • Red pepper flakes for a spicy kick
  • Green onions and sesame seeds for garnish

Step-by-Step Recipe Instructions

Step 1: Prepare the Chicken

  • Cut chicken into bite-sized pieces.
  • Optional: Dredge in cornstarch and lightly sear for a crispy texture before adding to the slow cooker.

Step 2: Make the Sauce

  • In a mixing bowl, combine orange marmalade, soy sauce, honey, vinegar, ginger, and garlic. Whisk until smooth.

Step 3: Cook in the Slow Cooker

  • Add chicken and sauce mixture to the slow cooker.
  • Cook on low for 4–6 hours or high for 2–3 hours, stirring occasionally for even coating.

Step 4: Thicken the Sauce (Optional)

  • For a thicker sauce, add a cornstarch slurry (1 tablespoon cornstarch + 2 tablespoons water) in the last 30 minutes of cooking.

Tips for the Best Orange Chicken

  • Use fresh orange juice for a natural flavor boost.
  • Adjust sweetness and tanginess to your liking by tweaking the honey and vinegar proportions.
  • Garnish with sesame seeds and green onions for a restaurant-style presentation.

For more tips on slow cooker techniques, check out Slow Cooker Magic: Unveiling the Ease of Crockpot Baked Ziti.


Creative Variations

Spice It Up:

  • Add sriracha or chili paste for heat.

Go Gluten-Free:

  • Use tamari instead of soy sauce.

Add Vegetables:

  • Include broccoli, bell peppers, or snap peas in the slow cooker during the last hour.

Serving Suggestions

  • Serve over steamed jasmine rice or noodles.
  • Pair with stir-fried vegetables or a fresh cucumber salad.
  • Use as a filling for lettuce wraps for a low-carb option.

Frequently Asked Questions (FAQs)

Can I Use Frozen Chicken?

Yes, but ensure it is thawed before cooking for even results.

How Long Does Orange Chicken Last?

Store leftovers in an airtight container in the fridge for up to 3 days.

Can I Make This Recipe Vegetarian?

Yes, substitute chicken with tofu or cauliflower for a plant-based version.


Internal Linking Opportunities


Conclusion

The Slow Cooker Chinese Orange Chicken offers a perfect blend of sweet and tangy flavors with minimal effort. Its versatility and ease make it a go-to dish for any occasion. Pair it with your favorite sides, and you’ll have a meal that’s better than takeout.

For more delicious and easy-to-make recipes, visit ExoRecipes, your destination for culinary inspiration!