Gnocchi Chicken Pot Pie: A Creamy and Comforting One-Pot Meal

chicken gnocchi pot pie, creamy chicken and gnocchi, one-pot chicken dinner, gnocchi recipes with chicken, chicken pot pie with a twist

Article: Gnocchi Chicken Pot Pie – A Modern Comfort Food Masterpiece

Introduction

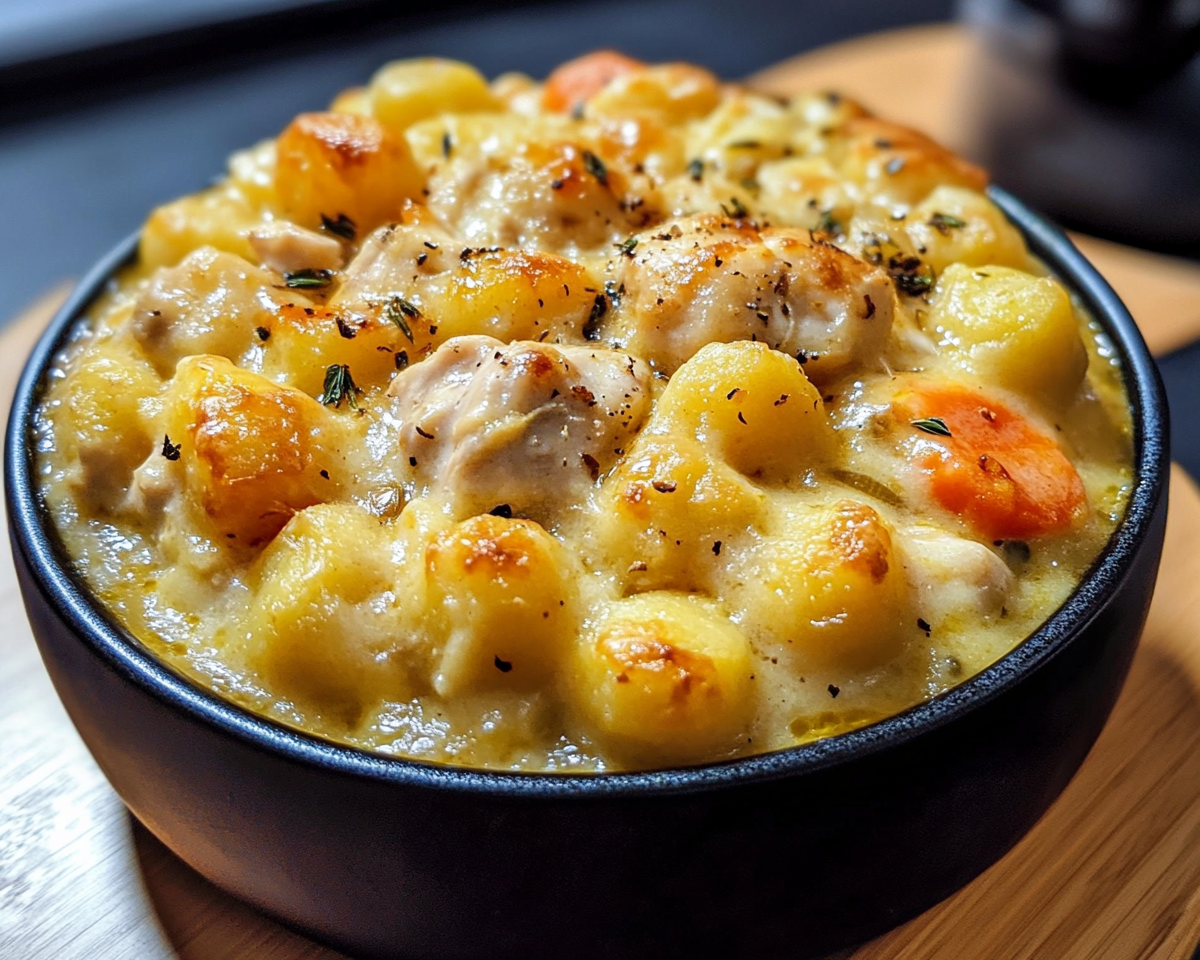
Imagine the comforting aroma of a Gnocchi Chicken Pot Pie filling your kitchen. This hearty dish combines the creamy richness of chicken pot pie with the tender, pillowy texture of gnocchi. Whether you’re preparing a cozy family dinner or impressing guests, this recipe is a delightful upgrade to a classic favorite.

Explore more comforting recipes like the Crockpot Potato Soup or try a twist on pasta with Slow Cooker Baked Ziti.


Ingredients for Success

Essential Ingredients

  • Gnocchi: The star of the dish, bringing a soft and chewy texture.
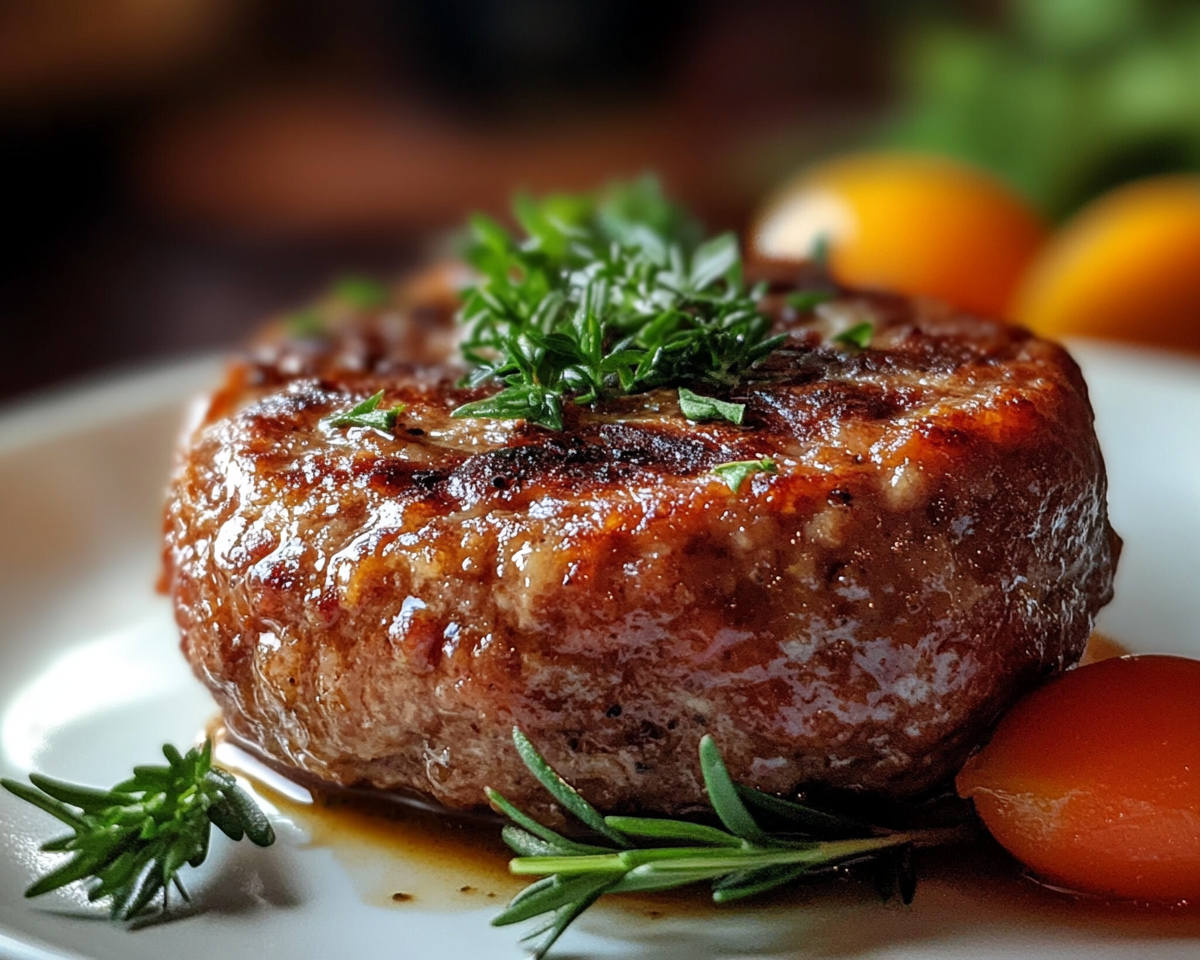
  • Cooked Chicken: Rotisserie or pre-cooked shredded chicken for convenience.
  • Vegetables: A medley of carrots, peas, and celery for vibrant flavors.
  • Sauce Base: Butter, flour, chicken broth, and heavy cream for that luscious consistency.
  • Seasonings: Thyme, garlic powder, parsley, and black pepper.

Optional Additions

  • Mushrooms for an earthy note.
  • Shredded cheese for a gooey finish.
  • Nutmeg for a subtle spice kick.

Tools You’ll Need

  • A large skillet or Dutch oven.
  • A whisk for smooth sauce preparation.
  • Sharp knives for chopping.

Step-by-Step Preparation

1. Sauté Vegetables

  • Heat butter in a skillet over medium heat.
  • Add chopped onions, celery, carrots, and garlic; cook until softened.

2. Prepare the Creamy Sauce

  • Sprinkle flour over the vegetables and stir to create a roux.
  • Slowly pour in chicken broth and heavy cream, whisking to eliminate lumps.
  • Add thyme, garlic powder, and nutmeg. Simmer until thickened.

3. Combine Ingredients

  • Stir in gnocchi and cooked chicken.
  • Simmer for 10 minutes, ensuring gnocchi absorbs the flavors.
  • Fold in peas during the last 2 minutes for a pop of color and texture.

4. Serve and Garnish

  • Finish with a sprinkle of fresh parsley.
  • Pair with garlic bread or a green salad.

Creative Variations

Vegetarian Gnocchi Pot Pie

  • Replace chicken with chickpeas or tofu.
  • Use vegetable stock in the sauce.

Gluten-Free Twist

  • Opt for gluten-free gnocchi and flour alternatives like rice or almond flour.

Cheesy Bake

  • Transfer the mixture to a baking dish, top with mozzarella or cheddar, and broil until bubbly.

Serving Suggestions


FAQs

1. Can I use store-bought gnocchi?

Yes, store-bought gnocchi works wonderfully. For a fresher taste, homemade gnocchi is an excellent option.

2. How can I make this dairy-free?

Use plant-based butter and milk alternatives such as almond or oat milk. Coconut cream can also add richness.

3. Can I freeze leftovers?

Absolutely! Store in an airtight container and freeze for up to 3 months. Reheat with a splash of broth to refresh the sauce.

4. How do I thicken the sauce further?

Add a cornstarch slurry (1 tablespoon of cornstarch mixed with 2 tablespoons of water) while simmering.


Storage and Reheating

  • Storage: Refrigerate in an airtight container for up to 4 days.
  • Reheating: Warm on the stovetop over low heat with additional broth or milk to restore creaminess. Avoid boiling to maintain the gnocchi’s texture.

Internal Linking Opportunities

  1. Crockpot Potato Soup for a cozy soup pairing.
  2. Slow Cooker Baked Ziti as another one-pot dinner idea.
  3. Mashed Sweet Potatoes for a delicious side option.

Conclusion

The Gnocchi Chicken Pot Pie is a game-changer, marrying creamy textures and hearty flavors in one dish. Whether you’re seeking comfort food or exploring creative culinary twists, this recipe delivers on every level. Customize it to suit your tastes and enjoy the ultimate family-friendly meal.

Classic Salisbury Steak Recipe: A Hearty and Delicious Comfort Food

homemade Salisbury steak, beef patties with gravy, classic comfort food, Salisbury steak recipe, hearty family meal, Salisbury steak dinner

Salisbury Steak: The Comfort Food Classic

Introduction

Salisbury steak is a quintessential comfort food, loved for its hearty flavor and creamy gravy. Its origins trace back to Dr. James Salisbury, a 19th-century advocate of high-protein diets. Over time, this dish has evolved into a beloved family staple.

This article will provide a detailed recipe, creative variations, and serving suggestions for this timeless meal. Enhance your Salisbury steak experience by pairing it with dishes like Creamy Garlic Parmesan Chicken or Mashed Sweet Potatoes.


Ingredients and Tools

Key Ingredients

  • Ground beef: A blend of 80/20 fat for flavor and juiciness.
  • Binders: Breadcrumbs and egg for structure.
  • Seasonings: Worcestershire sauce, garlic powder, onion powder.
  • Gravy: Mushrooms, beef broth, and cornstarch for thickness.

Tools Needed

  • Mixing bowls, skillet, whisk, and a sharp knife.

Step-by-Step Recipe

Preparing the Patties

  1. Combine ground beef, breadcrumbs, egg, and seasonings.
  2. Shape into oval patties.
  3. Brown the patties in a skillet, setting them aside once seared.

Making the Gravy

  1. Sauté onions and mushrooms in the same skillet.
  2. Add beef broth, Worcestershire sauce, and cornstarch.
  3. Stir until thickened, then return patties to the skillet.

Simmer and Serve

Simmer for 15 minutes, ensuring the patties absorb the gravy. Serve hot with mashed potatoes or buttered noodles.


Variations and Serving Ideas

Recipe Twists

  • Vegetarian Salisbury Steak: Substitute lentils and mushrooms for beef.
  • Cheesy Salisbury Steak: Add a cheese layer during the final simmer.
  • Spicy Version: Incorporate chili flakes or jalapeños.

Perfect Pairings

  • Crockpot Potato Soup for a hearty starter.
  • Mashed potatoes or steamed vegetables for a balanced meal.
  • Garlic bread for soaking up gravy.

Storage and Reheating Tips

  • Refrigerate in an airtight container for up to three days.
  • Reheat on the stovetop, adding broth to maintain moisture.

Internal Linking Opportunities

  1. Creamy Garlic Parmesan Chicken – Perfect for garlic lovers.
  2. Mashed Sweet Potatoes – A classic side dish.
  3. Homemade French Bread Pizza – Easy comfort food for a busy weeknight.

FAQs

1. Can I use a different type of meat?

Yes, ground turkey or chicken works well as substitutes.

2. How can I make the gravy thicker?

Use more cornstarch or reduce it by simmering longer.

3. Can Salisbury steak be frozen?

Absolutely, freeze the patties and gravy separately for up to three months.


Conclusion

Salisbury steak is a meal that combines simplicity with robust flavor, making it a favorite for all occasions. Whether enjoyed traditionally or with a creative twist, its hearty essence is always a crowd-pleaser.

White Chocolate Caramel Fudge: A Creamy and Indulgent Treat

caramel fudge recipe, white chocolate fudge, caramel swirl fudge, creamy fudge recipe, easy fudge dessert, no-bake fudge recipe

White Chocolate Caramel Fudge: A Decadent Dessert Recipe

Introduction

When it comes to indulgent desserts, White Chocolate Caramel Fudge takes center stage. This creamy, rich, and beautifully swirled treat is perfect for holidays, gifting, or satisfying your sweet tooth. For those who love experimenting with desserts, this recipe offers endless customization options. Pair it with other delightful treats like Salted Caramel Rice Krispie Treats or Decadent Caramel Chocolate Cupcakes.


Ingredients and Tools

Core Ingredients

  • White chocolate chips: For a creamy and smooth fudge base.
  • Sweetened condensed milk: Adds sweetness and richness.
  • Butter: Enhances flavor and texture.
  • Caramel sauce: Swirled for a buttery, sweet contrast.
  • Vanilla extract: Elevates the overall flavor profile.

Optional Additions

  • Chopped nuts (pecans, almonds) for crunch.
  • Sea salt for a gourmet twist.

Essential Tools

  • Microwave-safe mixing bowls or double boiler.
  • Parchment-lined baking dish.
  • Rubber spatula for smooth mixing.

Step-by-Step Instructions

1. Preparing the Fudge Base

  1. Melt the white chocolate chips with sweetened condensed milk and butter.
  2. Stir the mixture until smooth and creamy.
  3. Add vanilla extract for a subtle flavor boost.

2. Creating the Caramel Swirl

  1. Pour the fudge base into the lined baking dish.
  2. Drizzle caramel sauce on top.
  3. Use a toothpick or knife to create elegant swirls.

For more tips on caramel desserts, explore Creative Caramel Desserts.

3. Setting the Fudge

  1. Refrigerate the dish for 2–4 hours or until firm.
  2. Cut into squares using a sharp knife for clean edges.

Creative Variations

Flavorful Twists

  • Salted Caramel Fudge: Sprinkle sea salt before refrigerating.
  • Nutty Delight: Mix chopped pecans or walnuts into the fudge base.
  • Chocolate-Caramel Fusion: Add a layer of milk chocolate fudge.

Serving Suggestions

  • Perfect as a dessert centerpiece.
  • Package in decorative boxes for holiday gifts.
  • Pair with coffee or tea for a delightful snack.

FAQs

1. What if my fudge doesn’t set properly?

Refrigerate it for additional time, or ensure the ingredient ratios are correct.

2. Can I freeze the fudge?

Yes, wrap it tightly in parchment paper and store it in a freezer-safe container for up to three months.

3. What substitutes can I use for condensed milk?

Evaporated milk with added sugar works as a replacement but may alter the texture.


Internal Linking Opportunities


Storage Tips

  • Store fudge in an airtight container at room temperature for up to one week.
  • For extended freshness, refrigerate or freeze in individual portions.

Conclusion

With its creamy texture and rich flavors, White Chocolate Caramel Fudge is the ultimate indulgence. Customize it with your favorite ingredients, and enjoy the perfect balance of sweet and salty in every bite!

Brownie Batter Puppy Chow: A Sweet and Crunchy Treat

chocolate puppy chow, muddy buddies recipe, brownie mix snack, sweet Chex mix, chocolate-coated cereal snack, no-bake party dessert

Brownie Batter Puppy Chow: A Sweet and Crunchy Snack

Introduction

If you’re searching for a dessert that’s equal parts nostalgic and indulgent, brownie batter puppy chow is your answer. This sweet, chocolatey treat combines the familiar crunch of Rice Chex cereal with the rich flavor of brownie batter, making it perfect for parties, movie nights, or simple snacking.

For more snackable treats, check out S’mores Jars: Bringing the Campfire to Your Kitchen or explore No Bake Peanut Butter Oatmeal Cookies.


Ingredients and Tools

Core Ingredients

  • Rice Chex cereal: The base for the perfect crunch.
  • Chocolate chips and peanut butter: The creamy coating that binds everything together.
  • Dry brownie mix: Adds the rich, decadent brownie flavor.
  • Powdered sugar: Balances the chocolate with sweetness.

Optional Additions

  • Mini marshmallows for a gooey surprise.
  • Pretzels for a salty contrast.

Tools

  • Mixing bowls, microwave-safe bowl, large resealable bags, and parchment paper.

Step-by-Step Recipe

1. Preparing the Base

  1. Pour Rice Chex cereal into a large mixing bowl.
  2. Set aside and prepare the chocolate coating.

2. Making the Chocolate Coating

  1. Combine chocolate chips and peanut butter in a microwave-safe bowl.
  2. Microwave in 30-second intervals, stirring until smooth.
  3. Add a teaspoon of vanilla extract for enhanced flavor.

3. Coating the Cereal

  1. Pour the melted chocolate mixture over the Rice Chex cereal.
  2. Gently fold until the cereal is fully coated.

4. Adding the Brownie Mix

  1. Place the coated cereal into a resealable bag.
  2. Add dry brownie mix and powdered sugar.
  3. Shake vigorously until every piece is coated.

For more chocolate-themed desserts, try Chocolate Peanut Butter Brownie Granola Bites.


Creative Variations

1. Nut-Free Option

  • Replace peanut butter with cookie butter or sunflower seed butter.

2. Dairy-Free

  • Use dairy-free chocolate chips and plant-based butter.

3. Fun Additions

  • Sprinkle rainbow-colored sprinkles for a festive touch.
  • Add chopped nuts for an extra crunch.

Storage Tips

  • Store in an airtight container at room temperature for up to a week.
  • Freeze for longer storage, but avoid adding marshmallows or garnishes before freezing.

FAQs

1. Can I use a different cereal?

Yes, other crispy cereals like Corn Chex work well.

2. How do I make it less sweet?

Reduce the amount of powdered sugar or use dark chocolate.

3. Can I add flavors to the coating?

Yes, try adding peppermint extract for a holiday twist.


Internal Linking Opportunities


Conclusion

Brownie batter puppy chow is a versatile and crowd-pleasing dessert. Whether you’re hosting a party, prepping snacks for a movie night, or looking for an easy gift idea, this recipe delivers on flavor and simplicity. Customize it with your favorite mix-ins and enjoy this delightful treat!

Cotton Candy Jello Shots: A Fun and Colorful Party Treat

colorful jello shots, cotton candy vodka shots, party jello recipes, layered gelatin shots, fun alcohol treats, cotton candy desserts

Cotton Candy Jello Shots: A Sweet and Fun Party Treat

Introduction

Looking to elevate your party game? These cotton candy jello shots are a show-stopping treat that combines playful colors, nostalgic flavors, and a kick of alcohol. Perfect for birthdays, themed parties, or any festive occasion, they are guaranteed to be a hit among guests.

For other vibrant party ideas, check out Dunkaroo Dip: A Blast from the Past or S’mores Jars: Bringing the Campfire to Your Kitchen.


Ingredients and Preparation

Core Ingredients

  • Pink Starburst gelatin or another sweet-flavored pink gelatin mix.
  • Blue Starburst gelatin for a second layer.
  • Cotton candy-flavored vodka or regular vodka.
  • Water for dissolving gelatin.
  • Cool Whip for topping and garnishing.
  • Cotton candy for decoration.

Optional Ingredients

  • Light corn syrup and sprinkles to coat the rims of the shot glasses.
  • Food coloring to intensify the layers if needed.

Tools Needed

  • Small plastic shot glasses or molds.
  • Whisk, mixing bowls, and a saucepan.

Step-by-Step Instructions

1. Prepare the Pink Gelatin Layer

  1. Boil one cup of water and dissolve the pink gelatin mix completely.
  2. Add ½ cup of cotton candy vodka and stir.
  3. Pour into the shot glasses, filling them halfway, and refrigerate until set.

2. Prepare the Blue Gelatin Layer

  1. Repeat the boiling and dissolving process with the blue gelatin.
  2. Stir in ½ cup of vodka and let it cool slightly before layering on top of the pink gelatin.
  3. Chill again until fully set.

3. Add Decorations

  • Top each shot with a dollop of Cool Whip.
  • Add a pinch of cotton candy just before serving to avoid melting.

For more party-friendly recipes, explore No Bake Peanut Butter Oatmeal Cookies or S’mores Crunchwraps.


Creative Variations

Alcohol-Free Option

  • Swap vodka for cotton candy-flavored soda or lemonade.

Spicy and Sweet

  • Add a dash of chili powder to the blue gelatin for a bold twist.

Alternative Flavors

  • Try layering flavors like watermelon or lemon-lime for a unique take.

FAQs

1. How long do jello shots last?

Jello shots can last up to 3 days in the fridge. However, it’s best to garnish them closer to serving.

2. Can I freeze jello shots?

No, freezing alters the gelatin’s texture.

3. How can I adjust the alcohol content?

Reduce the vodka slightly and replace it with cold water to make them less strong.


Internal Linking Opportunities


Conclusion

Cotton candy jello shots are as fun to make as they are to enjoy. With their bright colors and nostalgic flavors, they are sure to delight guests at your next gathering. Experiment with layers and garnishes to match your party theme and create a memorable experience for everyone.