Classic Deli Mac Salad Recipe: A Creamy and Delicious Side Dish

macaroni salad recipe, deli-style pasta salad, creamy macaroni side dish, classic pasta salad, best deli mac salad

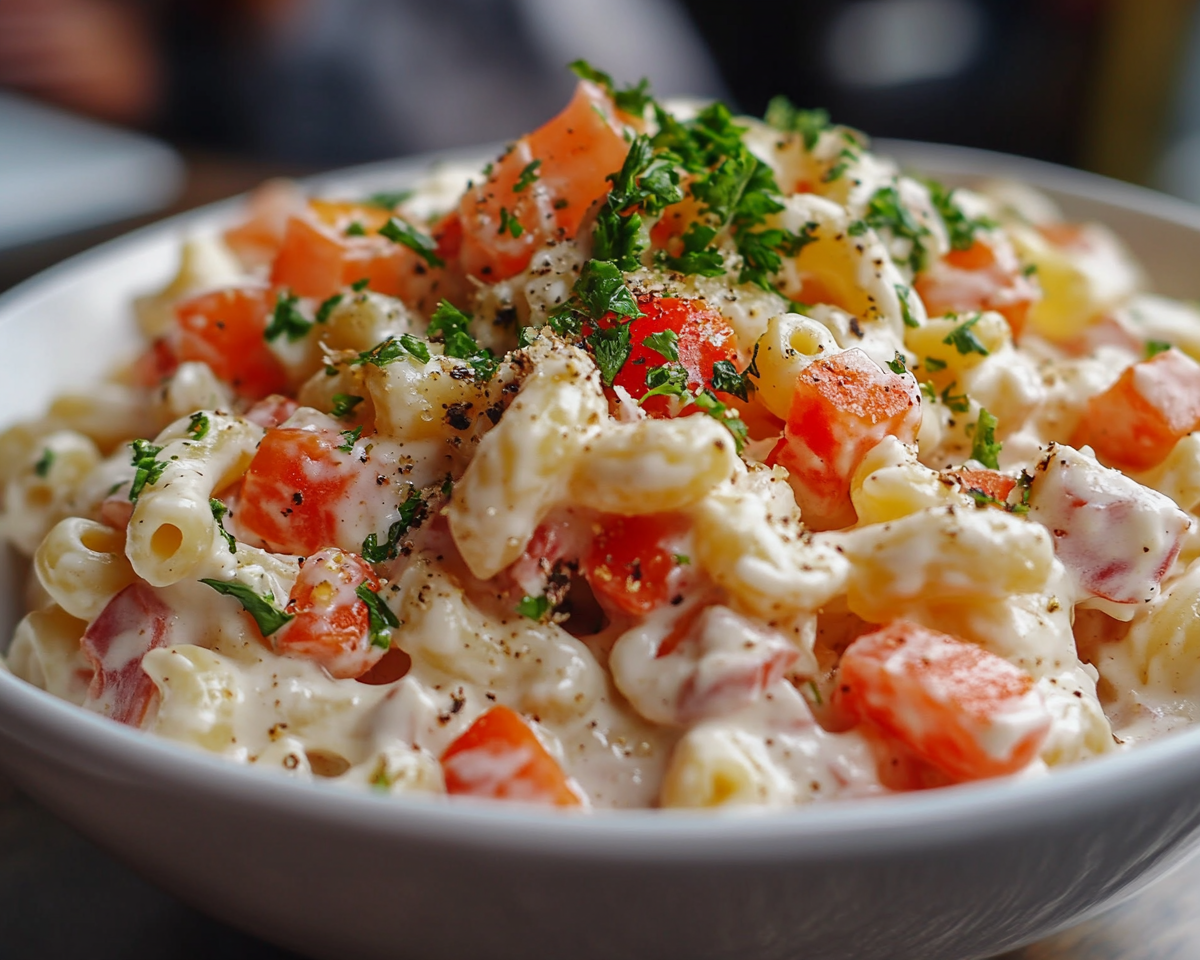
Deli Mac Salad: A Classic Recipe for All Occasions

Deli Mac Salad is a timeless dish that graces picnics, potlucks, and family dinners. Its creamy texture, vibrant flavors, and endless customization options make it a favorite across generations. In this guide, we’ll walk you through creating the perfect deli mac salad, sharing tips, variations, and serving suggestions.


The Allure of Deli Mac Salad

  • Perfect Side Dish: Complements a variety of main courses, from barbecue to roasted chicken.
  • Quick and Easy: Requires simple ingredients and minimal preparation.
  • Customizable: Add your favorite ingredients for a personal twist.

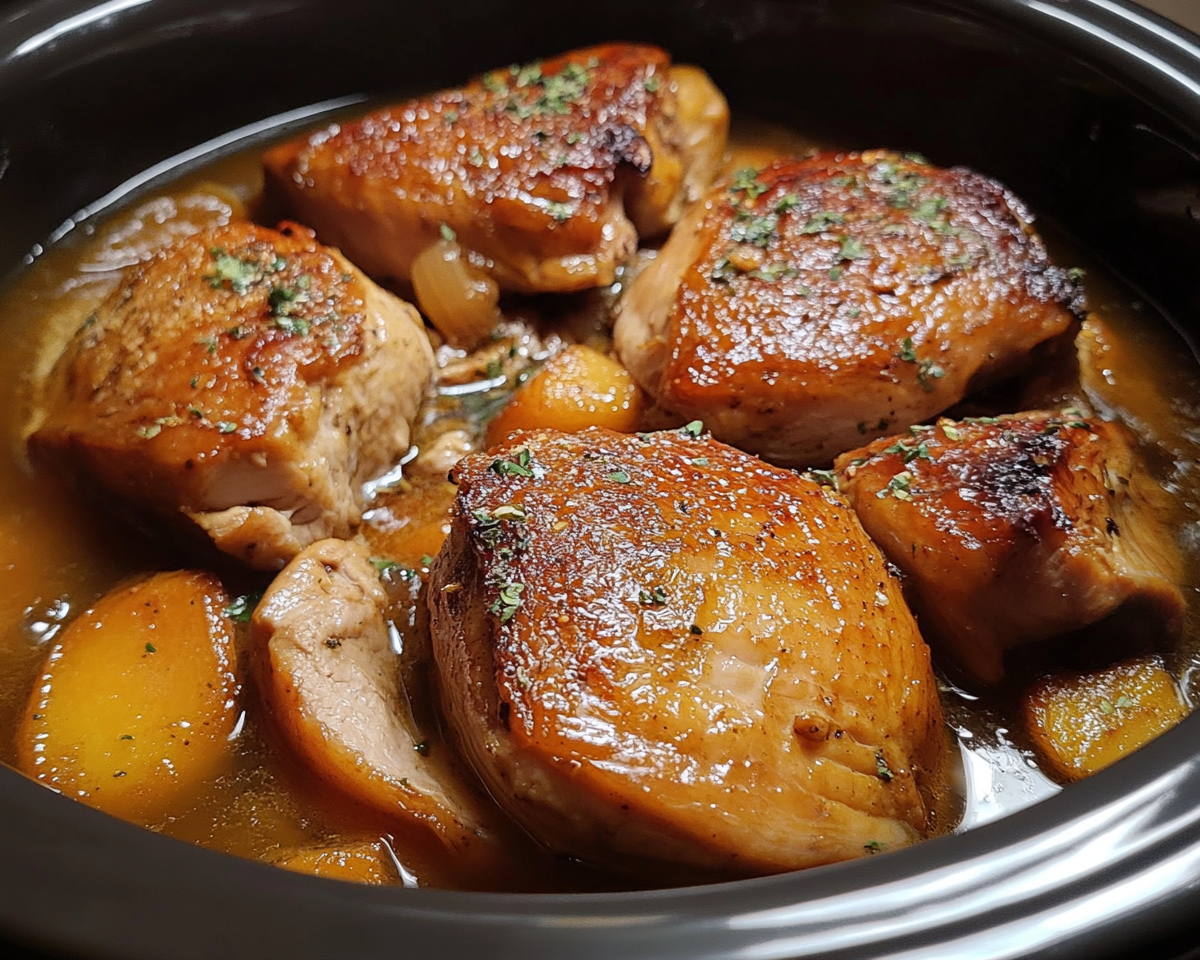
Serve this salad alongside comforting dishes like Crockpot Potato Soup or Slow Cooker Baked Ziti for a complete meal.


Ingredients for the Perfect Deli Mac Salad

Pasta Base

  • Elbow macaroni (or your preferred shape).

Creamy Dressing

  • Mayonnaise or Greek yogurt.
  • Vinegar or lemon juice.
  • Sugar for a hint of sweetness.
  • Salt, pepper, and mustard.

Add-Ins

  • Diced celery, carrots, and onions.
  • Optional proteins like diced ham or shredded chicken.

Equipment You’ll Need

  • Mixing Bowls: For combining dressing and pasta.
  • Colander: For draining pasta.
  • Whisk: To achieve a smooth dressing.

Step-by-Step Recipe

  1. Cook the Pasta
    • Boil macaroni until al dente, then rinse with cold water.
  2. Prepare the Dressing
    • Combine mayonnaise, vinegar, mustard, sugar, and seasonings.
  3. Assemble the Salad
    • Mix pasta, dressing, and add-ins in a large bowl.
  4. Chill Before Serving
    • Refrigerate for at least an hour to let the flavors meld.

Explore more salads like Ultimate Pasta Salad for additional inspiration.


Tips and Tricks for the Best Deli Mac Salad

  • Avoid Soggy Pasta: Cook pasta al dente to maintain texture.
  • Balance Flavors: Taste and adjust the dressing for tanginess or sweetness.
  • Fresh is Best: Use fresh vegetables and high-quality mayonnaise.

Creative Variations

  • Healthier Option: Replace mayonnaise with Greek yogurt.
  • Spicy Twist: Add diced jalapeños or a pinch of cayenne pepper.
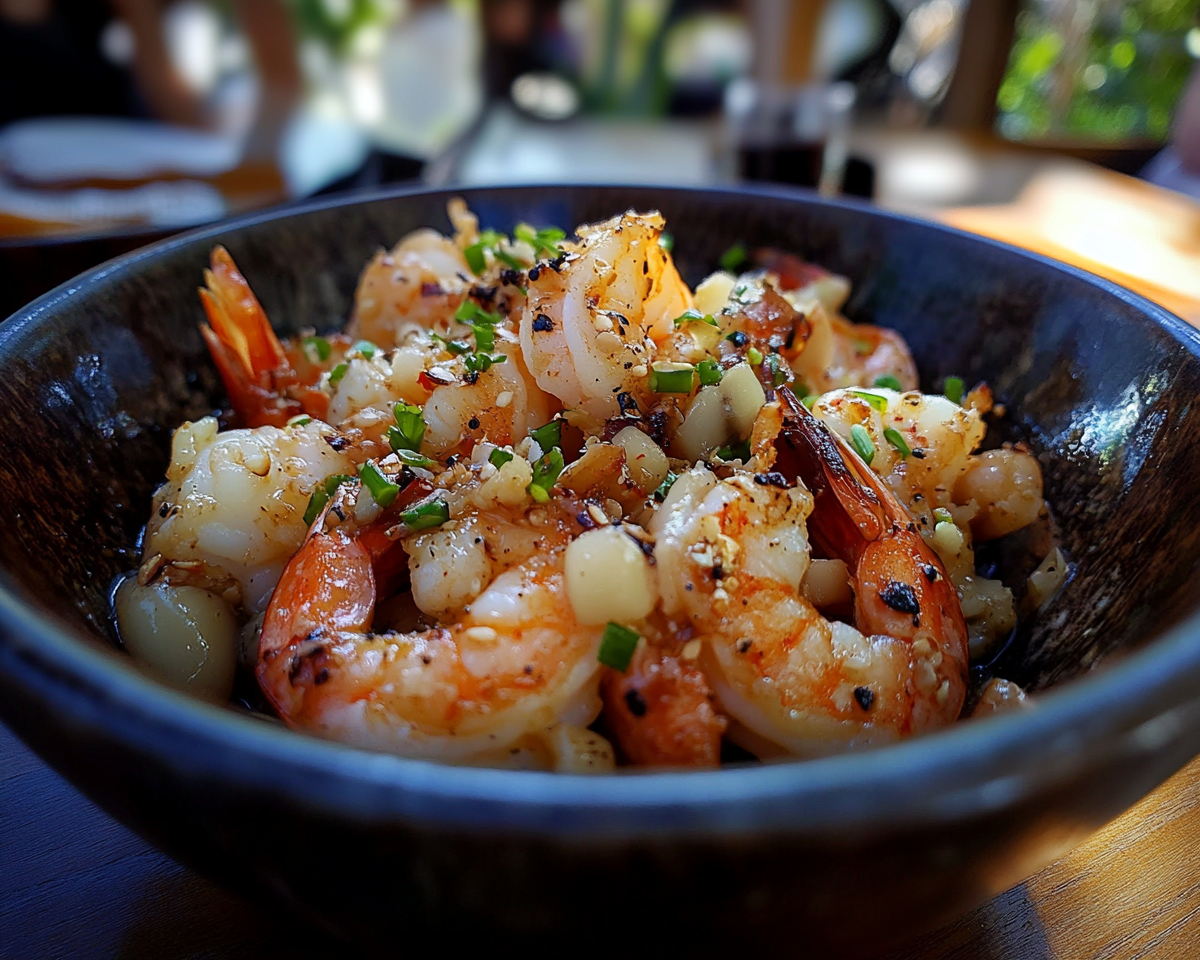
  • Seafood Delight: Include cooked shrimp or crab meat.

FAQs

How Long Can It Be Stored?

Store in the refrigerator for up to 3 days.

Can I Use Gluten-Free Pasta?

Absolutely! Gluten-free options work well.

What Are Other Add-Ins to Try?

Try peas, hard-boiled eggs, or pickles for added flavor and texture.


Internal Linking Opportunities


Conclusion

With its creamy texture and endless variations, Deli Mac Salad is a dish worth mastering. Whether served as a side or a main, it’s sure to please any crowd. Use this recipe as a starting point and let your creativity shine!

Classic Meatloaf with a Tomato Beef Sauce: A Hearty Comfort Food Recipe

tomato sauce meatloaf, beef and tomato meatloaf, classic meatloaf recipe, meatloaf dinner ideas, homemade meatloaf with sauce

Meatloaf with a Tomato Beef Sauce: A Hearty Classic

This article on Meatloaf with a Tomato Beef Sauce offers a step-by-step guide to creating a flavorful and comforting dish. Combining the rich taste of ground beef and the tanginess of a perfectly seasoned tomato sauce, this recipe is a timeless family favorite.


Why This Recipe is a Must-Try

  • Comfort in Every Bite: Meatloaf is synonymous with home-cooked comfort.
  • Simple Ingredients, Rich Flavor: With basic pantry staples, you can create a dish bursting with taste.
  • Customizable Variations: Add your personal touch with different seasonings or ingredients.

Pair this dish with sides like Crockpot Potato Soup or Slow Cooker Baked Ziti for a hearty meal.


Ingredients You’ll Need

For the Meatloaf:

  • Ground beef: 85% lean is ideal.
  • Breadcrumbs: For binding and texture.
  • Eggs: Acts as a binding agent.
  • Seasonings: Garlic, onion, parsley, salt, and pepper.

For the Tomato Beef Sauce:

  • Tomatoes: Crushed or diced.
  • Ground beef: Adds richness to the sauce.
  • Seasonings: Basil, oregano, and a pinch of sugar for balance.

Equipment to Have Ready

  • Mixing bowls: For combining meatloaf ingredients.
  • Loaf pan: Ensures even cooking.
  • Saucepan: For preparing the tomato beef sauce.

Step-by-Step Recipe

  1. Prepare the Meatloaf Mix
    • Combine ground beef, breadcrumbs, eggs, and seasonings.
    • Shape into a loaf and place in a greased pan.
  2. Make the Tomato Beef Sauce
    • Sauté garlic and onions until fragrant.
    • Add ground beef and cook until browned.
    • Stir in tomatoes, herbs, and simmer for 20 minutes.
  3. Bake the Meatloaf
    • Preheat oven to 375°F.
    • Pour half the sauce over the meatloaf.
    • Bake for 45 minutes, adding more sauce halfway through.
  4. Rest and Serve
    • Let the meatloaf rest for 10 minutes before slicing.
    • Serve with additional sauce on the side.

Variations to Try

  • Spicy Meatloaf: Add chili flakes or hot sauce to the mixture.
  • Vegetable-Enriched: Incorporate shredded carrots or zucchini.
  • Herb-Infused: Mix fresh herbs like thyme or rosemary into the meatloaf.

Explore more creative dishes like No-Peek Beef Tips for additional comfort food ideas.


FAQs

Can I use turkey or chicken instead of beef?

Yes, ground turkey or chicken works as a lean alternative.

How can I make the sauce less tangy?

Adding a pinch of sugar balances the acidity of the tomatoes.

What are some side dishes to serve with this?

Mashed potatoes, green beans, or garlic bread are great options.


Internal Linking Opportunities


Conclusion

Meatloaf with a Tomato Beef Sauce is a dish that brings people together. Its rich flavors and customizable nature make it a go-to for family dinners. Pair it with comforting sides and enjoy a meal that feels like a warm embrace.

Perfect Roast Beef Tenderloin Recipe: Tender, Juicy, and Full of Flavor

beef tenderloin roast, tenderloin recipe, best beef tenderloin, oven-roasted beef tenderloin, easy tenderloin recipe, juicy beef tenderloin

Roast Beef Tenderloin: A Recipe for Perfection

Roast Beef Tenderloin is the pinnacle of fine dining, offering unparalleled tenderness and a rich, savory flavor. Preparing this dish at home might seem intimidating, but with the right guidance and techniques, it can be both manageable and incredibly rewarding.


Why Choose Roast Beef Tenderloin?

  • Unmatched Tenderness: Known as the most tender cut of beef.
  • Versatility: Perfect for celebrations or intimate dinners.
  • Flavorful Simplicity: Requires minimal ingredients for a luxurious taste.

Pair it with sides like Crockpot Potato Soup or Slow Cooker Baked Ziti for a complete meal.


Ingredients for Success

Core Ingredients:

  • Beef Tenderloin: Whole or trimmed cut, typically 2-3 pounds.
  • Seasonings: Kosher salt, cracked black pepper, garlic, rosemary.
  • Fat: Olive oil or unsalted butter for a rich sear.

Optional Additions:

  • Dijon mustard for a crusty glaze.
  • Fresh thyme or parsley for garnish.

Tools You’ll Need

  • Roasting pan with rack.
  • Sharp knife for trimming.
  • Meat thermometer for accurate doneness.

Step-by-Step Recipe

1. Prepare the Tenderloin

  • Trim the tenderloin of excess fat and silver skin.
  • Tie the tenderloin to ensure even cooking.

2. Season Generously

  • Rub olive oil all over the beef.
  • Apply a seasoning mix of salt, pepper, minced garlic, and rosemary.

3. Roast to Perfection

  • Preheat the oven to 425°F.
  • Place the tenderloin on a rack and roast until internal temperature reaches your preferred doneness (e.g., 130°F for medium-rare).

For complementary recipes, check out No-Peek Beef Tips for another hearty beef dish.


Variations

  • Herb-Crusted Beef Tenderloin: Add a breadcrumb and herb mix.
  • Peppercorn Crusted: Coat with cracked peppercorns for a bold flavor.
  • Garlic Butter Glaze: Baste with melted garlic butter while roasting.

FAQs

1. What is the ideal internal temperature for tenderloin?

130°F for medium-rare, 140°F for medium.

2. Can I prepare this dish ahead of time?

Yes, you can season and refrigerate the tenderloin up to 24 hours before cooking.

3. What wine pairs well with beef tenderloin?

A bold red wine like Cabernet Sauvignon complements the richness of the beef.


Internal Linking Opportunities


Conclusion

Cooking Roast Beef Tenderloin is a culinary journey worth taking. With its luxurious flavor and tender texture, this dish will elevate any dining experience. Whether for a special occasion or simply indulging in gourmet flavors at home, mastering this recipe is an achievement to savor.

Hawaiian Garlic Shrimp Recipe: Bold, Flavorful, and Easy to Make

garlic butter shrimp, Hawaiian shrimp recipe, shrimp truck garlic shrimp, island-style garlic shrimp, tropical shrimp dish, easy garlic shrimp recipe

Hawaiian Garlic Shrimp: A Taste of the Islands

Hawaiian Garlic Shrimp is a flavorful dish that embodies the spirit of island cuisine. Known for its rich garlic butter sauce and tender shrimp, this recipe is a staple of Hawaii’s shrimp truck culture. Whether served over a bed of rice or paired with tropical sides, this dish promises to transport your taste buds to paradise.


Why Hawaiian Garlic Shrimp?

Hawaiian Garlic Shrimp is cherished for its:

  • Rich Flavor: The perfect blend of garlic, butter, and shrimp.
  • Simplicity: Few ingredients but bursting with taste.
  • Versatility: Great as a main dish or a party favorite.

For other tropical inspirations, check out Embracing the Aloha Spirit with Hawaiian Banana Bread or Discovering Creamy Garlic Parmesan Chicken.


Ingredients

Core Ingredients:

  • Shrimp: Shell-on, large shrimp for flavor.
  • Garlic: Freshly minced for robust aroma.
  • Butter: Provides a rich and creamy texture.
  • Seasonings: Salt, paprika, and optional chili flakes.
  • Lemon Juice: Adds a refreshing zest.

Optional Add-Ins:

  • Fresh parsley for garnish.
  • Coconut milk for a creamy variation.

Tools You’ll Need

  • Skillet or cast iron pan.
  • Mixing bowls for marinades.
  • Tongs for handling shrimp.

Step-by-Step Recipe

1. Prep the Shrimp

  • Clean and devein shrimp, leaving shells on for added flavor.

2. Marinate

  • Mix shrimp with garlic, salt, paprika, and chili flakes. Let it sit for 15-20 minutes.

3. Cook

  • Heat butter in a skillet over medium heat. Add shrimp and cook until pink.
  • Squeeze fresh lemon juice over the shrimp and garnish with parsley.

Explore more versatile dishes like Slow Cooker Baked Ziti for complementary sides.


Variations

  • Spicy Hawaiian Garlic Shrimp: Add sriracha or red chili flakes for heat.
  • Creamy Shrimp: Stir in coconut milk towards the end of cooking.
  • Grilled Garlic Shrimp: Marinate and grill for a smoky flavor.

FAQs

1. Can I use pre-cooked shrimp?

Yes, but reduce cooking time to avoid overcooking.

2. How do I store leftovers?

Refrigerate in an airtight container for up to three days.

3. Can this be made dairy-free?

Replace butter with olive oil or a vegan alternative.


Internal Linking Opportunities


Conclusion

Hawaiian Garlic Shrimp is a must-try recipe that combines the essence of the islands with the simplicity of home cooking. Whether you’re looking for a quick dinner option or a show-stopping dish for gatherings, this recipe is sure to impress. Let the flavors of garlic, butter, and fresh shrimp transport you to Hawaii.

How to Cook the Perfect Crockpot Turkey: Juicy, Tender, and Effortless

slow cooker turkey, easy crockpot turkey recipe, turkey in a slow cooker, moist turkey recipe, crockpot turkey breast, tender slow-cooked turkey

Crockpot Turkey: The Easiest Way to Prepare Tender and Juicy Turkey

Using a crockpot to cook turkey is an excellent way to ensure a tender and flavorful dish with minimal effort. Whether you’re preparing a Thanksgiving feast or a weeknight dinner, crockpot turkey is versatile and delicious.


Why Choose Crockpot Turkey?

  • Time-Saving: Set it and forget it while the slow cooker does the work.
  • Retains Moisture: The closed environment of the crockpot keeps the turkey moist and juicy.
  • Versatility: Perfect for whole turkeys, turkey breasts, or shredded turkey for tacos and sandwiches.

Pair this dish with sides like Crockpot Potato Soup or Slow Cooker Baked Ziti for a hearty meal.


Ingredients

Core Ingredients:

  • Turkey: Whole turkey, turkey breast, or turkey thighs.
  • Aromatics: Onion, garlic, and fresh herbs like rosemary and thyme.
  • Liquid: Chicken or turkey broth to prevent drying out.

Optional Add-Ins:

  • Carrots and celery for added flavor.
  • Cranberries or apples for a festive touch.

Tools You’ll Need

  • A 6-quart or larger crockpot.
  • Meat thermometer for precise doneness.
  • Cutting board and carving knife.

Step-by-Step Recipe

1. Prep the Turkey

  • Clean and pat dry the turkey. Remove any giblets if using a whole bird.
  • Season generously with salt, pepper, and preferred spices.

2. Add Ingredients to the Crockpot

  • Place onions, garlic, and herbs at the base of the crockpot.
  • Lay the turkey on top and pour in the broth.

3. Cook

  • Cover and set the crockpot to low for 6-8 hours or until the internal temperature reaches 165°F (75°C).

4. Rest and Serve

  • Let the turkey rest for 10 minutes before carving.

For more crockpot inspiration, explore Slow Cooker Chicken and Gravy.


Variations

  • Thanksgiving Turkey: Add a glaze of cranberry sauce and orange zest.
  • BBQ Turkey: Shred the turkey and mix with BBQ sauce for sandwiches.
  • Herb Butter Turkey: Rub the turkey with a blend of butter, parsley, and garlic for added richness.

FAQs

1. Can I use frozen turkey in a crockpot?

No, thaw the turkey completely to ensure even cooking and safety.

2. How do I make the turkey skin crispy?

Transfer the cooked turkey to an oven at 400°F (200°C) for 10 minutes.

3. What’s the best way to store leftovers?

Refrigerate in airtight containers for up to 4 days, or freeze for up to 3 months.


Internal Linking Opportunities


Conclusion

Cooking turkey in a crockpot guarantees moist, flavorful results without the stress. Whether for a special occasion or a casual dinner, this method simplifies your time in the kitchen while delivering delicious results.