Table of Contents
Slow Cooker Baked Ziti – So Easy & Extra Cheesy! 🧀
Introduction
Did you know that over 75% of home cooks report feeling stressed about weeknight dinners? That’s where the magic of a Slow Cooker Baked Ziti comes in. Welcome! Today we’re diving into a deliciously comforting Slow Cooker Baked Ziti Recipe that brings warmth, flavor, and family togetherness to your table. Perfect for weeknights or gatherings, this recipe is a must-try for anyone who loves the essence of Italian cuisine. Slow Cooker Baked Ziti is not only rich in flavor but easy to make, leaving you with more time to spend with loved ones. Imagine coming home to the aroma of bubbling tomato sauce, melted cheese, and perfectly tender pasta—all without hovering over the stove. This dish is the ultimate crowd-pleaser, combining the classic, nostalgic flavors of baked ziti with the unparalleled convenience of your slow cooker. Let’s get ready to transform simple ingredients into a spectacular meal that feels like a hug in a bowl.
Ingredients List
Gather these simple, flavorful ingredients. For the best results, use high-quality, fresh items when possible.
- 1 pound (16 oz) ziti pasta – The star of the show! Use penne or rigatoni as a perfect substitute if needed. Look for a pasta with ridges to hold onto that glorious sauce.
- 1 pound ground Italian sausage – Provides a savory, slightly spicy depth. For a milder flavor, use ground beef or turkey. For a vegetarian option, use plant-based crumbles or sautéed mushrooms.
- 1 medium yellow onion, finely diced – Adds a sweet, aromatic base.
- 3-4 cloves garlic, minced – For that essential pungent, fragrant kick.
- 1 (24 oz) jar of your favorite marinara sauce – Choose a robust, herby sauce. The rich, tangy tomato base is the soul of the dish.
- 1 (15 oz) container ricotta cheese – Creamy, slightly sweet, and luxurious. Whole milk ricotta offers the best texture and flavor.
- 1 large egg – Helps bind the ricotta layer, giving it structure.
- 2 cups shredded mozzarella cheese, divided – The gooey, stretchy cheese pull we all dream about. Part-skim works, but whole milk melts more decadently.
- 1 cup freshly grated Parmesan cheese, divided – Adds a salty, nutty complexity. Please grate it fresh—the pre-grated stuff won’t melt as smoothly.
- 1 teaspoon dried oregano – Earthy, classic Italian flavor.
- 1/2 teaspoon crushed red pepper flakes (optional) – For a gentle, warming heat.
- Salt and freshly ground black pepper to taste
- Fresh basil or parsley for garnish – A pop of color and fresh herbal brightness to finish.
Timing
Compared to traditional oven-baked ziti, which requires active prep, boiling pasta separately, and 30-45 minutes of baking, this slow cooker method saves you about 15-20 minutes of hands-on work. The real win is the passive cooking time—you can set it and focus on other tasks, making it a true weeknight hero.
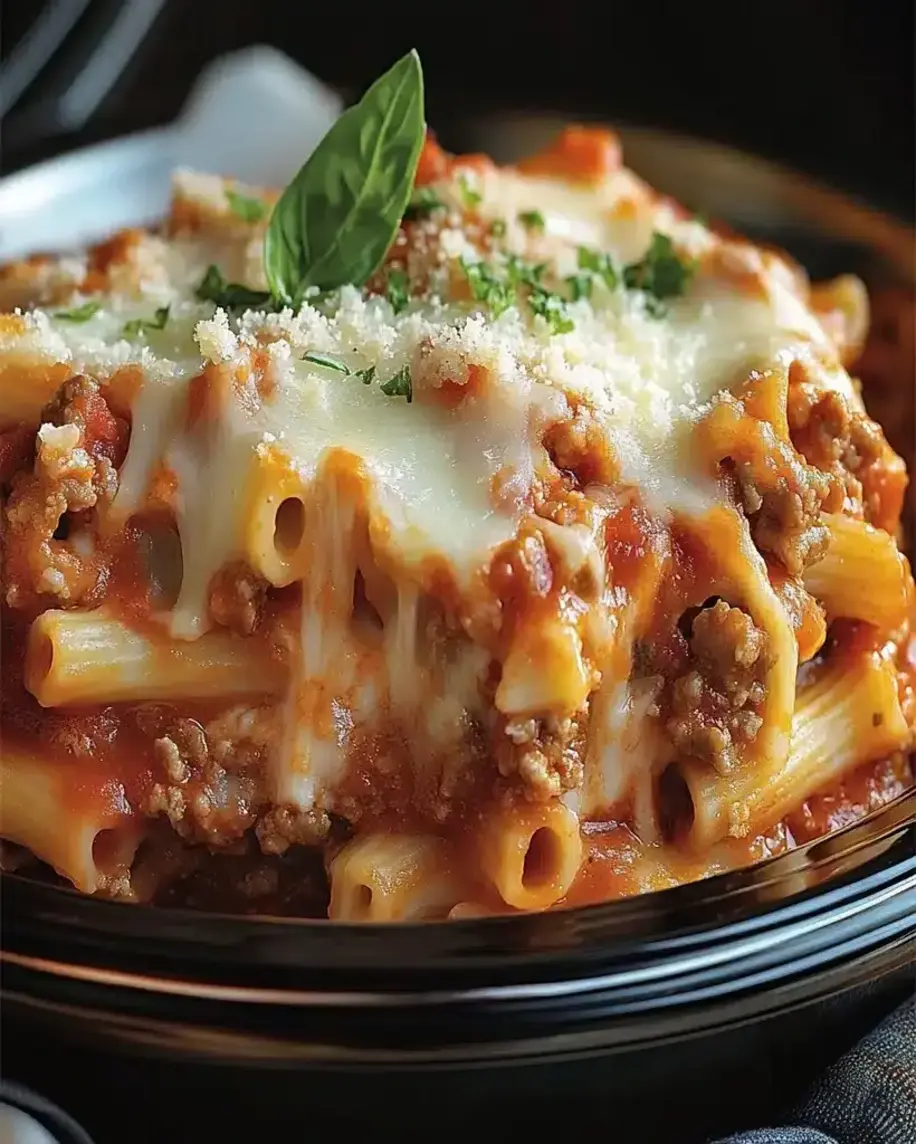
A bubbling, cheesy, and irresistible Slow Cooker Baked Ziti ready to serve.
Step-by-Step Instructions
Step 1: Prepare Your Ingredients
Start by dicing your onion and mincing the garlic—this is your flavor foundation. In a large skillet over medium-high heat, brown the ground Italian sausage (or your chosen protein) along with the onion. Cook until the meat is no longer pink and the onions are soft and translucent, about 7-8 minutes. In the last minute, add the minced garlic and stir until fragrant. Drain any excess grease. While the meat cooks, in a medium bowl, combine the ricotta cheese, one beaten egg, 1 cup of the mozzarella, 1/2 cup of the Parmesan, dried oregano, and a pinch of salt and pepper. Mix until smooth and well-combined. This creamy mixture will create luscious pockets throughout the ziti.
Step 2: Layer the Slow Cooker
This is where the magic happens! Lightly grease the inside of your slow cooker with cooking spray or a bit of olive oil. You do not need to pre-cook the ziti pasta. Spread about 1/2 cup of the marinara sauce on the bottom. Add a third of the dry ziti pasta in an even layer. Top with half of the cooked meat mixture, then dollop half of the ricotta cheese mixture over the meat. It doesn’t need to be perfect—just spoon it in small mounds. Pour about 1 cup of sauce over the ricotta. Repeat the layers: pasta, remaining meat, remaining ricotta, and another cup of sauce. Finish with a final layer of the remaining dry pasta. Pour the rest of the sauce over the top, ensuring all the pasta is moistened. This is crucial to prevent dry, crunchy pasta.
Step 3: Cook and Finish
Place the lid securely on your slow cooker. Cook on HIGH for 2 hours or on LOW for 4 hours. About 15 minutes before the cooking time is complete, carefully remove the lid (watch for steam!). Sprinkle the remaining 1 cup of mozzarella and 1/2 cup of Parmesan cheese evenly over the top. Replace the lid and let it cook for the final 15 minutes, or until the cheese is completely melted and bubbly. If you prefer a golden-brown top, you can transfer the entire insert to a preheated broiler for 2-3 minutes, but this is optional.
Step 4: Serve and Enjoy
Turn off the slow cooker and let the ziti sit for 10-15 minutes before serving. This resting time allows the sauce to thicken slightly and makes serving much easier. Garnish with fresh, torn basil or chopped parsley and an extra sprinkle of red pepper flakes if you like heat. Use a large spoon to scoop down to the bottom, getting all those beautiful layers in each serving.
Nutritional Information
The following is an approximate nutritional breakdown per serving (based on 8 servings):
- Calories: 520 kcal
- Total Fat: 24g
- Saturated Fat: 12g
- Cholesterol: 95mg
- Sodium: 980mg
- Total Carbohydrates: 45g
- Dietary Fiber: 3g
- Sugars: 6g
- Protein: 30g
Healthier Alternatives
Love the flavor but want to lighten it up? These swaps maintain deliciousness while boosting nutrition:
- Pasta: Use whole wheat, chickpea, or lentil pasta for added fiber and protein.
- Protein: Swap Italian sausage for lean ground turkey or chicken. Season well with fennel seeds, garlic powder, and Italian herbs to mimic the sausage flavor.
- Cheese: Opt for part-skim ricotta and mozzarella, and reduce the Parmesan by half. You can also blend low-fat cottage cheese until smooth as a ricotta substitute.
- Sauce: Choose a marinara sauce with no added sugar and lower sodium. You can also blend roasted vegetables like carrots and bell peppers into the sauce for extra nutrients.
- Boost Veggies: Add a layer of sautéed spinach, zucchini ribbons, or diced bell peppers between the pasta layers.
Serving Suggestions
This hearty ziti is a complete meal on its own, but it pairs beautifully with a few simple sides:
- Garlic Bread or Breadsticks: For soaking up every last bit of sauce.
- Crisp Green Salad: A simple arugula or romaine salad with a lemony vinaigrette cuts through the richness.
- Roasted Vegetables: Asparagus, broccoli, or Brussels sprouts add color and a healthy element.
- A Light Italian Wine: A Chianti or Sangiovese complements the tomato and herb flavors perfectly.
Common Mistakes
- Using Pre-Cooked Pasta: This will result in mushy ziti. The dry pasta cooks perfectly in the sauce, absorbing flavor and retaining a better texture.
- Not Moistening All the Pasta: Ensure every piece of dry pasta gets touched by sauce before cooking. Dry spots won’t cook properly.
- Overcrowding/Using the Wrong Size: Use a 6-quart or larger slow cooker. A smaller one won’t allow for proper layering and even cooking.
- Lifting the Lid Too Often: This releases heat and steam, significantly increasing cooking time. Trust the process!
- Skipping the Rest Time: Serving immediately will make it soupy. Letting it sit allows the sauce to set.
Storing Tips
- Refrigeration: Cool completely and store in an airtight container for up to 4 days.
- Freezing: This dish freezes exceptionally well. Portion into freezer-safe containers or bags for up to 3 months. Thaw overnight in the fridge before reheating.
- Reheating: Reheat individual portions in the microwave with a splash of water or broth to prevent drying out. For larger amounts, reheat in a covered baking dish at 350°F until warmed through (about 20-30 minutes).
Conclusion
This Slow Cooker Baked Ziti recipe is your new