Table of Contents
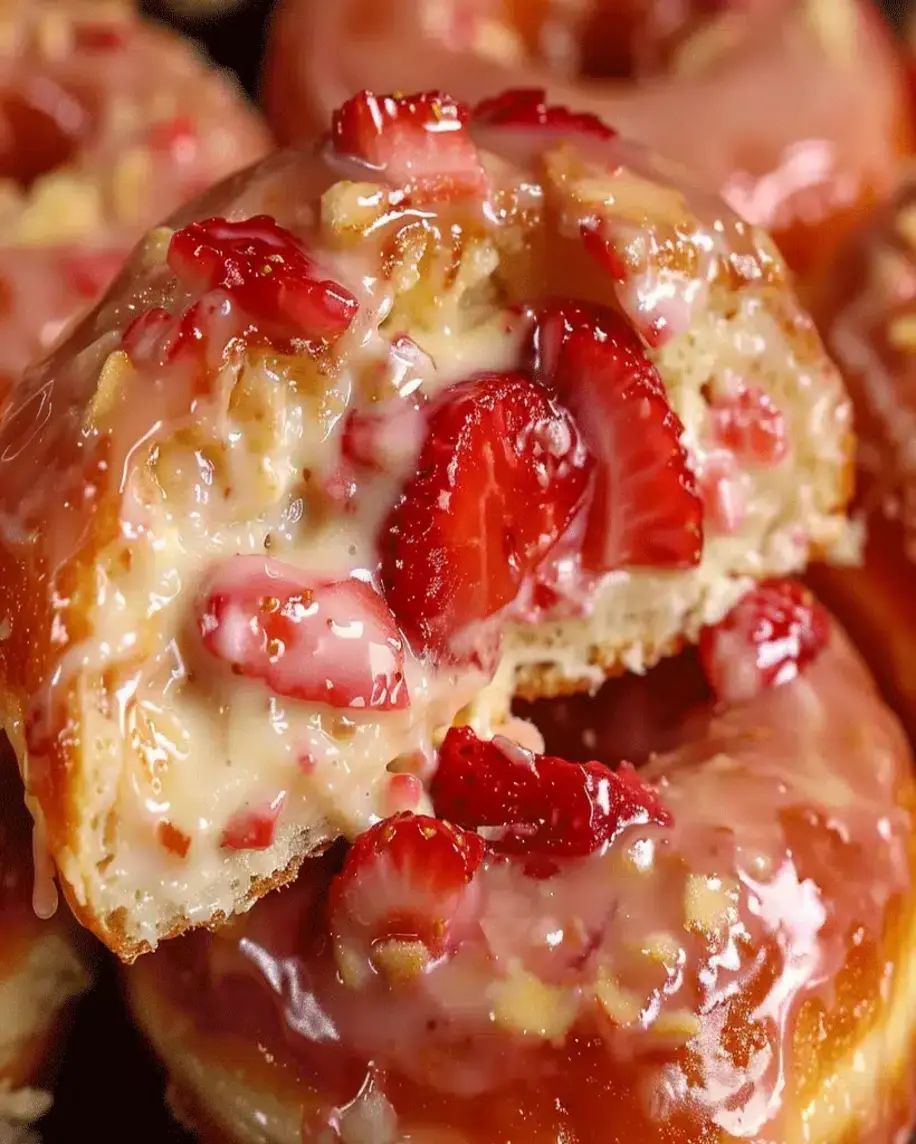
Strawberry Cheesecake Stuffed Donuts – The Ultimate Sweet Treat!
Introduction
Did you know that the global donut market is projected to reach a staggering $53.4 billion by 2028? This surge is driven by our collective love for innovative, indulgent treats that combine classic flavors in new ways. Today, I’m answering that deep-seated craving with a recipe that merges two iconic desserts into one unforgettable experience: Strawberry Cheesecake Stuffed Donuts. Hello, donut lovers and cheesecake fans! I’m thrilled to introduce you to a treat that’s as irresistible as it sounds. These donuts are the perfect mix of a light, fluffy, yeasted dough with a rich, creamy, and tangy strawberry cheesecake center. If you’re craving something special for breakfast, dessert, or an anytime snack, these indulgent delights are for you! Let’s dive into this must-try recipe for Strawberry Cheesecake Stuffed Donuts that’s guaranteed to have everyone asking for more!
Ingredients List
Gather these high-quality ingredients for the best results. The sensory details matter—using real vanilla and fresh berries makes a world of difference.
For the Donut Dough:
- 2 ¼ teaspoons (1 packet) active dry yeast: The leavening agent for a light, airy crumb. It should foam when activated with warm milk.
- ¾ cup warm whole milk (110°F): Creates a tender dough. Substitution: Almond or oat milk for a dairy-free version.
- ¼ cup granulated sugar: For sweetness and to feed the yeast.
- 1 large egg, at room temperature: Adds richness and structure.
- ¼ cup unsalted butter, melted and cooled: For a soft, flavorful dough. You’ll smell its rich, nutty aroma.
- 1 teaspoon pure vanilla extract: The floral, warm notes are essential.
- 3 ¼ to 3 ½ cups all-purpose flour: Start with 3 ¼ cups and add more as needed for a soft, slightly tacky dough.
- ½ teaspoon salt: Balances all the sweetness.
For the Strawberry Cheesecake Filling:
- 8 oz (226g) full-fat cream cheese, softened: The star! Full-fat ensures a luxuriously creamy, tangy center that holds its shape.
- ⅓ cup powdered sugar, sifted: Dissolves easily for a smooth filling without graininess.
- 1 teaspoon vanilla extract: Echoes the flavor in the dough.
- ½ cup finely chopped fresh strawberries: Provides bright, juicy bursts of flavor and a gorgeous pink hue. Substitution: High-quality strawberry jam or preserves (about ⅓ cup) if fresh aren’t available.
- 1 tablespoon strawberry jam (optional): Intensifies the strawberry flavor and color.
For Frying & Coating:
- 4-6 cups neutral oil (vegetable, canola, or peanut): For frying. You need enough to submerge the donuts 2-3 inches deep.
- 1 ½ cups granulated sugar: For the classic sugary coating.
- 1 tablespoon ground cinnamon (optional): Adds a warm, spiced note to the coating.
Timing
30 minutes
(Active hands-on time)
15 minutes
(Frying in batches)
2 hours 15 minutes
(Includes proofing)
While the total time is around 2 hours and 15 minutes, most of that is hands-off proofing time, allowing the yeast to work its magic. Compared to average cake donut recipes, this yeasted version requires proofing but rewards you with an incomparably light, bakery-style texture. Plan accordingly for a weekend treat or a special brunch!
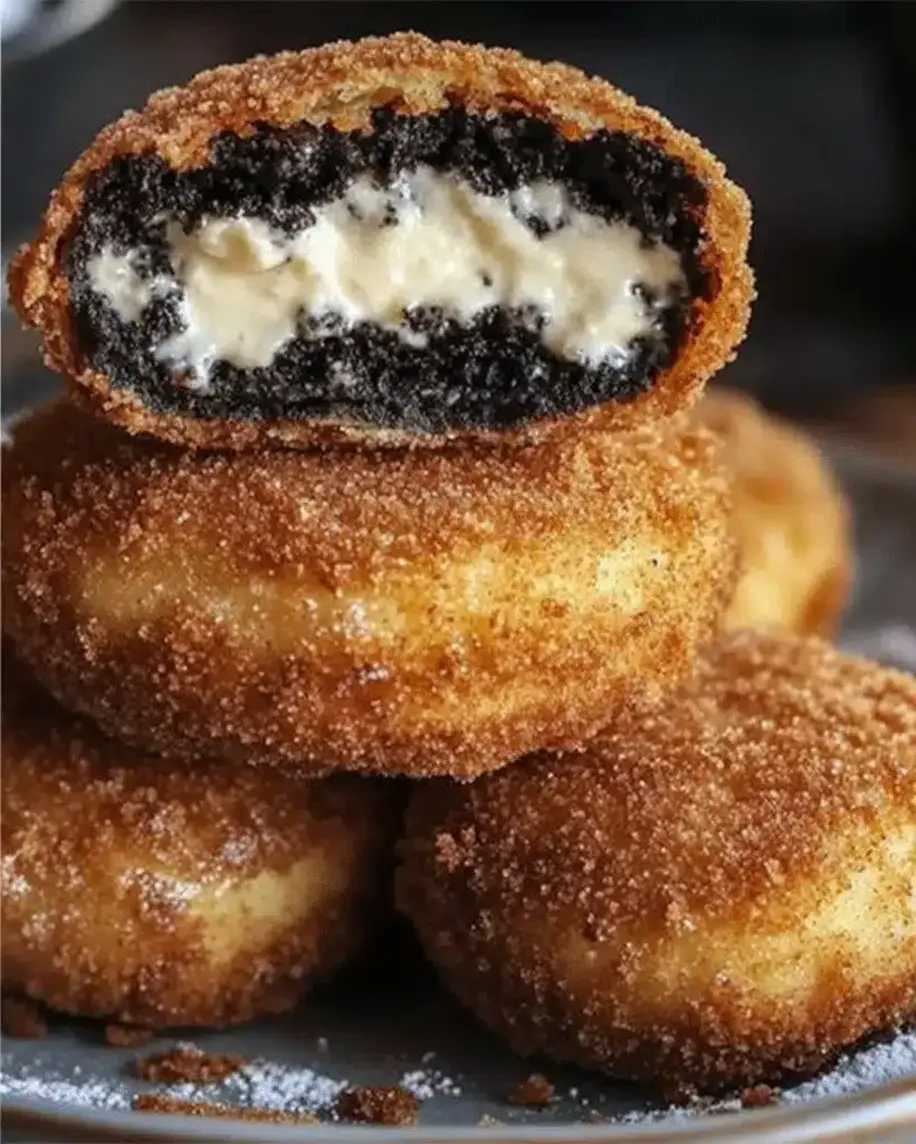
Golden, sugar-dusted donuts with a hidden creamy strawberry cheesecake center—pure bliss in every bite!
Step-by-Step Instructions
Follow these detailed steps for foolproof, professional-looking donuts. I’ll guide you through every stage.
Step 1: Prepare the Dough
In the bowl of a stand mixer fitted with a dough hook, combine the warm milk, sugar, and yeast. Let it sit for 5-7 minutes until it becomes frothy and smells yeasty—this proves your yeast is active. Add the egg, melted butter, and vanilla. Mix on low speed until just combined. Gradually add 3 ¼ cups of flour and the salt. Mix on medium-low speed for 5-7 minutes. The dough should pull away from the sides of the bowl but remain soft and slightly sticky. If it’s too wet, add the remaining flour, one tablespoon at a time. You’re aiming for a smooth, elastic ball. Place the dough in a lightly oiled bowl, cover with plastic wrap or a damp kitchen towel, and let it rise in a warm, draft-free spot for 1 to 1.5 hours, or until doubled in size.
Step 2: Make the Strawberry Cheesecake Filling
While the dough rises, make the filling. In a medium bowl, beat the softened cream cheese with an electric mixer until completely smooth and creamy, about 2 minutes. This prevents lumps. Add the sifted powdered sugar and vanilla, and beat again until fully incorporated. Gently fold in the finely chopped strawberries (and optional jam) with a spatula until evenly distributed. Cover the bowl and refrigerate for at least 30 minutes. Chilling firms up the filling, making it much easier to handle and stuff into the donuts later.
Step 3: Assemble and Proof the Donuts
Once the dough has doubled, gently punch it down to release air. Turn it out onto a lightly floured surface. Roll the dough to about ½-inch thickness. Using a 3-inch round cutter (or a glass), cut out circles. Re-roll the scraps to cut more—you should get about 12 donuts. Place half the circles on a parchment-lined baking sheet. Using a piping bag or a small spoon, place a generous tablespoon of the chilled cheesecake filling in the center of each circle on the sheet. Leave a ½-inch border around the edges. Brush the edges lightly with water or milk. Carefully place a second dough circle on top of each filled one. Press the edges together firmly, then use the tines of a fork to crimp and seal them tightly. This is crucial to prevent filling leakage during frying. Cover the assembled donuts with a towel and let them proof for 30-45 minutes until puffy.
Step 4: Fry to Golden Perfection
Near the end of the second proof, heat 2-3 inches of oil in a heavy-bottomed pot or Dutch oven over medium heat to 350°F (175°C). Use a candy or deep-fry thermometer for accuracy—this temperature is key. Too hot, and they’ll burn; too cool, and they’ll be greasy. Gently lower 2-3 donuts into the hot oil using a slotted spoon. Fry for 1.5 to 2 minutes per side, until they are a deep, golden brown. They should puff up beautifully. Transfer to a wire rack set over a baking sheet to drain excess oil. Repeat with the remaining donuts, allowing the oil to return to 350°F between batches.
Step 5: Coat and Serve
While the donuts are still warm (but cool enough to handle), prepare the coating. Mix the granulated sugar with cinnamon (if using) in a shallow bowl. Gently roll each donut in the sugar mixture until fully coated. For an extra treat, you can also glaze them with a simple vanilla or strawberry glaze. Serve immediately while the exterior is slightly crisp and the interior is warm, with the cheesecake filling luxuriously soft. The contrast in temperatures and textures is divine.
Nutritional Information
Estimated per donut (recipe makes 12):
- Calories: 320 kcal
- Total Fat: 15g
- Saturated Fat: 6g
- Cholesterol: 45mg
- Sodium: 180mg
- Total Carbohydrates: 42g
- Dietary Fiber: 1g
- Sugars: 20g
- Protein: 5g
Note: Values are approximate and can vary based on specific ingredients and portion sizes.
Healthier Alternatives
Love the flavor but want a lighter version? Here are some smart swaps that don’t sacrifice taste:
- Bake, Don’t Fry: Preheat oven to 375°F (190°C). Place proofed donuts on a parchment-lined baking sheet. Bake for 12-15 minutes until golden. They’ll be slightly more bread-like but still delicious.
- Whole Wheat Flour: Substitute up to half of the all-purpose flour with whole wheat pastry flour for added fiber.
- Lighter Filling: Use reduced-fat or Neufchâtel cream cheese and a natural sugar substitute like monk fruit powdered sugar.
- Coating Swap: Instead of rolling in sugar, give them a light brush of melted butter and a dusting of cinnamon or a drizzle of honey.
- Air Fryer Option: Lightly spray proofed donuts with oil and air fry at 350°F for 6-8 minutes, flipping halfway.
Serving Suggestions
These donuts are stars on their own, but you can elevate them further:
- Brunch Center