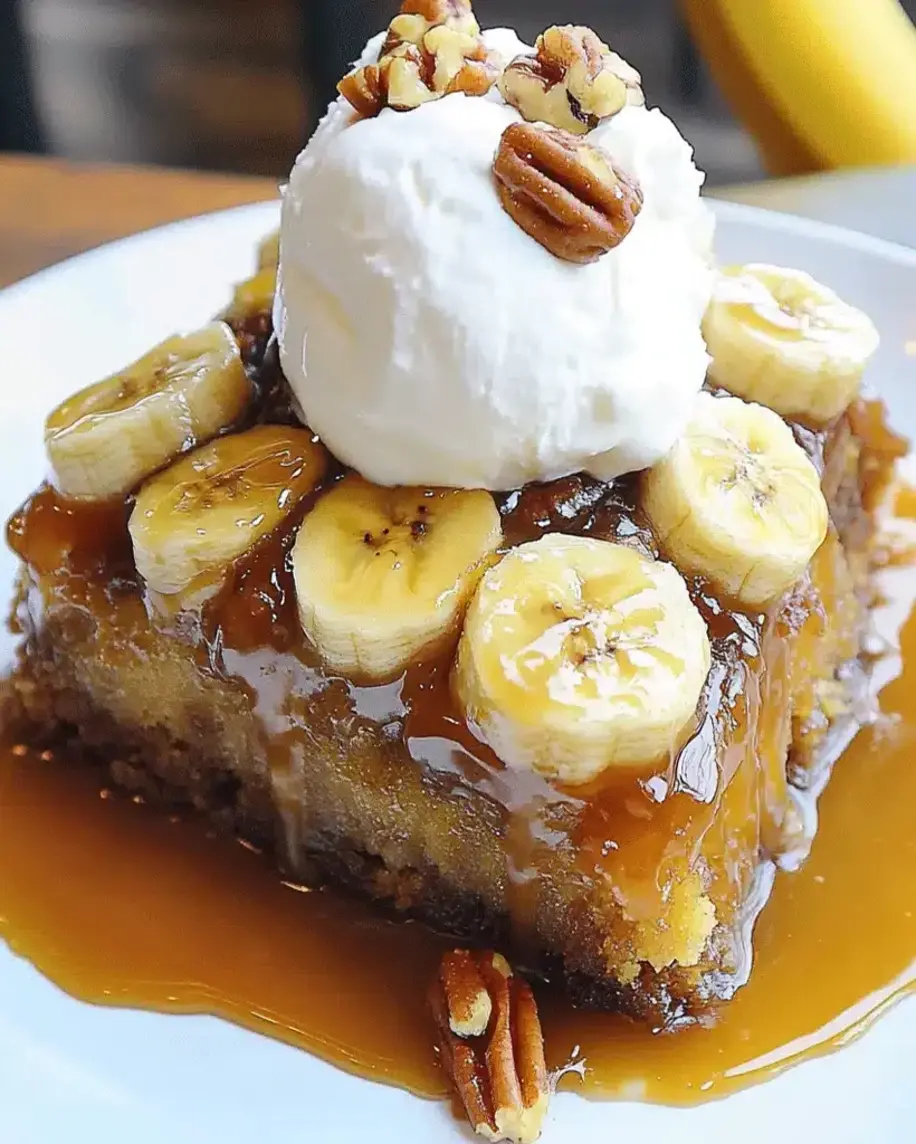
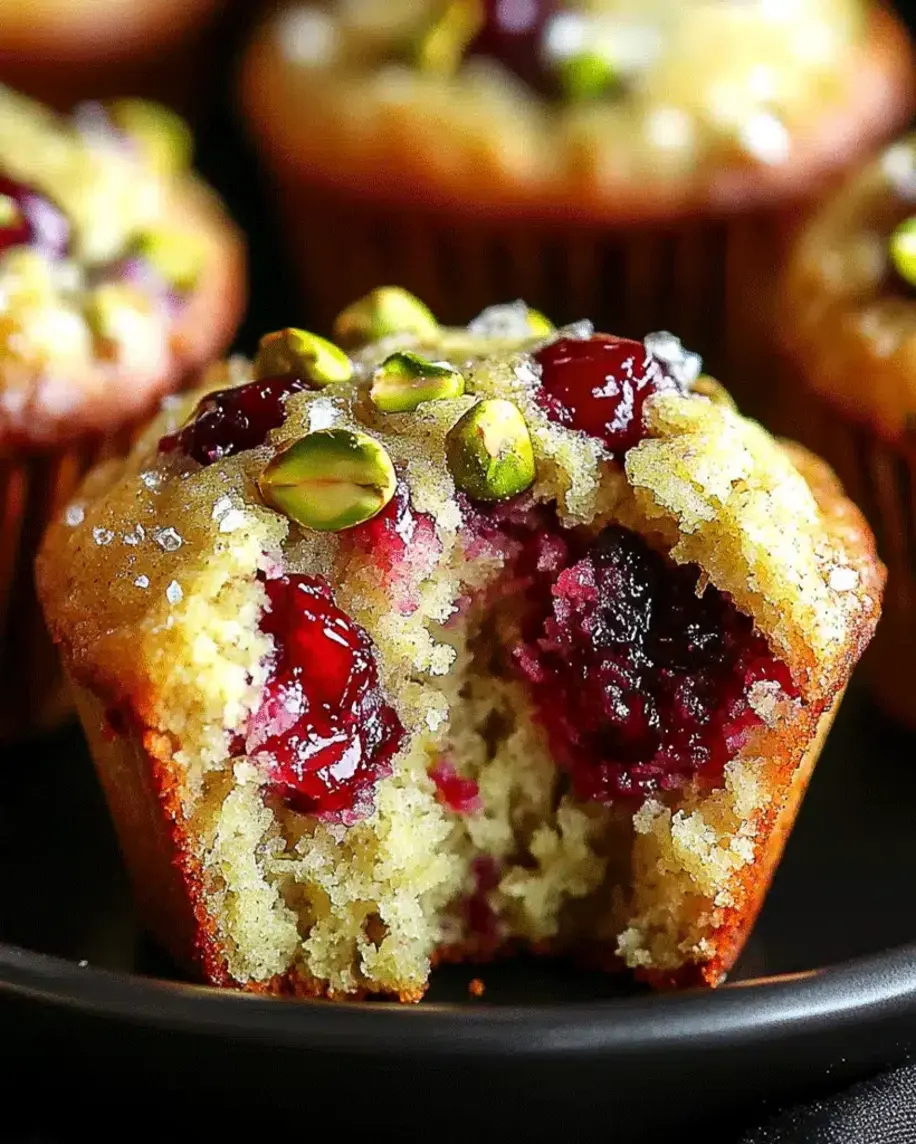
Table of Contents
Mozzarella-Stuffed Spinach & Garlic Meatballs – So Juicy & Cheesy!
Introduction
Did you know that over 70% of home cooks report that a “cheesy surprise” inside a dish significantly boosts family meal satisfaction? If you’re looking for that perfect, crowd-pleasing centerpiece, you’ve found it. Our Mozzarella-Stuffed Spinach & Garlic Meatballs are not just another recipe; they are a culinary experience designed to deliver maximum flavor and joy in every bite. Hello, food enthusiasts! Are you ready to indulge in a dish that combines the juiciness of classic meatballs with a delightful cheesy surprise? Our Mozzarella-Stuffed Spinach & Garlic Meatballs are here to elevate your meal game. These tasty bites are filled with rich mozzarella, infused with spinach and garlic, and perfect for any dinner or gathering. Whether you’re a fan of Italian-inspired flavors or looking for a creative way to serve up meatballs, these mozzarella-stuffed delights are sure to impress. Let’s dive into this simple yet satisfying recipe!
Ingredients List
Gather these fresh, flavorful ingredients. I’ve included sensory notes and substitutions to ensure success no matter what’s in your pantry.
- For the Meatballs:
- 1 lb ground beef (80/20 blend): The higher fat content guarantees a juicy, tender texture. Substitute: Ground turkey or chicken for a leaner option, or a 50/50 mix of beef and pork for extra richness.
- 10 oz fresh spinach, finely chopped: Adds a vibrant green color, earthy flavor, and a nutrient boost. Substitute: 1 cup of thawed and thoroughly squeezed frozen spinach.
- 4-5 large garlic cloves, minced: Provides a pungent, aromatic backbone. For a milder taste, use 2-3 cloves.
- 1 large egg: Acts as the binder, holding everything together.
- 1/2 cup breadcrumbs (Panko preferred): Creates a light, airy texture. Substitute: Gluten-free breadcrumbs or rolled oats for a whole-grain twist.
- 1/2 cup grated Parmesan cheese: Offers a salty, umami depth. Freshly grated is best!
- 1 tsp dried oregano & 1/2 tsp dried basil: Classic Italian herbs for that authentic aroma.
- 1 tsp salt & 1/2 tsp black pepper: Essential for seasoning the meat perfectly.
- For the Cheesy Filling & Cooking:
- 8 oz block of low-moisture mozzarella cheese: Cut into 1/2-inch cubes. Low-moisture is key—it melts beautifully without making the meatballs soggy.
- 2 tbsp olive oil: For browning, creating a gorgeous, flavorful crust.
- 24 oz marinara sauce (homemade or jarred): The perfect bath for the meatballs to finish cooking and soak up flavor.
Timing
20 minutes
25 minutes
45 minutes
Compared to the average meatball recipe which often takes over an hour with simmering, this recipe is streamlined for efficiency. The 45-minute total time includes browning for maximum flavor and a quick simmer in sauce, making it a weeknight-friendly option that doesn’t sacrifice gourmet results.
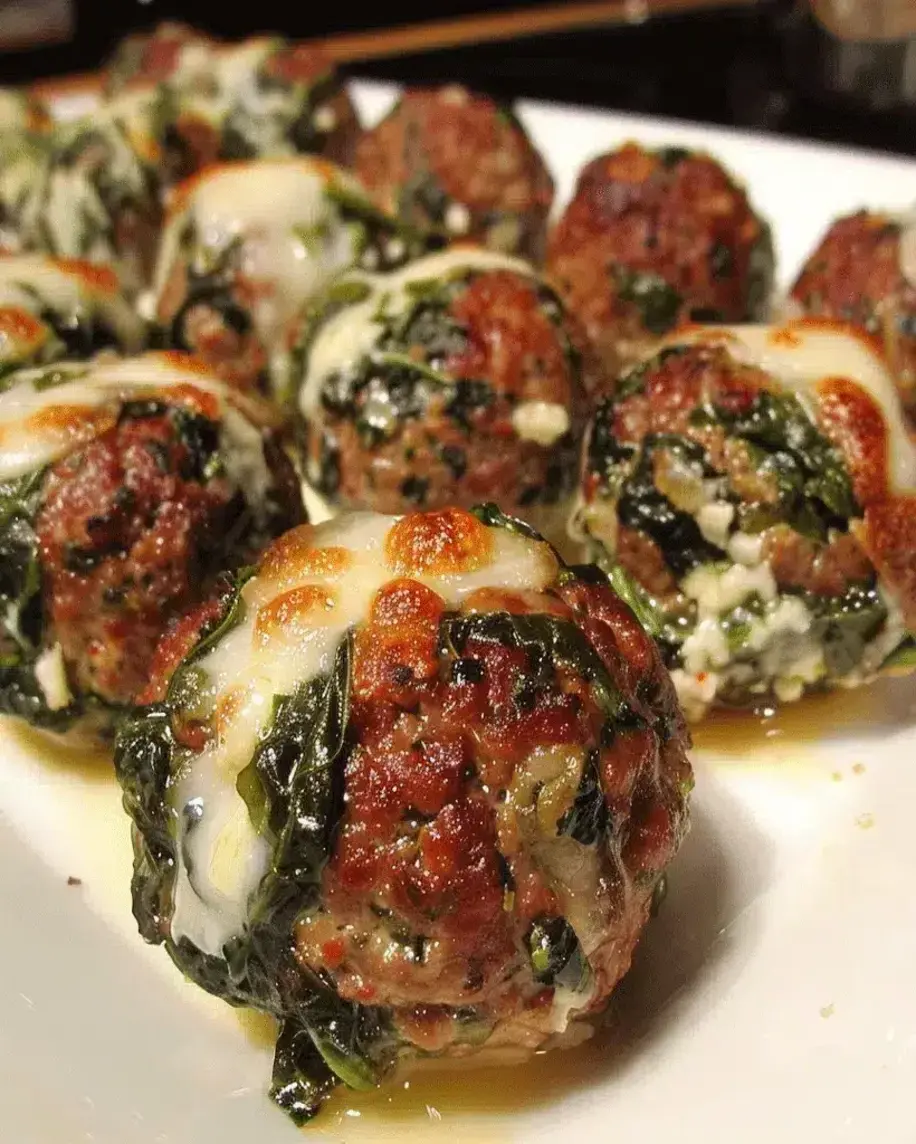
Golden-brown, cheesy, and packed with spinach and garlic—these meatballs are a visual and flavorful feast.
Step-by-Step Instructions
Step 1: Prepare the Spinach and Aromatics
In a large skillet over medium heat, add a tiny drizzle of olive oil and your fresh spinach. Sauté for just 2-3 minutes until wilted and bright green. Transfer the spinach to a colander and let it cool. Once cool enough to handle, take handfuls and squeeze out as much liquid as humanly possible. This step is CRUCIAL—excess water will make your meatball mixture loose and difficult to shape. Finely chop the squeezed spinach. In the same skillet, add a bit more oil and sauté the minced garlic for about 60 seconds until fragrant but not browned. Let both the spinach and garlic cool completely before adding to your meat mixture.
Step 2: Mix the Meatball Base
In a large mixing bowl, combine the ground beef, cooled spinach and garlic, egg, breadcrumbs, grated Parmesan, oregano, basil, salt, and pepper. Now, here’s my pro tip: use your hands! Clean hands are the best tool for gently but thoroughly combining everything. Over-mixing with a spoon can compact the meat, leading to dense meatballs. Mix just until all ingredients are evenly distributed. The mixture should be moist but hold its shape when pinched.
Step 3: Assemble and Stuff the Meatballs
Line a baking sheet with parchment paper. Take a small handful of the meat mixture (about 2 tablespoons) and flatten it in your palm. Place one cube of mozzarella in the center. Carefully fold the meat around the cheese, rolling gently between your palms to form a smooth, sealed ball. Ensure the cheese is completely enclosed to prevent leaks during cooking. Place the stuffed meatball on the prepared sheet. Repeat until all mixture and cheese is used—you should get about 16-18 meatballs.
Step 4: Cook to Perfection
Heat the 2 tablespoons of olive oil in a large, deep skillet or Dutch oven over medium-high heat. Working in batches to avoid crowding, add the meatballs. Brown them on all sides, turning carefully with tongs, for about 6-8 minutes total. This step isn’t about cooking them through—it’s about building a beautiful, flavorful crust. Once all meatballs are browned, pour the marinara sauce into the skillet. Gently nestle the meatballs back into the sauce. Reduce heat to low, cover, and let simmer for 15-18 minutes. The meatballs will cook through, and the cheese inside will become gloriously molten.
Step 5: Serve and Enjoy
Carefully remove the lid. The aroma will be incredible! Let the meatballs rest in the sauce for a couple of minutes off the heat. This allows the juices to redistribute. Serve them hot, spooning plenty of that flavorful sauce over the top.
Nutritional Information
The following estimates are per meatball (based on 16 meatballs), including sauce.
- Calories: ~180 kcal
- Total Fat: 12g
- Saturated Fat: 5g
- Cholesterol: 45mg
- Sodium: 380mg
- Total Carbohydrates: 6g
- Dietary Fiber: 1g
- Sugars: 2g
- Protein: 12g
Healthier Alternatives
You can easily adapt this recipe for different dietary needs without losing the “wow” factor.
- Leaner Protein: Swap the ground beef for 93% lean ground turkey or chicken. Add 1 tablespoon of olive oil to the mix to maintain moisture.
- Lower-Fat Cheese: Use part-skim mozzarella cubes. The melt will be slightly less dramatic but still delicious.
- Gluten-Free & Whole Grain: Use certified gluten-free oats pulsed in a food processor instead of breadcrumbs. They add fiber and a lovely nutty flavor.
- Reduced Sodium: Use a no-salt-added marinara sauce and reduce the added salt in the meatball mixture to 1/2 tsp. The Parmesan will still provide plenty of savory flavor.
Serving Suggestions
These versatile meatballs are the star of the show. Here’s how to build a memorable meal around them:
- The Classic: Toss with spaghetti or linguine for the ultimate comforting pasta night.
- Low-Cob Hero: Serve over a bed of zucchini noodles (zoodles) or spaghetti squash with extra sauce.
- Appetizer Excellence: Skewer each meatball with a toothpick and serve as a party appetizer with the sauce on the side for dipping.
- Sub Sandwich Glory: Pile 3-4 meatballs into a toasted hoagie roll, top with extra sauce and a sprinkle of Parmesan, and broil for a minute for a phenomenal meatball sub.
Common Mistakes
- Not Squeezing the Spinach: This is the #1 reason for falling-apart meatballs. Take the time to remove all excess moisture.
- Using Fresh (High-Moisture) Mozzarella: The excess water will steam out and make the meatballs wet. Always use low-moisture, block-style mozzarella.
- Overmixing the Meat: This develops the proteins and leads to tough, rubbery meatballs. Mix gently and just until combined.
- Skipping the Browning Step: Browning creates the Maillard reaction—hundreds of complex flavor compounds. Simmering alone won’t give you that deep, savory taste.
- Crowding the Pan: Browning meatballs too close together steams them instead of searing them. Work in batches for the perfect crust.
Storing Tips
- Refrigeration: Let leftovers cool completely. Store meatballs and sauce in an airtight container in the fridge for up to 4 days.
- Freezing for Future Feasts: These meatballs freeze beautifully. Place cooled, cooked meatballs (with or without sauce) on a parchment-lined baking