Did You Know 73% of Home Cooks Avoid Weeknight Chicken Dinners Because of the Dishes?
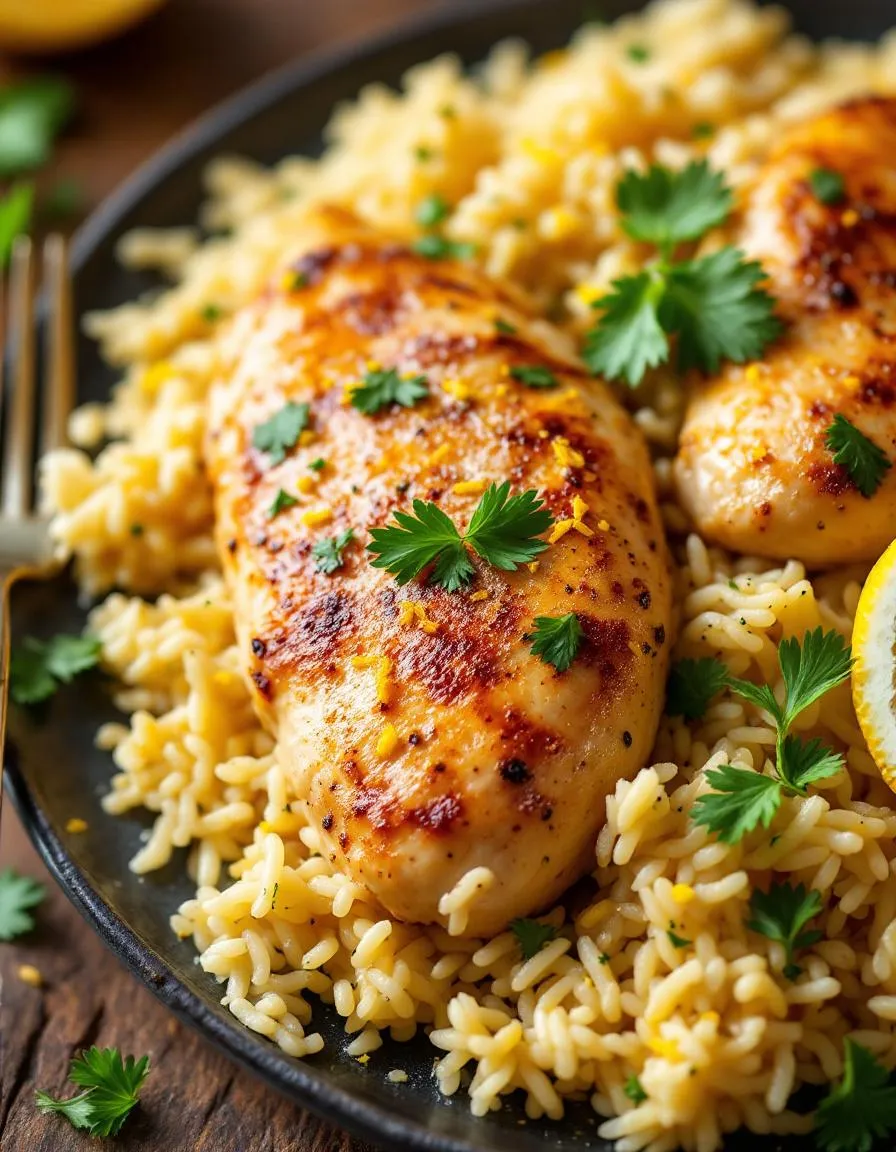
I was shocked when I read that statistic last week. All those busy cooks, missing out on the joy of a flavorful, wholesome meal because they dread the mountain of pots and pans afterward. But what if I told you there’s a way to enjoy tender, juicy chicken with crispy potatoes—all cooked together in one pan? That’s the magic of this Easy One Pan Honey Garlic Chicken and Potatoes recipe.
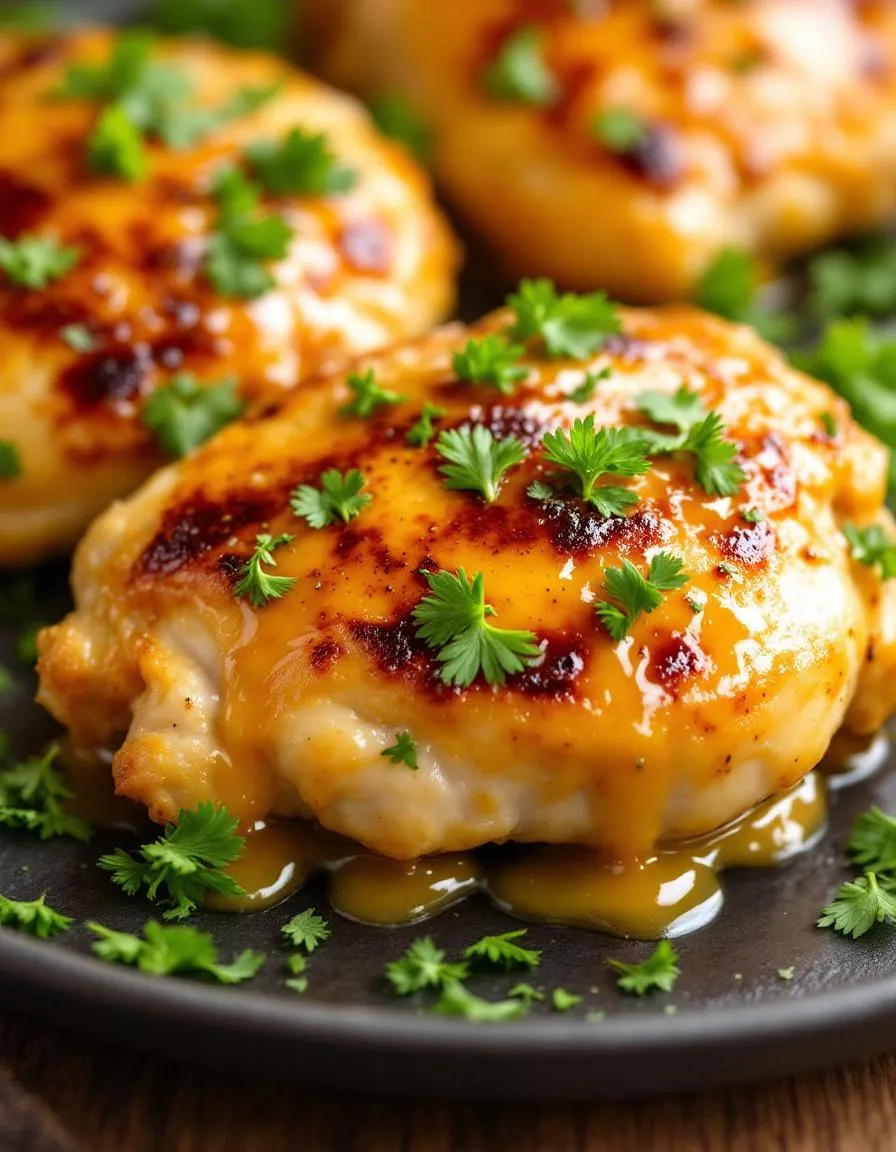
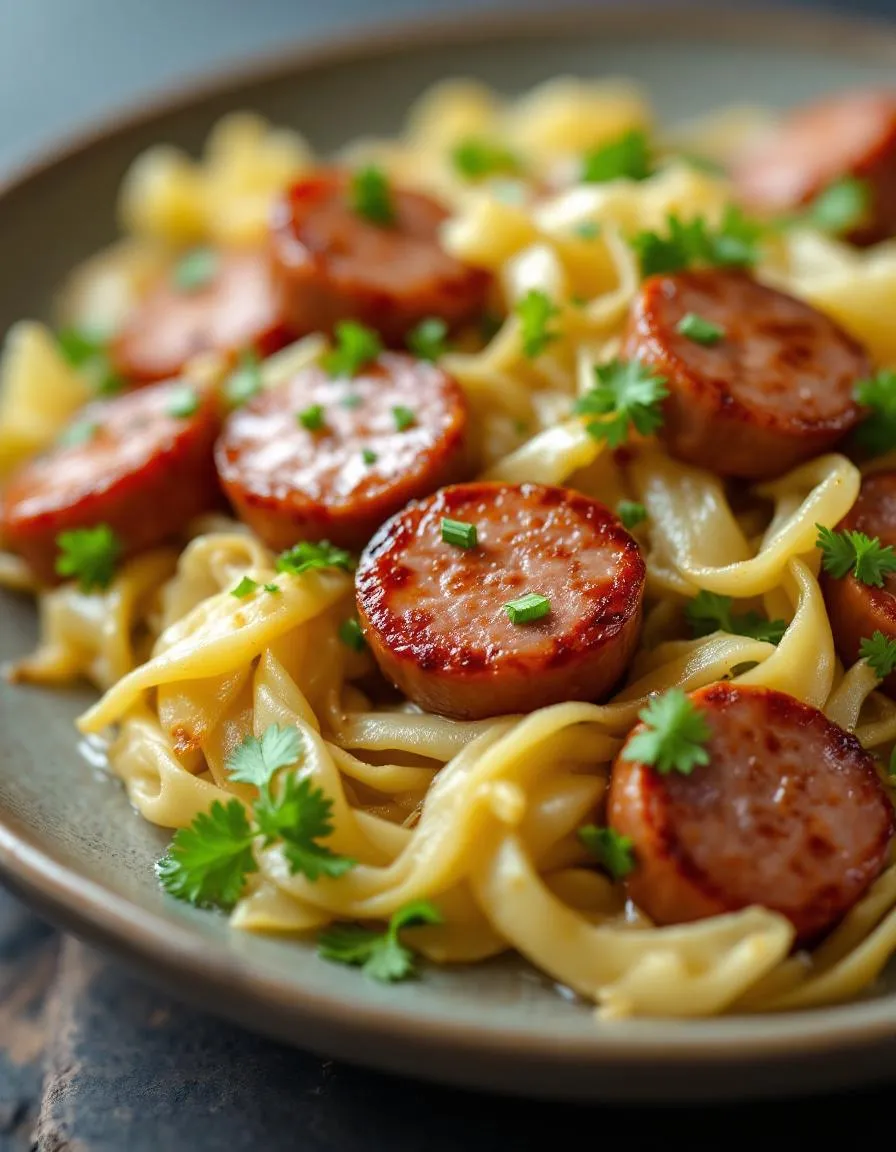
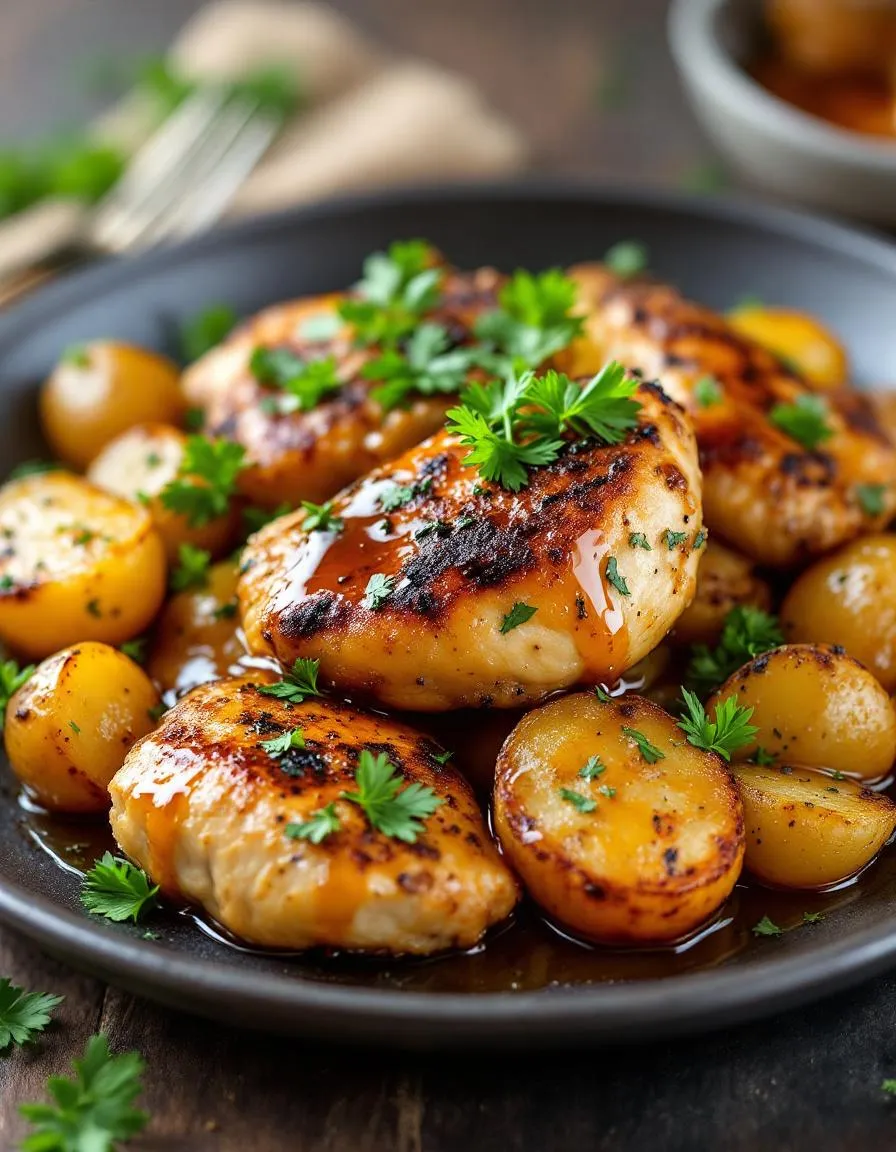
Picture this: golden chicken thighs glazed in a sticky-sweet honey garlic sauce, nestled alongside buttery roasted potatoes that soak up all those delicious flavors. The best part? You’ll only have one pan to wash when dinner’s over. No more choosing between a satisfying meal and a clean kitchen—this recipe gives you both.
I first discovered the beauty of one-pan meals during a particularly hectic week when my toddler decided sleep was optional. Desperate for a dinner that wouldn’t leave me weeping over a sink full of dishes, I threw together this honey garlic chicken with whatever potatoes I had in the pantry. The result was so good, it’s become our family’s most-requested weeknight meal.
- Time-saving: 10 minutes of prep, then let the oven do the work
- Flavor-packed: Sweet honey balances savory garlic for the perfect glaze
- Versatile: Works with bone-in or boneless chicken, any potato variety
As the aroma of caramelizing honey and roasting garlic fills your kitchen, you’ll understand why this dish has become my secret weapon against chaotic evenings. And when that first bite of tender chicken meets your tongue, with just the right amount of sticky sweetness clinging to your lips, you’ll wonder how something so simple could taste so extraordinary.
Print
One Pan Honey Garlic Chicken and Potatoes
Description
A simple and flavorful one-pan meal featuring tender chicken and crispy potatoes coated in a sweet and savory honey garlic sauce.
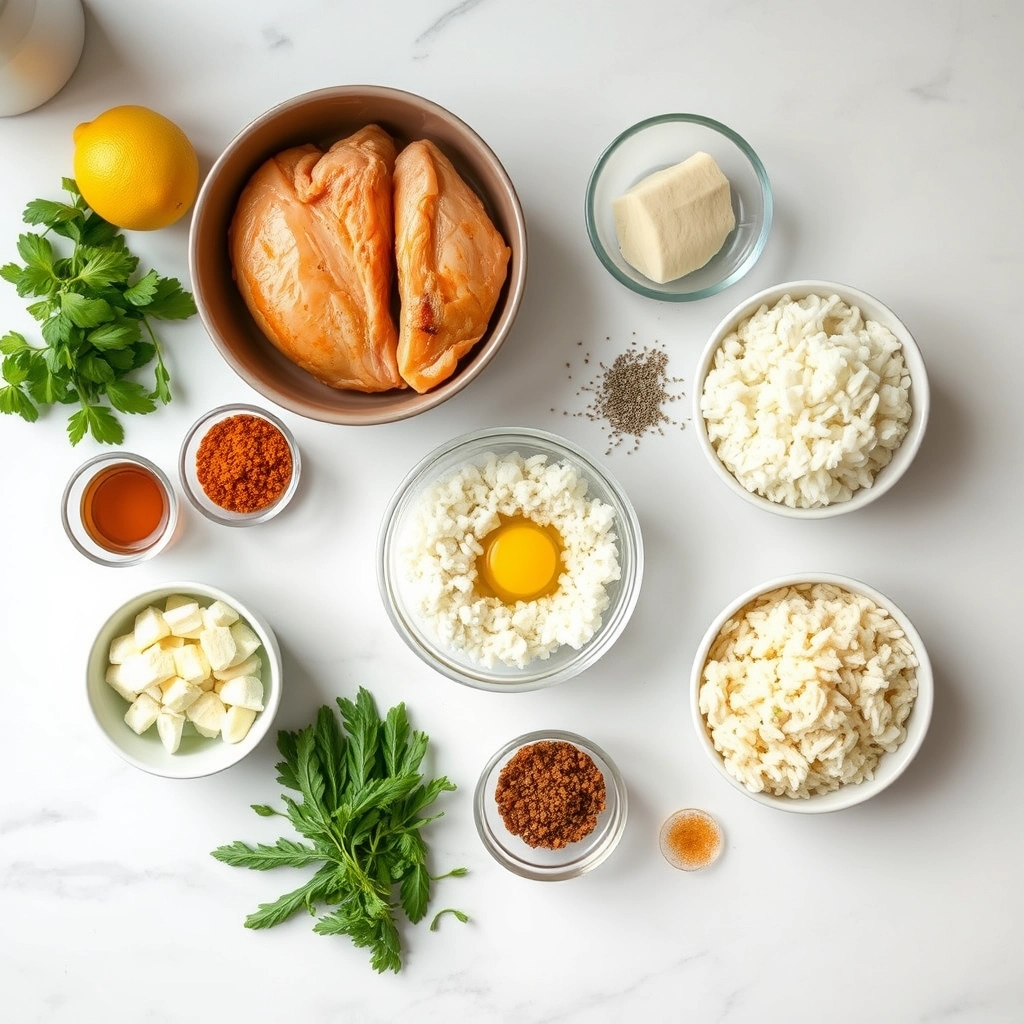
Ingredients
For the Crust:
- 4 boneless, skinless chicken thighs
- 1.5 lbs baby potatoes, halved
- 3 tbsp honey
- 4 cloves garlic, minced
- 2 tbsp soy sauce
- 1 tbsp olive oil
- 1 tsp dried thyme
- 1/2 tsp black pepper
- 1/4 tsp salt
- 2 tbsp fresh parsley, chopped (for garnish)
Instructions
1. Prepare the Crust:
- Preheat oven to 400°F (200°C).
- In a small bowl, whisk together honey, minced garlic, soy sauce, olive oil, thyme, black pepper, and salt.
- Place chicken thighs and halved potatoes in a large baking dish. Pour the honey garlic mixture over them and toss to coat evenly.
- Bake for 25-30 minutes, stirring halfway through, until chicken is cooked through (internal temperature of 165°F) and potatoes are tender.
- Garnish with fresh parsley before serving.
Notes
You can customize the seasonings to taste.
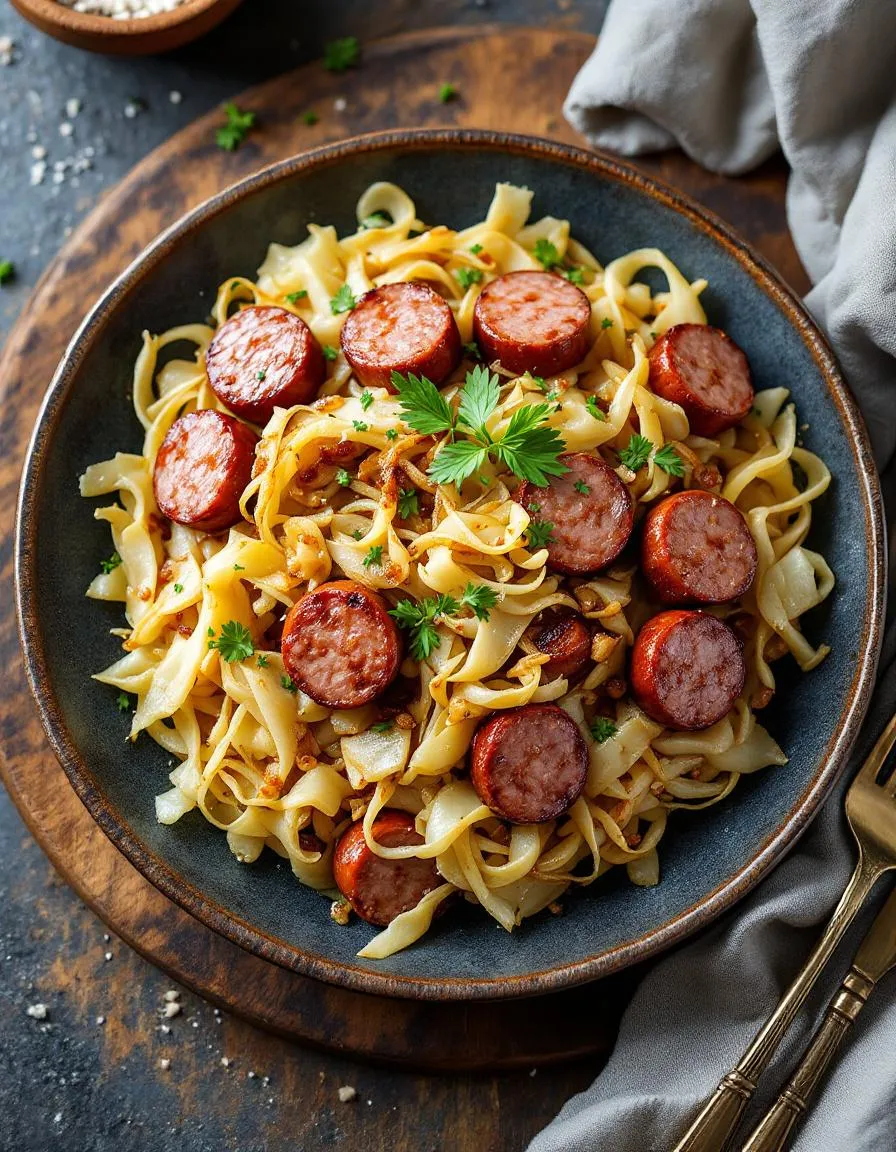
Easy One Pan Honey Garlic Chicken and Potatoes
There’s something so comforting about a meal that comes together in one pan—less cleanup, more time to savor every bite. This honey garlic chicken with crispy golden potatoes is one of those dishes that feels like a warm hug on a busy weeknight. The sticky-sweet glaze clings to tender chicken, while the potatoes soak up all those delicious flavors. Let’s gather our ingredients and get cooking!
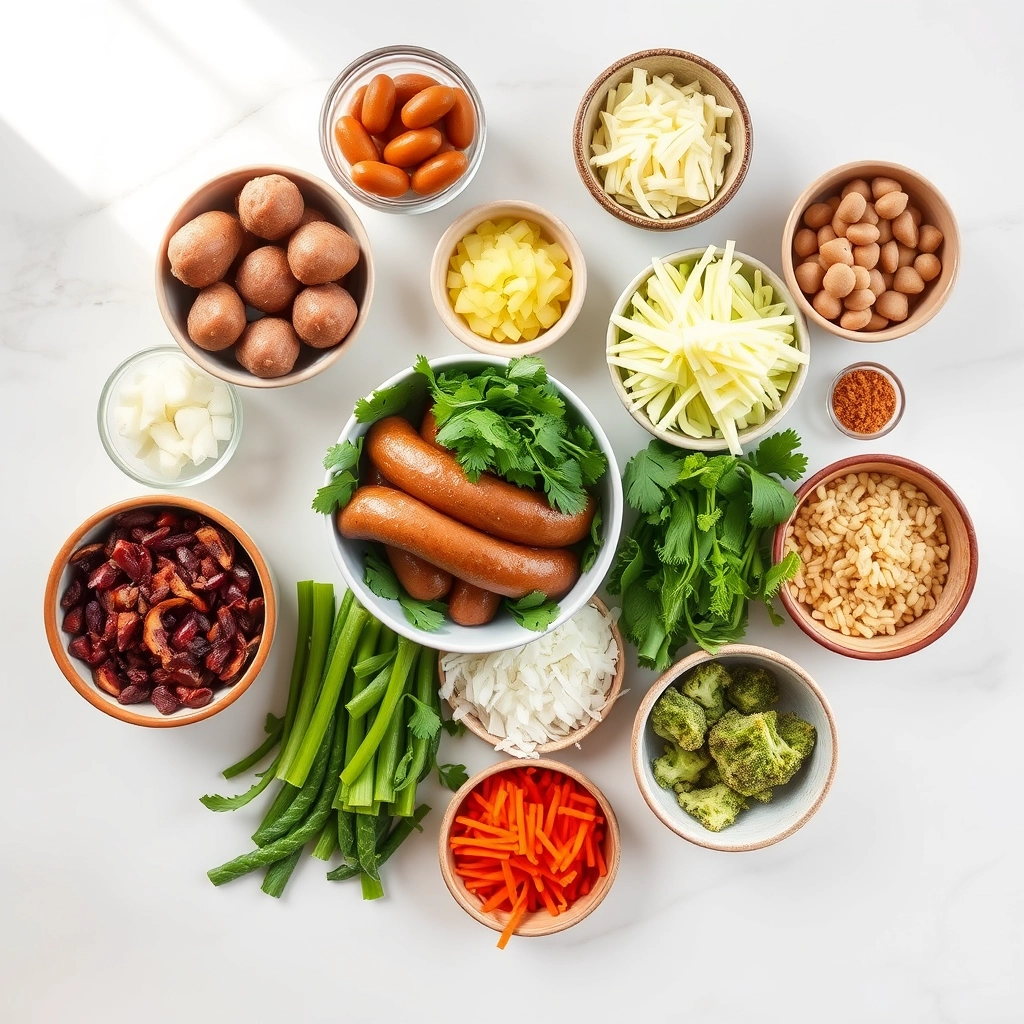
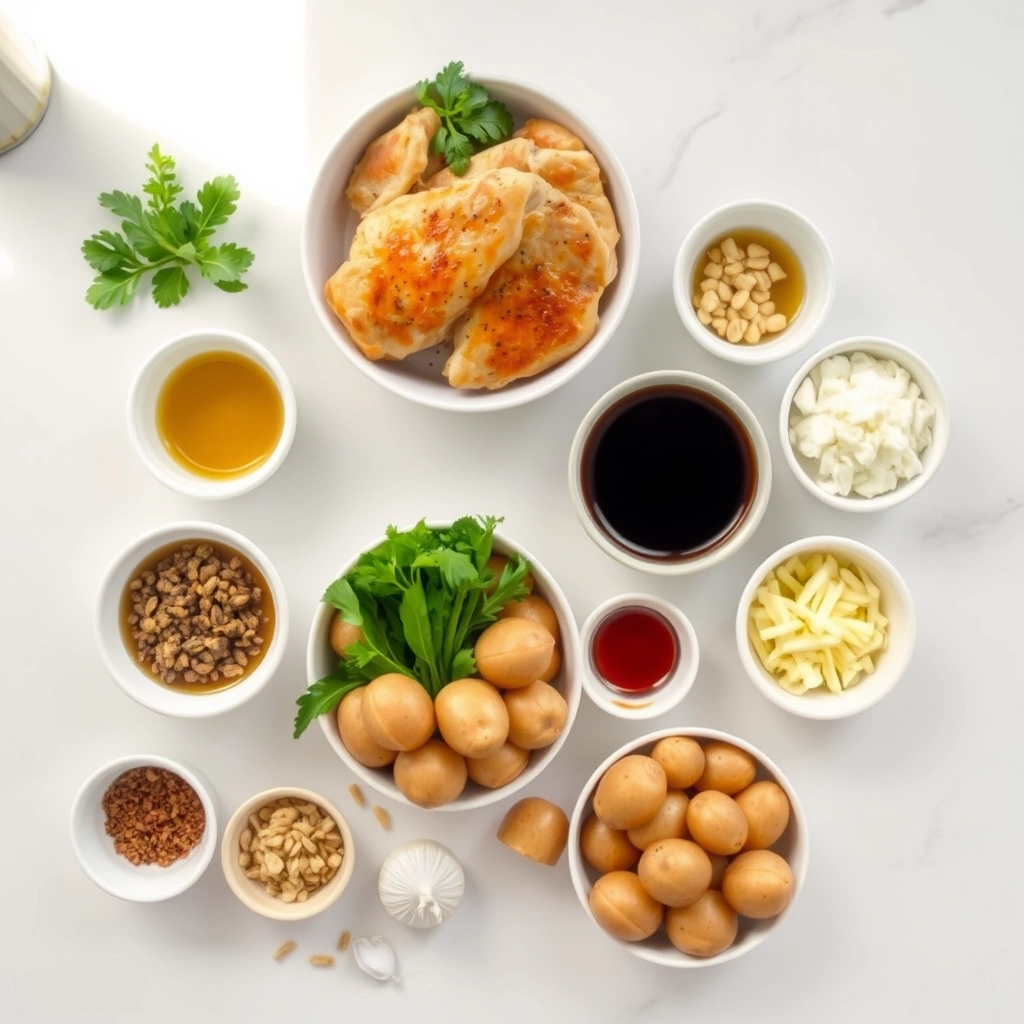
Ingredients You’ll Need
- 4 bone-in, skin-on chicken thighs – The skin crisps up beautifully, and the bone keeps the meat juicy. Trust me, it’s worth it!
- 1.5 lbs baby potatoes – Halved or quartered if they’re on the larger side. I love using Yukon Golds for their buttery texture.
- 3 tbsp honey – The star of the glaze! Use raw honey for a deeper flavor if you have it.
- 4 garlic cloves, minced – Fresh garlic makes all the difference here—no shortcuts!
- 2 tbsp soy sauce – Adds that perfect salty-umami balance to the sweetness.
- 1 tbsp olive oil – For roasting everything to golden perfection.
- 1 tsp smoked paprika – A hint of smokiness elevates the dish.
- 1/2 tsp red pepper flakes (optional) – Just a pinch if you like a gentle kick.
- Salt and black pepper to taste – Season generously—it brings all the flavors together.
- Fresh parsley, chopped (for garnish) – A pop of color and freshness to finish.
Let’s Make It Step by Step
- Preheat & Prep: Start by preheating your oven to 400°F (200°C). While it warms up, pat the chicken thighs dry with a paper towel—this helps the skin crisp up beautifully. Season both sides generously with salt, pepper, and smoked paprika.
- Toss the Potatoes: In a large bowl, toss the halved baby potatoes with olive oil, a pinch of salt, and black pepper. Spread them out in a single layer on a sturdy baking sheet or large oven-safe skillet. (Pro tip: If your potatoes are stubbornly large, parboil them for 5 minutes first to ensure they cook through!)
- Roast First, Then Add Chicken: Pop the potatoes into the preheated oven for 15 minutes. This gives them a head start to get golden and tender. Meanwhile, whisk together the honey, minced garlic, soy sauce, and red pepper flakes (if using) in a small bowl.
- Glaze & Arrange: After the initial 15 minutes, remove the baking sheet and push the potatoes to the edges. Place the seasoned chicken thighs skin-side up in the center. Brush each piece generously with the honey garlic glaze, reserving a little for later.
Pro Tips, Variations, and Substitutions
This honey garlic chicken and potatoes recipe is wonderfully flexible, so don’t be afraid to make it your own! Here are some ideas to customize it:
- Swap theprotein: If you’re not in the mood for chicken, try boneless pork chops or even salmon fillets. Just adjust the cooking time accordingly.
- Veggie lovers: Toss in some extra veggies like carrots, bell peppers, or Brussels sprouts for a more colorful and nutrient-packed meal.
- Spice it up: Add a pinch of red pepper flakes or a dash of sriracha to the honey garlic sauce if you like a little heat.
- Herb variations: Fresh rosemary or thyme can be a great substitute for parsley if you prefer a deeper herbal flavor.
What to Serve It With
This dish is already a complete meal with protein and veggies, but if you want to round it out, here are some delicious pairings:
- A crisp green salad with a light vinaigrette
- Steamed or roasted broccoli for extra greens
- Warm, crusty bread to soak up that irresistible honey garlic sauce
- A glass of chilled white wine or sparkling water with lemon
Benefits of One-Pan Meals
One-pan dinners like this honey garlic chicken and potatoes are a game-changer for busy weeknights. Here’s why we love them:
- Less cleanup: Fewer dishes mean more time to relax after dinner.
- Flavor infusion: Cooking everything together lets the flavors meld beautifully.
- Effortless cooking: Just prep, pop in the pan, and let the oven do the work.
Real-Life Tips
Here are some practical tips to make this recipe even easier and more foolproof:
- Cut potatoes evenly: This ensures they cook at the same rate—no undercooked or burnt pieces.
- Pat chicken dry: A quick blot with paper towels helps the skin crisp up nicely.
- Use parchment paper: For even easier cleanup, line your pan before adding ingredients.
- Double the sauce: If you love extra glaze, make a little more honey garlic mixture to drizzle at the end.
Whether you’
;re cooking for family or meal prepping for the week, this one-pan honey garlic chicken and potatoes is sure to become a go-to favorite. Happy cooking!
Conclusion
This One Pan Honey Garlic Chicken and Potatoes recipe is the perfect weeknight dinner—simple, flavorful, and easy to clean up! With tender chicken, crispy potatoes, and a sweet-savory glaze, it’s a meal the whole family will love. Plus, since everything cooks together on one pan, you get maximum flavor with minimal effort.
Ready to give it a try?
Whip up this dish tonight and let us know how it turns out in the comments below! And if you’re looking for more fuss-free dinner ideas, check out our recipe collection for more one-pan wonders.FAQs
Can I use boneless chicken thighs instead of breasts?
Absolutely! Boneless thighs will work just as well—they’re juicier and may need a few extra minutes of cooking. Just ensure they reach an internal temperature of 165°F (74°C).
What can I substitute for honey?
If you don’t have honey, maple syrup or agave nectar are great alternatives. The flavor will be slightly different, but still delicious.
Can I add other vegetables to this dish?
Yes! Carrots, bell peppers, or broccoli would be fantastic additions. Just adjust cooking times as needed—harder veggies may need to go in earlier.
How do I store leftovers?
Store any leftovers in an airtight container in the fridge for up to 3 days. Reheat in the oven or microwave until warmed through.
Can I make this ahead of time?
You can prep the ingredients (chop potatoes, mix the sauce) ahead, but for the best texture, cook everything fresh. The potatoes won’t stay as crispy if reheated.