Did You Know 72% of Pizza Lovers Crave Something Fresh With Their Slice?
There’s something magical about the combination of gooey cheese, tangy tomato sauce, and crispy crust—but sometimes, even the most devoted pizza enthusiasts need a fresh counterpart to balance out those rich flavors. That’s where this Best Pizza Salad comes in! It’s not just any side dish; it’s a vibrant, flavor-packed creation that complements your favorite pie while standing deliciously on its own.
I first discovered the power of this pairing during a summer gathering in my tiny Brooklyn apartment. As I pulled a bubbling pizza from the oven, my friend Sarah—an avowed “salad skeptic”—eyed the leafy greens I’d prepared with suspicion. One bite later, her eyes lit up. “This isn’t just lettuce with dressing,” she marveled. “It’s like the essence of pizza transformed into something crisp and refreshing!” That moment inspired me to perfect what I now consider the ultimate pizza salad—a harmonious blend of fresh ingredients with all the soul-satisfying flavors you adore.
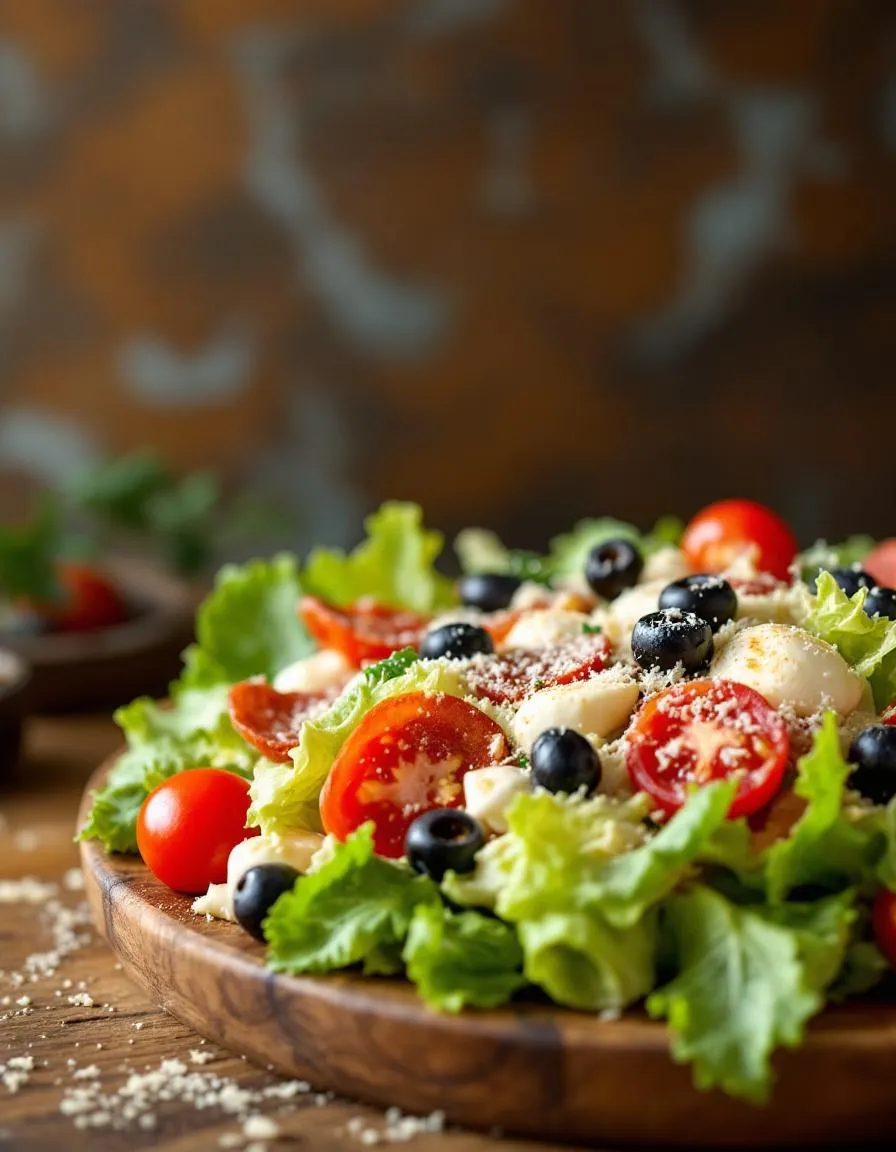
What makes this salad truly special isn’t just its ability to cut through pizza’s richness, but how it celebrates seasonal produce while paying homage to classic Italian flavors. Imagine sun-ripened cherry tomatoes bursting with sweetness, crisp romaine with just the right amount of crunch, and pepperoni chips that deliver all the savory satisfaction without weighing you down. Tossed with a garlicky red wine vinaigrette and finished with shavings of Parmesan, every forkful is a celebration of contrasts—cool and warm, crisp and tender, light and deeply satisfying.
Whether you’re serving it alongside your homemade pizza night masterpiece or enjoying it as a hearty lunch on its own, this salad has become my go-to for good reason. It’s the kind of recipe that disappears fast at potlucks, earns requests for the recipe at dinner parties, and might just convert your own “salad skeptics.” So let’s gather our freshest ingredients and create something truly special—a salad that doesn’t just accompany pizza, but elevates the entire experience.
Print
Pizza Salad
Description
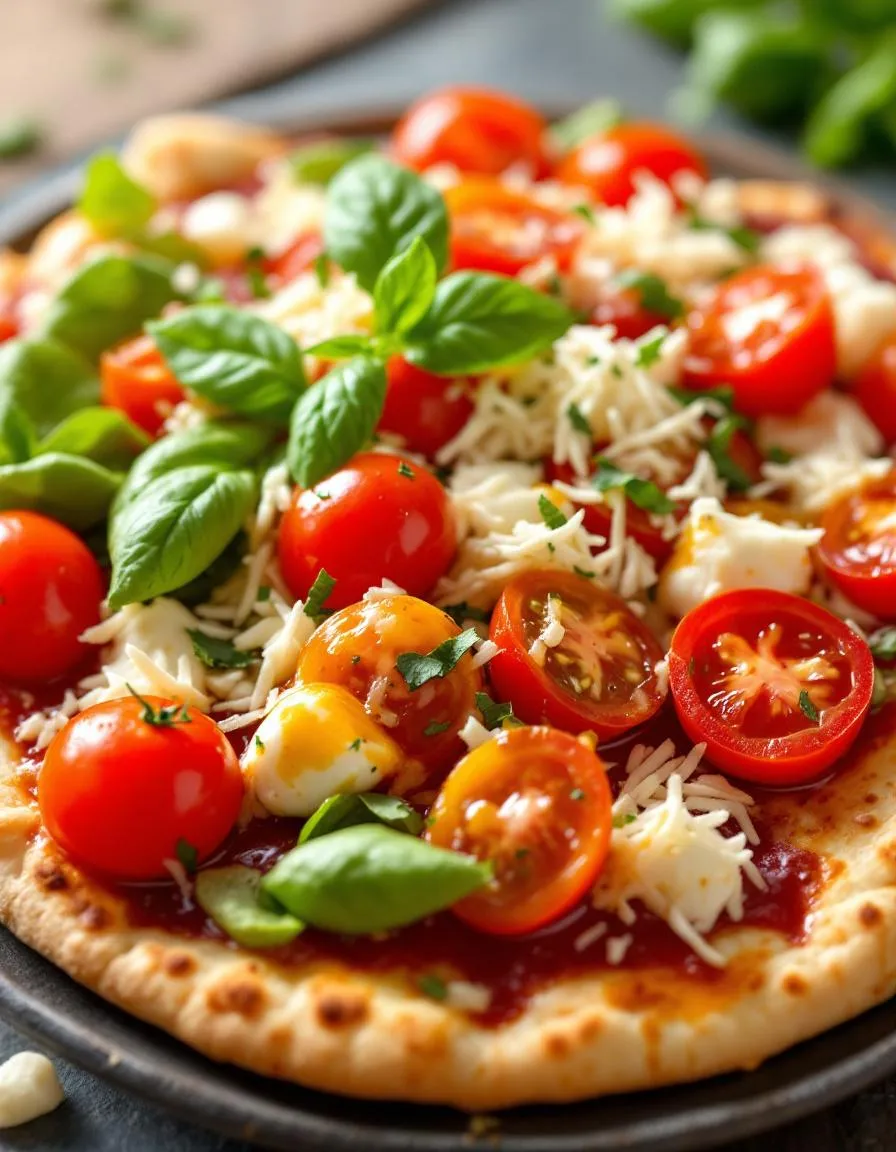
A fresh and flavorful salad inspired by classic pizza toppings, perfect for a light meal or side dish.
Ingredients
For the Crust:
- 4 cups chopped romaine lettuce
- 1 cup cherry tomatoes, halved
- 1/2 cup sliced black olives
- 1/2 cup sliced pepperoni
- 1/2 cup shredded mozzarella cheese
- 1/4 cup thinly sliced red onion
- 1/4 cup grated Parmesan cheese
- 1/4 cup Italian dressing
Instructions
1. Prepare the Crust:
- In a large bowl, combine the romaine lettuce, cherry tomatoes, black olives, pepperoni, mozzarella cheese, and red onion.
- Drizzle the Italian dressing over the salad and toss gently to combine.
- Sprinkle the grated Parmesan cheese on top before serving.
Notes
You can customize the seasonings to taste.
Best Pizza Salad – Fresh and Flavorful Recipe
There’s something magical about combining the comfort of pizza with the crisp freshness of a salad. This Pizza Salad is the perfect marriage of both worlds—loaded with vibrant veggies, savory toppings, and just the right amount of cheesy goodness. It’s a dish that feels indulgent yet light, and it’s always a hit at my table!
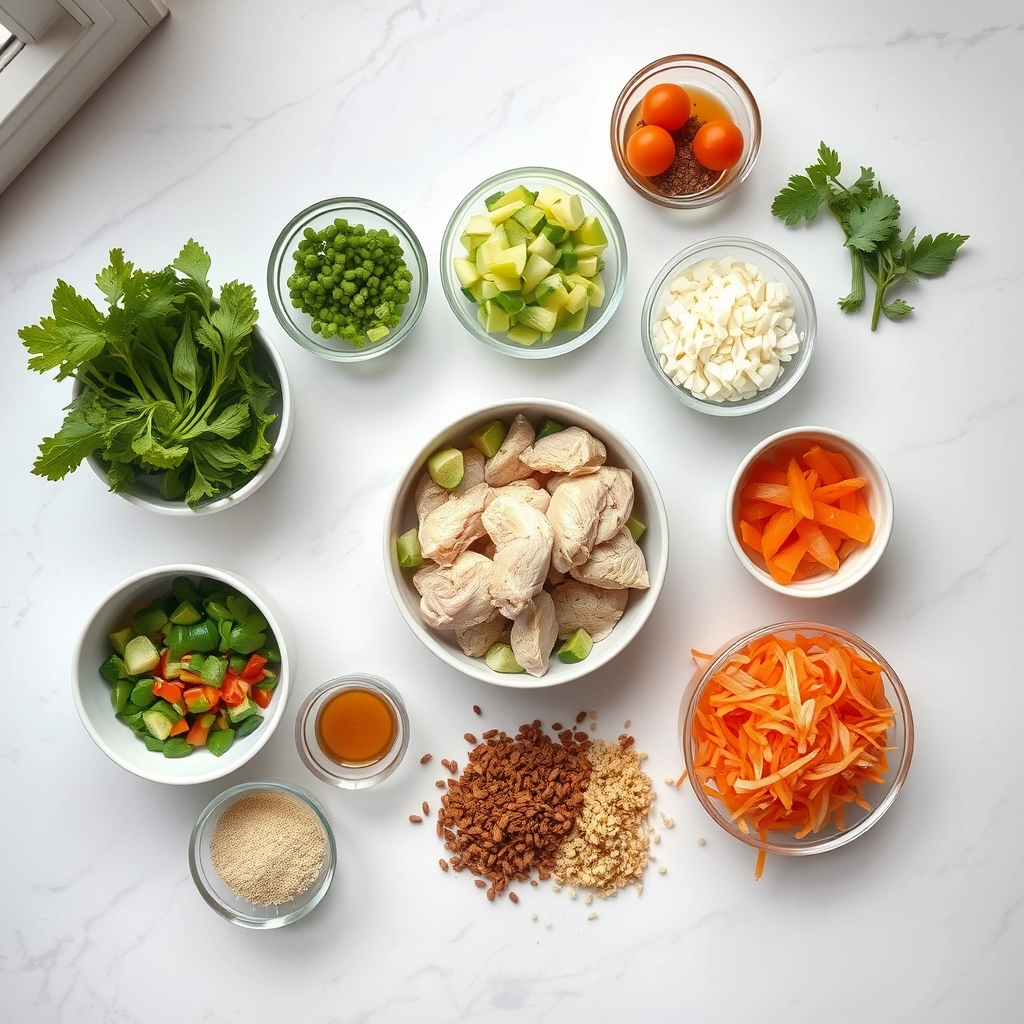
Ingredients You’ll Need
- 1 large romaine lettuce head – Crisp, fresh, and the perfect base for our salad. Tear the leaves by hand for that rustic feel!
- 1 cup cherry tomatoes, halved – Sweet and juicy, they add a pop of color and freshness.
- ½ red onion, thinly sliced – Soak them in cold water for 10 minutes if you want to mellow out the sharpness.
- 1 cup mini pepperoni slices – Because what’s pizza without a little pepperoni? You can also use turkey pepperoni for a lighter option.
- ½ cup black olives, sliced – Briny and bold, they bring that classic pizza flavor.
- 1 cup mozzarella pearls – These little bites of creamy cheese are a dream. Freshly shredded mozzarella works too!
- ¼ cup grated Parmesan cheese – A sprinkle of nutty, salty goodness to finish it off.
- 1 cup croutons – Homemade or store-bought, they add that irresistible crunch.
- ½ cup Italian dressing – Tangy, herby, and the perfect drizzle. I love making my own, but a good store-bought one works in a pinch!
Let’s Make the Best Pizza Salad Together
This recipe comes together in minutes, making it perfect for busy weeknights or last-minute gatherings. Here’s how I like to layer all those delicious flavors:
- Prep the greens. Wash and dry the romaine thoroughly—no one likes a soggy salad! Tear the leaves into bite-sized pieces and add them to a large serving bowl.
- Add the veggies. Scatter the cherry tomatoes, red onion, and black olives over the lettuce. I like to arrange them in little pockets so every bite gets a bit of everything.
- Bring on the pizza toppings. Sprinkle the mini pepperoni and mozzarella pearls evenly over the salad. If you’re feeling fancy, you can even warm the pepperoni slightly for that just-out-of-the-oven feel.
- Crunch time! Toss in the croutons and give everything a gentle mix. I always save a few croutons to sprinkle on top for extra texture.
- Dress it up.