When Life Gives You Lemons (and Chicken Thighs)
There’s something magical about a meal that comes together in one pan, isn’t there? Especially on those evenings when the daylight fades too quickly and you’re craving something bright, comforting, and utterly fuss-free. That’s exactly how this Lemon Garlic Butter Chicken and Green Beans Skillet was born in my kitchen last Tuesday – when my energy was low but my hunger was high, and the lemons in my fruit bowl were practically begging to be used.
Ingredients That Sing Together
- 4 bone-in, skin-on chicken thighs – The golden, crispy skin is worth every calorie, trust me.
- 1 lb fresh green beans – Look for the slender, crisp ones that snap when bent.
- 3 garlic cloves – Minced finely, because we want that flavor in every bite.
- 1 lemon – We’ll use both the zest and juice for maximum citrusy brightness.
- 4 tbsp unsalted butter – Divided, because some will help us cook, some will make the sauce luxurious.
- 1/2 cup chicken broth – Homemade if you have it, but good quality store-bought works too.
- 1 tsp smoked paprika – My secret weapon for depth of flavor.
- Fresh thyme sprigs – About 5-6, plus extra for garnish because we eat with our eyes first.
- Salt & freshly ground black pepper – To taste, but don’t be shy with the seasoning.
Let’s Make Some Magic
Step 1: The Chicken Dance
Pat your chicken thighs completely dry – this is the golden rule for crispy skin. Season generously with salt, pepper, and that lovely smoked paprika. Let them sit at room temperature for about 15 minutes while you prep everything else. (This little wait makes all the difference!)
Step 2: Butter Up
Melt 2 tablespoons of butter in your trusty cast iron or heavy skillet over medium-high heat. When it’s just beginning to foam, add the chicken thighs skin-side down. Resist the urge to move them! Let them develop that gorgeous golden crust for about 6-7 minutes.
Step 3: The Flip Side
When the skin releases easily from the pan (listen for that satisfying sizzle), flip the thighs and cook for another 4 minutes. Remove them to a plate – they’ll finish cooking later. Don’t worry about the pinkness; we’re building layers of flavor here.
Step 4: Green Bean Glory
In that same glorious pan (with all the chicken-y, buttery goodness), add the green beans. Toss them around for about 2 minutes until they turn bright green – we’re going for crisp-tender, not mushy. Push them to the sides to make a little well in the center…
Pro Tips, Variations, and Substitutions
This Lemon Garlic Butter Chicken and Green Beans Skillet is wonderfully adaptable to your taste and pantry staples. Here are some ways to make it your own:
- Protein Swap: Try boneless chicken thighs for extra juiciness, or even shrimp for a seafood twist.
- Veggie Variations: Asparagus, broccoli, or zucchini make excellent substitutes for green beans.
- Creamier Sauce: Stir in ¼ cup of heavy cream or coconut milk at the end for a richer sauce.
- Herb Boost: Fresh thyme or rosemary adds a lovely earthy note to complement the lemon.
- Spice It Up: Add a pinch of red pepper flakes if you like a little heat.
What to Serve With Your Skillet Chicken
This dish is a complete meal on its own, but here are some delicious pairings if you’d like to round it out:
- Fluffy jasmine rice or quinoa to soak up the delicious sauce
- Crusty bread for mopping up every last bit of lemon garlic butter
- A simple arugula salad with shaved parmesan
- Roasted baby potatoes for a heartier meal
Storage and Reheating Tips
Leftovers (if you’re lucky enough to have any!) keep beautifully:
- Store in an airtight container in the refrigerator for up to 3 days.
- For best results when reheating, warm gently in a skillet over medium-low heat with a splash of chicken broth to refresh the sauce.
- You can also microwave in 30-second intervals, stirring between each.
- I don’t recommend freezing as the green beans may become mushy upon thawing.
Frequently Asked Questions
Can I use frozen green beans?
Absolutely! Just thaw and pat them dry before adding to the skillet to prevent excess moisture.
How do I know when the chicken is cooked through?
The safest way is to use a meat thermometer – chicken is done at 165°F (74°C). If you don’t have one, cut into the thickest piece – the juices should run clear with no pink.
Can I make this dairy-free?
Yes! Substitute the butter with olive oil or dairy-free butter, and omit the parmesan garnish.
What if my sauce is too thin?
Let it simmer uncovered for a few extra minutes to reduce, or mix 1 teaspoon cornstarch with 1 tablespoon cold water and stir it in to thicken.
A Cozy Meal to Warm the Heart
There’s something so comforting about a skillet meal that comes together with minimal fuss but delivers maximum flavor. The bright lemon, savory garlic, and rich butter create a sauce you’ll want to savor with every bite. Whether it’s a busy weeknight or a lazy weekend, this Lemon Garlic Butter Chicken and Green Beans Skillet is sure to become one of those go-to recipes that feels like a warm hug at the end of the day. Don’t be surprised if your family asks for seconds – and maybe even thirds!
Print
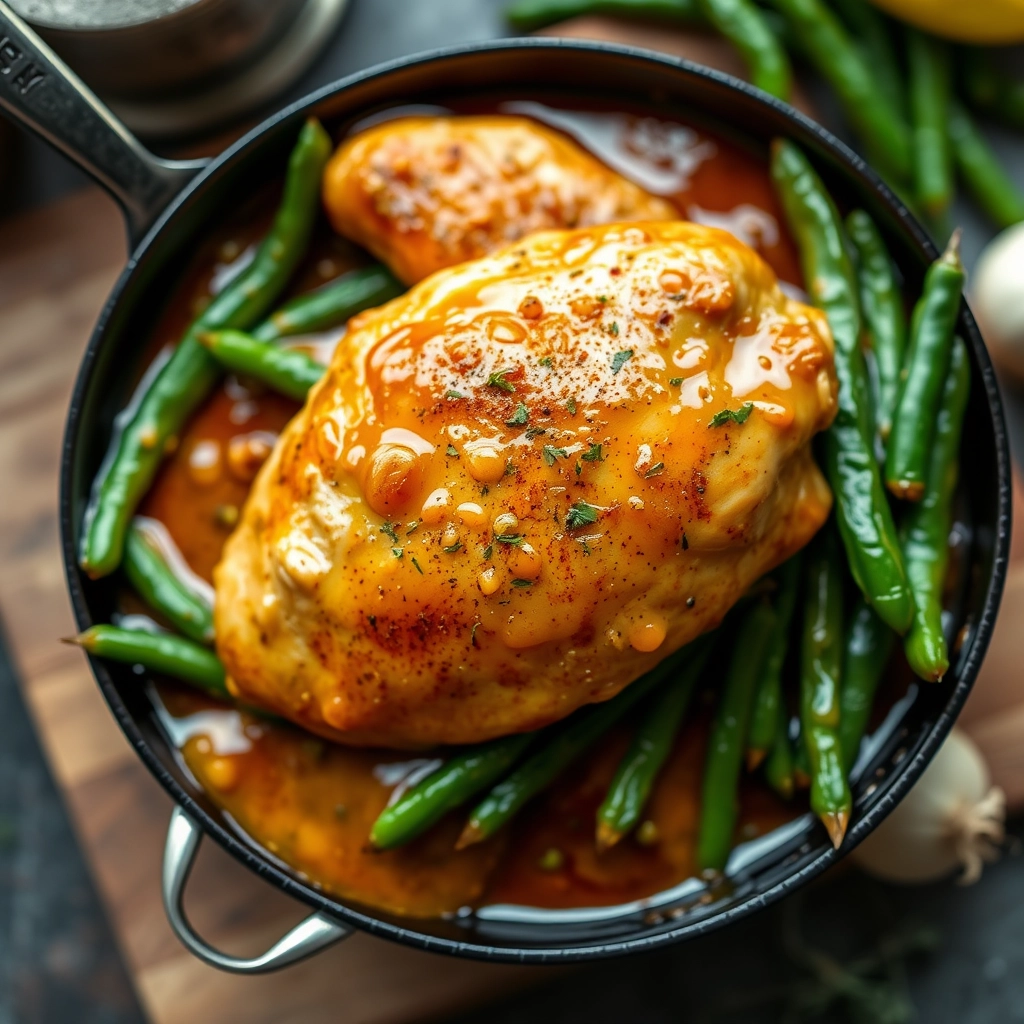
Lemon Garlic Butter Chicken and Green Beans Skillet
Description
A one-pan meal featuring tender chicken and crisp green beans in a rich lemon garlic butter sauce.
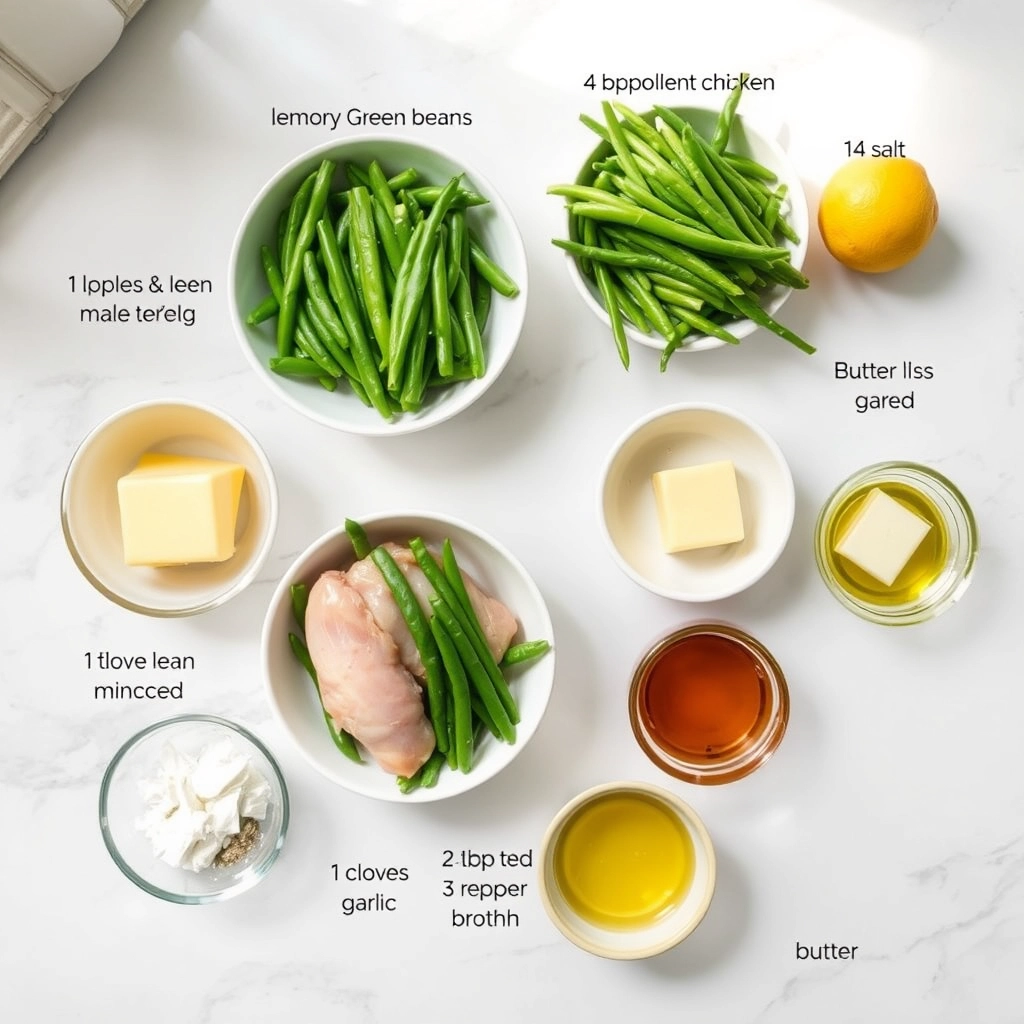
Ingredients
For the Crust:
- 4 boneless, skinless chicken breasts
- 1 lb fresh green beans, trimmed
- 3 tbsp butter
- 4 cloves garlic, minced
- 1 lemon, juiced and zested
- 1/2 tsp salt
- 1/4 tsp black pepper
- 1/4 tsp red pepper flakes (optional)
- 2 tbsp olive oil
- 1/4 cup chicken broth
Instructions
1. Prepare the Crust:
- Season chicken breasts with salt and black pepper.
- Heat olive oil in a large skillet over medium-high heat. Add chicken and cook for 5-6 minutes per side until golden and cooked through. Remove and set aside.
- In the same skillet, melt butter. Add garlic and sauté for 30 seconds until fragrant.
- Add green beans and cook for 4-5 minutes, stirring occasionally, until crisp-tender.
- Pour in chicken broth and lemon juice, scraping up any browned bits from the pan. Simmer for 2 minutes.
- Return chicken to the skillet, spooning sauce over it. Sprinkle with lemon zest and red pepper flakes if using. Cook for 1-2 more minutes to heat through.
Notes
You can customize the seasonings to taste.