This super moist banana bread recipe is easy to make and full of rich banana flavor, just like the best banana bread recipes you love. Perfect for beginners, with simple baking tips for soft, fluffy results every time. Start exploring
Print

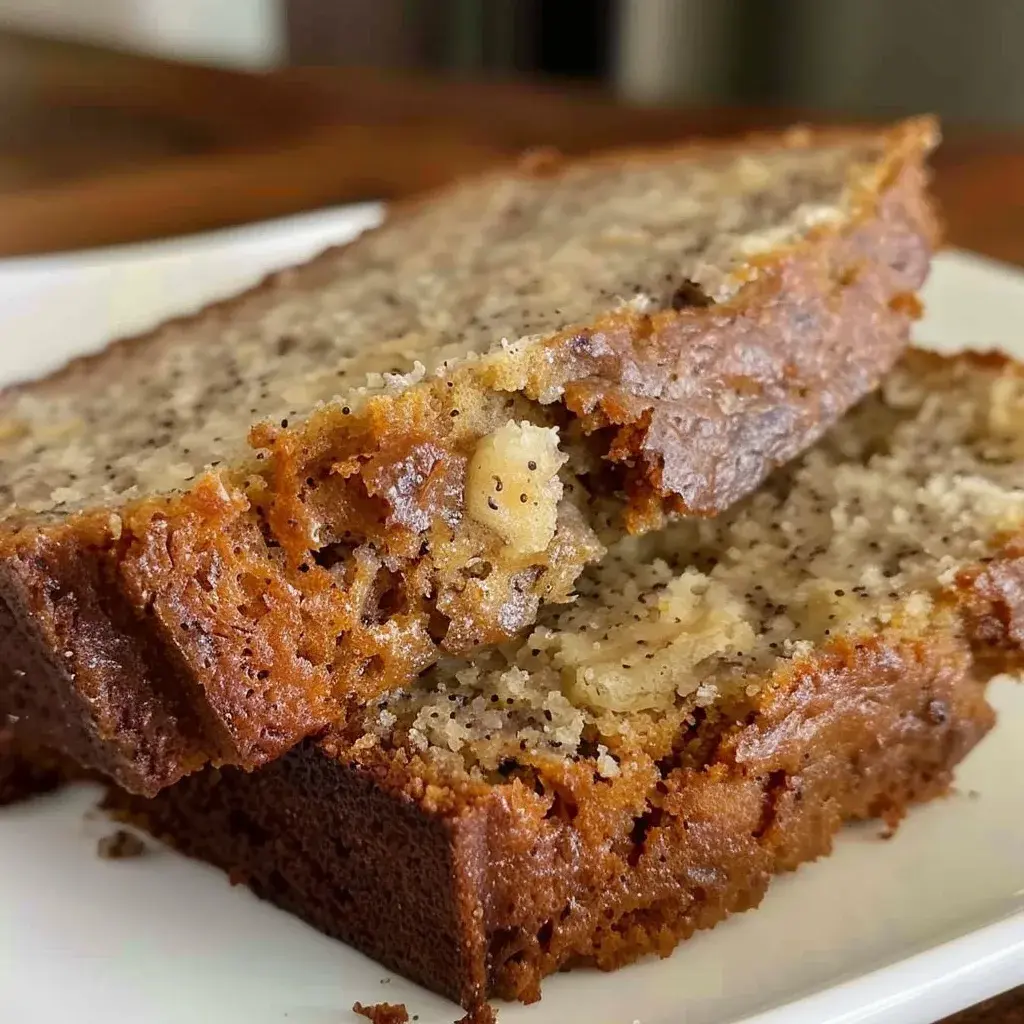
Easy Banana Bread Recipe Thats Moist, Soft, and Foolproof
Description
This easy banana bread recipe makes a soft, moist, and flavorful loaf using simple pantry ingredients and one bowl. Its perfect for breakfast, snacks, or dessert and works beautifully with add-ins like chocolate chips or nuts. Whether youre a beginner baker or just craving something cozy, this banana bread delivers every time.
Ingredients
- 3 ripe bananas, mashed
- ½ cup unsalted butter, melted
- ¾ cup brown sugar
- 2 large eggs
- 1 teaspoon vanilla extract
- 1 teaspoon baking soda
- ½ teaspoon salt
- 1 ½ cups all-purpose flour
- ¾ cup chocolate chips
- ½ cup chopped walnuts or pecans
Instructions
- Preheat oven to 350°F and grease a 9×5-inch loaf pan.
- In a large bowl, mash bananas until mostly smooth.
- Stir in melted butter, brown sugar, eggs, and vanilla until well combined.
- Sprinkle baking soda and salt over the mixture, then gently mix.
- Add flour and fold until just combined. Do not overmix.
- Fold in chocolate chips or nuts if using.
- Pour batter into prepared pan and smooth the top.
- Bake for 5060 minutes, or until a toothpick inserted in the center comes out clean.
- Cool in the pan for 10 minutes, then transfer to a wire rack to cool completely before slicing.
Notes
Use very ripe bananas with brown spots for the best flavor and moisture.
Dont overmix the batter once the flour is added, or the bread may turn dense.
Check for doneness at 50 minutes since oven temperatures vary.
For extra moisture, replace one egg with ¼ cup Greek yogurt or sour cream.
Let the bread cool before slicing to prevent crumbling.