Garlic Butter Steak Bites and Potatoes: A Cozy One-Pan Wonder
There’s something deeply comforting about the sizzle of steak hitting a hot pan, the way the aroma of garlic and butter fills the kitchen, and the promise of a meal that feels indulgent yet effortless. This recipe for Garlic Butter Steak Bites and Potatoes is my go-to on evenings when I crave something hearty but don’t want to fuss over multiple dishes. It’s the kind of meal that makes you pause, take a deep breath, and savor every bite—especially when shared with someone you love.
I first stumbled upon this dish during a particularly chaotic week. The fridge was nearly bare, save for a small sirloin steak and a handful of baby potatoes. Desperation led to inspiration, and before I knew it, I was swirling butter, garlic, and herbs into a golden pool of deliciousness. The result? A one-pan wonder that’s since earned a permanent spot in my dinner rotation.
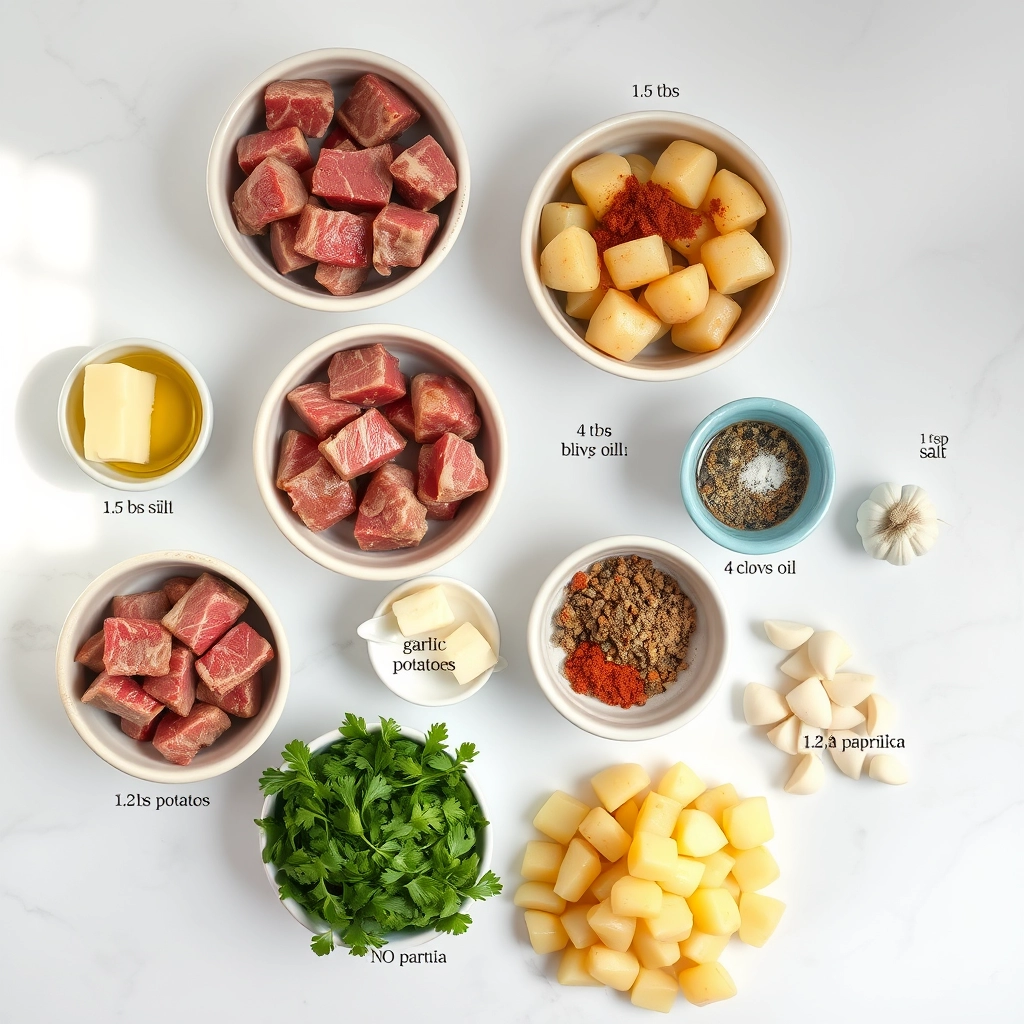
Ingredients You’ll Need
- 1 lb sirloin steak – Cut into bite-sized pieces. Sirloin is tender and flavorful, but feel free to use ribeye or filet mignon if you’re feeling fancy.
- 1 lb baby potatoes – Halved or quartered depending on size. Their creamy texture is perfect for soaking up all that garlic butter goodness.
- 4 tbsp unsalted butter – Because everything is better with butter, especially when it’s melted and infused with garlic.
- 4 cloves garlic – Minced. Don’t skimp—this is the star of the show!
- 1 tbsp olive oil – For searing the steak and potatoes to golden perfection.
- 1 tsp smoked paprika – Adds a subtle warmth and depth of flavor.
- 1 tsp dried thyme – Or fresh if you have it! Rosemary works beautifully too.
- Salt and freshly ground black pepper – To taste. Season generously—this is key to building layers of flavor.
- Fresh parsley – Chopped, for a bright, fresh finish.
Let’s Get Cooking
1. Prep the potatoes: Start by parboiling your baby potatoes. Bring a pot of salted water to a boil, add the potatoes, and cook for about 8-10 minutes until just fork-tender. Drain and set aside. This step ensures they’ll crisp up beautifully in the pan later.
2. Sear the steak bites: Heat a large skillet (I love using cast iron for this) over medium-high heat and add a drizzle of olive oil. Pat the steak bites dry with a paper towel—this helps them sear, not steam—then season generously with salt, pepper, and smoked paprika. Add them to the hot skillet in a single layer, letting them develop a deep golden crust for about 2 minutes per side. Remove and set aside on a plate. Don’t worry if they’re not fully cooked yet; they’ll finish later.
3. Cook the potatoes: In the same skillet, add a bit more oil if needed, then toss in the parboiled potatoes. Let them cook undisturbed for a few minutes to develop a crispy exterior, then sprinkle with thyme, salt, and pepper. Stir occasionally until they’re golden and irresistible.
4. Bring it all together: Reduce the heat to medium and add the butter and minced garlic to the skillet with the potatoes. Let the butter melt and the garlic become fragrant—about 30 seconds—then return the steak bites to the pan. Toss everything together, letting the steak soak up all that garlicky, buttery goodness for another minute or two until cooked to your desired doneness.
Pro Tips, Variations, and Substitutions
Making the perfect garlic butter steak bites and potatoes is all about personalization! Here are some ways to tweak this dish to make it your own:
- Cut of Steak: While sirloin is budget-friendly and delicious, you can also use ribeye or filet mignon for extra tenderness.
- Potato Swap: Not a fan of baby potatoes? Try sweet potatoes or even cauliflower for a low-carb twist.
- Herb Boost: Fresh rosemary or thyme can add an earthy depth to the garlic butter sauce.
- Spice It Up: A pinch of red pepper flakes will give this dish a subtle kick.
What to Serve With Garlic Butter Steak Bites and Potatoes
This dish is hearty on its own, but pairing it with the right sides can turn it into a full feast. Here are a few favorites:
- Crisp Green Salad: A simple arugula or spinach salad with lemon vinaigrette balances the richness.
- Garlic Bread: Because you can never have too much garlic!
- Roasted Veggies: Asparagus or Brussels sprouts roasted in the same pan add color and nutrition.
- Glass of Red Wine: A bold Cabernet Sauvignon or Malbec pairs beautifully with the savory steak.
Storage and Reheating Tips
Leftovers? No problem! Here’s how to keep your steak bites and potatoes tasting fresh:
- Storage: Place in an airtight container and refrigerate for up to 3 days.
- Reheating: Warm in a skillet over medium heat with a splash of broth or water to keep the steak tender. Avoid the microwave, as it can make the meat rubbery.
- Freezing: While possible, the potatoes may lose some texture. If freezing, store in a freezer-safe bag for up to 2 months.
Frequently Asked Questions
Can I use frozen steak for this recipe?
Yes, but thaw it completely and pat it dry before cooking to ensure a good sear.
Can I make this dish ahead of time?
The potatoes can be par-cooked in advance, but the steak is best cooked fresh for optimal tenderness.
What if I don’t have fresh garlic?
Garlic powder (about ½ teaspoon) can work in a pinch, but fresh garlic delivers the best flavor.
How do I prevent the steak from overcooking?
Use a meat thermometer—130°F for medium-rare, 140°F for medium—and let the steak rest before serving.
Final Thoughts
There’s something undeniably comforting about tender steak bites and golden potatoes swimming in garlic butter. Whether you’re cooking for a weeknight dinner or impressing guests, this dish is a guaranteed crowd-pleaser. The best part? It’s simple enough for beginners but feels indulgent every time. So grab your skillet, pour yourself a glass of wine, and savor every bite—you deserve it!
Print
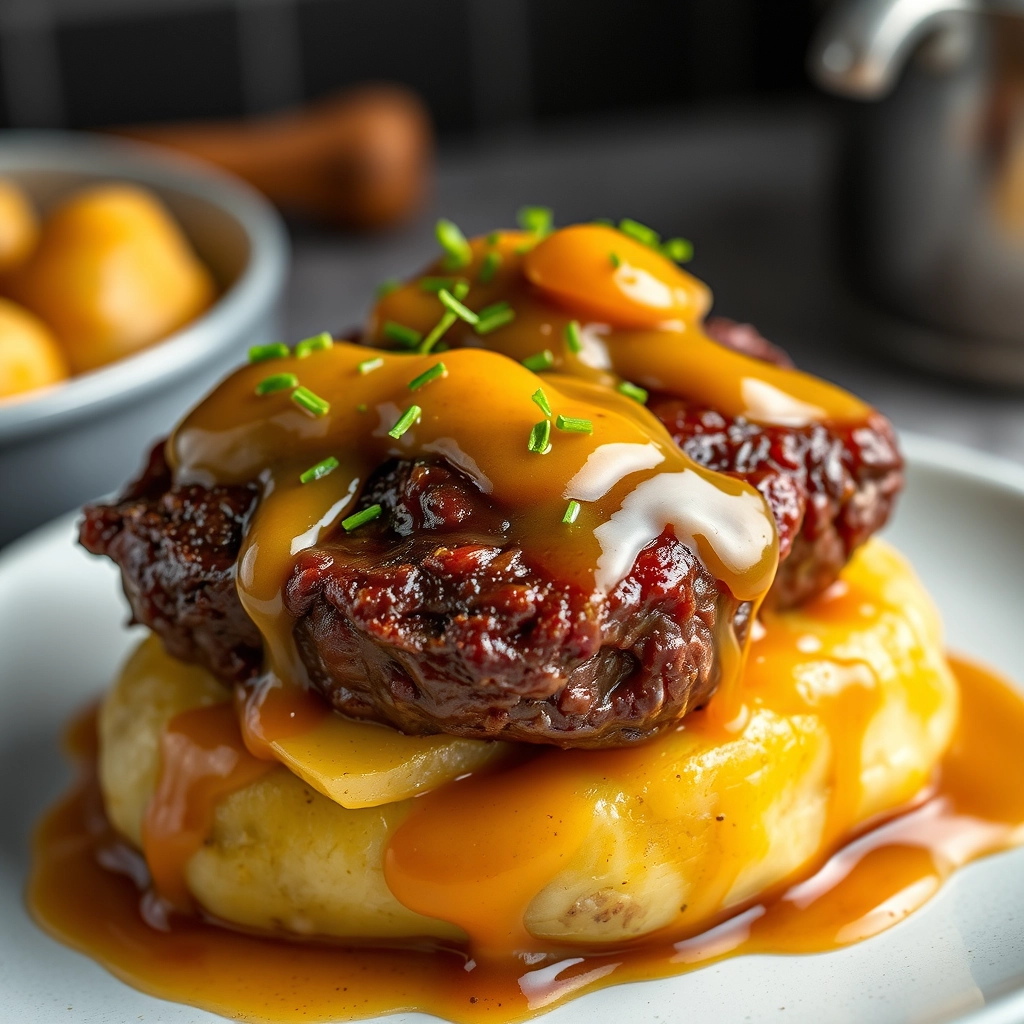
Garlic Butter Steak Bites and Potatoes
Description
Juicy steak bites and crispy potatoes cooked in a rich garlic butter sauce for a flavorful and satisfying meal.
Ingredients
For the Crust:
- 1.5 lbs sirloin steak, cut into bite-sized pieces
- 1.5 lbs baby potatoes, halved
- 4 tbsp unsalted butter
- 4 cloves garlic, minced
- 1 tbsp olive oil
- 1 tsp dried thyme
- 1 tsp dried rosemary
- Salt and pepper to taste
- Fresh parsley, chopped (for garnish)
Instructions
1. Prepare the Crust:
- Preheat oven to 400°F (200°C). Toss potatoes with olive oil, thyme, rosemary, salt, and pepper. Spread on a baking sheet and roast for 20 minutes.
- While potatoes roast, season steak bites with salt and pepper. Heat a large skillet over medium-high heat and sear steak bites for 2-3 minutes per side until browned. Remove from skillet and set aside.
- In the same skillet, melt butter over medium heat. Add minced garlic and sauté for 1 minute until fragrant.
- Return steak bites to the skillet and toss in the garlic butter. Add roasted potatoes and stir to coat everything evenly.
- Garnish with fresh parsley and serve immediately.
Notes
You can customize the seasonings to taste.