Spinach Stuffed Chicken Breasts: A Cozy, Wholesome Dinner That Feels Like a Hug
There’s something deeply comforting about a meal that’s both nourishing and indulgent—like a warm embrace at the end of a long day. That’s exactly how I felt the first time I made these Spinach Stuffed Chicken Breasts. It was one of those evenings when the rain tapped gently against the kitchen window, and all I craved was something wholesome yet satisfying. This dish, with its golden-brown crust and creamy spinach filling, delivered just that. And the best part? It’s low-carb, packed with protein, and feels like a treat without any guilt. Let me show you how to make it!
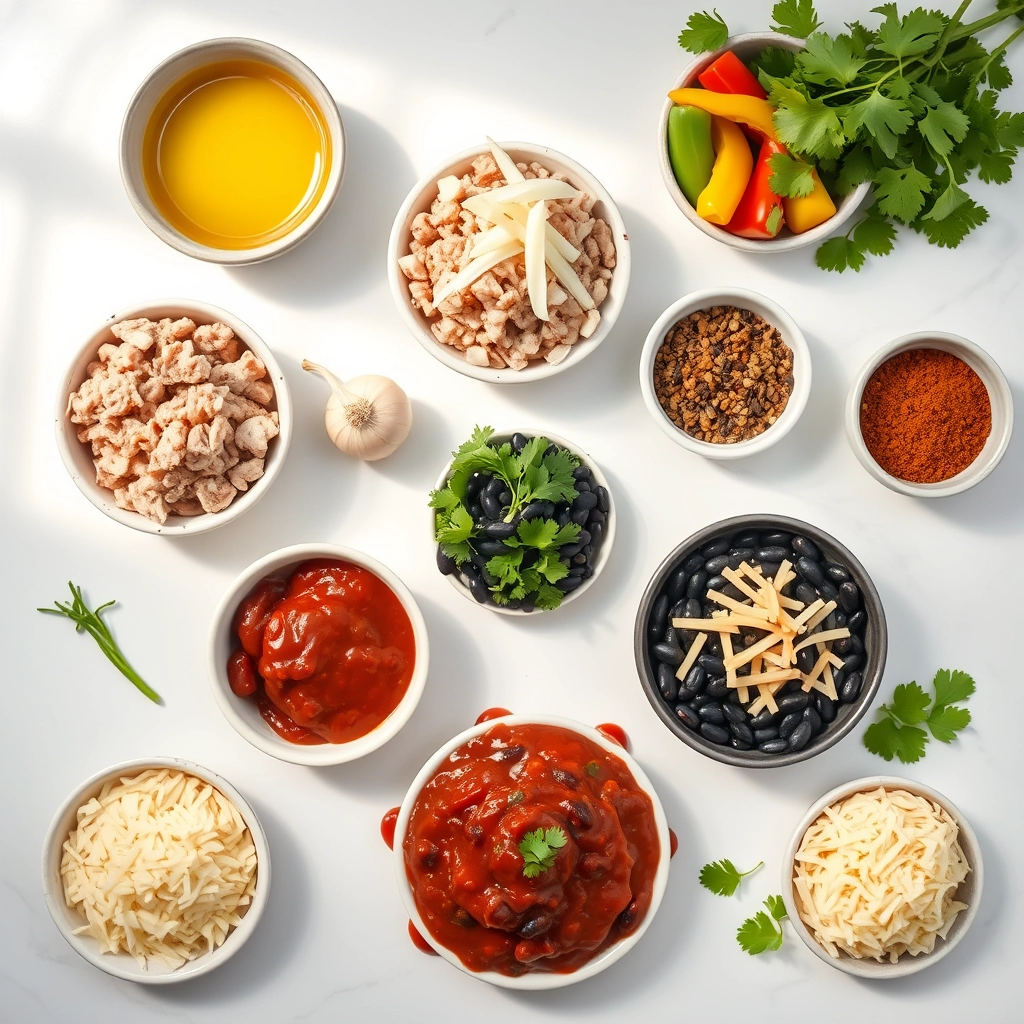
Ingredients You’ll Need
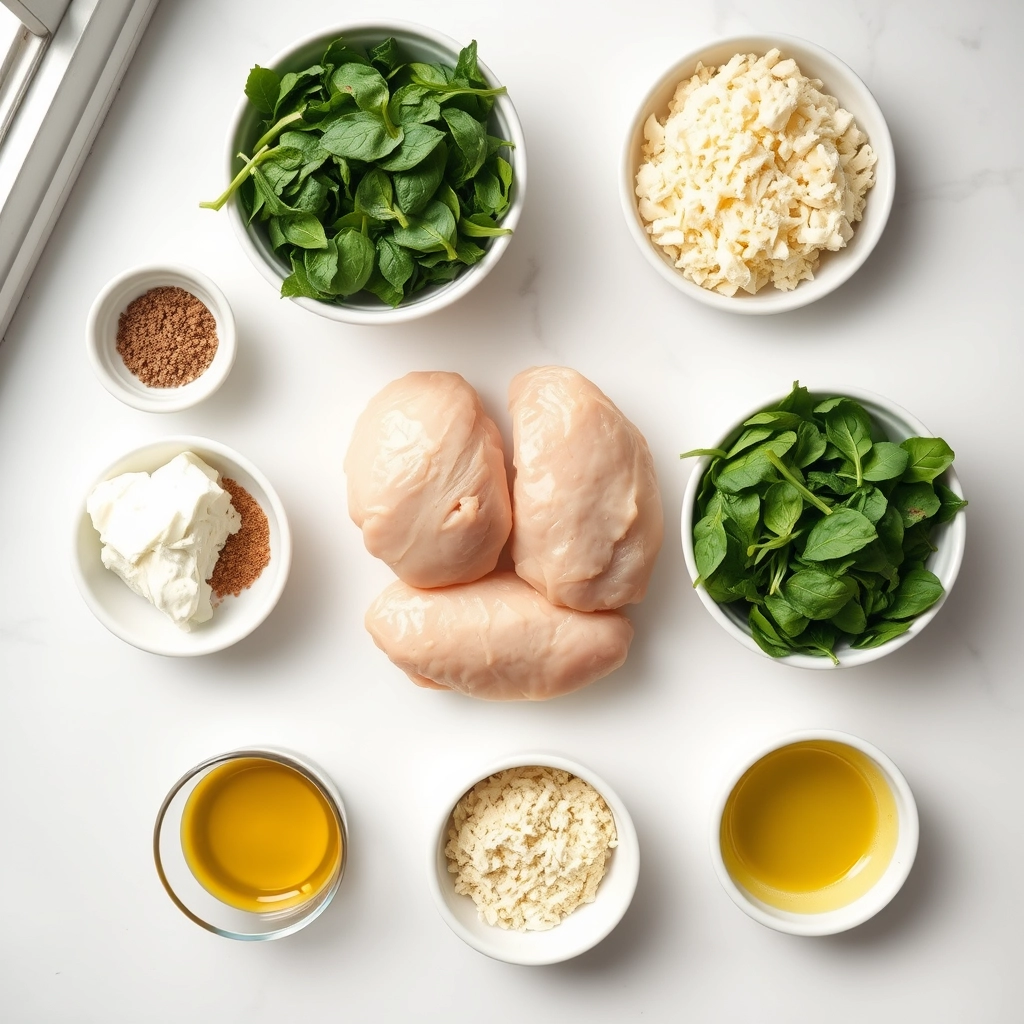
Before we dive into the steps, let’s gather our ingredients. I love how simple yet flavorful this recipe is—most of these are pantry staples or easy to find fresh at the market.
- 4 boneless, skinless chicken breasts – Look for plump, evenly sized ones so they cook uniformly.
- 2 cups fresh spinach – Baby spinach works beautifully here, but regular spinach (stems removed) is just as good.
- 4 oz cream cheese, softened – This adds a luscious creaminess to the filling. If you’re dairy-free, a plant-based cream cheese works too!
- 1/2 cup shredded mozzarella – For that irresistible cheesy pull. A sharp cheddar or feta would also be lovely.
- 2 cloves garlic, minced – Because garlic makes everything better, doesn’t it?
- 1 tsp Italian seasoning – A little herbaceous magic to tie it all together.
- Salt and pepper to taste – Don’t skimp on seasoning—it’s the soul of the dish!
- 1 tbsp olive oil – For searing the chicken to golden perfection.
- 1/4 cup grated Parmesan – A sprinkle on top adds a delightful crunch.
Step-by-Step: Crafting Your Stuffed Chicken Masterpiece
Now, let’s get cooking! This recipe is surprisingly simple, but a few little tricks make all the difference.
- Prep the Chicken: Lay each breast flat on a cutting board. Using a sharp knife, carefully slice a pocket into the thickest part of the breast—think of it like opening a little book! Be sure not to cut all the way through. (Tip: If you’re nervous about slicing, you can also pound the chicken slightly thinner and roll the filling inside.)
- Wilt the Spinach: In a pan over medium heat, sauté the spinach with a splash of water until just wilted—about 2 minutes. Drain any excess liquid and let it cool slightly. Squeeze out any extra moisture with your hands (this keeps the filling from getting watery).
- Make the Filling: In a bowl, mix the wilted spinach, cream cheese, mozzarella, garlic, Italian seasoning, salt, and pepper. Taste and adjust the seasoning—this is your chance to make it just right!
- Stuff & Secure: Spoon the spinach mixture into each chicken pocket, dividing it evenly. If your pockets are small, don’t overstuff—secure the openings with toothpicks to keep the filling from escaping during cooking.
And that’s where we’ll pause for now! In the next part, we’ll cover searing, baking, and serving this gorgeous dish—along with my favorite side pairings to round out the meal. But trust me, the aroma alone as this bakes is worth the wait.
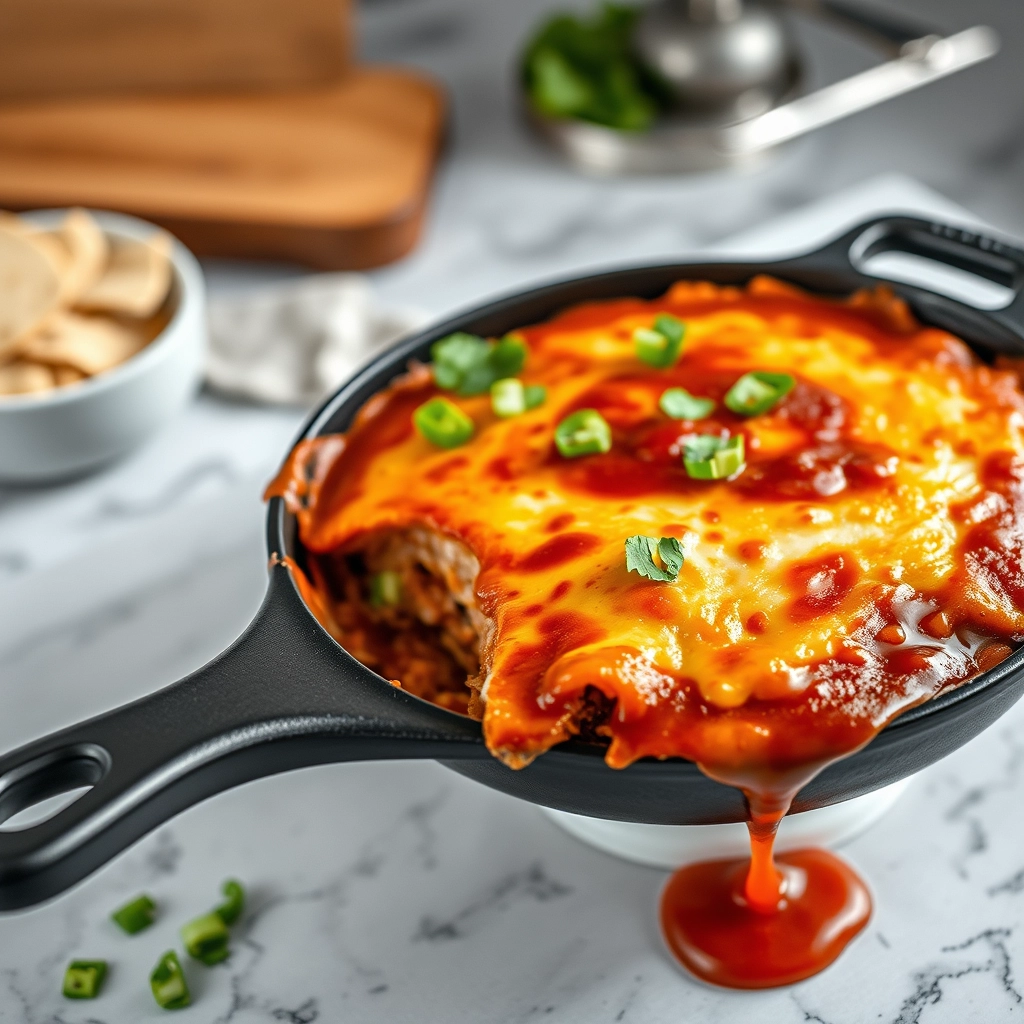
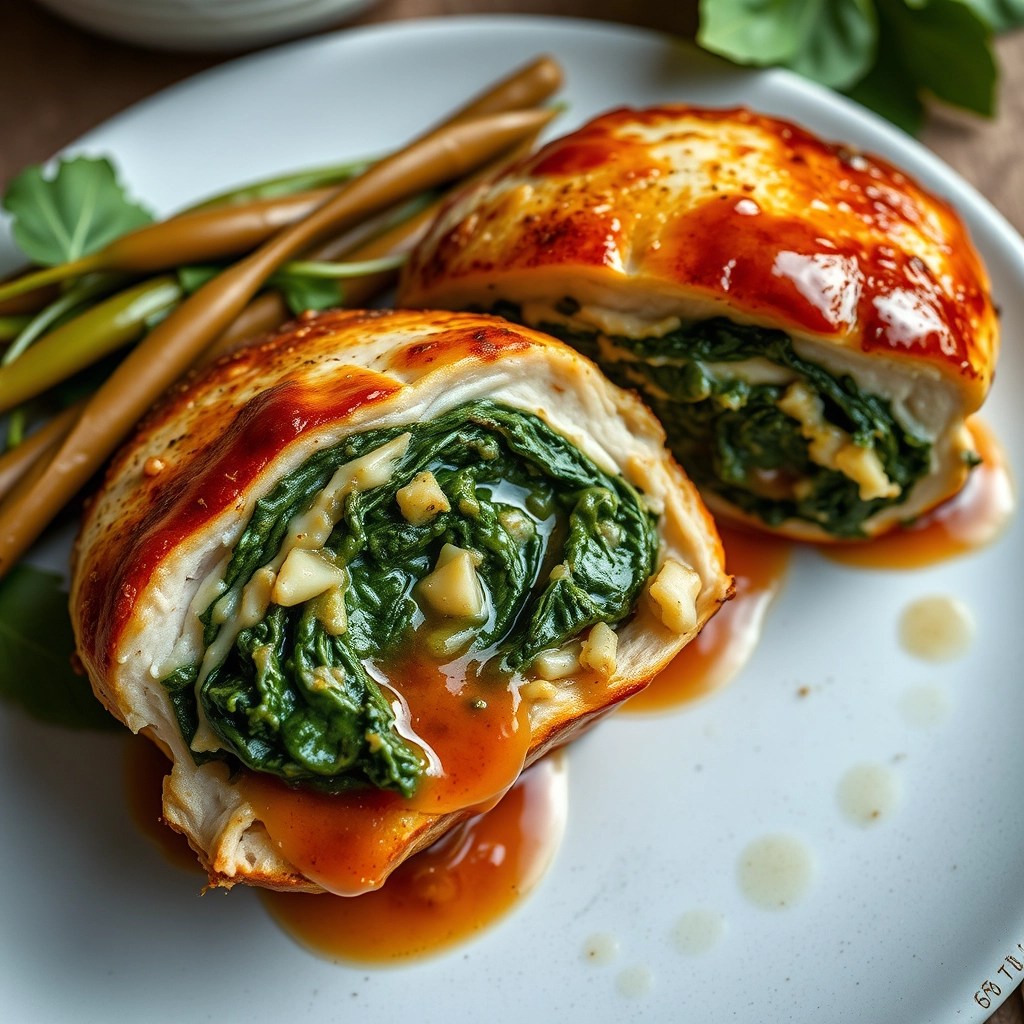
Spinach Stuffed Chicken Breasts – A Healthy Low Carb Dinner Option!
There’s something magical about cutting into a juicy chicken breast to reveal a vibrant spinach filling. This dish feels indulgent yet is packed with wholesome ingredients that’ll leave you satisfied without the carb overload. Let’s dive into making this recipe truly your own!
Pro Tips for Perfect Stuffed Chicken Every Time
- Butterfly like a pro: Place your palm flat on the chicken breast and slice horizontally, stopping about ½ inch from the edge. Imagine you’re opening a book!
- Pound it right: Use the smooth side of a meat mallet between plastic wrap to create an even thickness – about ¼ inch works best.
- Secure the goods: Toothpicks work, but kitchen twine gives a more professional finish if you’re serving guests.
- Rest before slicing: Let the chicken sit for 5 minutes after baking so the juices redistribute.
Delicious Variations to Try
This recipe is wonderfully adaptable:
- Cheese lovers: Add crumbled feta or shredded mozzarella to the spinach mixture
- Mediterranean twist: Mix in sun-dried tomatoes and kalamata olives
- Creamy version: Stir 2 tbsp cream cheese into the spinach filling
- Protein boost: Add chopped cooked bacon or pancetta
What to Serve With Your Stuffed Chicken
These pairings will complete your low-carb feast:
- Roasted asparagus with lemon zest
- Cauliflower mash with garlic
- A simple arugula salad with shaved parmesan
- Zucchini noodles tossed in pesto
- Roasted cherry tomatoes with fresh basil
Storing and Reheating Like a Pro
Leftovers? Lucky you! Here’s how to keep them tasty:
- Storage: Place in an airtight container for up to 3 days in the fridge
- Freezing: Wrap individually in foil, then place in freezer bags for up to 2 months
- Reheating: Cover with foil and warm at 350°F for 15-20 minutes until heated through
- Pro tip: Add a splash of chicken broth when reheating to keep it moist
Frequently Asked Questions
Can I use frozen spinach?
Absolutely! Just be sure to thaw it completely and squeeze out all excess moisture using a clean kitchen towel. Frozen spinach actually has less water content than fresh when prepared this way.
How do I know when the chicken is cooked through?
The safest method is using a meat thermometer – it should read 165°F at the thickest part. Visually, the juices should run clear when pierced with a knife.
Can I make this ahead of time?
You can prepare the stuffed chicken up to 24 hours in advance. Keep it covered in the fridge until ready to bake. You may need to add 5-10 minutes to the cooking time if going straight from refrigerator to oven.
What if my filling keeps falling out?
Try these tricks: don’t overstuff (about 2 tbsp per breast), chill the stuffed chicken for 30 minutes before cooking, and make sure your toothpicks or twine are securing the opening well.
Final Thoughts
This spinach stuffed chicken is proof that eating healthy doesn’t mean sacrificing flavor or satisfaction. Whether you’re cooking for a special date night or just treating yourself to a nourishing weeknight meal, this dish delivers on all fronts. The golden exterior gives way to that beautiful green surprise inside – a little culinary magic that never fails to delight. I’d love to hear how your version turns out, and what creative twists you add to make it your own. Happy cooking!
Print
Spinach Stuffed Chicken Breasts
Description
A healthy low carb dinner option featuring juicy chicken breasts stuffed with a creamy spinach and cheese filling.
Ingredients
For the Crust:
- 4 boneless, skinless chicken breasts
- 1 cup fresh spinach, chopped
- 1/2 cup cream cheese, softened
- 1/4 cup grated Parmesan cheese
- 1 tsp garlic powder
- 1 tsp onion powder
- 1/2 tsp salt
- 1/2 tsp black pepper
- 1 tbsp olive oil
Instructions
1. Prepare the Crust:
- Preheat oven to 375°F (190°C).
- In a bowl, mix together spinach, cream cheese, Parmesan cheese, garlic powder, onion powder, salt, and pepper.
- Cut a pocket into each chicken breast and stuff with the spinach mixture. Secure with toothpicks if needed.
- Heat olive oil in an oven-safe skillet over medium-high heat. Sear chicken for 2-3 minutes per side until golden brown.
- Transfer skillet to oven and bake for 20-25 minutes until chicken reaches 165°F (74°C) internally.
Notes
You can customize the seasonings to taste.