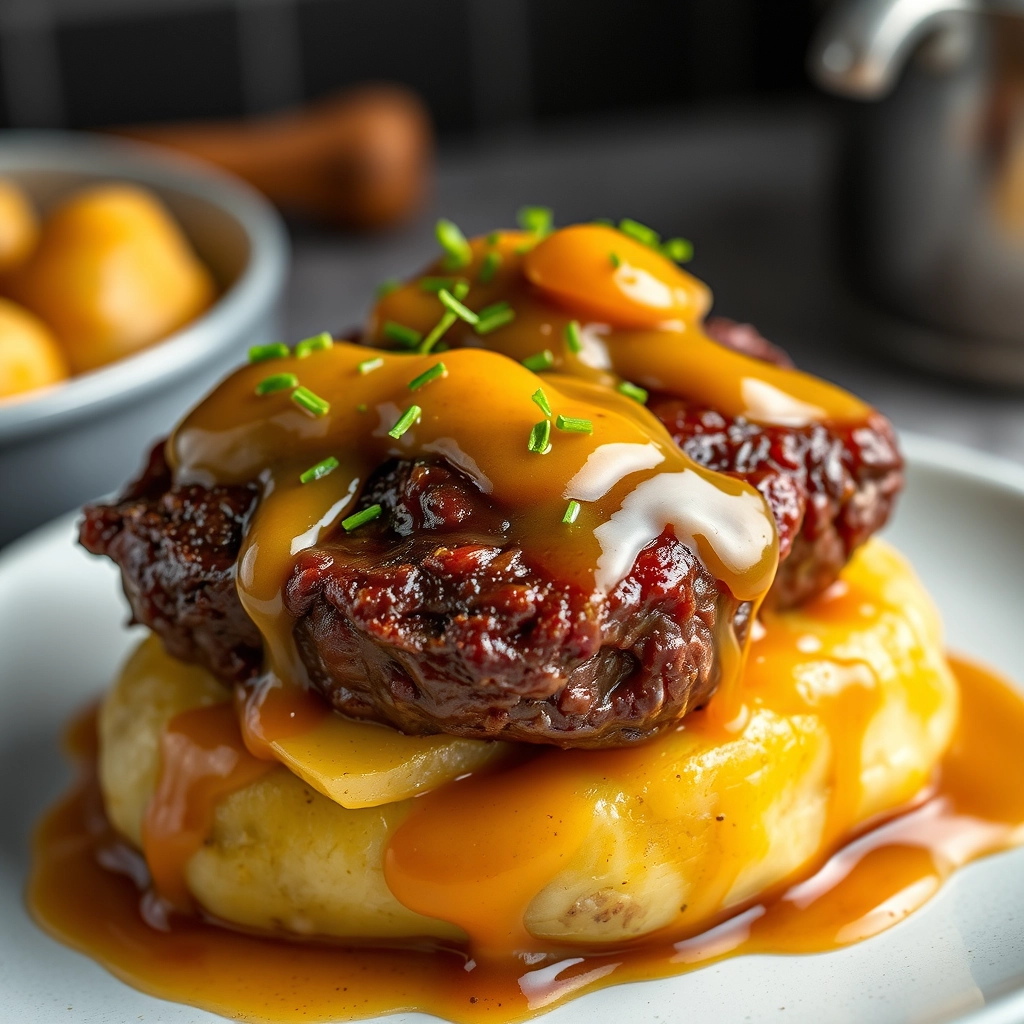
Honey Garlic Steak Bites: A Little Bite of Heaven
There’s something about bite-sized food that just feels indulgent, isn’t there? Maybe it’s the way you can pop one into your mouth without a second thought, or perhaps it’s the sheer joy of savoring every tiny, flavorful morsel. These Honey Garlic Steak Bites are exactly that—little pockets of juicy, caramelized perfection that disappear far too quickly. I first made them on a cozy Sunday evening when my husband and I were craving something hearty but didn’t want to fuss with a full steak dinner. One bite, and we were smitten. Now, they’re a regular in our weeknight rotation, and I have a feeling they’ll become a favorite in your home too.
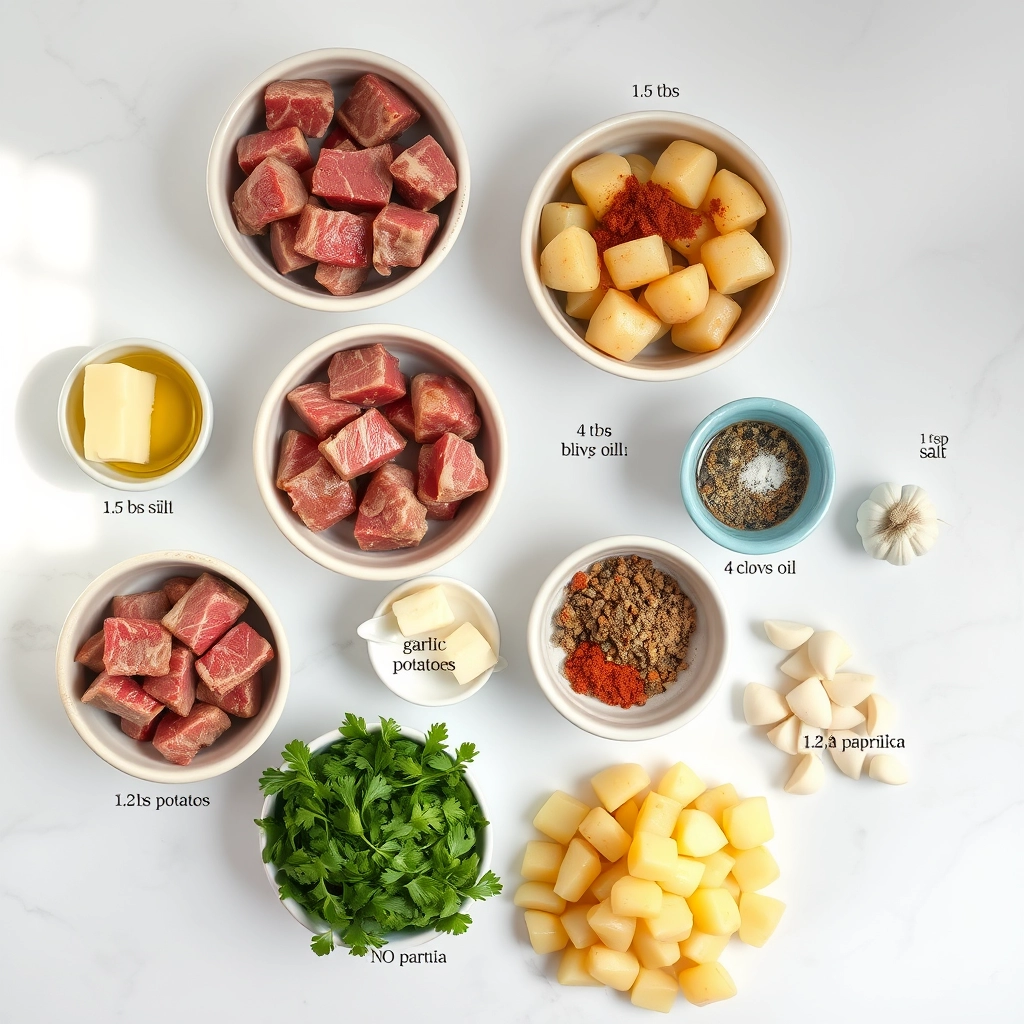
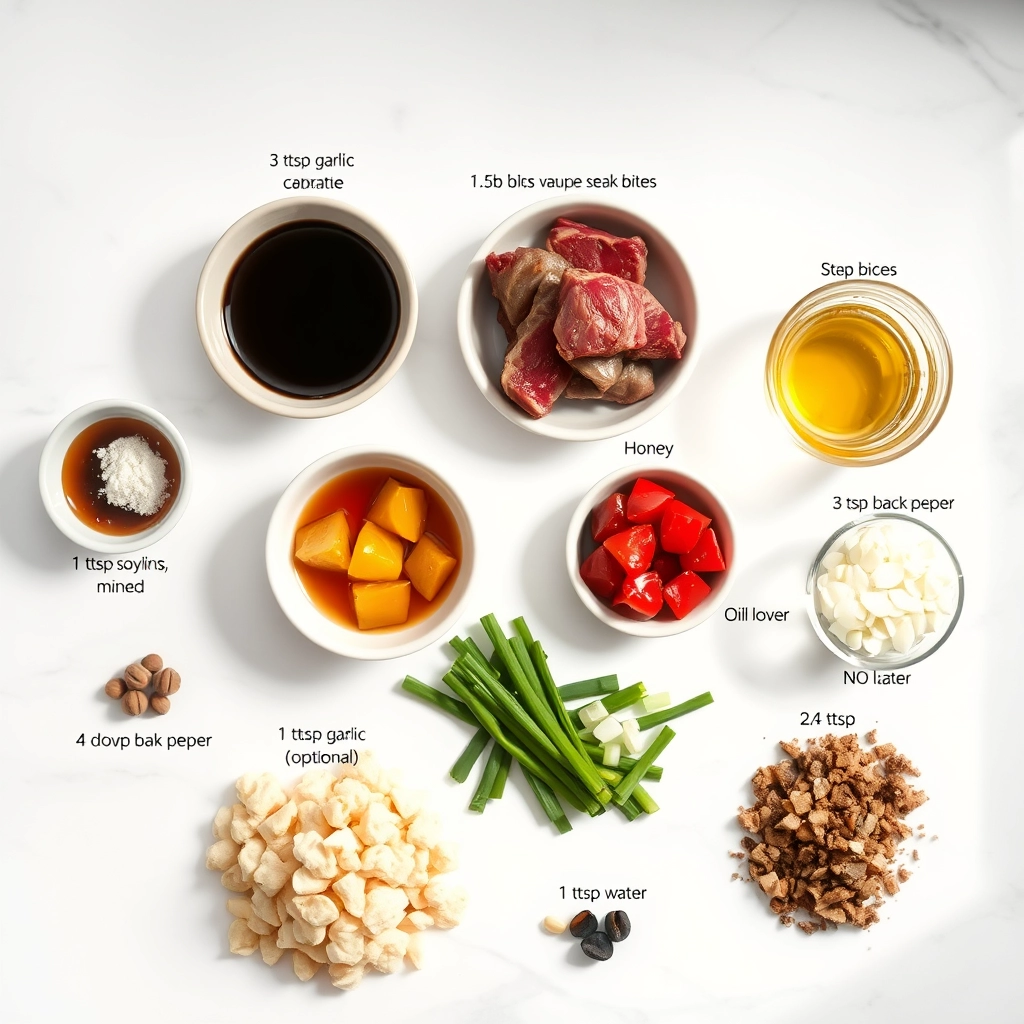
Ingredients You’ll Need
- 1.5 lbs sirloin steak – Cut into 1-inch cubes. Sirloin is my go-to for its balance of tenderness and flavor, but ribeye or tenderloin work beautifully too.
- 3 tbsp soy sauce – For that deep, savory umami base. If you’re gluten-free, tamari is a great substitute.
- 2 tbsp honey – The star of the show! It caramelizes into the most glorious sticky-sweet glaze.
- 4 cloves garlic – Minced. Because is there anything better than garlic sizzling in a pan?
- 1 tbsp olive oil – For searing those steak bites to golden perfection.
- 1 tsp red pepper flakes – Just a pinch for a gentle kick. Feel free to adjust to your spice preference.
- 1 tbsp butter – Because everything’s better with butter, especially when it melts into that honey garlic sauce.
- Salt & black pepper – To taste. Don’t be shy—seasoning is key!
- Fresh parsley (optional) – For a pop of color and freshness.
Let’s Get Cooking
1. Prep the steak. Pat your steak cubes dry with a paper towel—this helps them sear beautifully instead of steaming. Season generously with salt and black pepper. Trust me, this step makes all the difference!
2. Whisk the sauce. In a small bowl, combine the soy sauce, honey, minced garlic, and red pepper flakes. Give it a good stir until the honey dissolves into the mixture. The smell alone will have you swooning.
3. Sear the steak. Heat olive oil in a large skillet over medium-high heat. Once the oil is shimmering (but not smoking!), add the steak bites in a single layer. Don’t overcrowd the pan—work in batches if needed. Let them sear undisturbed for about 2 minutes per side until they develop a gorgeous crust. This is where the magic happens!
4. Add the sauce. Reduce the heat to medium and pour that luscious honey garlic mixture over the steak bites. Toss everything together, letting the sauce bubble and thicken for another minute or two. The aroma will be absolutely intoxicating.
5. Finish with butter. Right before taking the pan off the heat, swirl in that tablespoon of butter. It adds a silky richness that ties everything together. Give one last toss, and you’re done!
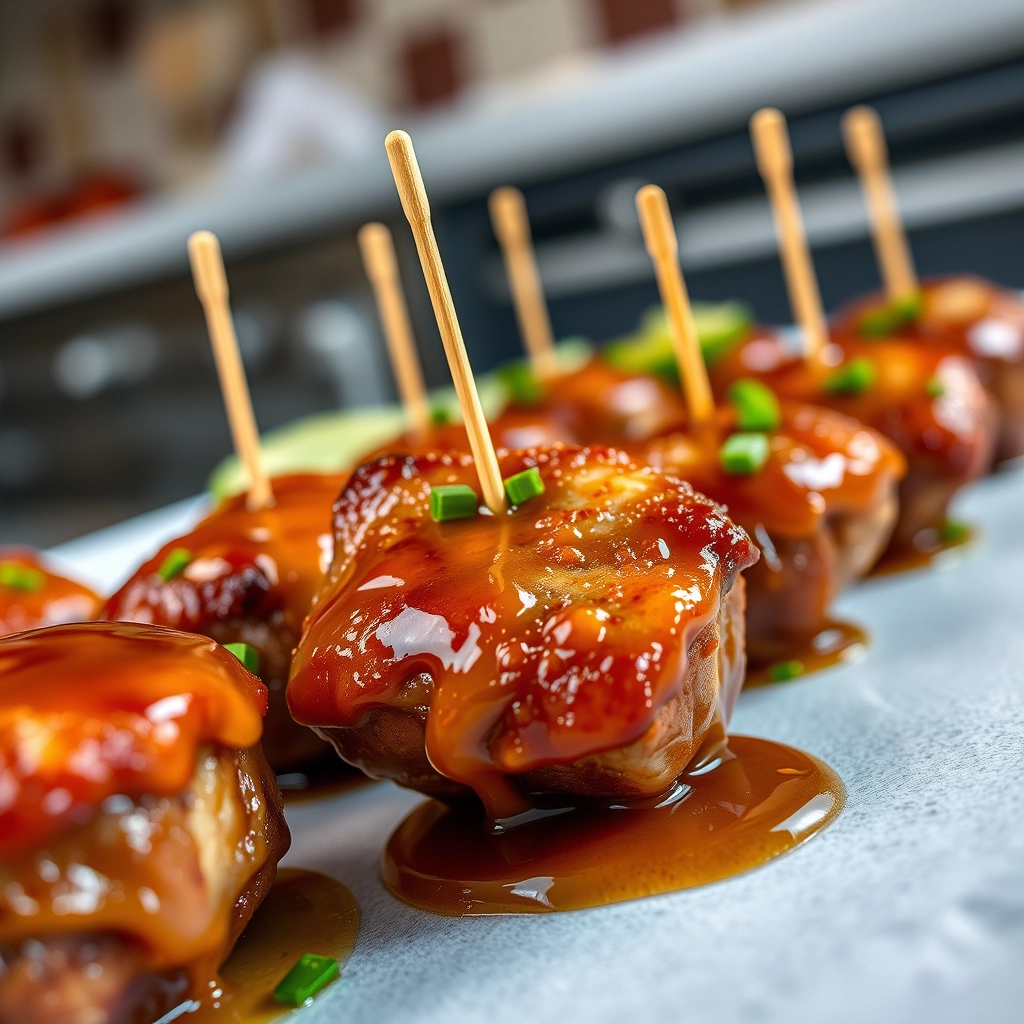
Honey Garlic Steak Bites: The Perfect Bite-Sized Comfort Food
There’s something undeniably satisfying about tender, juicy steak bites coated in a sticky-sweet honey garlic glaze. Whether you’re whipping up a quick weeknight dinner or impressing guests with an easy yet elegant appetizer, these Honey Garlic Steak Bites are a guaranteed crowd-pleaser. Let’s dive into some pro tips, serving ideas, and more to make this dish shine!
Pro Tips for the Best Honey Garlic Steak Bites
- Cut against the grain: Slicing your steak against the grain ensures each bite is tender and easy to chew.
- Don’t overcrowd the pan: Cooking in batches prevents steaming and ensures a perfect sear.
- Let the steak rest: After cooking, give the steak bites a few minutes to rest so the juices redistribute.
- Adjust sweetness: If you prefer a less sweet glaze, reduce the honey by half and add a splash of soy sauce for balance.
Variations & Substitutions
This recipe is wonderfully adaptable! Here are some ways to make it your own:
- Protein swap: Not a beef fan? Try chicken breast, shrimp, or even tofu for a vegetarian twist.
- Spice it up: Add a pinch of red pepper flakes or a dash of sriracha to the glaze for a little heat.
- Herb boost: Stir in fresh thyme, rosemary, or cilantro at the end for an aromatic touch.
- Gluten-free option: Use tamari or coconut aminos instead of soy sauce.
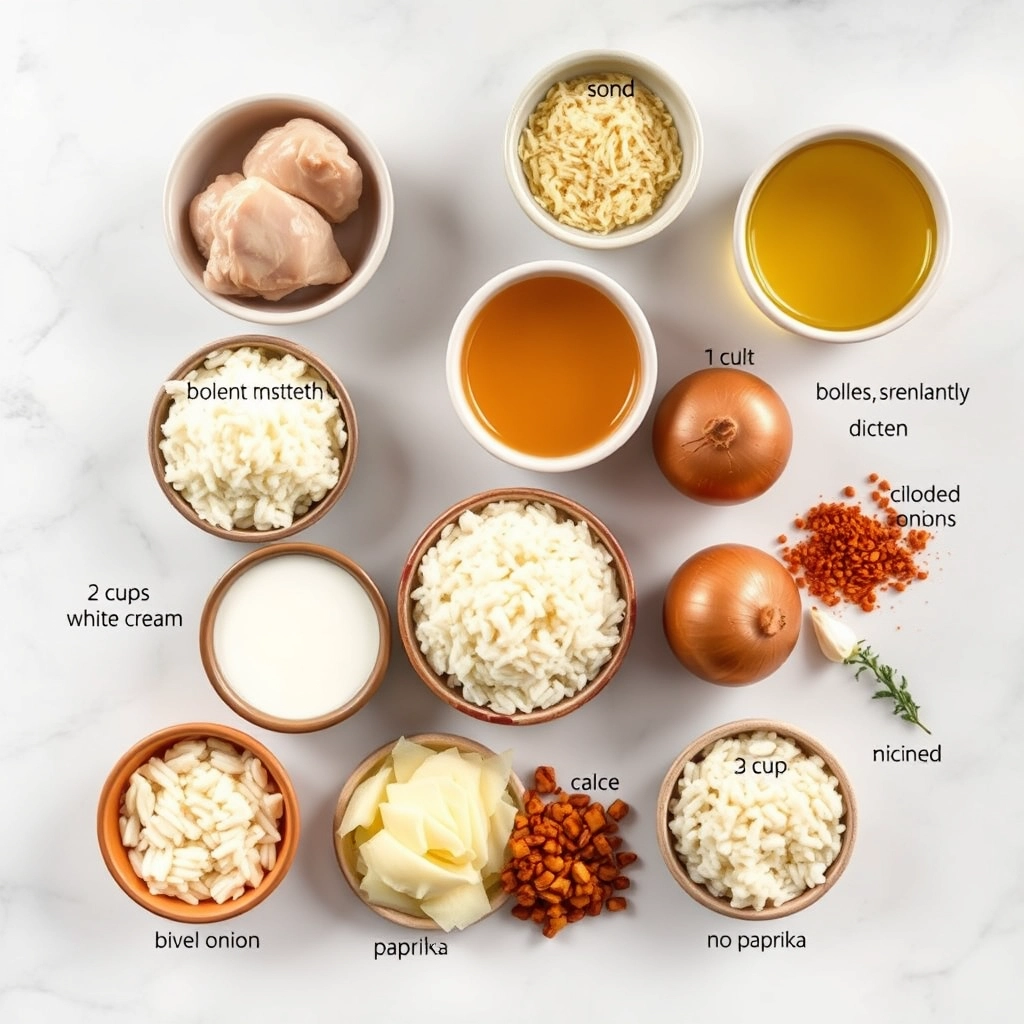
What to Serve With Honey Garlic Steak Bites
These flavorful bites pair beautifully with so many sides! Here are a few favorites:
- Rice or quinoa: A simple bed of fluffy rice or quinoa soaks up the delicious sauce.
- Roasted veggies: Try asparagus, broccoli, or Brussels sprouts for a healthy balance.
- Mashed potatoes: Creamy mashed potatoes make this dish extra comforting.
- Salad: A crisp green salad with a light vinaigrette cuts through the richness.
Storage & Reheating Tips
Leftovers? No problem! Here’s how to keep them tasting fresh:
- Storage: Place cooled steak bites in an airtight container and refrigerate for up to 3 days.
- Reheating: Warm them gently in a skillet over low heat or in the microwave at 30-second intervals to prevent overcooking.
- Freezing: While possible, the texture may change slightly. Store in a freezer-safe container for up to 1 month and thaw in the fridge before reheating.
Frequently Asked Questions
Can I use a different cut of steak?
Absolutely! While sirloin or ribeye work best for tenderness, flank or skirt steak can also be used—just be sure to slice them thinly against the grain.
Can I make this dish ahead of time?
Yes! You can marinate the steak ahead of time (up to 24 hours) for extra flavor, but cook the bites just before serving for the best texture.
Is there a way to make this less sweet?
Of course! Reduce the honey by half and add a splash of balsamic vinegar or extra soy sauce for a more savory profile.
Can I cook these in the oven?
While stovetop is best for searing, you can broil them on a baking sheet for 3–4 minutes per side—just keep an eye on them to avoid burning.
Final Thoughts
Honey Garlic Steak Bites are one of those dishes that feel indulgent yet come together in minutes. Whether you’re serving them as an appetizer, tossing them over rice for dinner, or sneaking a few straight from the pan (we won’t judge), they’re sure to become a regular in your recipe rotation. The combination of savory garlic, sweet honey, and perfectly seared steak is simply irresistible. So grab your skillet, and let’s make dinner deliciously easy tonight!
Print
Honey Garlic Steak Bites
Description
Juicy steak bites coated in a sweet and savory honey garlic sauce, perfect for a quick and flavorful meal.
Ingredients
For the Crust:
- 1.5 lbs sirloin steak, cut into bite-sized pieces
- 3 tbsp soy sauce
- 2 tbsp honey
- 4 cloves garlic, minced
- 1 tbsp olive oil
- 1 tsp black pepper
- 1/2 tsp red pepper flakes (optional)
- 1 tbsp butter
- 1 tbsp chopped parsley (for garnish)
Instructions
1. Prepare the Crust:
- In a bowl, mix soy sauce, honey, minced garlic, black pepper, and red pepper flakes (if using). Set aside.
- Heat olive oil in a large skillet over medium-high heat. Add steak bites and cook for 3-4 minutes until browned on all sides.
- Reduce heat to medium and pour the honey garlic sauce over the steak bites. Stir well to coat.
- Add butter and continue cooking for another 2-3 minutes until the sauce thickens slightly.
- Garnish with chopped parsley and serve hot.
Notes
You can customize the seasonings to taste.