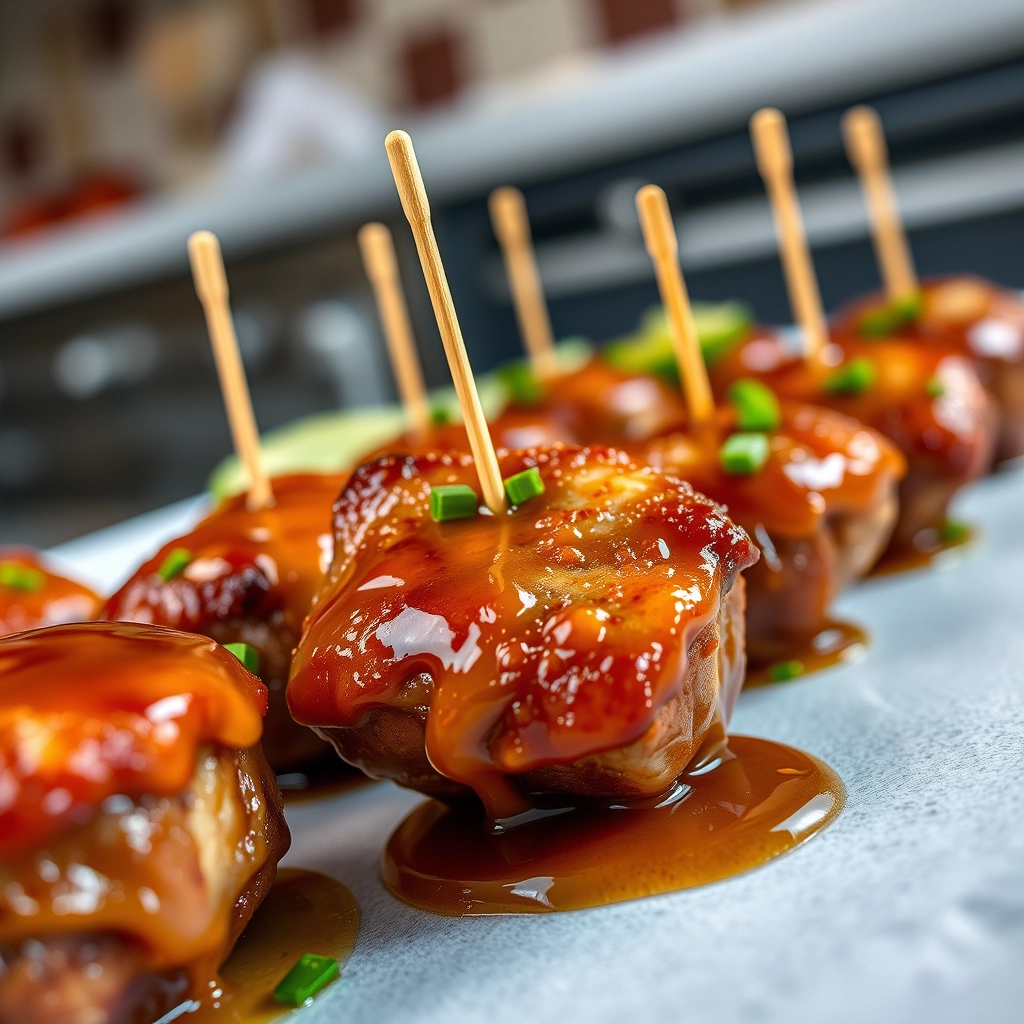
A Busy Day Savior: Chicken Zucchini Stir Fry
You know those evenings when the clock seems to tick faster than usual? The kids are hungry, your to-do list is laughing at you, and takeout menus are whispering sweet nothings? That’s exactly where I found myself last Tuesday—until I remembered the humble zucchini sitting in my fridge, just waiting to become the hero of our dinner table. This Chicken Zucchini Stir Fry isn’t just a meal; it’s a 20-minute lifeline that’s as nourishing as it is delicious.
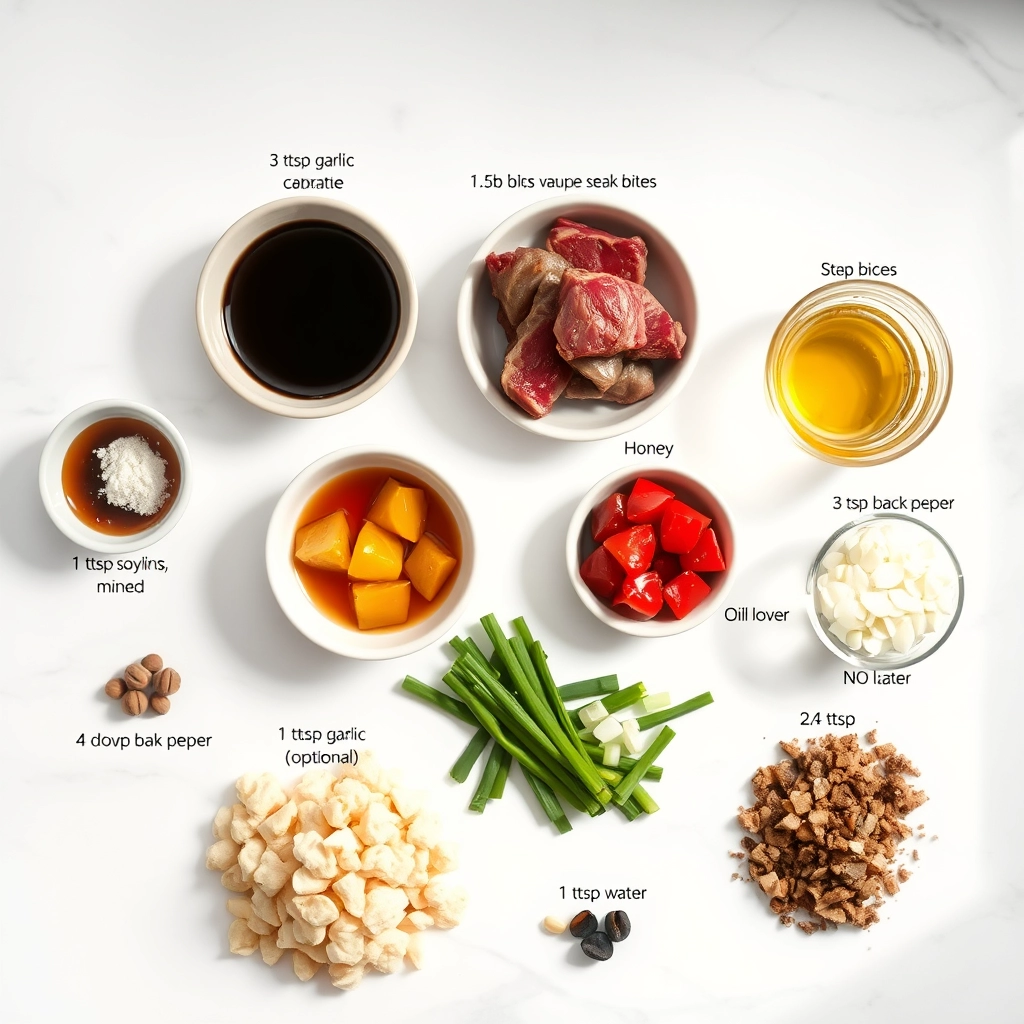
Ingredients You’ll Need
- 1 lb boneless, skinless chicken thighs – I prefer thighs for their juiciness, but breasts work too if you’re in a hurry.
- 2 medium zucchinis – Look for firm, glossy ones. No sad, wilted zucchinis allowed!
- 1 red bell pepper – For that pop of color and sweetness.
- 3 cloves garlic, minced – Because what’s a stir fry without garlic’s warm embrace?
- 1-inch knob of ginger, grated – Fresh is best here—it adds a bright, zippy kick.
- 2 tbsp soy sauce – I use low-sodium to keep things balanced.
- 1 tbsp honey – Just enough to caramelize and bring all the flavors together.
- 1 tbsp sesame oil – That nutty aroma is everything.
- 1/2 tsp red pepper flakes – Optional, but highly recommended for a little heat.
- 2 green onions, sliced – For that fresh, oniony finish.
- Cooked rice or noodles – To soak up all that glorious sauce.
Let’s Get Cooking
First, let’s talk prep. Slice your chicken into thin strips—this ensures quick, even cooking. Cut the zucchini into half-moons (about 1/4-inch thick) and the bell pepper into thin strips. Trust me, uniformity here means everything cooks perfectly at the same time.
Step 1: Sear the Chicken
Heat a large skillet or wok over medium-high heat and add a drizzle of sesame oil. Once it’s shimmering (but not smoking!), add the chicken in a single layer. Resist the urge to stir immediately! Let it get a golden sear for about 2 minutes per side. This builds flavor—those little browned bits are liquid gold.
Step 2: The Aromatics Dance
Push the chicken to one side and add the garlic and ginger to the empty space. Stir for just 20-30 seconds until fragrant. If it starts to brown too quickly, lower the heat slightly. Burnt garlic is a tragedy we must avoid!
Step 3: Veggie Time
Toss in the zucchini and bell pepper, stirring to combine everything. Here’s my secret: let the veggies sit for a minute before stirring. This gives them a chance to develop a slight char, adding depth to the dish.

Pro Tips, Variations, and Substitutions
This chicken zucchini stir fry is wonderfully adaptable to whatever ingredients you have on hand. Here are some ways to make it your own:
- Protein swap: Try thinly sliced beef, shrimp, or tofu instead of chicken for a different twist.
- Veggie variations: Add bell peppers, mushrooms, or snap peas for extra color and texture.
- Spice it up: Add a teaspoon of chili garlic paste or red pepper flakes if you like heat.
- Gluten-free option: Use tamari instead of soy sauce.
- Extra crunch: Top with chopped peanuts or sesame seeds before serving.
What to Serve With Chicken Zucchini Stir Fry
This dish is perfect over a bed of fluffy white rice or brown rice for a wholesome meal. For low-carb options, try serving with:
- Cauliflower rice
- Quinoa
- Or enjoy it on its own as a light, veggie-packed dinner
A simple cucumber salad or steamed edamame makes a lovely fresh side to balance the savory flavors.
Storage and Reheating Tips
Leftovers keep beautifully for busy weeknights:
- Store in an airtight container in the refrigerator for up to 3 days
- Reheat gently in a skillet over medium heat with a splash of water to keep it moist
- Microwave in 30-second intervals, stirring between each
- Not recommended for freezing as zucchini can become watery when thawed
Frequently Asked Questions
Can I make this ahead of time?
You can prep the ingredients (chop veggies, slice chicken) up to a day in advance, but for best texture, cook just before serving.
My stir fry turned out watery – what happened?
Zucchini releases moisture as it cooks. Make sure your pan is very hot before adding ingredients, and don’t overcrowd the pan.
Can I use frozen zucchini?
Fresh zucchini works best for stir fries as frozen tends to become mushy. If using frozen, thaw completely and pat very dry first.
What’s the best cut of chicken to use?
Boneless, skinless chicken thighs stay juicier, but chicken breasts work well too if sliced thinly against the grain.
Final Thoughts
There’s something so comforting about a simple stir fry bubbling away on the stove. The tender chicken, crisp-tender zucchini, and that savory sauce coming together in one pan feels like a little kitchen miracle to me. I hope this recipe becomes one of your go-to weeknight dinners – the kind you can make with your eyes closed after a long day, that still feels special enough to serve to company. Don’t forget to taste as you go and make it your own. Happy cooking, friends!
Print
Chicken Zucchini Stir Fry
Description
A quick and healthy stir fry with tender chicken and fresh zucchini, perfect for a weeknight dinner.
Ingredients
For the Crust:
- 1 lb boneless, skinless chicken breast, sliced
- 2 medium zucchinis, sliced
- 1 red bell pepper, sliced
- 2 cloves garlic, minced
- 2 tbsp soy sauce
- 1 tbsp olive oil
- 1 tsp ginger, grated
- 1/2 tsp red pepper flakes
- 1 tbsp honey
- 1 tbsp sesame seeds (optional)
Instructions
1. Prepare the Crust:
- Heat olive oil in a large skillet or wok over medium-high heat.
- Add chicken and cook until no longer pink, about 5-6 minutes. Remove from skillet and set aside.
- In the same skillet, add zucchini, bell pepper, garlic, and ginger. Stir fry for 4-5 minutes until vegetables are tender-crisp.
- Return chicken to the skillet. Add soy sauce, honey, and red pepper flakes. Stir to combine and cook for another 2 minutes.
- Garnish with sesame seeds if desired and serve hot.
Notes
You can customize the seasonings to taste.