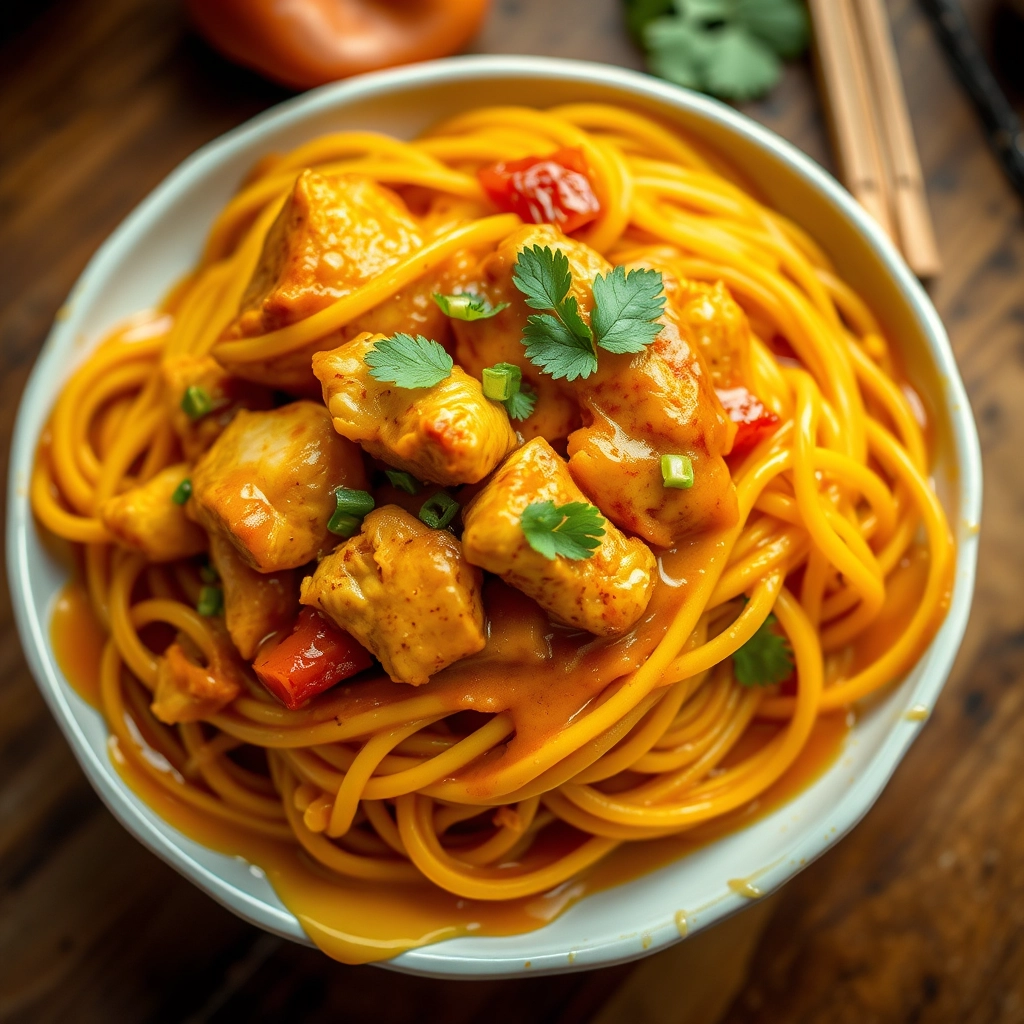
The Best Thai Turmeric Chicken and Noodles: A Bowl of Sunshine
There’s something magical about the golden hue of turmeric—it’s like sunshine in a spice jar. I first fell in love with this vibrant dish during a rainy afternoon in Bangkok, tucked into a tiny street-side stall where the aroma of lemongrass and coconut milk swirled through the air. The first bite of that tender turmeric-kissed chicken, tangled with silky noodles, was pure comfort. Now, I recreate that warmth in my own kitchen, and today, I’m sharing my foolproof version with you. Whether you’re craving a taste of Thailand or just need a little culinary sunshine, this recipe is here to deliver.
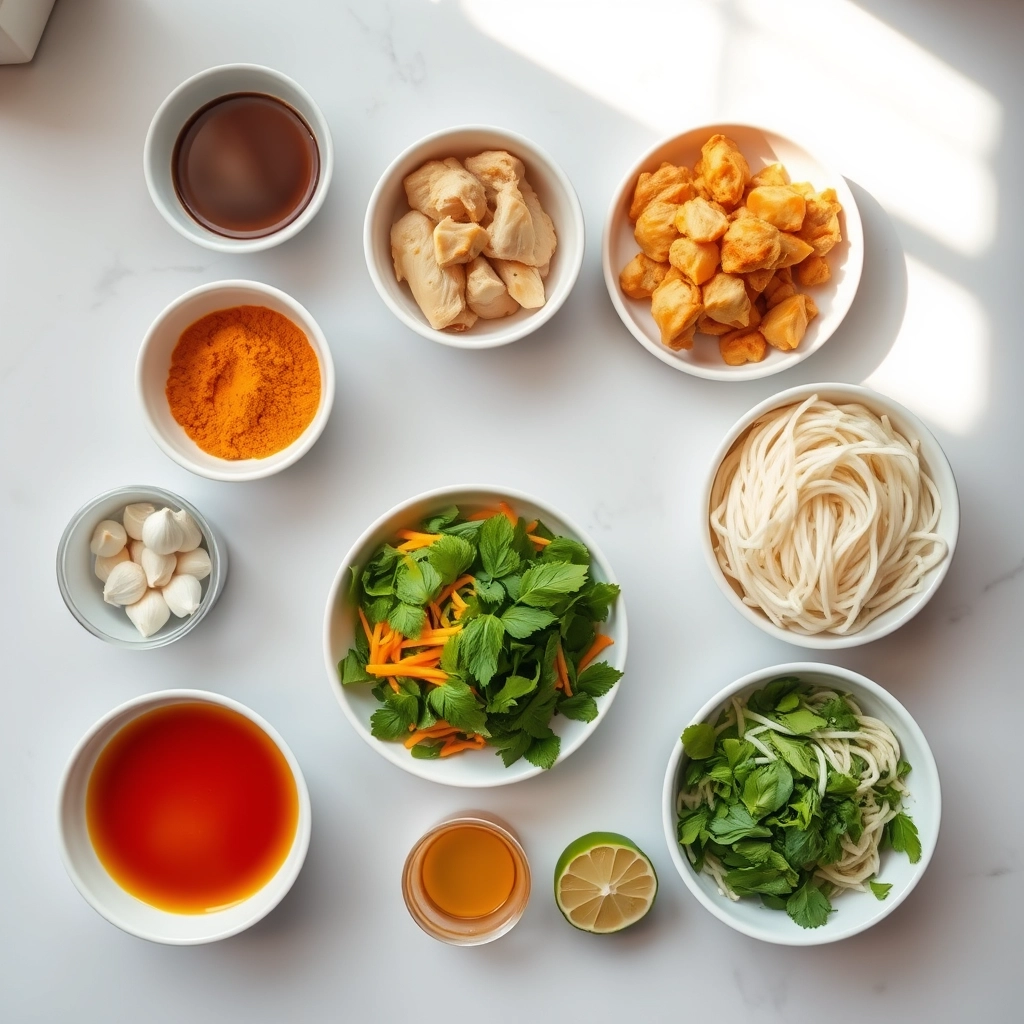
Ingredients You’ll Need
Gathering these ingredients feels like assembling a little treasure chest of flavors. Here’s what you’ll need:
- Chicken thighs (1 lb, boneless and skinless) – Thighs stay juicy and soak up all the turmeric goodness better than breasts.
- Rice noodles (8 oz) – Flat rice noodles work best, but any width will do in a pinch.
- Fresh turmeric (1 tbsp, grated) – If you can’t find fresh, 1 tsp of ground turmeric works, but fresh is *chef’s kiss*.
- Coconut milk (1 can, full-fat) – The creamy base that makes this dish luxuriously rich.
- Lemongrass (2 stalks, bruised) – Smack them with the back of a knife to release their citrusy perfume.
- Garlic (3 cloves, minced) – Because no Thai dish is complete without it.
- Shallots (2, thinly sliced) – They add a subtle sweetness that balances the spices.
- Fish sauce (2 tbsp) – The umami backbone—don’t skip it!
- Brown sugar (1 tbsp) – Just a touch to round out the flavors.
- Lime (1, juiced + wedges for serving) – That bright, tangy finish is everything.
- Fresh cilantro and Thai basil (for garnish) – Because herbs make everything better.
Let’s Get Cooking: Step-by-Step
Now, let’s transform these ingredients into a bowl of golden deliciousness. Don’t rush—this dish is all about layering flavors.
- Marinate the chicken: In a bowl, mix the chicken with grated turmeric, half the minced garlic, 1 tbsp fish sauce, and a squeeze of lime juice. Let it sit for at least 20 minutes (or overnight for maximum flavor). Tip: Wear gloves if using fresh turmeric—it stains!
- Prep the noodles: Soak rice noodles in warm water for 15–20 minutes until pliable but still firm. They’ll finish cooking later. Pro tip: Undercook them slightly to avoid mushiness.
- Sizzle the aromatics: Heat a splash of coconut milk in a deep pan over medium heat. Add shallots, lemongrass, and remaining garlic. Sauté until fragrant—about 2 minutes. Your kitchen will smell incredible.
- Brown the chicken: Push the aromatics to one side and add the marinated chicken. Let it sear undisturbed for 3–4 minutes per side until golden. Resist the urge to stir too soon!
At this point, your dish is already coming together beautifully—the turmeric is working its magic, and the scent of lemongrass is intoxicating. Stay tuned for the next steps, where we’ll bring it all together with coconut milk and noodles for the ultimate comfort bowl.
Pro Tips, Variations, and Substitutions
This Thai turmeric chicken and noodles recipe is wonderfully forgiving, so don’t be afraid to make it your own! Here are a few ways to customize it:
- Protein Swap: Not a fan of chicken? Thinly sliced beef, shrimp, or even tofu work beautifully in this dish.
- Noodle Alternatives: If you can’t find rice noodles, try using udon, soba, or even zucchini noodles for a low-carb twist.
- Spice Level: Adjust the heat by adding more or less chili paste. A drizzle of sriracha at the end is always a good idea for spice lovers!
- Fresh Herbs: If Thai basil is hard to find, cilantro or mint make excellent substitutes.
What to Serve With Thai Turmeric Chicken and Noodles
This dish is hearty enough to stand alone, but pairing it with a few sides can turn it into a feast! Here are some delicious accompaniments:
- Fresh Veggies: A simple cucumber salad or quick-pickled carrots add a refreshing crunch.
- Spring Rolls: Crispy or fresh, they’re the perfect appetizer.
- Thai Iced Tea: The creamy sweetness balances the savory turmeric flavors.
- Sticky Rice: For those who love extra carbs, a side of sticky rice is always welcome.
Storage and Reheating Tips
Leftovers? No problem! Here’s how to keep your Thai turmeric chicken and noodles tasting fresh:
- Storage: Keep in an airtight container in the fridge for up to 3 days.
- Reheating: Warm in a skillet over medium heat with a splash of water or broth to prevent drying out. Microwaving works too—just cover with a damp paper towel.
- Freezing: While possible, the noodles may soften when thawed. If freezing, store the chicken and sauce separately.
Frequently Asked Questions
Can I use ground turmeric instead of fresh?
Yes! Substitute 1 teaspoon of ground turmeric for every tablespoon of fresh. The flavor will be slightly different but still delicious.
Is there a gluten-free option?
Absolutely! Just ensure your soy sauce is gluten-free (tamari works great), and stick to rice noodles.
Can I make this ahead of time?
You can prep the chicken and sauce in advance, but cook the noodles fresh to avoid mushiness.
What if I don’t have fish sauce?
A little soy sauce or coconut aminos can stand in, but the flavor won’t be quite as authentic.
Final Thoughts
There’s something so comforting about a bowl of fragrant, golden turmeric chicken and noodles—it’s like a warm hug from the inside. Whether you’re cooking for a weeknight dinner or impressing friends with your Thai cuisine skills, this dish is sure to delight. Don’t forget to garnish with extra herbs and a squeeze of lime for that perfect finishing touch. Happy cooking, and may your kitchen always smell as wonderful as this dish tastes!
Print
Thai Turmeric Chicken and Noodles
Description
A vibrant and flavorful Thai-inspired dish featuring turmeric-marinated chicken served over noodles with fresh herbs.
Ingredients
For the Crust:
- 1 lb boneless chicken thighs, sliced
- 2 tbsp turmeric powder
- 3 cloves garlic, minced
- 1 tbsp ginger, grated
- 2 tbsp fish sauce
- 1 tbsp brown sugar
- 8 oz rice noodles
- 1 cup bean sprouts
- 1/4 cup fresh cilantro, chopped
- 1/4 cup fresh mint, chopped
- 2 tbsp vegetable oil
- 1 lime, cut into wedges
Instructions
1. Prepare the Crust:
- In a bowl, mix chicken with turmeric, garlic, ginger, fish sauce, and brown sugar. Marinate for at least 30 minutes.
- Cook rice noodles according to package instructions. Drain and set aside.
- Heat vegetable oil in a pan over medium heat. Add marinated chicken and cook until golden and fully cooked, about 6-8 minutes.
- Divide noodles among serving bowls. Top with cooked chicken, bean sprouts, cilantro, and mint.
- Serve with lime wedges on the side for squeezing over the dish.
Notes
You can customize the seasonings to taste.