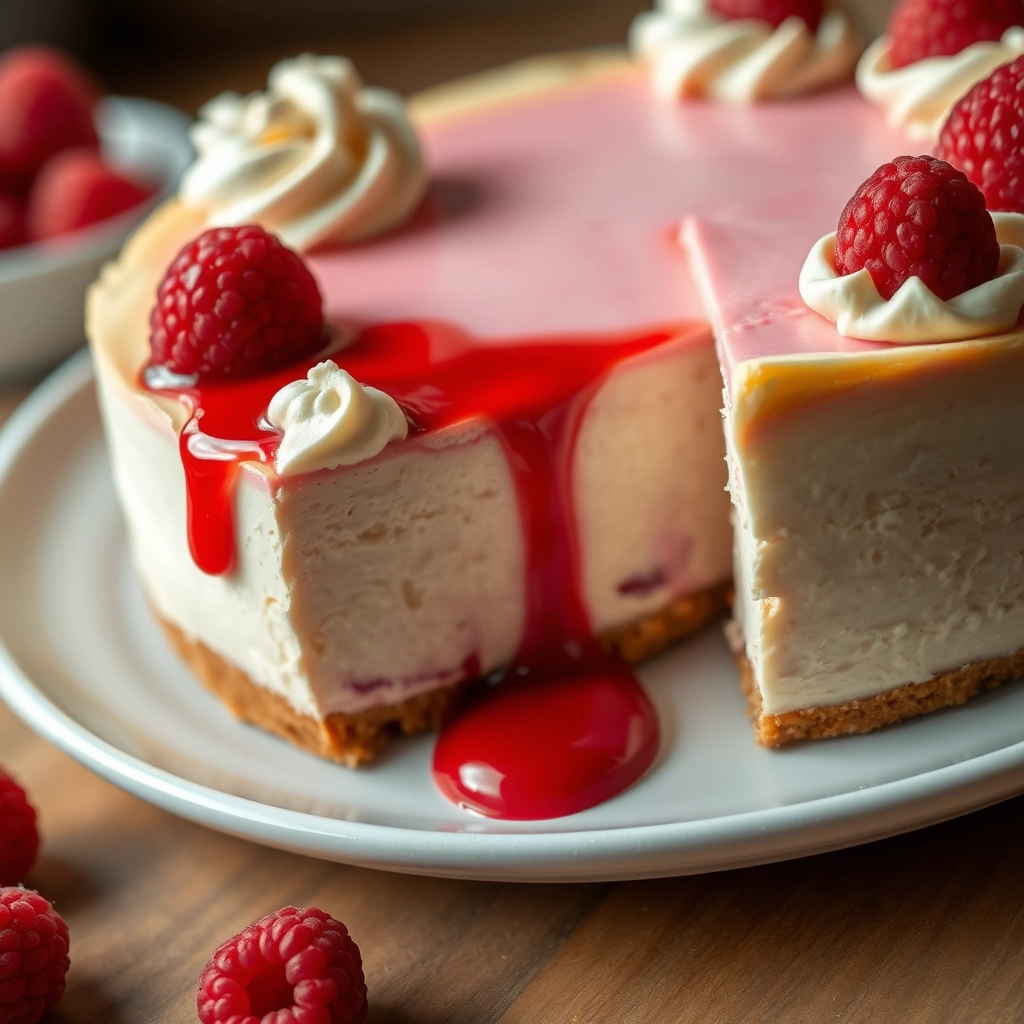
A Slice of Summer: My Easy Baked Raspberry Cheesecake
There’s something magical about the first bite of a perfectly baked cheesecake—creamy, rich, and just sweet enough to make you close your eyes in bliss. I remember the first time I attempted a cheesecake years ago; it cracked, it slumped, and I nearly swore off baking forever. But then, on a golden afternoon with a pint of fresh raspberries begging to be used, I tried again. This recipe—my Easy Baked Raspberry Cheesecake—was born from patience, a little stubbornness, and the joy of sharing something truly delicious with the people I love.
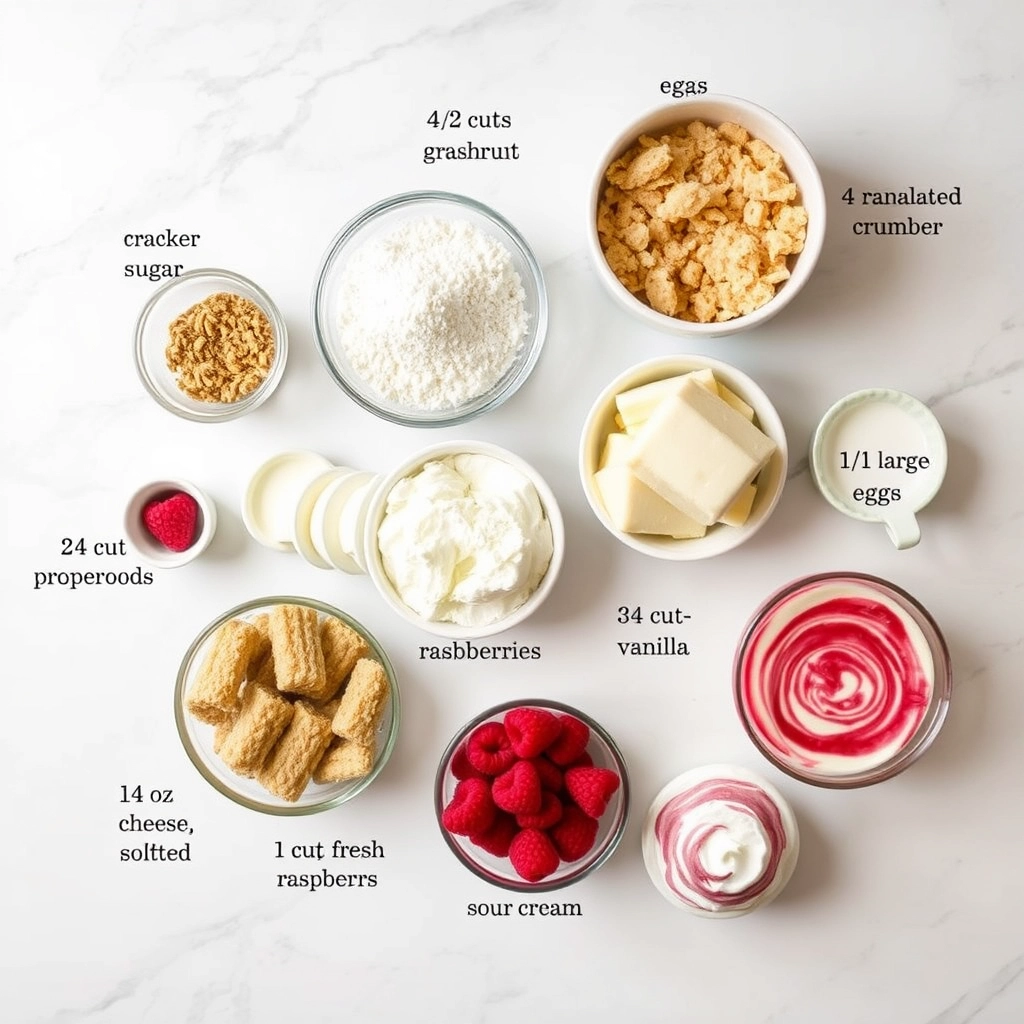
Ingredients You’ll Need
- 200g digestive biscuits – The humble base of our cheesecake. I love the buttery simplicity of digestives, but graham crackers work beautifully too.
- 100g unsalted butter, melted – This binds our crust together. If you’re feeling indulgent, brown the butter first for a nutty depth.
- 600g full-fat cream cheese – Room temperature is key here! Cold cream cheese will leave lumps in your batter.
- 150g caster sugar – Just enough sweetness to balance the tang of the cream cheese.
- 3 large eggs – Also at room temperature. Trust me, it makes all the difference.
- 200ml sour cream – The secret to that velvety texture. Greek yogurt can work in a pinch.
- 1 tsp vanilla extract – Pure vanilla, if you have it. The flavor sings.
- 150g fresh raspberries – Tossed in a spoonful of flour to prevent sinking, these jewels will dot your cheesecake with bursts of tart sweetness.
Let’s Bake: Step by Step
Step 1: The Crust
Preheat your oven to 160°C (140°C fan) and lightly grease a 9-inch springform pan. Crush the digestives into fine crumbs—I use a rolling pin and a bit of elbow grease, but a food processor works wonders. Stir in the melted butter until the mixture resembles wet sand, then press it firmly into the pan’s base and slightly up the sides. Pop it in the oven for 10 minutes to set, then let it cool while you prepare the filling.
Step 2: The Filling
In a large bowl, beat the cream cheese until smooth and creamy—no lumps allowed! Add the sugar gradually, mixing well after each addition. Crack in the eggs one at a time, blending just until incorporated. Overmixing can introduce too much air, leading to cracks later. Gently fold in the sour cream and vanilla, then sprinkle the raspberries with flour and fold them in last. The flour trick? A little lifesaver to keep them from sinking to the bottom.
Step 3: The Bake
Pour the filling over your cooled crust and smooth the top with a spatula. Here’s my favorite tip: place the springform pan on a baking tray filled with hot water (about halfway up the sides) to create a water bath. This gentle heat ensures an even bake and prevents cracks. Bake for 45-50 minutes—the center should still have a slight wobble when you jiggle the pan. Turn off the oven, crack the door open, and let the cheesecake cool slowly inside for an hour. Patience, my friend, is the final ingredient.
Pro Tips, Variations, and Substitutions
This baked raspberry cheesecake is wonderfully forgiving, but here are a few extra tips to make sure yours turns out perfect every time:
- Room temperature ingredients are key! Cold cream cheese can lead to lumps in your batter.
- Don’t overmix once you add the eggs – this can incorporate too much air and cause cracks.
- Water bath alternative: If you’re nervous about the water bath method, place a pan of water on the rack below your cheesecake while baking.
Delicious Variations to Try
- Berry swap: Use blackberries, blueberries, or a mix instead of raspberries
- Chocolate twist: Add 1/4 cup cocoa powder to the crust and swirl melted chocolate into the batter
- Lemon raspberry: Add 2 tbsp lemon zest to the filling for a bright, citrusy note
- Gluten-free: Use gluten-free graham crackers or almond flour for the crust
What to Serve With Your Raspberry Cheesecake
While this cheesecake is delicious on its own, here are some perfect pairings:
- A dollop of freshly whipped cream
- Extra fresh raspberries or a mixed berry compote
- A drizzle of chocolate or caramel sauce
- A cup of strong coffee or herbal tea
- For a special occasion, pair with a glass of dessert wine or champagne
Storage and Reheating Tips
This cheesecake keeps beautifully when stored properly:
- Refrigerator: Cover tightly with plastic wrap and store for up to 5 days
- Freezer: Wrap individual slices in plastic wrap and foil, then freeze for up to 2 months
- Thawing: Move frozen cheesecake to the refrigerator overnight before serving
- Serving tip: Let refrigerated cheesecake sit at room temperature for 20 minutes before serving for the creamiest texture
Frequently Asked Questions
Can I use frozen raspberries?
Absolutely! Just thaw and drain them well before using to prevent excess moisture in your cheesecake. Frozen berries work especially well for the swirl.
Why did my cheesecake crack?
Cracks usually happen from overmixing, rapid temperature changes, or overbaking. Don’t worry – it will still taste delicious! Cover any cracks with whipped cream or extra berries.
Can I make this without a springform pan?
While a springform pan is ideal, you can use a regular cake pan lined with parchment paper. Just be extra careful when removing the cheesecake.
How do I know when the cheesecake is done?
The edges should be set but the center should still jiggle slightly when you gently shake the pan. It will firm up as it cools.
A Sweet Final Thought
There’s something truly special about pulling a homemade cheesecake from the oven – the creamy texture, the sweet-tart raspberry swirl, and that wonderful moment when you slice into it for the first time. Whether you’re making this for a special occasion or just because, I hope this recipe brings as much joy to your kitchen as it has to mine. Don’t forget to take a moment to enjoy your creation with someone you love – good food is always better when shared. Happy baking!
Print
Easy Baked Raspberry Cheesecake
Description
A creamy and delicious baked cheesecake with a sweet raspberry swirl, perfect for any occasion.
Ingredients
For the Crust:
- 1 1/2 cups graham cracker crumbs
- 1/4 cup granulated sugar
- 6 tablespoons unsalted butter, melted
- 24 oz cream cheese, softened
- 3/4 cup granulated sugar
- 3 large eggs
- 1 teaspoon vanilla extract
- 1/2 cup sour cream
- 1 cup fresh raspberries
- 2 tablespoons granulated sugar (for raspberry swirl)
Instructions
1. Prepare the Crust:
- Preheat oven to 325°F (165°C). Grease a 9-inch springform pan.
- Mix graham cracker crumbs, 1/4 cup sugar, and melted butter. Press into the bottom of the pan.
- Beat cream cheese and 3/4 cup sugar until smooth. Add eggs one at a time, then vanilla and sour cream.
- In a separate bowl, mash raspberries with 2 tablespoons sugar. Strain to remove seeds if desired.
- Pour cheesecake batter over crust. Drop spoonfuls of raspberry mixture on top and swirl with a knife.
- Bake for 45-50 minutes until set but slightly jiggly in the center. Cool completely before refrigerating for at least 4 hours.
Notes
You can customize the seasonings to taste.