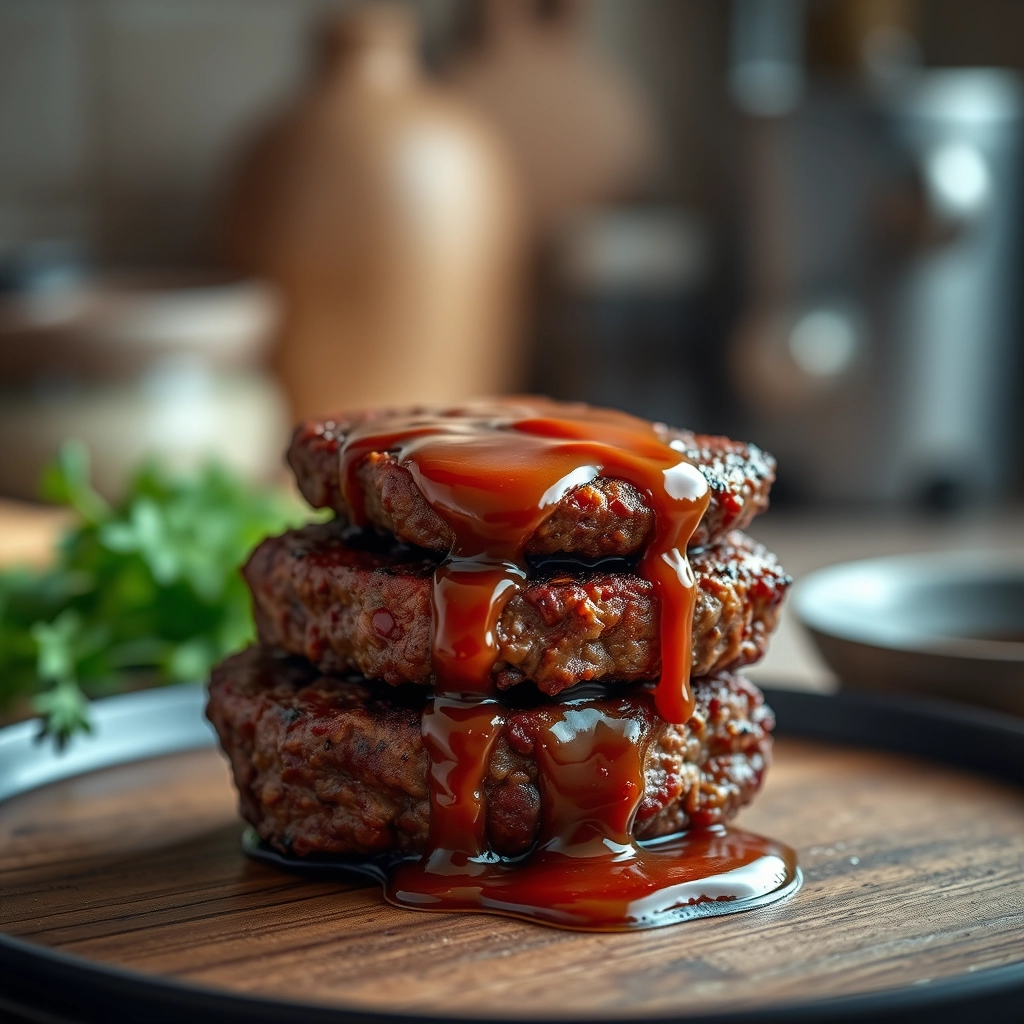
The Secret to Perfectly Crispy, Juicy Beef Cutlets
There’s something deeply comforting about biting into a golden, crispy beef cutlet—crunchy on the outside, tender and juicy on the inside. It reminds me of Sunday dinners at my grandmother’s house, where the kitchen always smelled like sizzling butter and herbs. She’d serve them with a simple salad and a dollop of tangy sauce, and we’d all fight over the last one. Today, I’m sharing her recipe (with a few tweaks of my own) so you can bring that same warmth to your table.
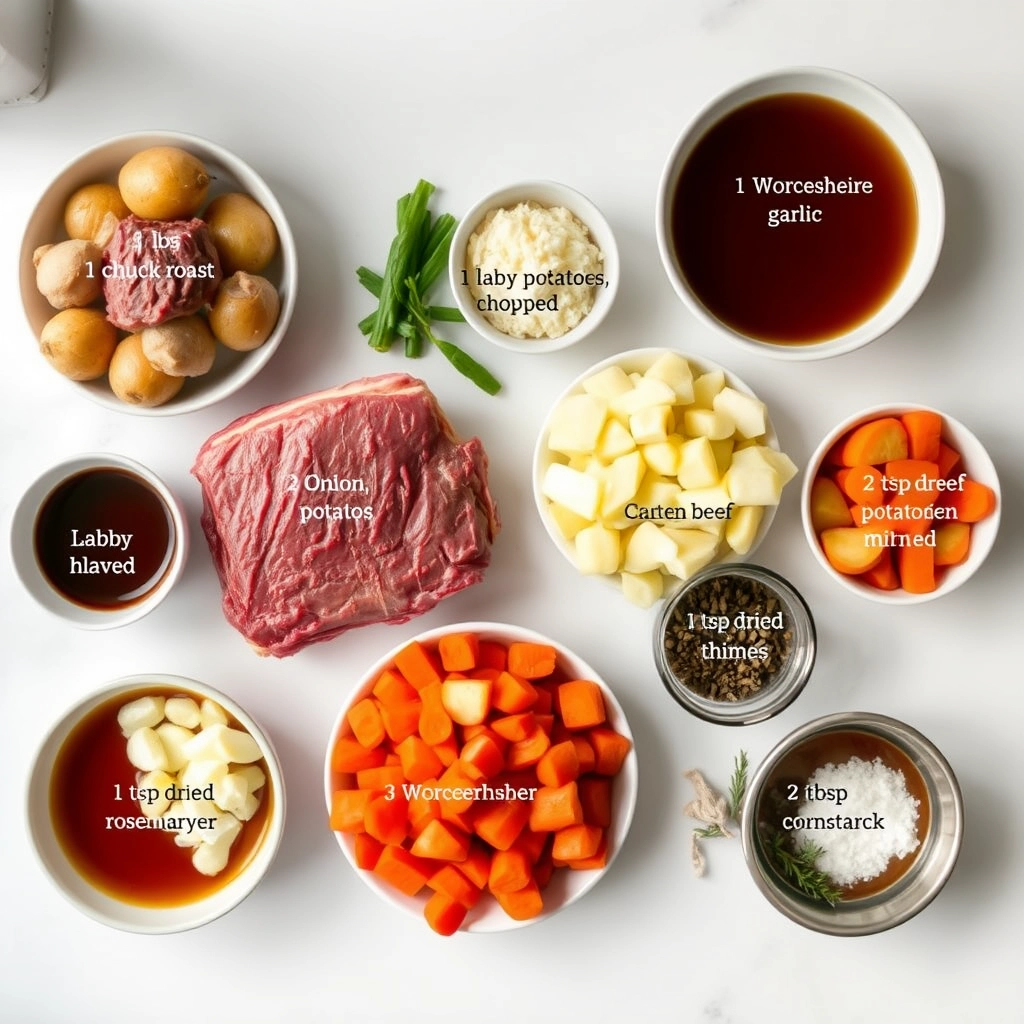
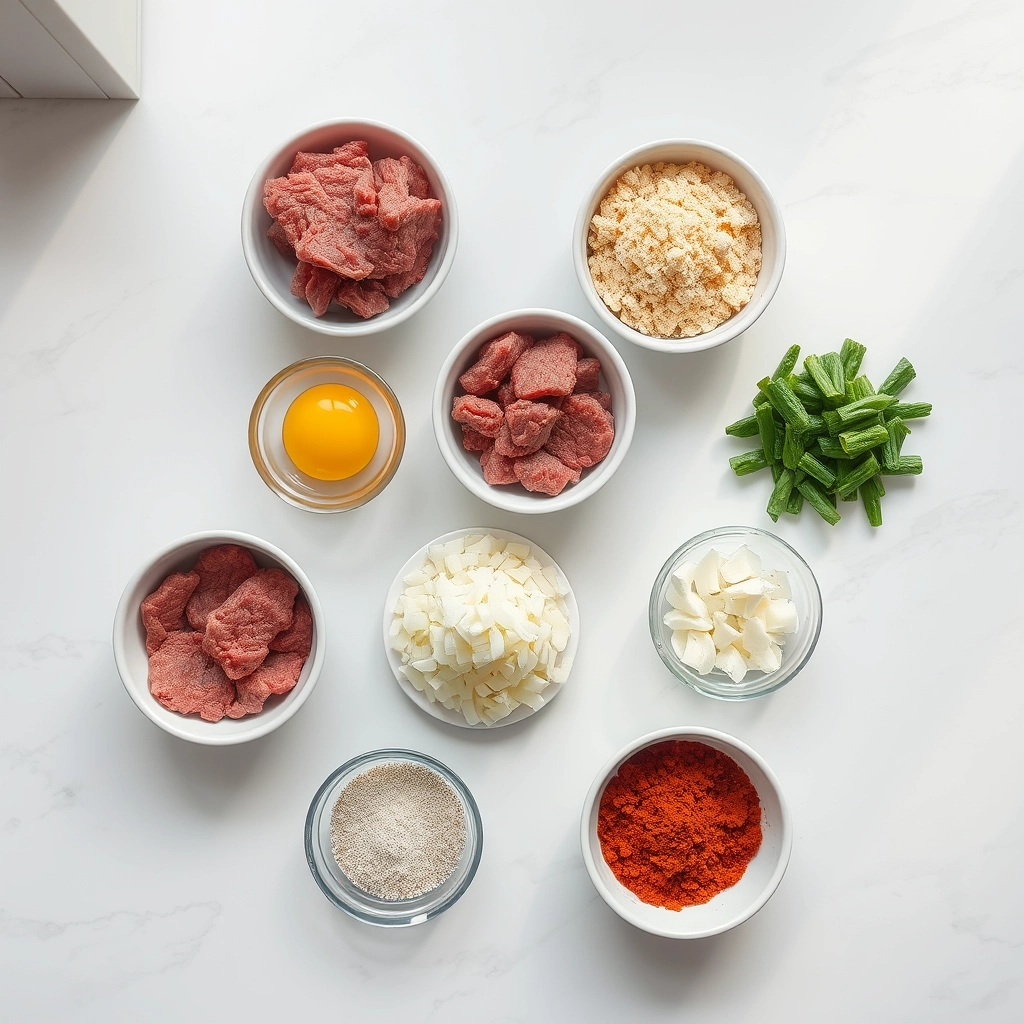
Ingredients You’ll Need
Gathering the right ingredients is the first step to cutlet perfection. Here’s what you’ll need:
- 1 lb ground beef (80/20 blend) – The fat keeps the cutlets juicy, so don’t go too lean!
- 1 small onion, finely grated – Grating ensures it blends seamlessly into the meat.
- 2 garlic cloves, minced – Because everything’s better with garlic.
- 1 egg – Our binding agent, ensuring the cutlets hold their shape.
- 1/2 cup breadcrumbs – Panko works wonders for extra crispiness.
- 1 tsp paprika – For a subtle smoky sweetness.
- 1 tsp dried oregano – A nod to my grandma’s secret herb mix.
- Salt and pepper to taste – Season generously—this is where the magic happens.
- 1/2 cup flour – For dredging, creating that perfect crust.
- Oil for frying – A neutral oil like canola or vegetable works best.
Step-by-Step: Crafting the Perfect Cutlet
Now, let’s get cooking! Follow these steps for cutlets that are crispy on the outside and melt-in-your-mouth tender inside.
1. Mix the Meat Mixture
In a large bowl, combine the ground beef, grated onion, minced garlic, egg, breadcrumbs, paprika, oregano, salt, and pepper. Use your hands to mix everything gently—overworking the meat can make the cutlets tough. Pro tip: Wet your hands with cold water to prevent sticking!
2. Shape with Love
Divide the mixture into equal portions (about 8-10, depending on size). Shape each into a flattened oval or round patty, about 1/2-inch thick. Press lightly—you want them compact enough to hold together but not dense.
3. The Dredging Dance
Set up a dredging station: one plate with flour, another with beaten egg (optional for extra crispiness), and a third with breadcrumbs. Coat each cutlet in flour, dip in egg if using, then press into breadcrumbs, ensuring full coverage. Lay them on a tray and let them rest for 10 minutes—this helps the coating adhere.
4. Fry to Golden Perfection
Heat oil in a skillet over medium-high heat. You’ll know it’s ready when a breadcrumb sizzles upon contact. Fry the cutlets in batches, about 3-4 minutes per side, until deeply golden. Don’t overcrowd the pan, or they’ll steam instead of crisp! Drain on a paper towel-lined plate.
Pro Tips for Perfect Beef Cutlets Every Time
After making these cutlets dozens of times, I’ve picked up some tricks that make all the difference:
- Chill before frying: Let the shaped cutlets rest in the fridge for 30 minutes – this helps the coating stick better
- Double dip for extra crunch: For an ultra-crispy exterior, dip in egg wash and breadcrumbs twice
- Oil temperature matters: Use a thermometer to maintain 350°F – too hot burns the coating before the inside cooks
- Patience pays off: Resist flipping too soon! Let them get golden before turning
Delicious Variations to Try
This recipe is wonderfully adaptable:
- Cheesy surprise: Stuff each cutlet with a cube of mozzarella before breading
- Spicy kick: Add 1 tsp cayenne or chopped jalapeños to the meat mixture
- Herb garden: Mix in fresh parsley, thyme or rosemary for freshness
- Turkey twist: Substitute ground turkey for a lighter version
What to Serve With Your Beef Cutlets
These golden beauties pair beautifully with:
- Creamy mashed potatoes and gravy
- A crisp green salad with lemon vinaigrette
- Buttered egg noodles
- Roasted vegetables
- For a fun twist, serve slider-style on mini buns with pickles
Storage and Reheating Tips
Leftovers (if you have any!) keep well:
- Fridge: Store in airtight container for 3-4 days
- Freezer: Freeze before frying for up to 3 months (fry from frozen, adding 1-2 minutes cooking time)
- Reheating: For best texture, reheat in a 375°F oven for 10-12 minutes until crispy
- Air fryer magic: 3-4 minutes at 380°F brings back the crunch perfectly
Frequently Asked Questions
Can I bake these instead of frying?
Absolutely! Brush with oil and bake at 400°F for 20-25 minutes, flipping halfway. They won’t be quite as crispy but still delicious.
What’s the best breadcrumb substitute?
Panko gives extra crunch, or try crushed cornflakes for texture. For gluten-free, almond flour or gluten-free breadcrumbs work well.
Why do my cutlets fall apart when frying?
This usually means the mixture needs more binder. Add another egg or 1 tbsp flour to help hold everything together.
Can I make these ahead?
Yes! Prep the cutlets up to the breading stage and refrigerate overnight. Fry just before serving for best results.
Final Thoughts
There’s something so comforting about biting into a perfectly crisp beef cutlet with that juicy, flavorful center. Whether you’re making these for a weeknight dinner or a special occasion, I hope this recipe becomes a staple in your kitchen just like it is in mine. Don’t be afraid to make them your own – cooking is all about joy, experimentation, and sharing delicious food with the people you love. Now go forth and fry up some happiness!

Beef Cutlets
Description
Juicy and flavorful beef cutlets that are perfect for a quick dinner or as a party appetizer.
Ingredients
For the Crust:
- 1 lb ground beef
- 1/2 cup breadcrumbs
- 1 egg
- 1 small onion, finely chopped
- 2 cloves garlic, minced
- 1 tsp salt
- 1/2 tsp black pepper
- 1/2 tsp paprika
- 2 tbsp vegetable oil
Instructions
1. Prepare the Crust:
- In a large bowl, combine ground beef, breadcrumbs, egg, onion, garlic, salt, pepper, and paprika. Mix well.
- Shape the mixture into small patties or cutlets.
- Heat vegetable oil in a skillet over medium heat.
- Cook the cutlets for 4-5 minutes per side, or until golden brown and cooked through.
- Remove from skillet and drain on paper towels before serving.
Notes
You can customize the seasonings to taste.