The Best Sweet & Sour Cauliflower That Even Meat-Lovers Crave
There’s something magical about sweet and sour flavors—that perfect balance of tangy and sugary that makes your taste buds dance. I remember the first time I tried making a vegan version of this classic takeout dish. My husband, a self-proclaimed carnivore, took one bite of this crispy, saucy cauliflower and declared, “Wait… this is better than the original!” That’s when I knew this recipe was a keeper.
Whether you’re looking for a meatless Monday star or a crowd-pleasing appetizer for your next gathering, this sweet and sour cauliflower is guaranteed to disappear fast. The secret? A double-crispy batter and a sauce that’s sticky, glossy, and packed with just the right amount of zing. Let’s get cooking!
Ingredients You’ll Need
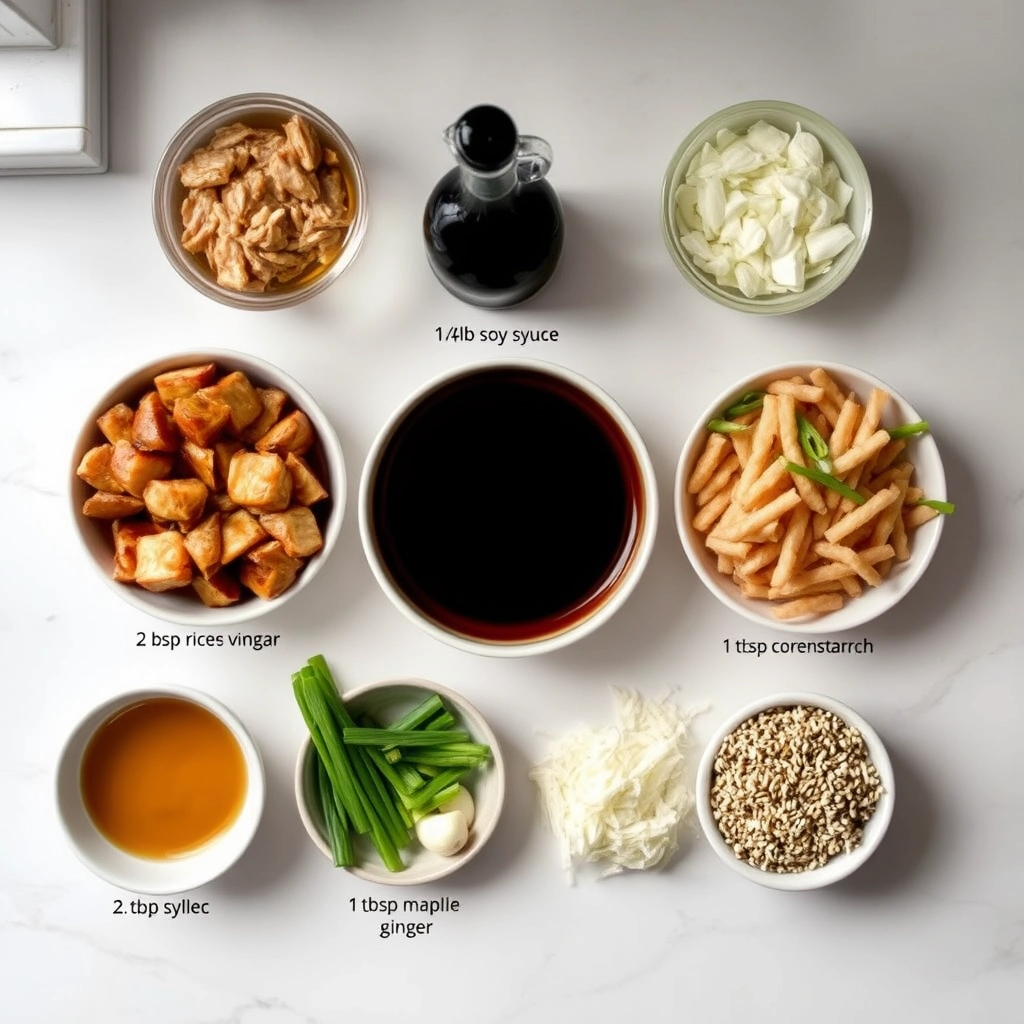
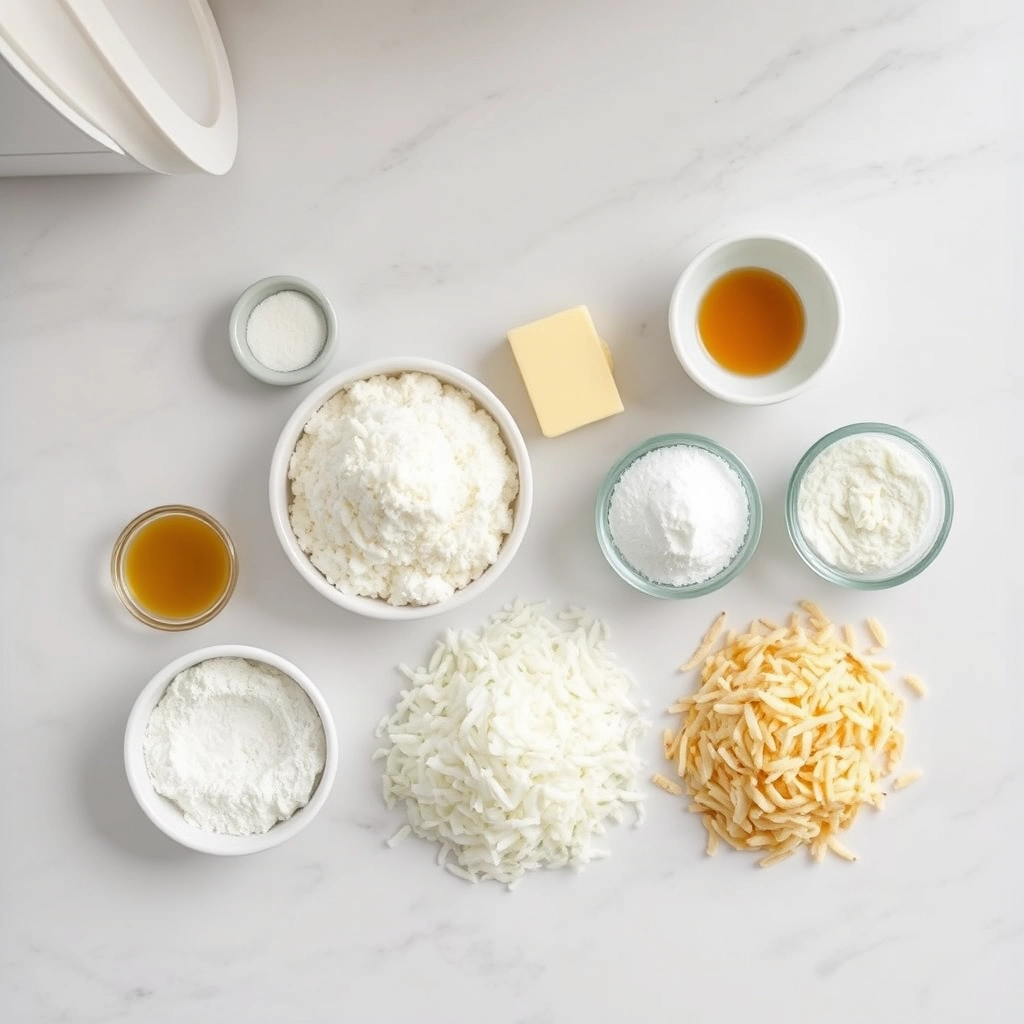
This recipe is all about pantry staples with a few fresh twists. Here’s what you’ll need:
- 1 large head of cauliflower – Look for one that feels heavy for its size with tight, creamy-white florets.
- 1 cup all-purpose flour – Or swap half with cornstarch for extra crispiness (my little cheat!).
- 1 cup cold sparkling water – The bubbles make the batter light and airy—trust me, it makes a difference!
- 2 tbsp soy sauce – For that umami depth. Use tamari if gluten-free.
- 1/2 cup pineapple juice – The natural sweetness here balances the sauce perfectly. Save the chunks for garnish!
- 1/4 cup rice vinegar – Mild and slightly sweet—apple cider vinegar works in a pinch.
- 3 tbsp ketchup – Sounds quirky, but it’s the secret to that nostalgic takeout flavor.
- 2 cloves garlic, minced – Because everything’s better with garlic.
- 1-inch knob of ginger, grated – Fresh is best here—it adds a bright, spicy note.
- Sesame seeds and scallions – For that pretty finish and extra crunch.
Let’s Make That Crispy, Saucy Magic
Now for the fun part! Here’s how we turn humble cauliflower into a showstopper:
- Prep the cauliflower: Break the head into bite-sized florets—not too small, or they’ll get lost in the sauce. I like leaving some stem for that satisfying crunch.
- Whisk the batter: In a large bowl, combine flour, sparkling water, and soy sauce. It should be the consistency of pancake batter—thick enough to coat but still drippy. Pro tip: Lumps are okay! Overmixing makes the coating tough.
- First fry for crispiness: Heat about an inch of neutral oil (like sunflower or grapeseed) in a deep pan to 350°F. Working in batches, dip each floret in batter, let excess drip off, then fry for 2-3 minutes until pale golden. They won’t be fully cooked yet—that’s intentional!
- Drain and crisp again: Place the par-fried cauliflower on a wire rack (this keeps them crispy). Once all batches are done, crank the oil to 375°F and fry again for 1-2 minutes until deeply golden. Double-frying = maximum crunch that holds up to sauce!
While the cauliflower drains, we’ll whip up that irresistible sweet & sour glaze—but that’s a story for the next half of this recipe. (Spoiler: It involves bubbling sauce and that glorious sticky toss!)

Pro Tips, Variations, and Substitutions
This sweet and sour cauliflower recipe is wonderfully forgiving and easy to customize! Here are some of my favorite tweaks:
- Extra crispy: For crunchier cauliflower, bake at 425°F for 20 minutes before adding the sauce
- Spice it up: Add 1/2 teaspoon of red pepper flakes or a dash of sriracha to the sauce
- Gluten-free: Use tamari instead of soy sauce and cornstarch instead of flour
- Fruitier version: Add 1/2 cup pineapple chunks when simmering the sauce
- Oil-free: Skip frying and roast the cauliflower at 400°F for 25 minutes instead
What to Serve With Sweet & Sour Cauliflower
This vibrant dish pairs beautifully with so many sides! My go-to combinations are:
- Fluffy jasmine or brown rice to soak up the delicious sauce
- Quick stir-fried vegetables like bell peppers, snap peas, and carrots
- Crispy baked tofu or tempeh for extra protein
- A simple cucumber salad to balance the rich flavors
- Steamed dumplings or spring rolls for an Asian-inspired feast
Storage and Reheating Tips
Leftovers (if you’re lucky enough to have any!) keep wonderfully:
- Refrigerator: Store in an airtight container for 3-4 days
- Freezer: Freeze sauce separately for up to 2 months (cauliflower may soften when thawed)
- Reheating: Warm in a skillet over medium heat to maintain texture, or microwave in 30-second intervals
- Reviving crispiness: For leftover fried cauliflower, pop in a 375°F oven for 5-7 minutes
Frequently Asked Questions
Can I use frozen cauliflower?
Yes! Thaw completely and pat very dry before coating and frying. Frozen florets work better for the baked version.
What can I substitute for rice vinegar?
Apple cider vinegar or white wine vinegar work in a pinch, but reduce the quantity slightly as they’re more acidic.
How do I prevent the sauce from being too thin?
Let it simmer uncovered for an extra 2-3 minutes to thicken, or mix 1 teaspoon cornstarch with 1 tablespoon cold water and stir it in.
Can I make this ahead for meal prep?
Absolutely! Prepare components separately and combine when ready to eat. The sauce keeps especially well for 4-5 days.
The Perfect Balance of Sweet & Tangy
There’s something magical about that first bite of crispy cauliflower coated in glossy, flavorful sauce – the perfect harmony of sweet and sour that makes your taste buds sing. Whether you’re serving this as a weeknight dinner centerpiece or bringing it to a potluck to impress, this recipe never fails to delight. The best part? That satisfied feeling when meat-eaters can’t believe something this delicious is completely plant-based. I hope this sweet and sour cauliflower becomes a regular in your kitchen rotation, bringing both comfort and excitement to your table. Happy cooking!
Print
Sweet & Sour Cauliflower
Description
A vegetarian twist on the classic sweet and sour dish, featuring crispy cauliflower in a tangy sauce.
Ingredients
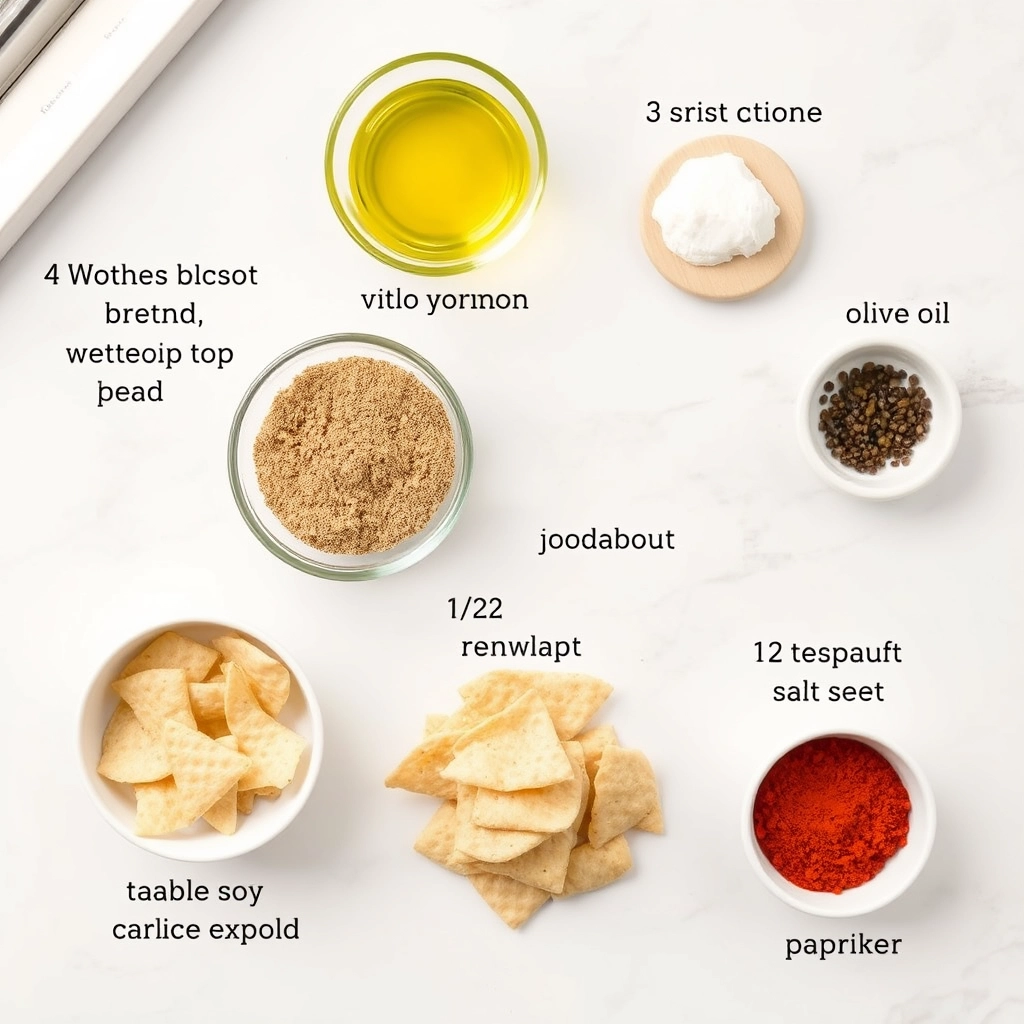
For the Crust:
- 1 head cauliflower, cut into florets
- 1/2 cup cornstarch
- 2 eggs, beaten
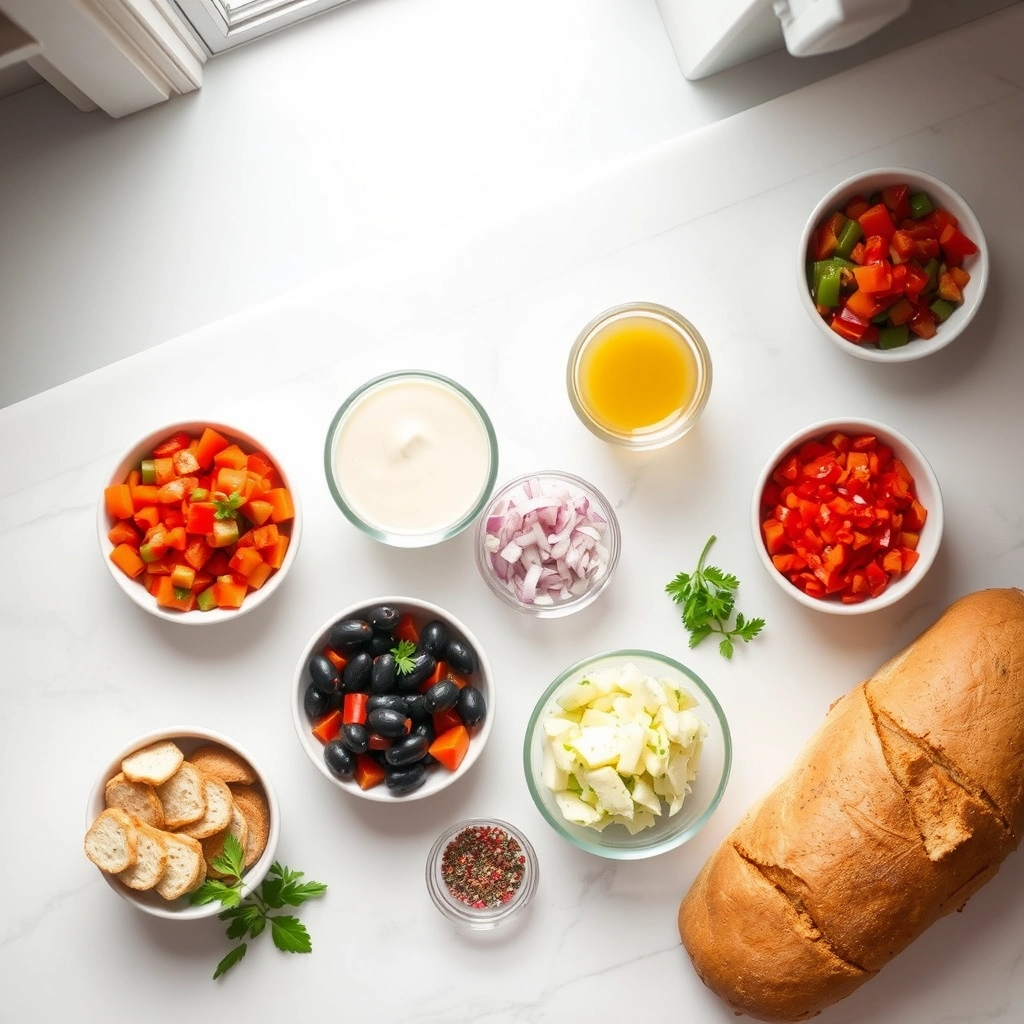
- 1/2 cup sugar
- 1/2 cup apple cider vinegar
- 1/4 cup ketchup
- 1 tbsp soy sauce
- 1/2 tsp garlic powder
- 1/2 tsp onion powder
- 1 bell pepper, diced
- 1/2 cup pineapple chunks
- 2 tbsp vegetable oil
Instructions
1. Prepare the Crust:
- Preheat oven to 425°F (220°C). Line a baking sheet with parchment paper.
- Dip cauliflower florets in beaten eggs, then coat with cornstarch. Place on baking sheet and bake for 20-25 minutes until crispy.
- In a saucepan, combine sugar, vinegar, ketchup, soy sauce, garlic powder, and onion powder. Bring to a simmer and cook for 5 minutes until slightly thickened.
- Heat oil in a large skillet over medium heat. Add bell pepper and pineapple, cooking for 3-4 minutes until softened.
- Add baked cauliflower to the skillet, pour sauce over, and toss to coat evenly. Cook for 2-3 minutes until heated through.
Notes
You can customize the seasonings to taste.