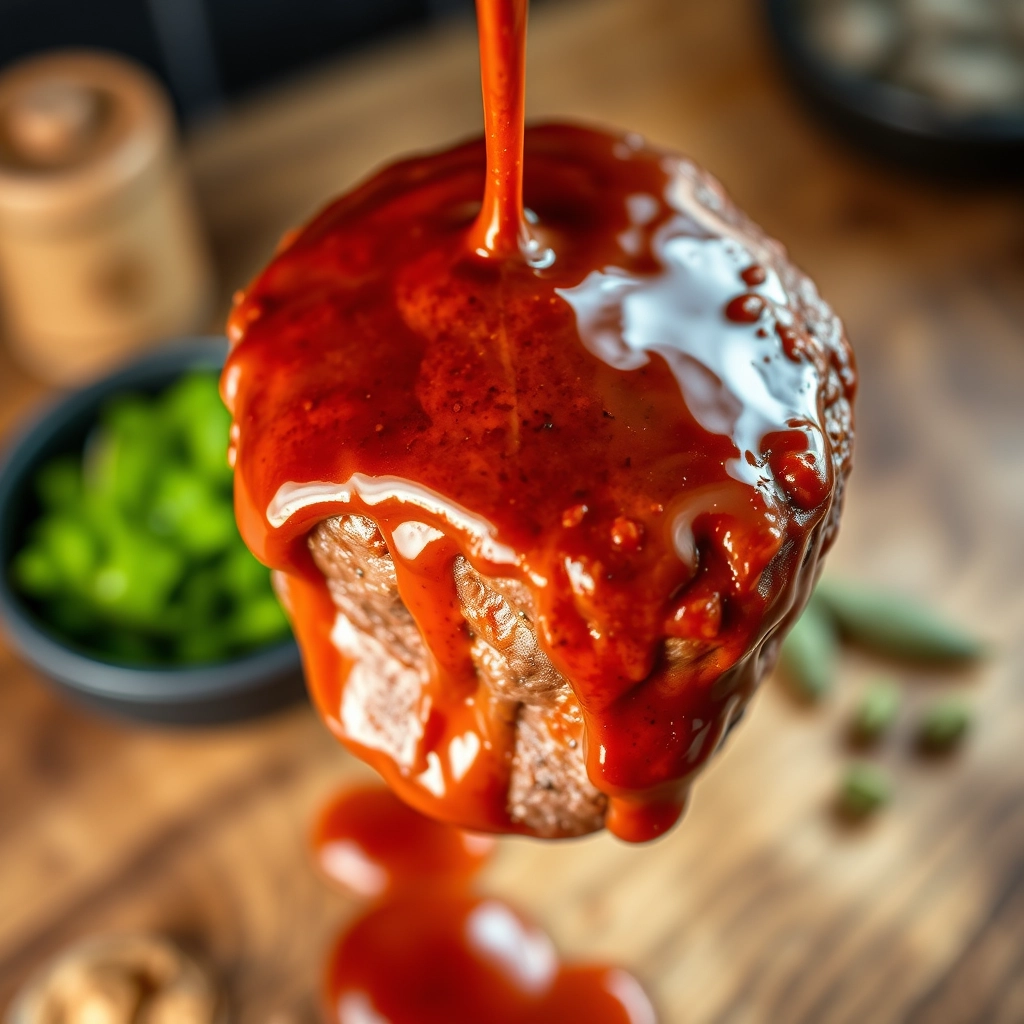
The Secret to the Most Flavorful Steak of Your Life
There’s something magical about the sizzle of a perfectly marinated steak hitting a hot grill. I remember the first time I made this marinade—it was for my husband’s birthday dinner, and I wanted to create something extraordinary. When he took that first bite, his eyes widened, and he declared it the best steak he’d ever had. That’s when I knew this recipe was something special.
Why This Marinade Works
What makes this steak marinade so incredible is the balance of flavors. It’s not just about tenderizing the meat (though it does that beautifully), but about creating layers of taste that make every bite exciting. The soy sauce provides umami depth, the citrus brightens everything up, and the garlic and herbs add that irresistible aroma we all love.
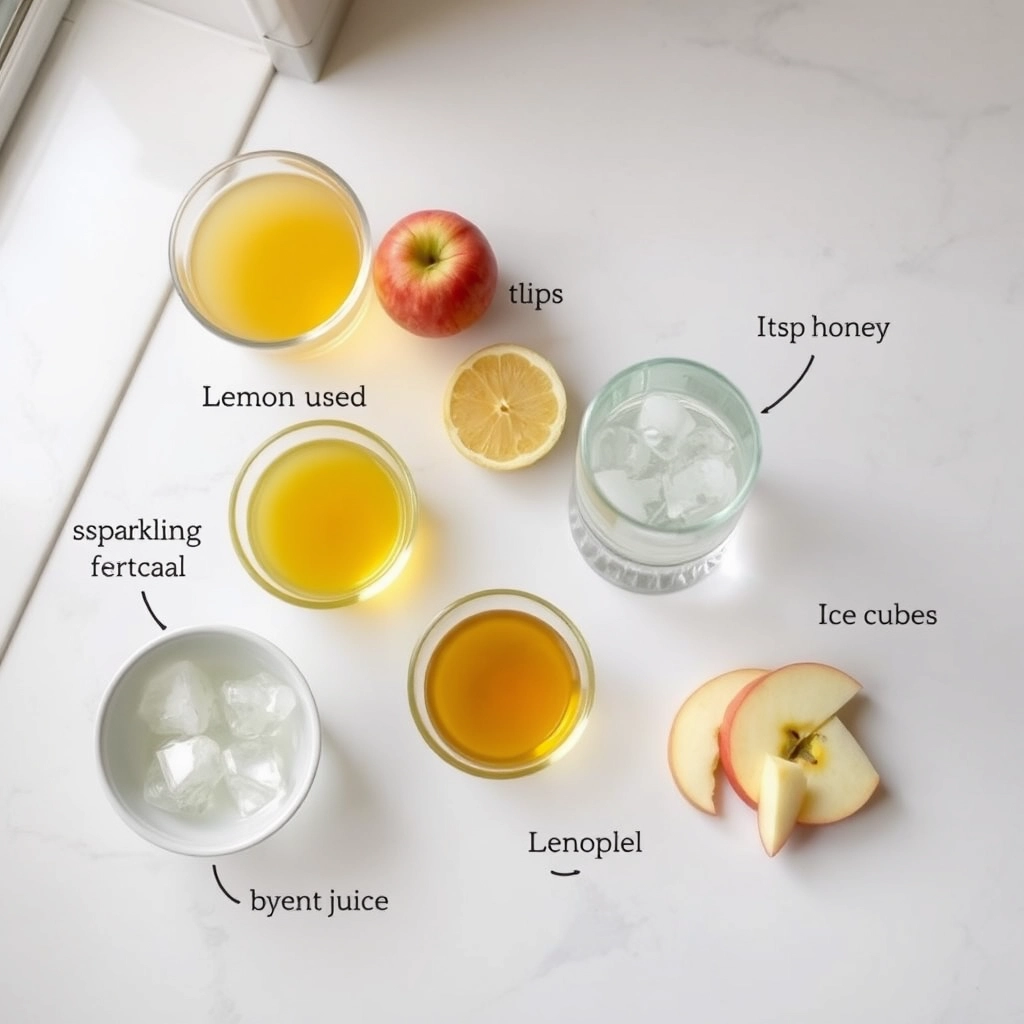
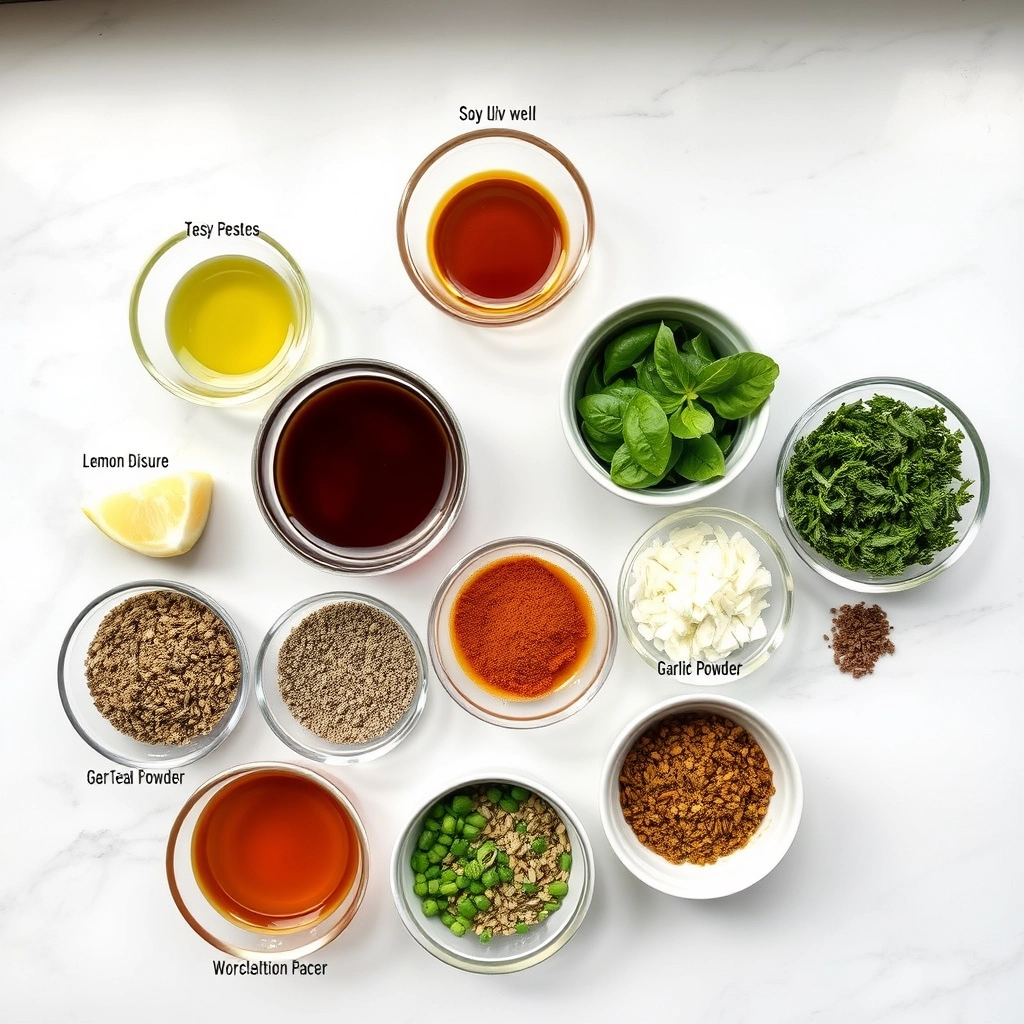
Ingredients You’ll Need
- 1/2 cup soy sauce – The salty, umami foundation of our marinade. Use low-sodium if you’re watching salt intake.
- 1/4 cup olive oil – Helps carry flavors into the meat and keeps it juicy.
- 1/4 cup fresh lemon juice – The acidity tenderizes while adding brightness.
- 3 tablespoons Worcestershire sauce – Our secret weapon for depth of flavor.
- 2 tablespoons Dijon mustard – Adds a subtle tang and helps emulsify the marinade.
- 4 garlic cloves, minced – Because what’s steak without garlic?
- 1 tablespoon brown sugar – Just enough sweetness to balance the savory.
- 1 teaspoon freshly ground black pepper – Freshly ground makes all the difference.
- 1 teaspoon smoked paprika – For that hint of smokiness, even if you’re cooking indoors.
- 1/2 teaspoon red pepper flakes – Optional, but adds a lovely warmth.
- 2 sprigs fresh rosemary – Or 1 teaspoon dried, but fresh is ideal.
How to Make the Ultimate Steak Marinade
Making this marinade is as simple as whisking everything together, but I have some special tips to make sure your steak turns out restaurant-quality every time.
- Combine all ingredients in a medium bowl. I like to use a glass measuring cup because the spout makes pouring easier later.
- Whisk vigorously for about 30 seconds until everything is well incorporated and slightly emulsified. You’ll see the oil and liquids come together beautifully.
- Prepare your steaks by patting them dry with paper towels. This helps the marinade adhere better. For best results, use 1 to 1.5 inch thick cuts like ribeye, New York strip, or filet mignon.
- Place steaks in a resealable plastic bag or shallow baking dish. Pour the marinade over, making sure all surfaces are coated. If using a bag, press out excess air before sealing.
- Marinate in the refrigerator for at least 4 hours, but no more than 12 hours. I find the sweet spot is 6-8 hours—enough time for deep flavor penetration without the acidity making the texture mushy.
Pro tip: If you’re short on time, you can get away with 2 hours of marinating, but be sure to let the steaks come to room temperature for 30 minutes before cooking—this helps the flavors absorb more quickly.
Pro Tips, Variations, and Substitutions
Every great home chef knows that the best recipes are flexible. Here are some ways to make this marinade your own:
- Sweet Tooth? Add 1-2 tablespoons of honey or maple syrup for a caramelized crust
- Heat Lovers Mix in 1 teaspoon of red pepper flakes or a dash of hot sauce
- No Soy Sauce? Worcestershire sauce makes an excellent substitute
- Fresh Herbs When available, swap dried herbs for 2 tablespoons of fresh rosemary or thyme
Perfect Pairings
This versatile marinade transforms your steak into the star of any meal. Here are our favorite ways to serve it:
- Classic steakhouse style with garlic mashed potatoes and roasted asparagus
- Summer cookout favorite with corn on the cob and a crisp garden salad
- Elevated weeknight dinner over a bed of wild rice with sautéed mushrooms
- Taco night twist – slice thin and serve with warm tortillas and all the fixings
Storage and Reheating
Leftover marinated steak? Here’s how to keep it tasting fresh:
- Storage: Place cooked steak in an airtight container for 3-4 days in the refrigerator
- Freezing: Wrap individual portions tightly in foil before freezing for up to 3 months
- Reheating: For best results, warm slices in a skillet over medium heat with a pat of butter
- Extra Marinade? Store unused marinade in the fridge for up to 1 week (discard if used with raw meat)
Frequently Asked Questions
Q: How long should I marinate my steak?
A: For optimal flavor, marinate for at least 2 hours, but no more than 24 hours. The sweet spot is 4-8 hours.
Q: Can I use this marinade for other meats?
A: Absolutely! It works wonderfully with chicken, pork chops, and even portobello mushrooms for a vegetarian option.
Q: Why does my marinade include oil?
A: The oil helps distribute flavors evenly and creates that beautiful sear we all love on grilled steaks.
Q: Can I make this marinade ahead of time?
A: Yes! The flavors actually deepen when mixed a day in advance. Just store in the fridge and give it a good shake before using.
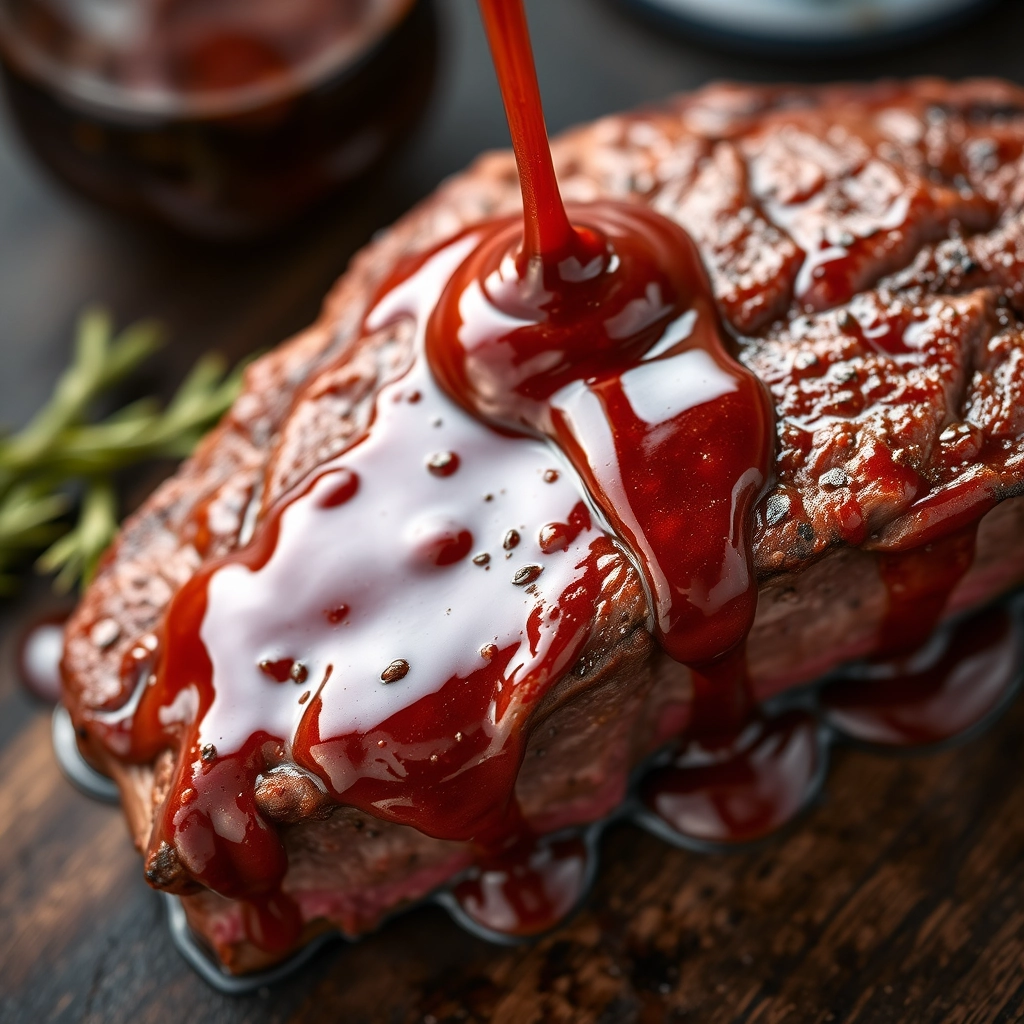
The Perfect Steak Awaits
There’s something truly special about cutting into a perfectly marinated steak – that first juicy bite that makes everyone at the table pause in appreciation. Whether it’s a special occasion or just Tuesday night, this marinade has a way of turning ordinary meals into memorable ones. So light up that grill or heat up that skillet, because your best steak experience yet is just a marinade away. Here’s to many delicious meals shared with good company!
Print
Best Steak Marinade
Description
A flavorful and easy marinade that tenderizes and enhances the taste of any steak.
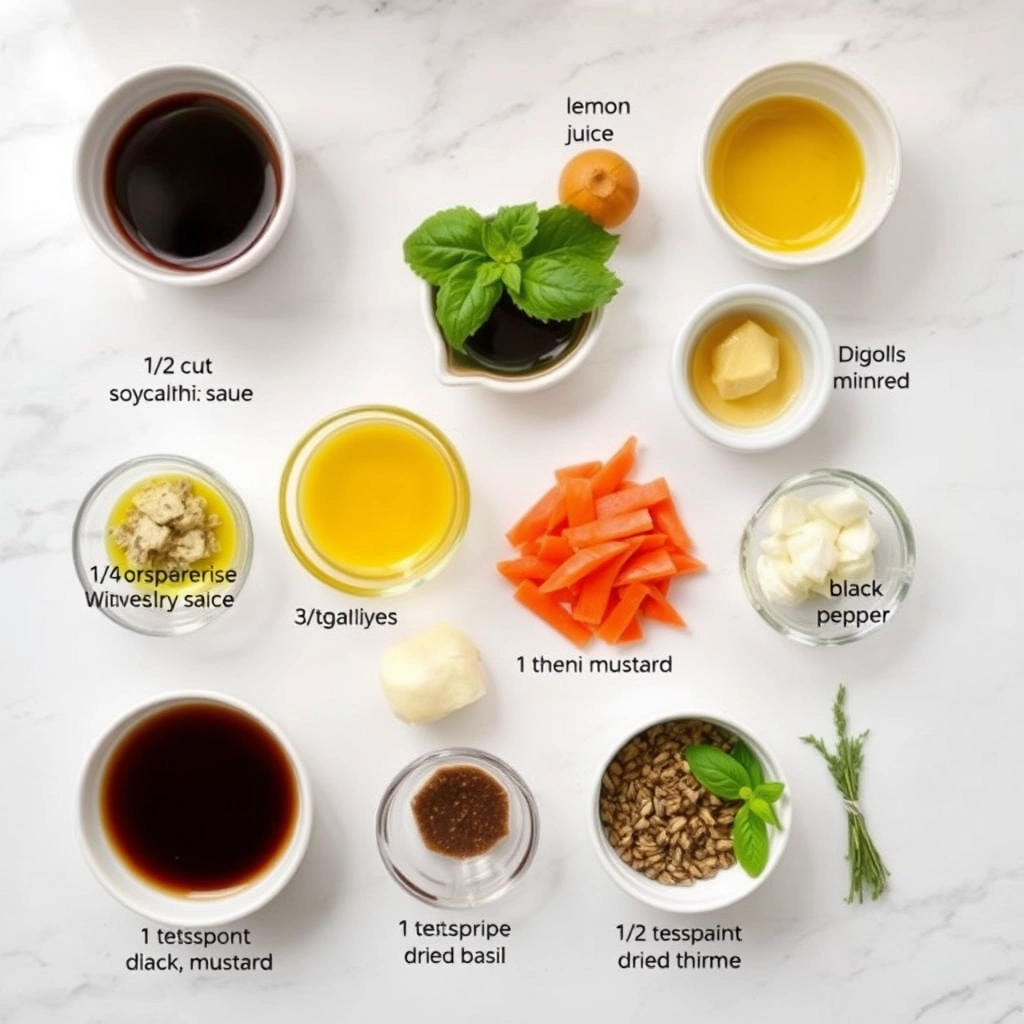
Ingredients
For the Crust:
- 1/2 cup soy sauce
- 1/4 cup olive oil
- 1/4 cup Worcestershire sauce
- 2 tablespoons lemon juice
- 3 cloves garlic, minced
- 1 tablespoon Dijon mustard
- 1 teaspoon black pepper
- 1 teaspoon dried basil
- 1/2 teaspoon dried thyme
Instructions
1. Prepare the Crust:
- In a medium bowl, whisk together soy sauce, olive oil, Worcestershire sauce, and lemon juice.
- Add minced garlic, Dijon mustard, black pepper, basil, and thyme. Stir until well combined.
- Place steak in a resealable plastic bag or shallow dish. Pour marinade over steak, ensuring it is fully coated. Refrigerate for at least 2 hours or overnight for best results.
Notes
You can customize the seasonings to taste.