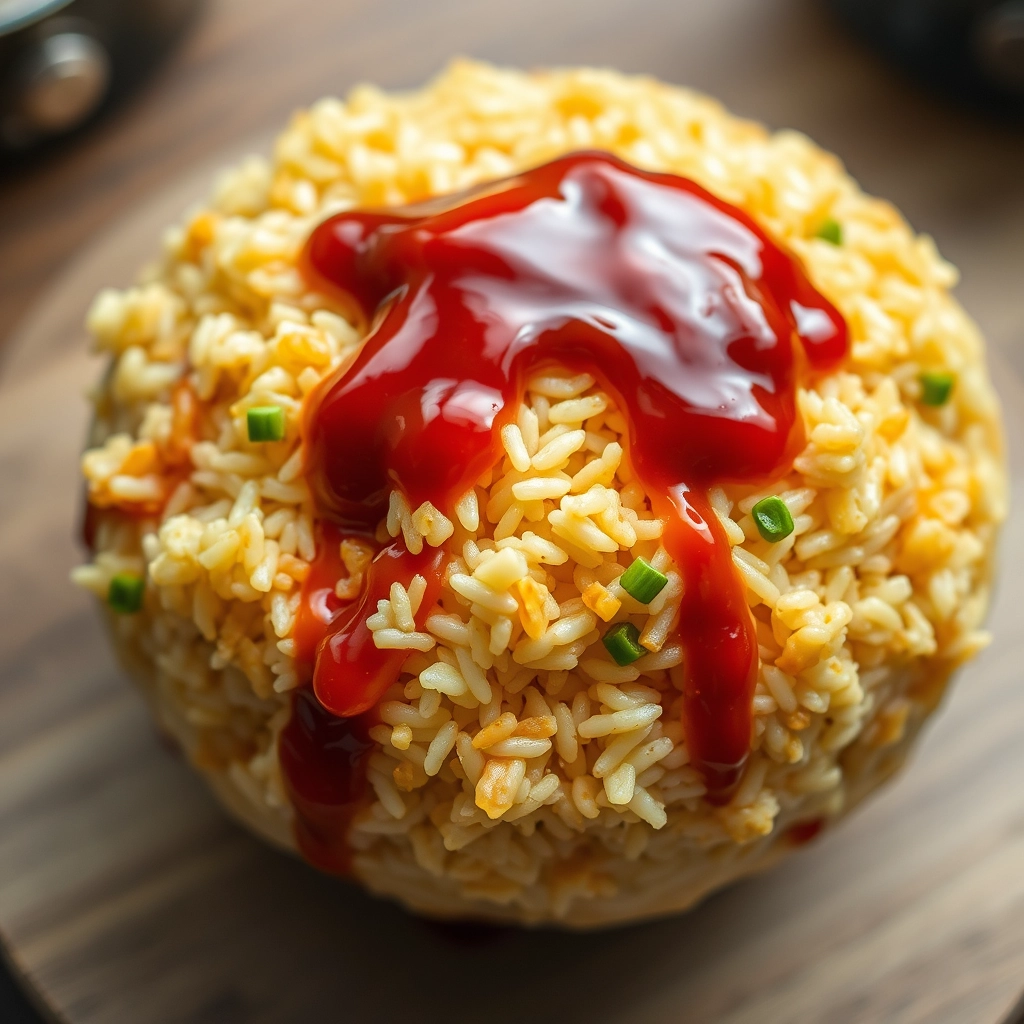
The Best Egg Fried Rice – A Bowl of Comfort in 15 Minutes
There’s something magical about a simple bowl of egg fried rice. It’s the dish I turn to when the day has been long, the fridge is nearly empty, and my soul craves something warm and satisfying. I remember my university days, standing over a tiny stove in my shared kitchen, scrambling eggs into leftover rice with whatever vegetables I had on hand. It wasn’t fancy, but it was always delicious—proof that the best meals often come from humble beginnings.
This recipe is my perfected version of those late-night cravings, now made with a little more finesse (and better soy sauce). It’s quick, adaptable, and always hits the spot. Whether you’re cooking for one after a busy day or whipping up a side dish for a family feast, this egg fried rice will never let you down.
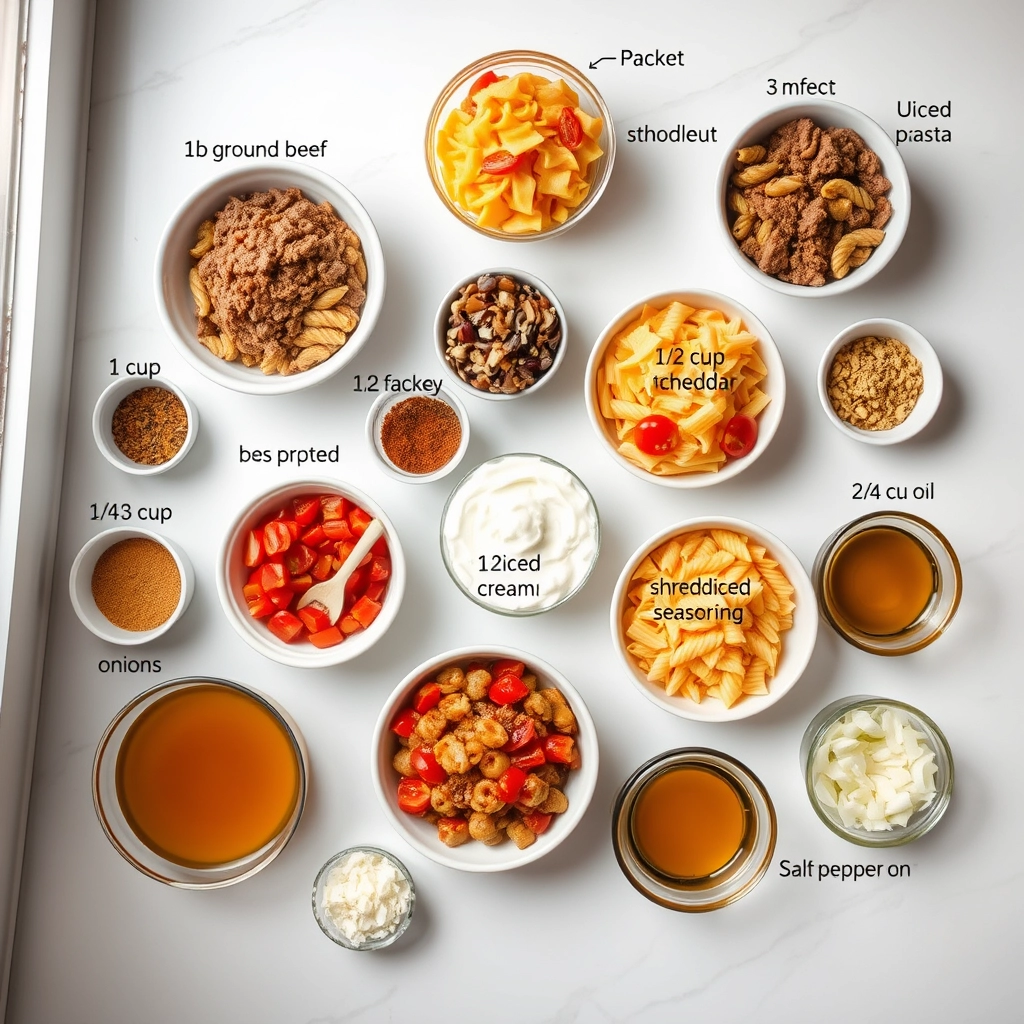
Ingredients You’ll Need
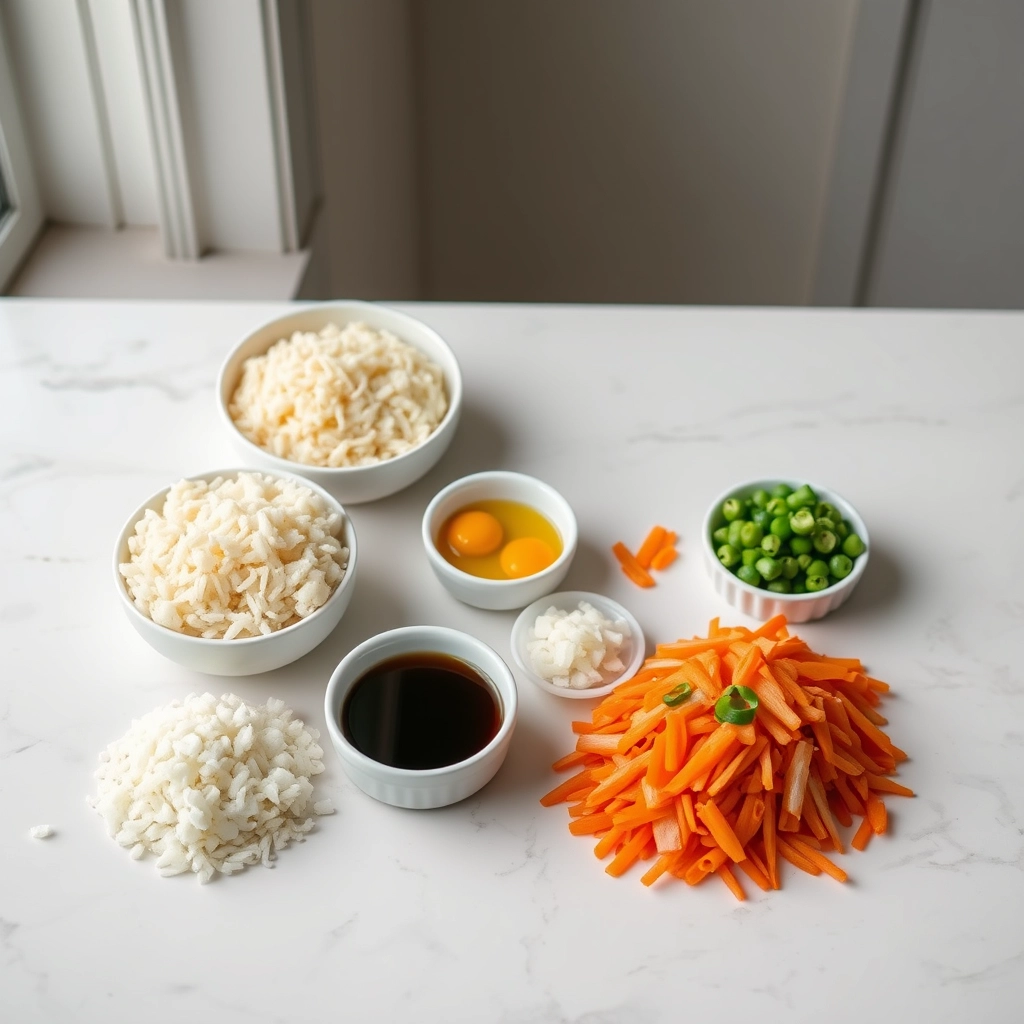
- 3 cups cooked and cooled rice – Day-old rice works best! Freshly cooked rice can be too sticky, but if that’s all you have, spread it on a tray to dry slightly before frying.
- 3 large eggs – The star of the show. I like mine slightly runny, but cook them to your preference.
- 2 tablespoons vegetable oil – Or any neutral oil with a high smoke point.
- 2 cloves garlic, minced – Because everything tastes better with garlic.
- 1 small onion, finely diced – For sweetness and texture.
- ½ cup frozen peas and carrots – A classic combo, but feel free to swap in any veggies you love.
- 2 tablespoons soy sauce – Use light soy sauce for a balanced saltiness.
- 1 teaspoon sesame oil – Just a drizzle at the end for that irresistible nutty aroma.
- Salt and white pepper to taste – White pepper adds a subtle warmth, but black pepper works too.
- Green onions, sliced (for garnish) – A pop of color and freshness!
Let’s Make the Best Egg Fried Rice
Step 1: Prep Your Ingredients
Fried rice comes together fast, so have everything chopped, measured, and within arm’s reach. Trust me, you don’t want to be mincing garlic while your onions are burning!
Step 2: Scramble the Eggs
Heat a large wok or skillet over medium-high and add a splash of oil. Pour in your beaten eggs and let them set slightly before gently scrambling. I like to take them out just before they’re fully cooked—they’ll finish later with the rice. Set them aside on a plate.
Step 3: Sauté the Aromatics
In the same pan, add the remaining oil and toss in the onions. Stir-fry until they turn translucent, then add the garlic. The moment that garlic hits the pan, the kitchen will smell incredible. Just 30 seconds here—we don’t want it to burn!
Step 4: Fry the Rice
Add the rice, breaking up any clumps with your spatula. A little patience here ensures every grain gets coated in flavor. Let the rice crisp slightly for that signature wok hei (breath of the wok) effect.
Pro Tips for Perfect Egg Fried Rice Every Time
Making egg fried rice may seem simple, but a few chef-approved tricks can take yours from good to restaurant-quality amazing:
- Use cold rice: Freshly cooked rice steams instead of frying. Leftover rice that’s been chilled overnight works best.
- High heat is key: Get your wok or pan smoking hot before adding ingredients to achieve that signature “wok hei” (breath of the wok) flavor.
- Scramble eggs separately: Cook them first, remove from pan, then add back at the end for perfect texture.
- The sesame oil secret: A drizzle at the end adds incredible aroma – don’t skip it!
Delicious Variations to Try
This basic recipe is like a blank canvas for your culinary creativity:
- Protein-packed: Add diced chicken, shrimp, or char siu pork
- Vegetable delight: Toss in peas, carrots, bell peppers or mushrooms
- Spicy kick: Stir in sriracha or chili oil to taste
- Pineapple twist: For Hawaiian-style, add diced pineapple and ham
Handy Substitutions
- Rice alternatives: Cauliflower rice for low-carb, quinoa for extra protein
- Oil options: Peanut oil adds great flavor, but vegetable oil works fine
- Soy sauce swaps: Tamari for gluten-free, coconut aminos for less sodium
What to Serve With Egg Fried Rice
While delicious on its own, egg fried rice becomes part of an amazing meal when paired with:
- Stir-fried vegetables (bok choy is perfect)
- Sweet and sour chicken or pork
- Egg drop or hot and sour soup
- Simple cucumber salad for freshness
Storage and Reheating Tips
Leftovers? No problem! Here’s how to keep your fried rice tasting great:
- Storage: Cool completely and store in airtight container for 3-4 days in fridge
- Freezing: Portion and freeze for up to 2 months (thaw overnight in fridge)
- Reheating: Microwave with damp paper towel or stir-fry in pan with splash of water
- Important: Reheat only once and make sure piping hot throughout
Egg Fried Rice FAQs
Q: Can I use freshly cooked rice?
A: You can, but spread it on a tray to cool and dry for 30 minutes first to prevent mushiness.
Q: Why does my fried rice turn out soggy?
A: Usually from using warm rice or overcrowding the pan. Cook in batches if needed.
Q: What’s the best rice variety to use?
A: Long grain like jasmine or basmati works best, but medium grain works too in a pinch.
Q: Can I make this vegetarian/vegan?
A: Absolutely! Just omit eggs or use tofu scramble, and use vegetarian oyster sauce.
The Perfect Comfort Food
There’s something magical about how simple ingredients like rice, eggs, and a few pantry staples can transform into such satisfying comfort food. Whether you’re making a quick weeknight dinner, using up leftovers, or craving some homemade takeout vibes, this egg fried rice recipe never disappoints. The beauty is in its versatility – make it your own with whatever ingredients you have on hand. Now that you’re armed with all these tips and tricks, I hope this becomes your new go-to recipe that you’ll return to again and again. Happy cooking!
Print
Egg Fried Rice
Description
A quick and delicious egg fried rice recipe that’s perfect for using up leftover rice.
Ingredients
For the Crust:
- 2 cups cooked rice (preferably day-old)
- 2 large eggs
- 2 tablespoons vegetable oil
- 1/2 cup frozen peas and carrots
- 2 cloves garlic, minced
- 1 tablespoon soy sauce
- 1/2 teaspoon sesame oil
- 1/4 teaspoon white pepper
- 1 green onion, chopped
Instructions
1. Prepare the Crust:
- Heat 1 tablespoon of vegetable oil in a large wok or skillet over medium-high heat.
- Scramble the eggs until fully cooked, then remove from the wok and set aside.
- Add remaining oil to the wok and sauté garlic for 30 seconds until fragrant.
- Add frozen peas and carrots, stir-fry for 2 minutes until softened.
- Add the cooked rice, breaking up any clumps, and stir-fry for 3 minutes.
- Return the scrambled eggs to the wok and mix well.
- Season with soy sauce, sesame oil, and white pepper, stirring to combine.
- Garnish with chopped green onions before serving.
Notes
You can customize the seasonings to taste.