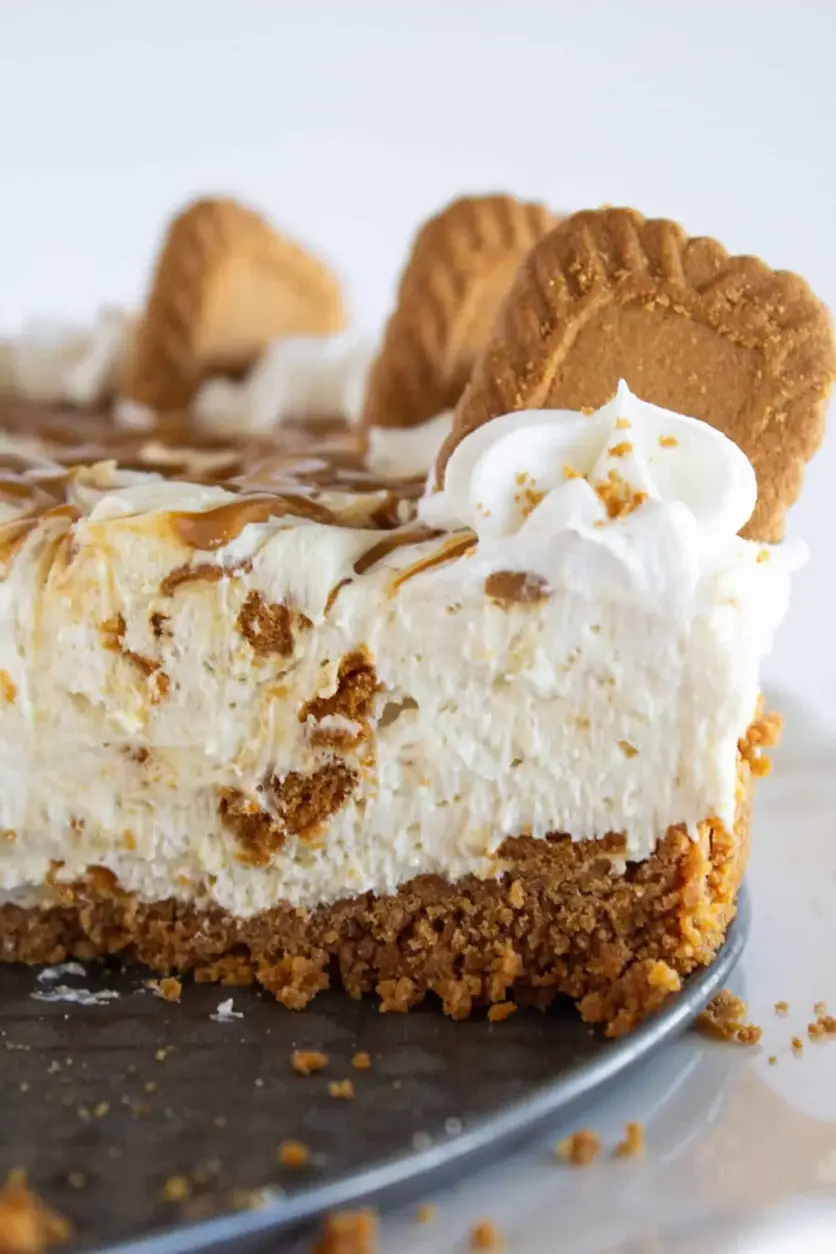
Cookie Butter No Bake Cheesecake Recipe
Description
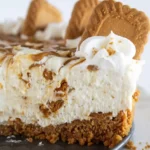
Cookie butter is elevated to the next level when added to this no bake cheesecake. With a cookie crust and crushed cookies in the filling, this cheesecake can’t be beat.
Ingredients
Scale
- 1– 8.8 ounce pkg. Biscoff cookies
- ½ cup butter , {melted}
Instructions
- Combine Biscoff cookie crumbs {that you have pulsed in a food processor} and melted butter in a bowl. Mix together until everything is nicely incorporated. Pour into a ungreased spring form pan. Press crumbs firmly into the bottom and slightly up the sides of the spring form pan. Refrigerate until filling is ready.
- Mix together cream cheese and sweetened condensed milk until creamy using a hand held {or stand mixer}. Add the whipped topping and fold into the cream cheese mixture until combined. Stir in the crushed Biscoff cookies so that they are evenly distributed.
- Pour Biscoff cheesecake filling into the crust and spread out into an even layer. Drizzle melted cookie butter over the top of the cheesecake in a circular motion. Using a toothpick {or skewer} swirl the cookie butter into the filling. Refrigerate for 2-4 hours or until set up.
- When ready to serve, top with whipped topping around the edge of the cheesecake {I like to use a piping bag} and Biscoff Cookies that have been halved. Store leftovers in refrigerator for up to 4 days.
Nutrition
- Calories: 844kcal
- Sugar: 57g
- Protein: 11g