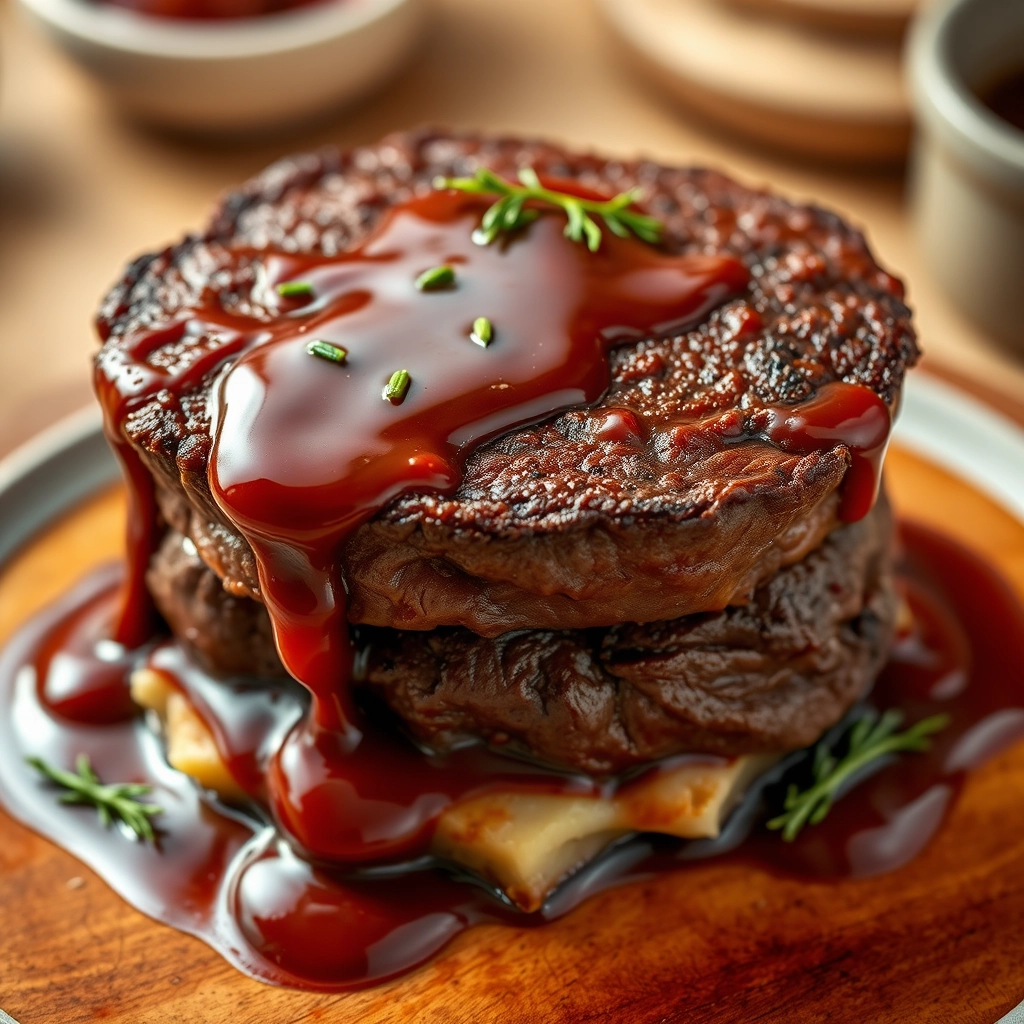
Garlic Butter Steak Bites and Potatoes: A Weeknight Dinner That Feels Like a Celebration
There’s something magical about the sizzle of steak hitting a hot pan—the way the aroma fills the kitchen, promising something deliciously indulgent. This recipe for Garlic Butter Steak Bites and Potatoes is my go-to when I want a meal that feels special without requiring hours in the kitchen. It’s the kind of dish I whip up on busy weeknights when I’m craving comfort, or on lazy Sundays when the house smells like garlic butter and contentment. The best part? It’s all made in one pan, which means fewer dishes and more time savoring every bite.
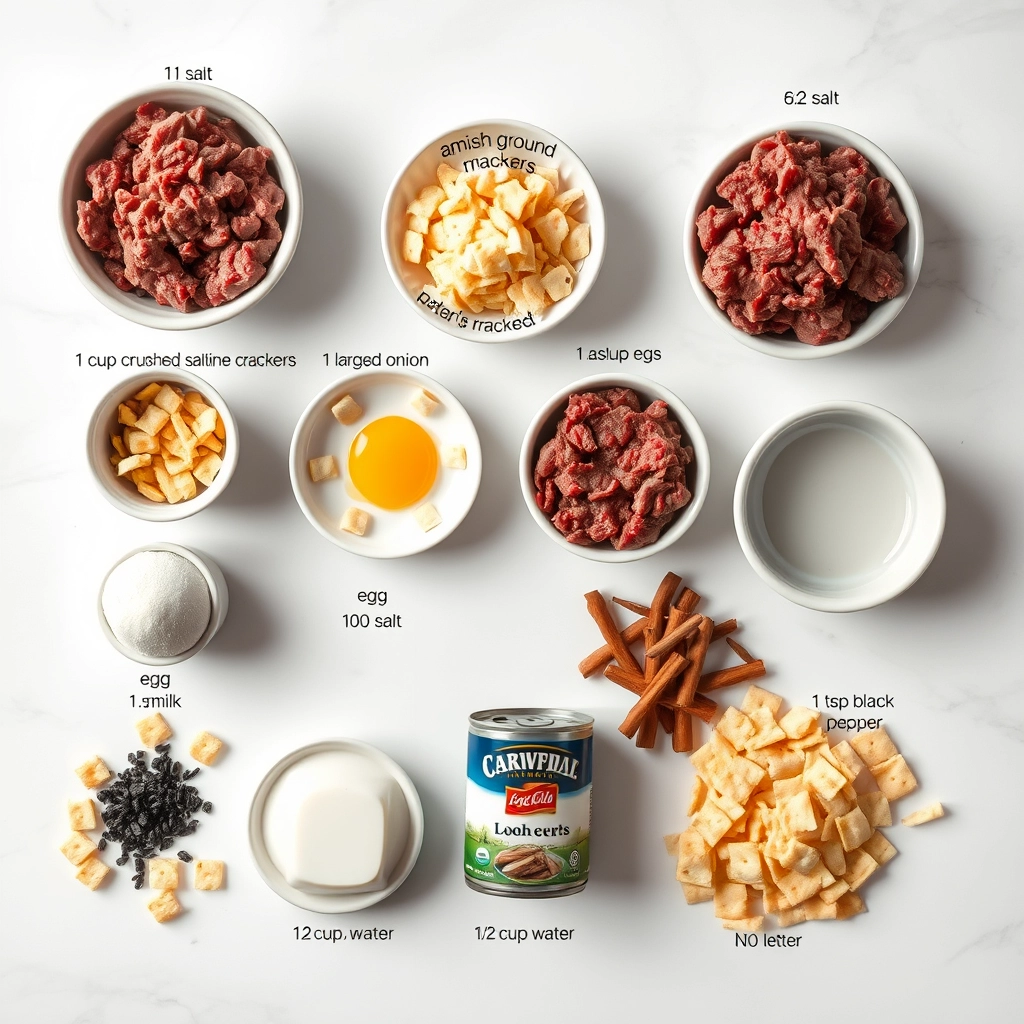
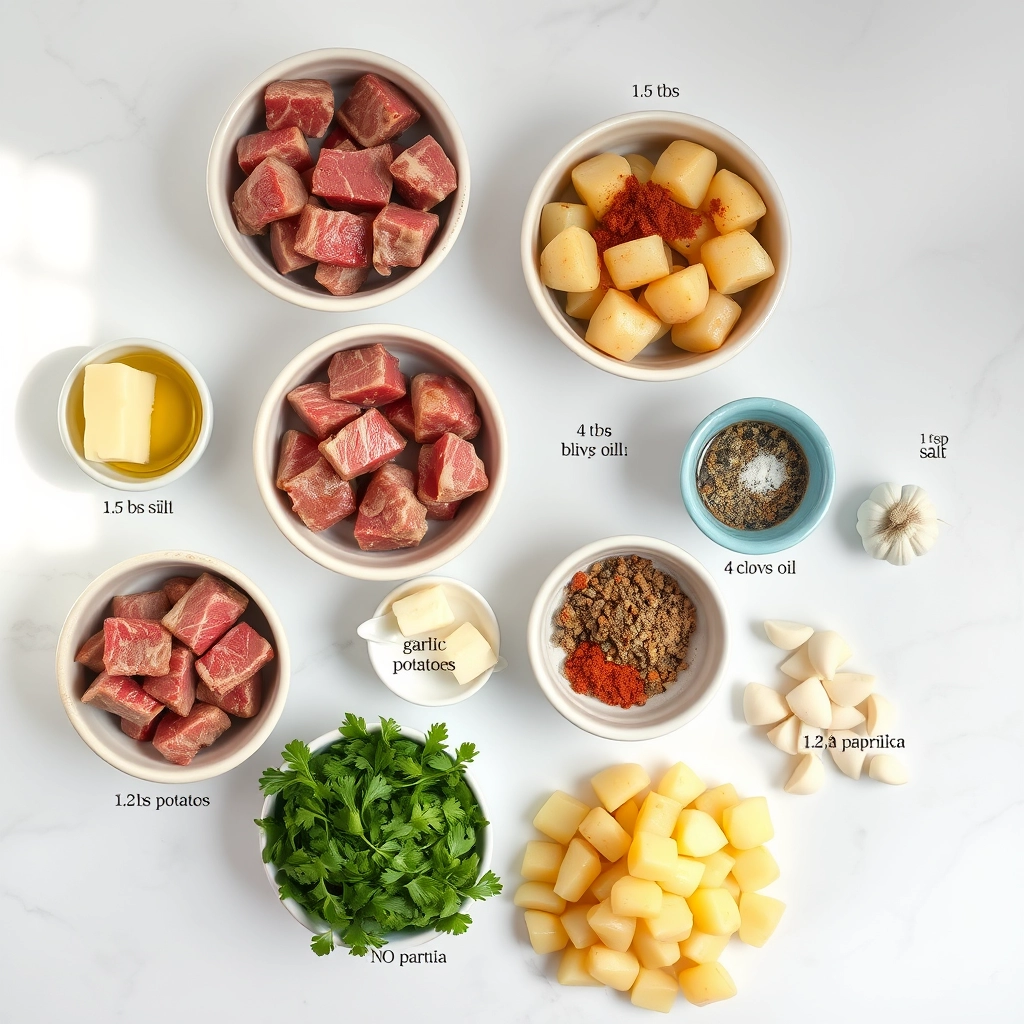
Ingredients You’ll Need
- 1.5 lbs sirloin steak – Cut into bite-sized pieces. Sirloin is tender and flavorful, but feel free to use ribeye if you’re feeling fancy!
- 1.5 lbs baby potatoes – Halved or quartered depending on size. Their creamy texture is perfect with the crispy edges.
- 4 tbsp unsalted butter – Because everything is better with butter, especially when it’s melted into garlicky goodness.
- 4 cloves garlic – Minced. Fresh garlic is non-negotiable here—it’s the soul of this dish.
- 1 tbsp olive oil – For that perfect sear on the steak and potatoes.
- 1 tsp smoked paprika – Adds a subtle warmth and depth.
- 1 tsp dried thyme – Or fresh if you have it! Herbs make all the difference.
- Salt and freshly ground black pepper – To taste. Don’t skimp—seasoning is key.
- Fresh parsley – Chopped, for a bright, fresh finish.
Let’s Get Cooking
First, let’s talk prep. Cutting the steak into even, bite-sized pieces ensures everything cooks uniformly—no one wants an overcooked or undercooked bite. And those potatoes? Halve them so they crisp up beautifully in the pan.
- Cook the potatoes: Heat olive oil in a large skillet over medium-high heat. Add the potatoes, cut side down, and let them cook undisturbed for about 5 minutes until golden. Stir occasionally until they’re tender and crisp (about 10-12 minutes total). Transfer them to a plate—we’ll bring them back later.
- Sear the steak: In the same skillet, add a touch more oil if needed, then toss in the steak bites. Don’t overcrowd the pan—this ensures a gorgeous sear. Cook for 2-3 minutes per side until browned but still juicy. Remove and set aside with the potatoes.
- Make the garlic butter: Lower the heat and melt the butter in the skillet. Add the minced garlic, paprika, and thyme, stirring until fragrant—about 30 seconds. This is where the magic happens. That golden, garlicky butter will coat every bite.
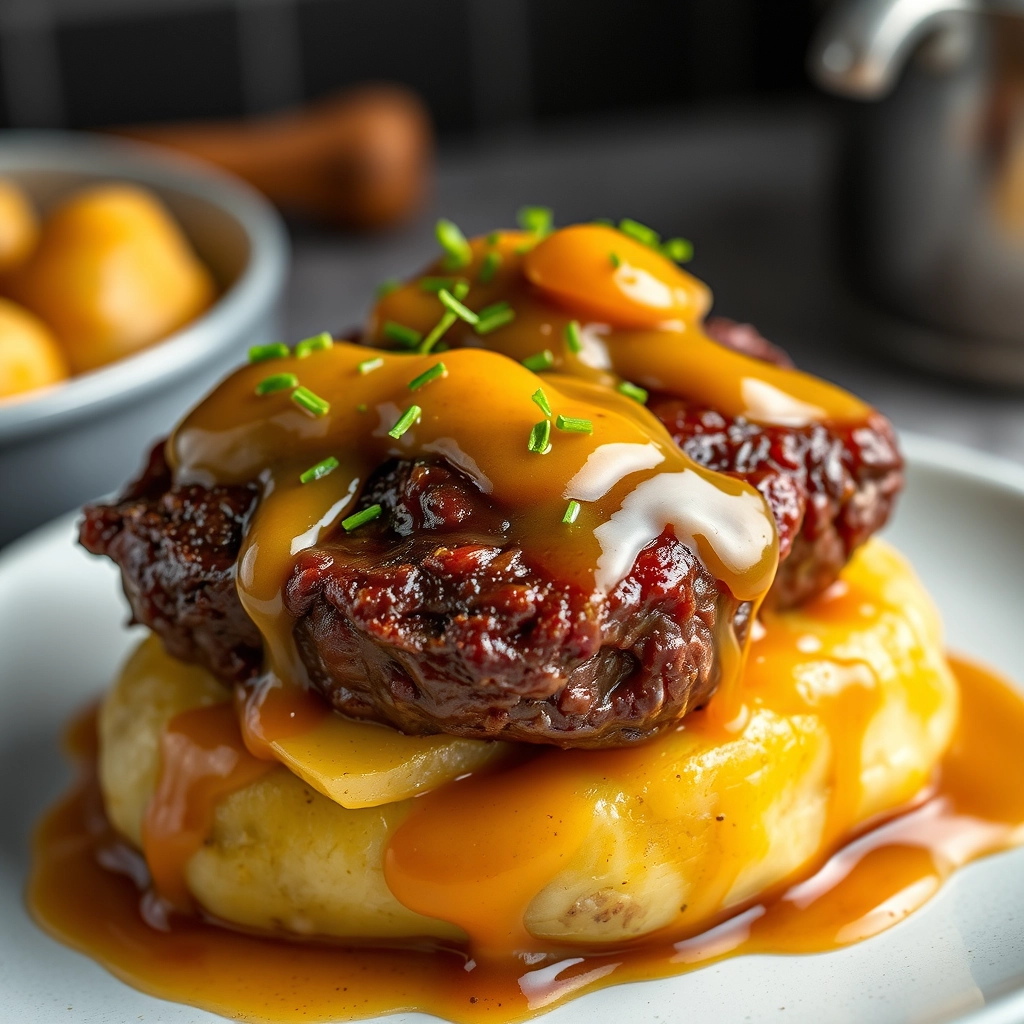
Now, here’s my favorite part: bringing everything back together. Return the steak and potatoes to the skillet, tossing them in that luscious garlic butter until everything is glistening. Finish with a sprinkle of fresh parsley for a pop of color and freshness.
Pro Tips, Variations, and Substitutions
Making Garlic Butter Steak Bites and Potatoes is already a breeze, but here are a few extra tips to take your dish to the next level:
- Choose the right cut: Sirloin or ribeye work best for steak bites, but if you’re on a budget, flank steak or even tenderized round steak can work too.
- Marinate for extra flavor: If you have time, let the steak bites sit in a simple marinade of olive oil, garlic, and herbs for 30 minutes before cooking.
- Spice it up: Add a pinch of red pepper flakes or smoked paprika for a little heat.
- Vegetable variations: Swap potatoes for sweet potatoes, or toss in some bell peppers or mushrooms for extra color and texture.
What to Serve With Garlic Butter Steak Bites and Potatoes
This dish is hearty enough to stand on its own, but if you want to round out the meal, here are some perfect pairings:
- A crisp green salad with a tangy vinaigrette
- Roasted asparagus or garlic green beans
- Warm, crusty bread to soak up that delicious garlic butter sauce
- A glass of red wine, like Cabernet Sauvignon or Malbec
Storage and Reheating Tips
Leftovers? No problem! Here’s how to keep them tasting fresh:
- Storage: Let the dish cool completely, then transfer to an airtight container. It’ll keep in the fridge for up to 3 days.
- Reheating: Warm the steak bites and potatoes in a skillet over medium heat with a splash of broth or water to prevent drying out. Avoid microwaving, as it can make the steak tough.
- Freezing: While possible, the texture of the potatoes may change slightly. If freezing, store in a freezer-safe container for up to 2 months.
Frequently Asked Questions
Can I use frozen steak for this recipe?
Yes! Just make sure to thaw it completely and pat it dry before cooking to avoid excess moisture.
What’s the best way to cut the potatoes evenly?
Aim for 1-inch cubes so they cook at the same rate as the steak bites. A sharp knife and a steady hand make all the difference!
Can I make this dish ahead of time?
While best served fresh, you can prep the ingredients in advance—just store the steak and potatoes separately and cook when ready.
Is there a dairy-free alternative to butter?
Absolutely! Swap the butter for olive oil or a plant-based butter substitute for a dairy-free version.
Final Thoughts
There’s something so comforting about a skillet full of juicy steak bites and golden potatoes, all swimming in that irresistible garlic butter sauce. Whether you’re cooking for a weeknight dinner or impressing guests, this dish never fails to satisfy. The best part? It’s simple enough for beginners but packed with enough flavor to feel like a gourmet treat. So grab your skillet, and let’s make dinner something special tonight!
Print
Garlic Butter Steak Bites and Potatoes
Description
Juicy steak bites and crispy potatoes cooked in a rich garlic butter sauce for a flavorful and satisfying meal.
Ingredients
For the Crust:
- 1.5 lbs sirloin steak, cut into bite-sized pieces
- 1.5 lbs baby potatoes, quartered
- 4 tbsp unsalted butter
- 4 cloves garlic, minced
- 1 tbsp olive oil
- 1 tsp salt
- 1/2 tsp black pepper
- 1 tsp dried thyme
- 1/2 tsp paprika
- 2 tbsp fresh parsley, chopped
Instructions
1. Prepare the Crust:
- Preheat oven to 400°F (200°C). Toss potatoes with olive oil, salt, pepper, thyme, and paprika. Spread on a baking sheet and roast for 20 minutes.
- While potatoes roast, heat a large skillet over medium-high heat. Add steak bites and cook for 3-4 minutes until browned, stirring occasionally.
- Reduce heat to medium. Add butter and minced garlic to the skillet with the steak. Cook for 1-2 minutes until garlic is fragrant and steak is cooked to desired doneness.
- Remove potatoes from oven and toss with the steak and garlic butter mixture. Garnish with fresh parsley before serving.
Notes
You can customize the seasonings to taste.