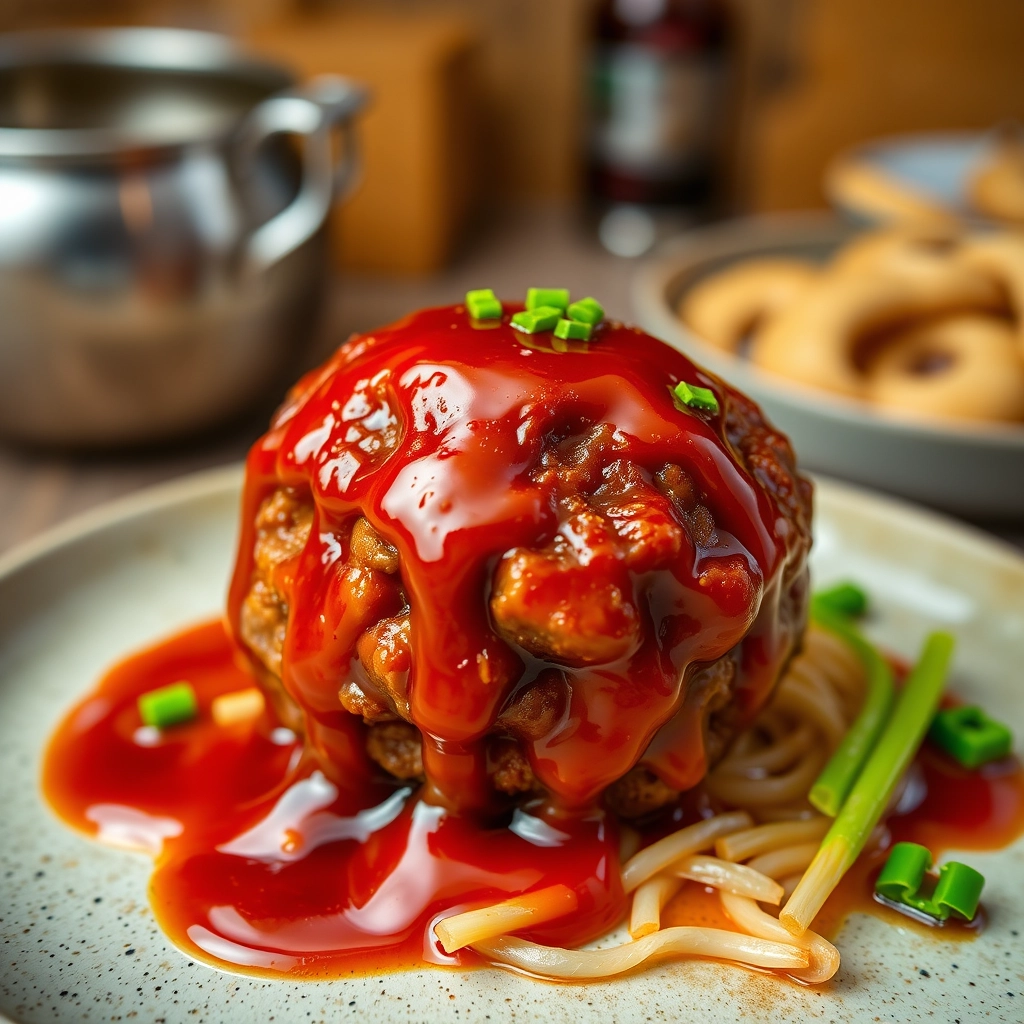
30-Minute Mongolian Beef Meatballs: A Weeknight Savior
There’s something about the sizzle of beef hitting a hot pan that feels like a warm hug after a long day. Maybe it’s the aroma—rich, savory, and just a little sweet—or maybe it’s the promise of a meal that’s both comforting and exciting. That’s exactly what these Mongolian Beef Meatballs deliver. I first whipped them up on one of those evenings when takeout menus were calling my name, but my stubborn love for homemade won out. Thirty minutes later, I was dipping a fork into tender, juicy meatballs glazed in that sticky, garlicky sauce we all adore. Spoiler: There were no leftovers.
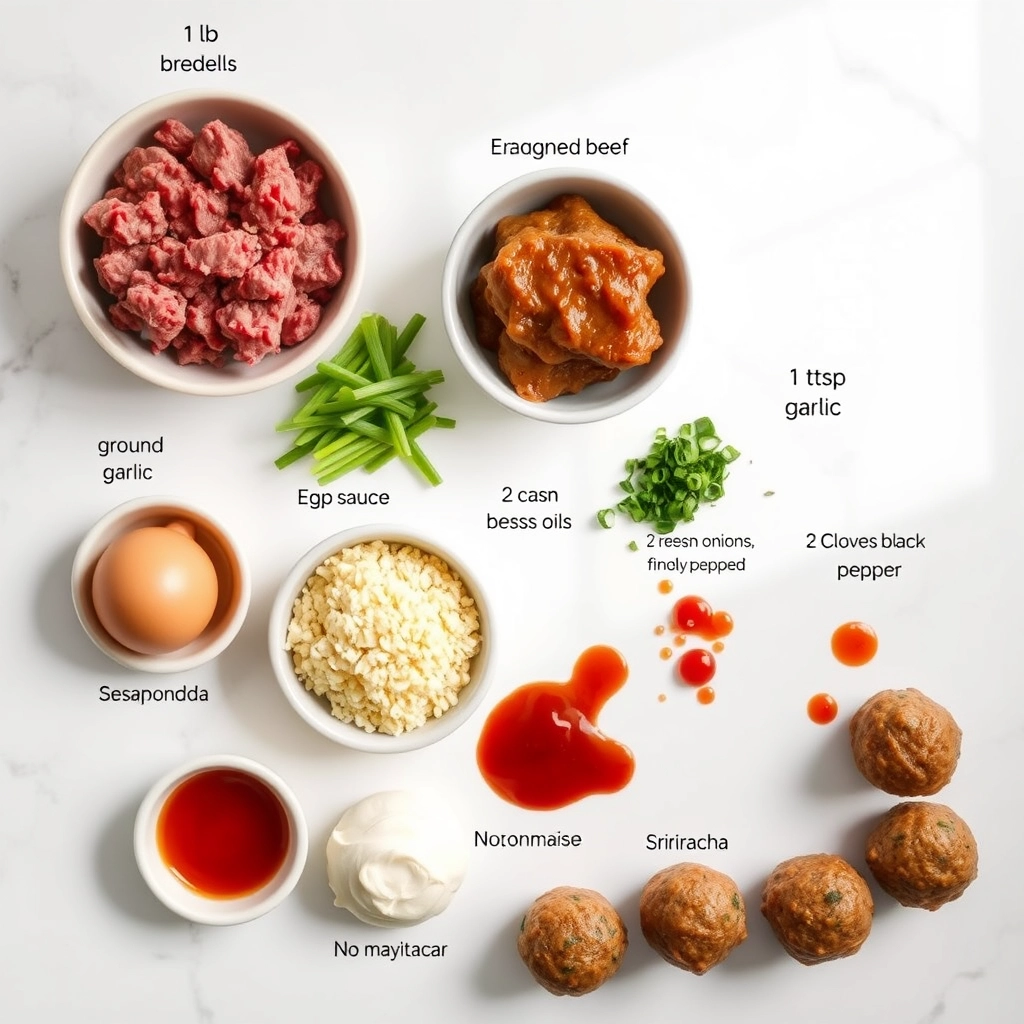
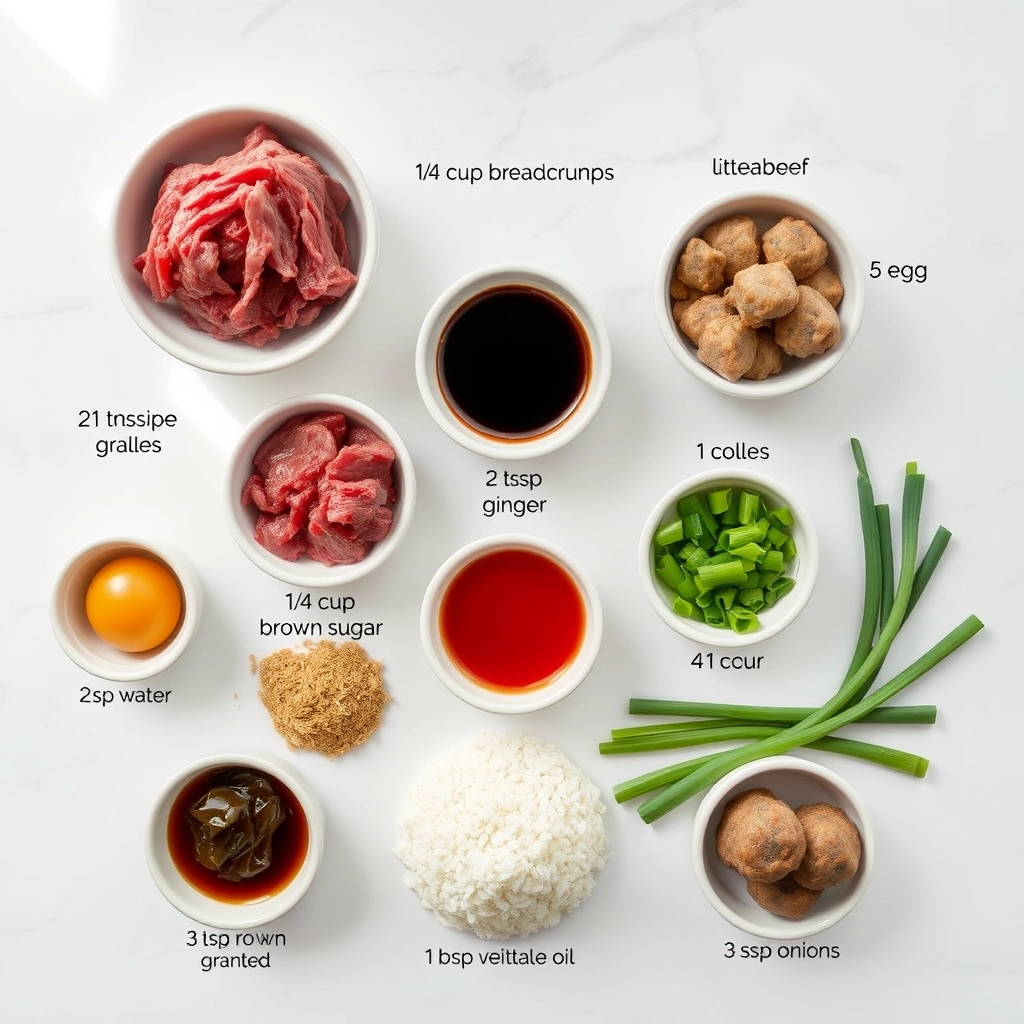
Ingredients You’ll Need
Let’s gather our flavor-packed lineup. Don’t be fooled by the short ingredient list—every element here pulls its weight:
- Ground beef (85% lean) – The star! Lean enough to avoid greasiness but with enough fat to keep the meatballs succulent.
- Panko breadcrumbs – My secret for light, tender meatballs that don’t turn dense. Regular breadcrumbs work too, but panko’s flaky texture is magic.
- Egg – The binder that holds everything together without making things heavy.
- Garlic & ginger – Freshly minced, please! They infuse the meatballs with warmth and depth.
- Soy sauce & hoisin – The dynamic duo for that umami-rich base. If you don’t have hoisin, a dash of brown sugar and extra soy sauce will do in a pinch.
- Brown sugar – Just enough to caramelize into that glossy, irresistible glaze.
- Sesame oil – A drizzle at the end for that nutty, aromatic finish. Don’t skip it—it’s the exclamation point on this dish!
Let’s Make the Magic Happen
Now, onto the fun part! Here’s how we turn these humble ingredients into a meal that’ll have everyone asking for seconds:
- Mix with love. In a large bowl, combine the ground beef, panko, egg, minced garlic, ginger, and a tablespoon of soy sauce. Use your hands (yes, get messy!) to gently mix until just combined. Overworking the meat will make the meatballs tough—think of it as a gentle hug, not a squeeze.
- Roll with intention. Shape the mixture into 1.5-inch meatballs (about the size of a walnut). Pro tip: Lightly wet your hands to prevent sticking. You should get about 18-20 meatballs—perfect for sharing (or not).
- Brown to perfection. Heat a large skillet over medium-high heat with a drizzle of oil. Add the meatballs in a single layer, giving them space to breathe. Let them sizzle undisturbed for 2-3 minutes per side until golden brown. They don’t need to be fully cooked through yet—we’re building flavor here!
While the meatballs are browning, I like to whisper a little promise to them: Just wait until you meet the sauce. And oh, what a sauce it is… (Stay tuned for the next half of this recipe, where we’ll dive into the glazing, the garnishing, and the triumphant moment when you take that first bite!)
Pro Tips, Variations, and Substitutions
These Mongolian beef meatballs are wonderfully adaptable to suit your tastes and what you have on hand. Here are a few ideas to make them your own:
- Protein Swap: Ground turkey or chicken work beautifully if you prefer a lighter option.
- Vegetarian Twist: Swap the beef for plant-based ground meat or finely chopped mushrooms for a meatless version.
- Spice It Up: Add a pinch of red pepper flakes or a drizzle of sriracha to the sauce for a spicy kick.
- Gluten-Free: Use tamari or coconut aminos instead of soy sauce, and ensure your breadcrumbs are gluten-free.
What to Serve With Mongolian Beef Meatballs
These flavorful meatballs pair perfectly with so many sides! Here are a few of our favorites:
- Steamed jasmine rice or fluffy quinoa to soak up the delicious sauce
- Stir-fried vegetables like broccoli, snap peas, or bell peppers
- Quick-pickled cucumbers or carrots for a refreshing crunch
- Buttery noodles or cauliflower rice for a low-carb option
Storage and Reheating Tips
Leftovers? No problem! Here’s how to keep them tasting fresh:
- Refrigerator: Store in an airtight container for up to 3 days.
- Freezer: Freeze cooked meatballs (without sauce) for up to 2 months. Thaw overnight before reheating.
- Reheating: Warm gently in a skillet with a splash of water to revive the sauce, or microwave at 50% power in 30-second intervals.
Frequently Asked Questions
Can I make these meatballs ahead of time?
Absolutely! Prepare the meatballs up to a day in advance and refrigerate until ready to cook. The sauce can also be made ahead and reheated when needed.
Can I bake these instead of pan-frying?
Yes! Bake at 400°F for 15-18 minutes on a parchment-lined sheet pan. Finish by tossing in the sauce.
What if my sauce is too thin?
Let it simmer a few extra minutes to thicken, or mix 1 teaspoon cornstarch with 1 tablespoon cold water and stir it in.
Can I use frozen meatballs?
While homemade tastes best, you can use high-quality frozen meatballs in a pinch. Thaw first, then warm through in the sauce.
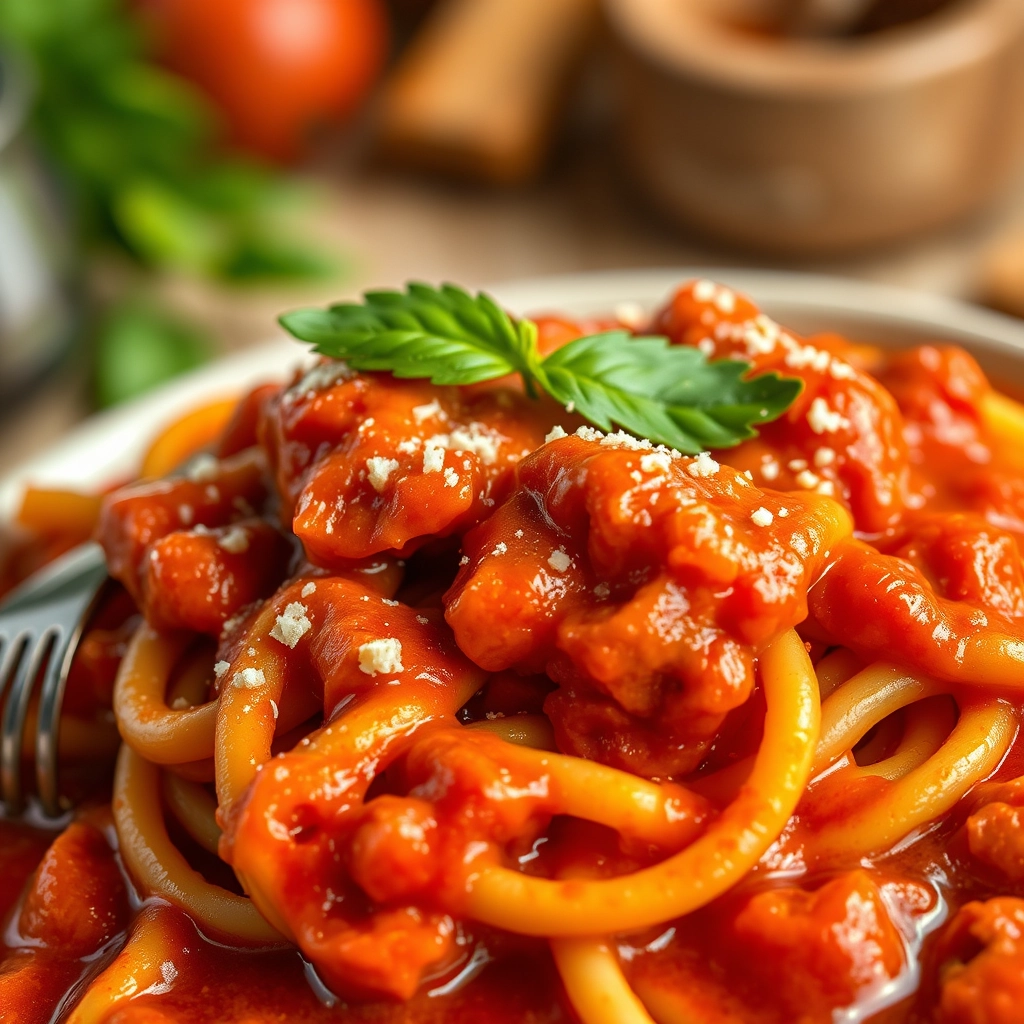
Cozy Comfort in Every Bite
There’s something so satisfying about these Mongolian beef meatballs – the perfect balance of savory, sweet, and just a little bit sticky. Whether you’re serving them over rice for a quick weeknight dinner or packing the leftovers for lunch tomorrow, they’re guaranteed to bring comfort to your table. The best part? In just 30 minutes, you can transform simple ingredients into something truly special. Here’s to meals that warm both the belly and the heart!
Print
30-Minute Mongolian Beef Meatballs
Description
Quick and flavorful Mongolian-inspired beef meatballs with a sweet and savory glaze.
Ingredients
For the Crust:
- 1 lb ground beef
- 1/4 cup breadcrumbs
- 1 egg
- 2 cloves garlic, minced
- 1 tsp ginger, grated
- 2 tbsp soy sauce
- 1/4 cup brown sugar
- 1/4 cup water
- 1 tbsp cornstarch
- 2 green onions, sliced
- 1 tbsp vegetable oil
Instructions
1. Prepare the Crust:
- In a bowl, mix ground beef, breadcrumbs, egg, half the minced garlic, and half the grated ginger. Form into 1-inch meatballs.
- Heat oil in a large skillet over medium heat. Cook meatballs until browned on all sides and cooked through, about 8-10 minutes. Remove from skillet.
- In the same skillet, add remaining garlic and ginger. Stir in soy sauce, brown sugar, water, and cornstarch. Cook until sauce thickens, about 2-3 minutes.
- Return meatballs to the skillet, tossing to coat in the sauce. Garnish with sliced green onions before serving.
Notes
You can customize the seasonings to taste.