Table of Contents
- Avocado Toast with Feta, Cherry Tomatoes, Cranberries, and Walnuts: The Only Recipe You’ll Ever Need
- Why This Avocado Toast with Feta, Cherry Tomatoes, Cranberries, and Walnuts Recipe is a Game-Changer
- Ingredient Spotlight: Quality Makes the Difference
- Step-by-Step Instructions
- Serving & Presentation
- Make-Ahead & Storage Solutions
- Frequently Asked Questions (FAQ)
Avocado Toast with Feta, Cherry Tomatoes, Cranberries, and Walnuts: The Only Recipe You’ll Ever Need
Imagine starting your day with a vibrant, nutrient-packed breakfast that combines creamy avocado, tangy feta, and a satisfying crunch from walnuts and cranberries. This avocado toast with feta recipe isn’t just another quick meal—it’s an irresistible, healthy avocado toast that elevates your morning routine with a perfect balance of flavors and textures. Whether you’re a busy professional or a health-conscious parent, this feta avocado toast recipe offers a simple yet gourmet twist that makes it stand out from the crowd. With its fresh ingredients and easy preparation, this cranberry walnut avocado toast will become your go-to for a delicious, energizing start.
Picture the silky smoothness of ripe avocado spreading effortlessly over warm, toasted bread, contrasted by the burst of juicy cherry tomatoes and the sharp, tangy notes of crumbled feta cheese. Each bite delivers a symphony of textures: the crunch of walnuts provides a nutty depth, while the sweet-tart pop of dried cranberries adds a playful contrast that keeps your palate engaged. The aromas alone—fresh, earthy avocado mixed with the subtle saltiness of feta—will make your kitchen feel like a cozy café. This avocado tomato toast is not only visually appealing with its colorful toppings but also incredibly satisfying, making it a feast for the senses that you’ll crave again and again.
Here at exorecipes.com, we’re dedicated to providing the best, most reliable recipes, and this avocado toast with feta version is no exception. Created by renowned Chef Sally, it incorporates a chef’s secret that transforms a basic dish into something extraordinary—think a simple technique that maximizes flavor without extra effort. In this post, you’ll discover why this recipe is foolproof, learn about high-quality ingredients, get step-by-step guidance with visual tips, and find answers to common questions like how to make it vegan. By the end, you’ll feel confident whipping up this healthy avocado toast anytime, making it the ultimate resource for your breakfast inspiration.
Why This Avocado Toast with Feta, Cherry Tomatoes, Cranberries, and Walnuts Recipe is a Game-Changer
The Chef’s Secret: What sets this avocado toast with feta recipe apart is the strategic layering of ingredients, which creates an irresistible, crunchy and tangy twist that elevates every bite. Unlike standard avocado toast, we emphasize toasting the walnuts lightly before adding them, releasing their natural oils for enhanced crunch and flavor. This simple step, combined with the acidity from feta and cranberries, balances the creamy avocado perfectly, making your healthy avocado toast feel like a gourmet treat from a high-end brunch spot.
Unbeatable Texture: The science behind the texture lies in the contrast of ingredients—ripe avocado provides a creamy base, while walnuts add a crisp element due to their high oil content, which crisps up when toasted. Cherry tomatoes release a slight juice when halved, preventing the toast from becoming soggy, ensuring a delightful mouthfeel that’s both hearty and light. This feta avocado toast recipe has been tested multiple times to guarantee that perfect balance, making it superior to other versions online.
Foolproof for a Reason: We’ve refined this cranberry walnut avocado toast to be incredibly reliable, with straightforward instructions that account for common pitfalls. Whether you’re a novice or a seasoned cook, this recipe delivers consistent results every time, backed by Chef Sally’s expertise and our commitment to quality. It’s not just another avocado tomato toast—it’s the one you’ll turn to again and again for its ease and deliciousness.
Ingredient Spotlight: Quality Makes the Difference
Bread Slices: The foundation of any great avocado toast with feta, fresh bread slices absorb flavors without overpowering them. Opt for whole-grain or artisanal bread for added nutrients and a hearty texture; its role is to provide a sturdy base that holds up to toppings. Quality matters because stale bread can make the toast soggy—always choose day-old or freshly baked. For substitutions, try gluten-free bread if needed, but ensure it’s thick enough to support the weight of the toppings.
Ripe Avocado: The star of this feta avocado toast recipe, a ripe avocado offers creamy richness and healthy fats that make this dish satisfying. It’s mashed and spread for a smooth base, enhancing the overall mouthfeel and nutritional profile. Use Hass avocados for their buttery texture; they’re packed with vitamins and help in creating that signature creaminess. If avocados are unavailable, substitute with mashed peas for a similar consistency, though they won’t replicate the exact flavor.
Cherry Tomatoes: These add a fresh, juicy pop to your avocado toast with feta, providing acidity that cuts through the richness. Halved for easy topping, they burst with flavor and vitamins, making this a truly healthy avocado toast. Choose firm, ripe ones for the best taste—avoid overly soft ones to prevent sogginess. A great substitution is grape tomatoes, but if you’re out, diced regular tomatoes work, though they might water down the dish slightly.
Feta Cheese: Bringing tanginess to this cranberry walnut avocado toast, feta cheese crumbles add a salty, creamy element that contrasts beautifully with other ingredients. It’s a key for that Mediterranean vibe, packed with protein. Opt for high-quality, sheep’s milk feta for authentic flavor; lower-quality versions can be too bland. For a vegan twist, swap with dairy-free feta alternatives made from tofu or nuts to maintain the texture without compromising taste.
Dried Cranberries: These provide a sweet-tart contrast in your avocado tomato toast, balancing the savory elements with a hint of fruitiness. They add antioxidants and a chewy texture that complements the crunch of walnuts. Choose unsweetened varieties to control sugar intake, as they enhance the healthy aspect of this recipe. If substituting, fresh cranberries can be used, but rehydrate them first to avoid tartness overload.
Walnuts: Chopped walnuts introduce a nutty crunch to this feta avocado toast recipe, boosting omega-3s and making it more filling. They’re toasted for extra flavor release, which is crucial for texture contrast. Always use fresh walnuts to avoid rancidity; pecans can substitute for a milder nutty taste, but they’ll alter the profile slightly.
Salt and Pepper: Simple yet essential, these seasonings enhance the flavors in your healthy avocado toast. Use them to taste for a personalized finish. Quality sea salt brings out the natural sweetness of the ingredients, and freshly ground pepper adds a subtle kick. No direct substitutions needed, but experiment with herbs like basil for added depth.
Step-by-Step Instructions
Step 1: Toasting the Bread Slices
Begin by placing your 2 slices of bread in a toaster or oven set to medium heat. Toast until golden brown, about 2-3 minutes, for the perfect crisp base for your avocado toast with feta.
Pro Tip: Use a wide-slot toaster to avoid squishing the bread, ensuring even toasting for that ideal foundation.
Step 2: Mashing and Spreading the Avocado
Halve your ripe avocado, remove the pit, and mash the flesh in a bowl with a fork until smooth. Spread it evenly over the toasted bread slices to create a creamy layer for your feta avocado toast recipe.
Common Mistake to Avoid: Don’t over-mash; leave some chunks for texture—over-mashing can make it gummy.
Step 3: Topping with Tomatoes, Feta, Cranberries, and Walnuts
Halve the 1/2 cup of cherry tomatoes and scatter them over the avocado. Crumble 1/4 cup of feta cheese, then add 2 tbsp of dried cranberries and 1/4 cup of chopped walnuts on top of your avocado toast with feta for that signature crunch.
Pro Tip: Lightly toast the walnuts first in a dry pan for 1-2 minutes to amplify their flavor in this cranberry walnut avocado toast.
Step 4: Seasoning with Salt and Pepper
Sprinkle salt and pepper to taste over the assembled avocado tomato toast, adjusting based on the saltiness of your feta for a balanced finish.
Common Mistake to Avoid: Go easy on the salt if your feta is brined—taste as you go to prevent over-seasoning.
Serving & Presentation
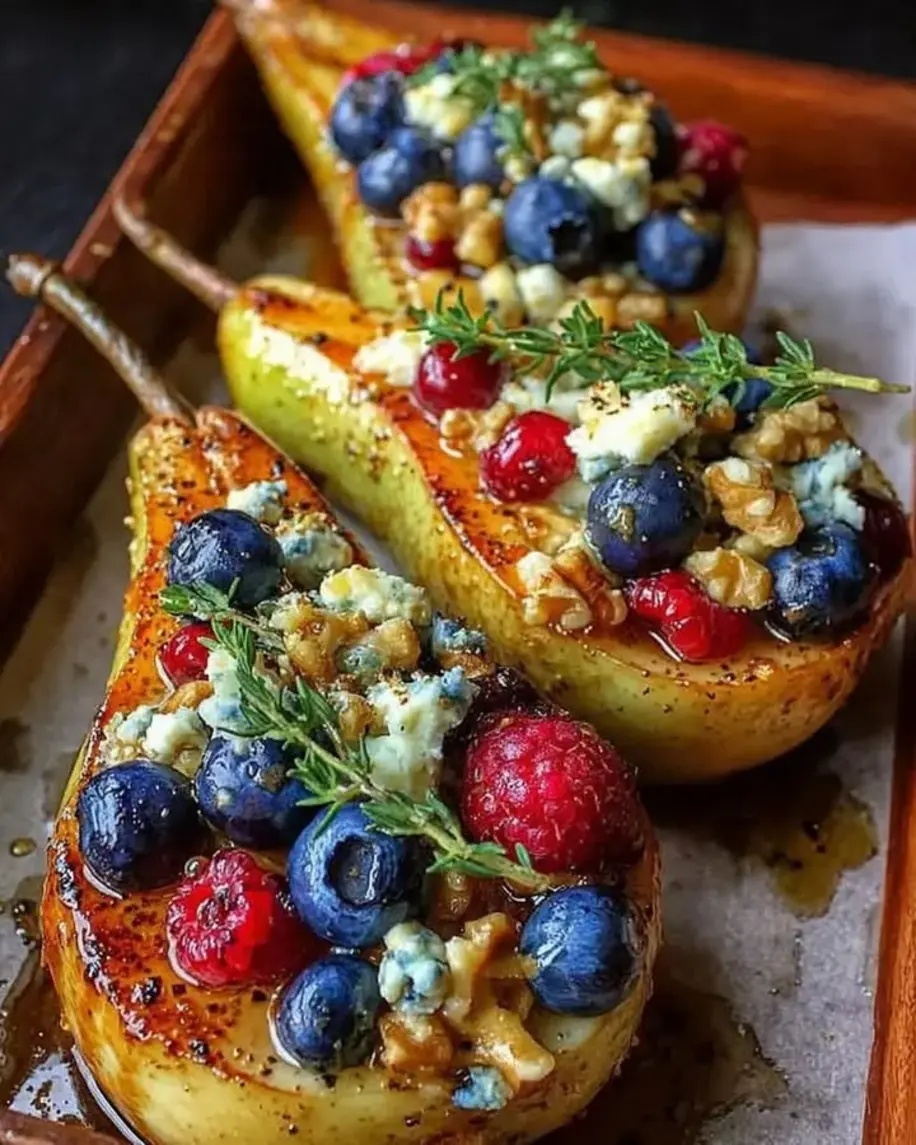
For an eye-catching presentation of your avocado toast with feta, arrange the toppings artfully—perhaps in a radial pattern for visual appeal. Garnish with fresh microgreens or a drizzle of olive oil to add elegance. This healthy avocado toast pairs wonderfully with a side of yogurt or fresh fruit for a complete breakfast, or serve it as a light lunch alongside a simple green salad. The vibrant colors make it perfect for social media shares, impressing your followers with its fresh, wholesome vibe.
Make-Ahead & Storage Solutions
Make-Ahead Strategy: Prep the avocado mash up to 2 hours in advance by adding a squeeze of lemon to prevent browning, and chop the toppings ahead of time. Store them separately in airtight containers in the fridge for up to 3 days, so you can assemble your avocado toast with feta quickly in the morning.
Storing Leftovers: If you have uneaten portions, wrap them tightly in plastic wrap or store in an airtight container in the refrigerator for up to 1 day to maintain freshness. For longer storage, freeze the assembled toast (without avocado, as it doesn’t freeze well) for up to a month, but consume promptly after thawing.
The Best Way to Reheat: To restore the original texture of your feta avocado toast recipe, reheat in a toaster oven at low heat for 2-3 minutes. Avoid microwaving, as it can make the bread soggy—opt for dry toasting to keep that crunchy walnut topping intact.
Frequently Asked Questions (FAQ)
What kind of avocado is best for avocado toast?
The best avocado for avocado toast with feta is a ripe Hass avocado, as it has a creamy texture and rich flavor that mashes easily. Look for ones that are dark green and slightly soft to the touch. Avoid underripe avocados, which are too firm and lack creaminess, making your healthy avocado toast less enjoyable.
How do you toast bread for avocado toast?
To toast bread for avocado toast, use a toaster or oven at medium heat for 2-3 minutes until golden brown. This ensures a crisp base that holds up to toppings like cherry tomatoes and feta, enhancing the overall texture of your feta avocado toast recipe without burning.
Can I use dried cranberries instead of fresh cherry tomatoes?
While dried cranberries can add sweetness to your cranberry walnut avocado toast, they aren’t a direct substitute for fresh cherry tomatoes, which provide juiciness and acidity. If you’re out of tomatoes, you could use them as an extra topping, but the recipe might lose some freshness—try sun-dried tomatoes for a similar tangy bite.
What are good toppings to add to avocado toast with feta?
Great toppings for avocado toast with feta include sliced cucumbers for crunch, a poached egg for protein, or fresh herbs like basil for aroma. These complement the tangy feta and creamy base, making your avocado tomato toast even more versatile and nutritious.
Is this recipe suitable for a gluten-free diet?
Yes, this avocado toast with feta can be made gluten-free by swapping the bread for a gluten-free alternative, like almond flour or oat bread. Ensure all other ingredients are certified gluten-free to keep your healthy avocado toast safe and delicious.
How can I make this recipe more filling?
To make this feta avocado toast recipe more filling, add protein-rich elements like a fried egg, smoked salmon, or chickpeas. This boosts the nutritional value while maintaining the flavors of your cranberry walnut avocado toast.
Tried This Recipe? Leave a Comment!
Did you make this avocado toast with feta recipe? I’d love to hear how it turned out! Please leave a comment and a rating below. Your feedback helps other home cooks and supports exorecipes!
For more delicious inspiration, follow me on Pinterest!
.
Print
Avocado Toast with Feta, Cherry Tomatoes, Cranberries, and Walnuts
- Prep Time: 10 minutes
- Cook Time: 5 minutes
- Total Time: 15 minutes
- Yield: 2 1x
- Method: Breakfast
- Cuisine: American
Description
This avocado toast is a delightful mix of flavors and textures.
Ingredients
- 2 slices of bread
- 1 ripe avocado
- 1/2 cup cherry tomatoes, halved
- 1/4 cup feta cheese
- 2 tbsp dried cranberries
- 1/4 cup walnuts, chopped
- Salt and pepper to taste
Instructions
- Toast the bread slices.
- Mash the avocado and spread on toast.
- Top with tomatoes, feta, cranberries, and walnuts.
- Season with salt and pepper.
Notes
For a vegan version, omit feta.
Nutrition
- Calories: 350
- Sugar: 5g
- Fat: 20g
- Carbohydrates: 30g
- Protein: 10g


