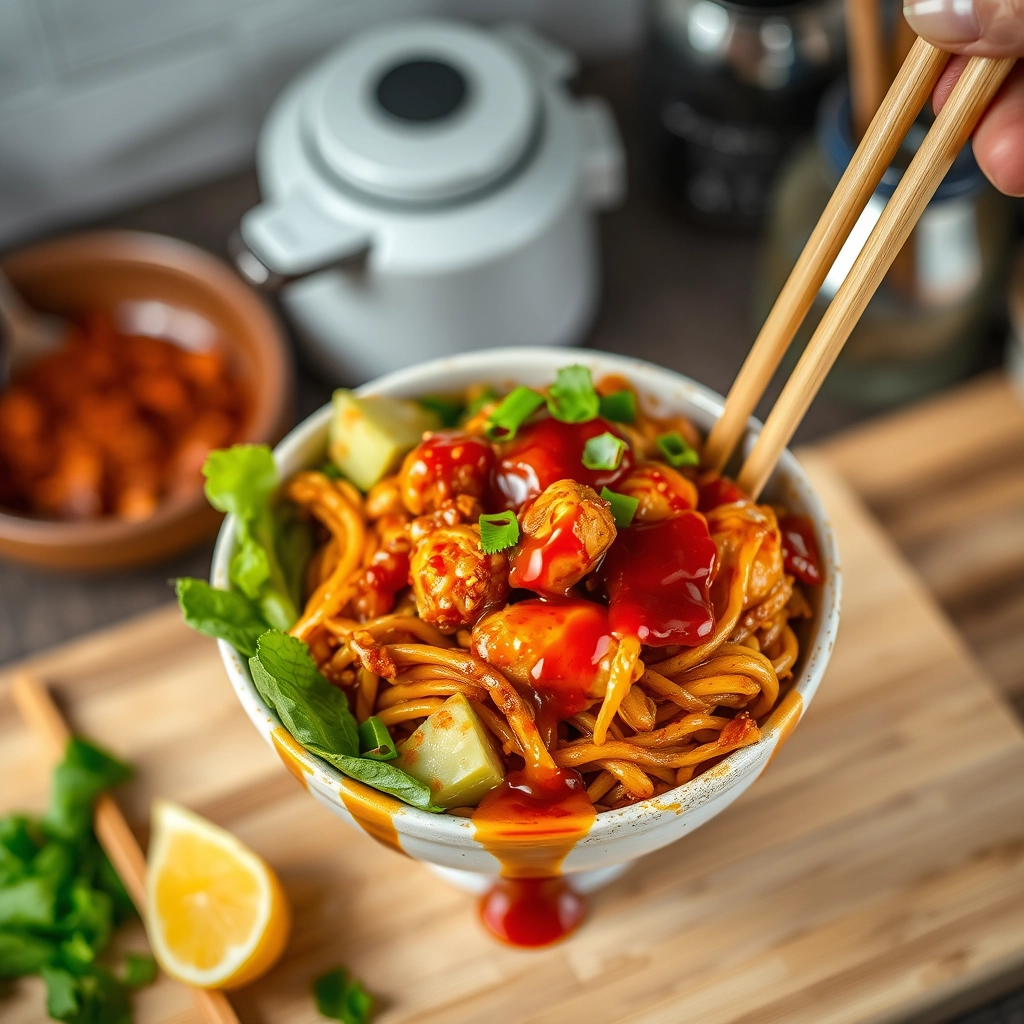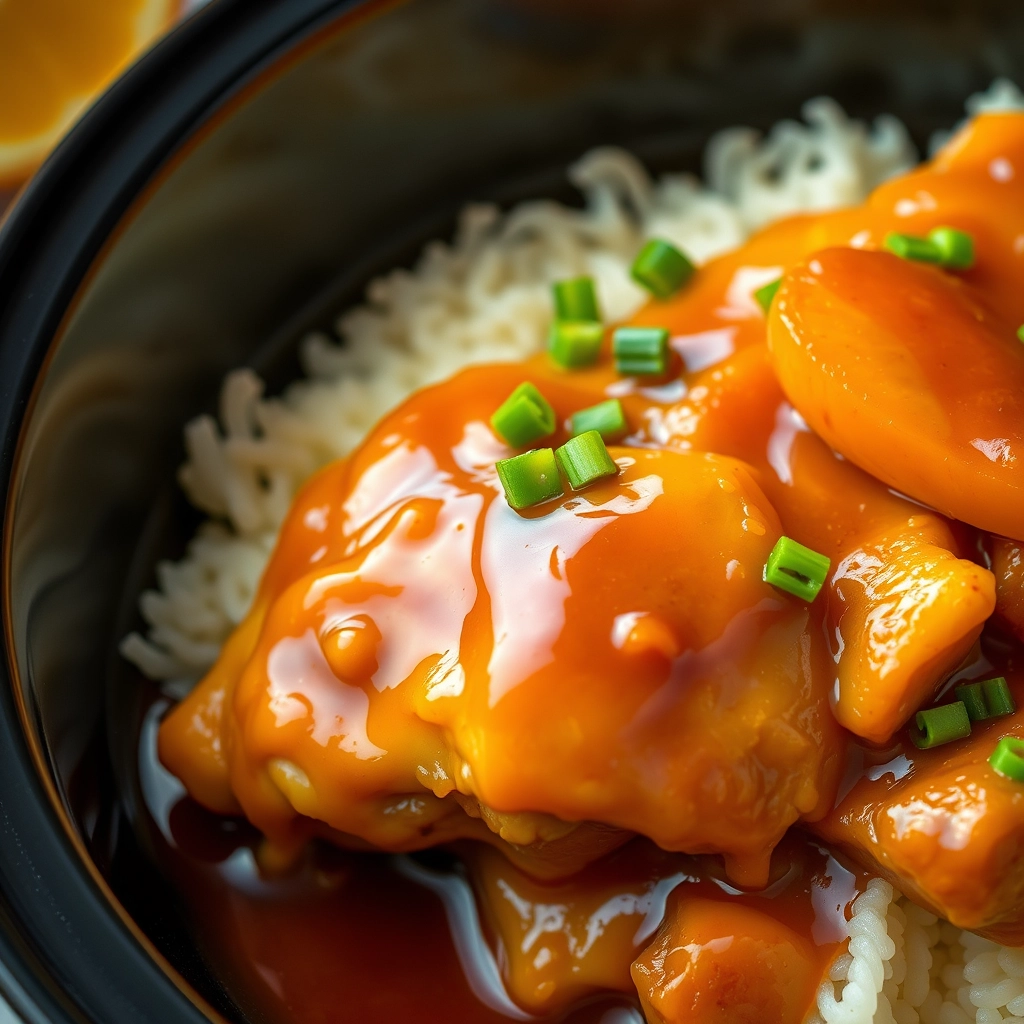
A Cozy Kitchen Miracle: Slow Cooker Orange Chicken
There’s something magical about walking into a home that smells like citrus and spice—like sunshine and comfort all at once. That’s exactly what happened last Sunday when I decided to toss a few simple ingredients into my slow cooker before heading out for a morning walk. By the time I returned, the tangy-sweet aroma of orange chicken had taken over the house, and my family was already hovering near the kitchen, forks in hand. No fuss, no endless stirring—just tender, flavorful chicken waiting to be devoured. If that’s not a weeknight (or lazy weekend) win, I don’t know what is!
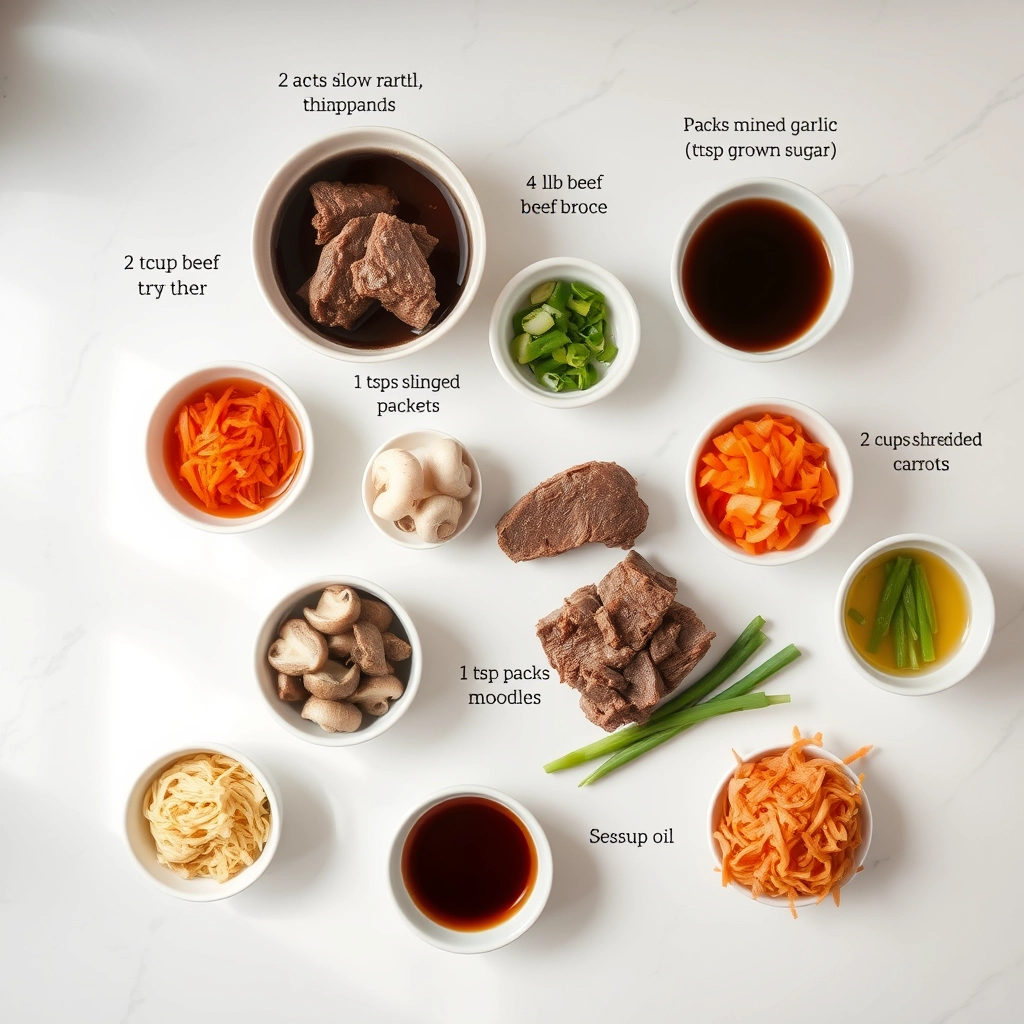
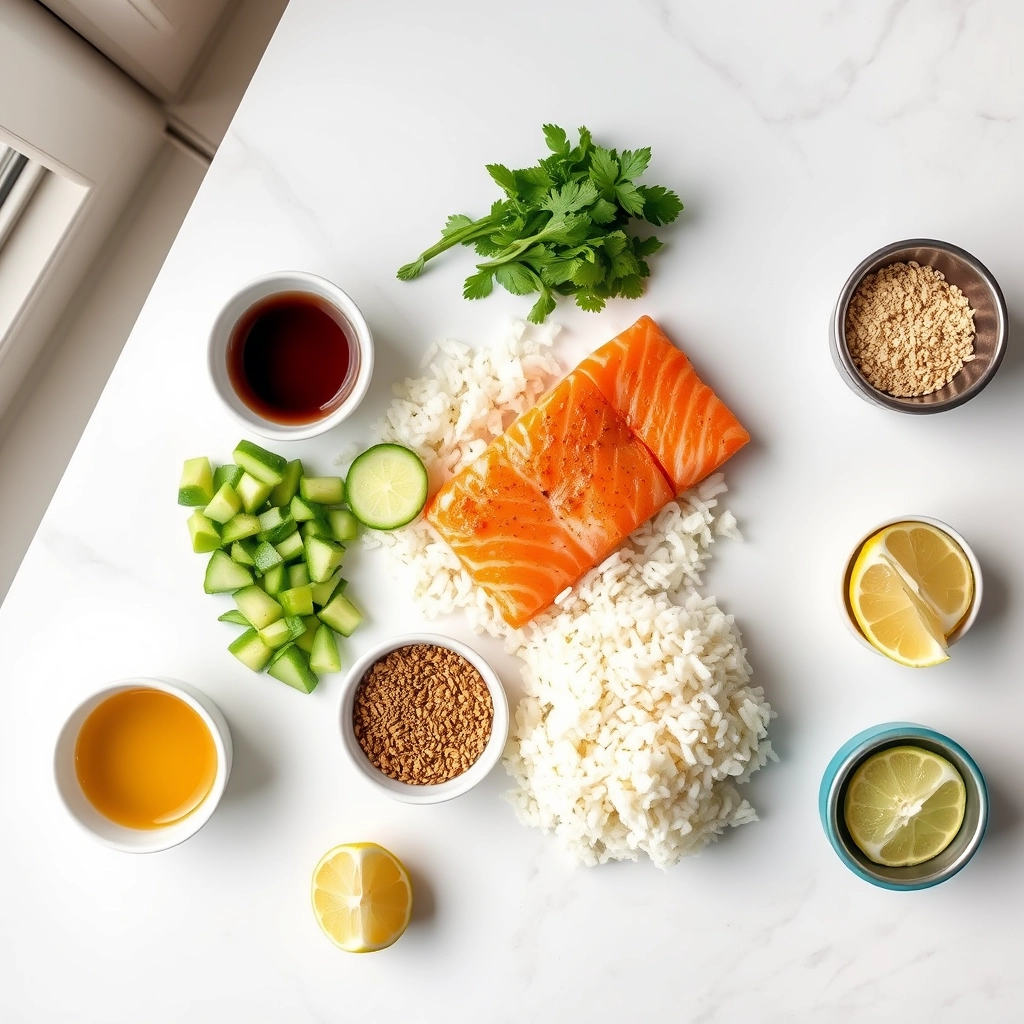
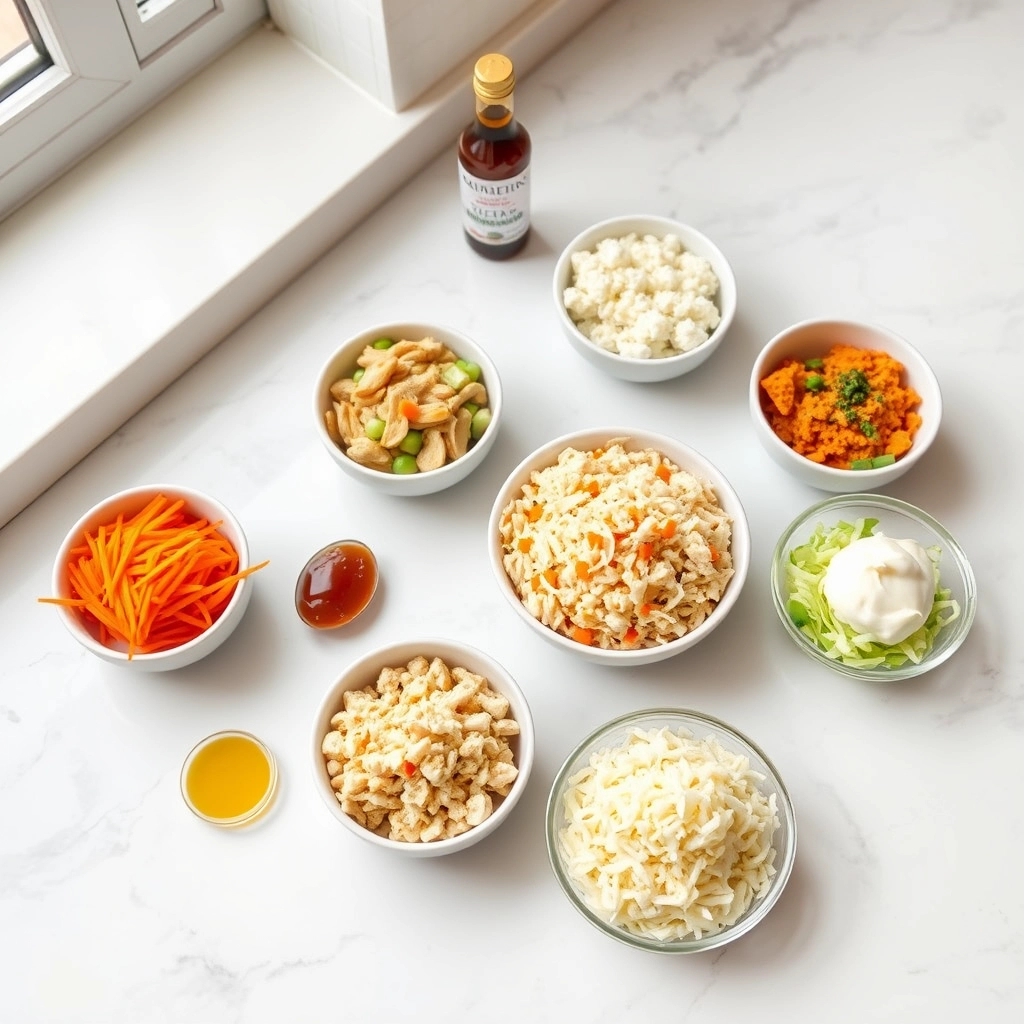
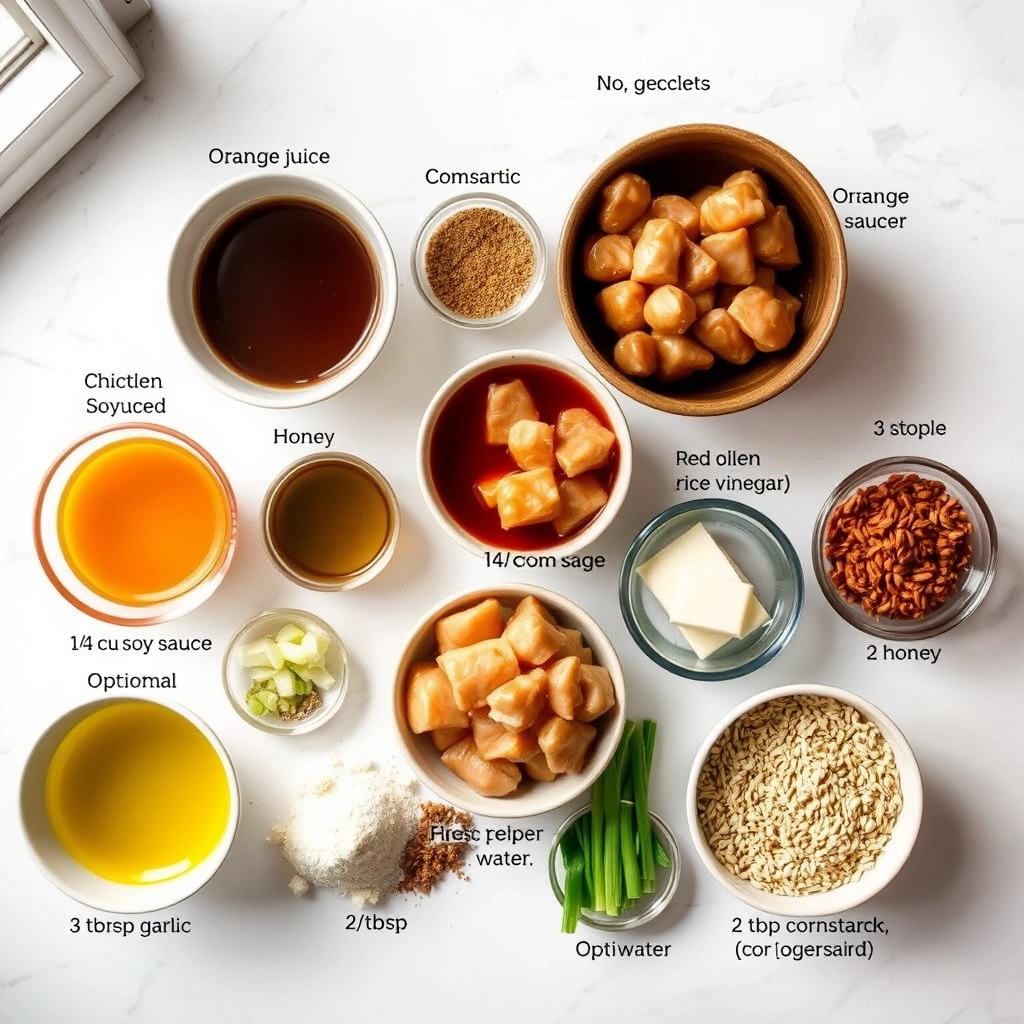
Ingredients You’ll Need
Gather these pantry staples and fresh favorites—most of them might already be in your kitchen!
- Boneless, skinless chicken thighs (1.5 lbs) – Thighs stay juicier in the slow cooker, but breasts work too if you prefer leaner meat.
- Fresh orange juice (1 cup) – Squeeze it yourself for the brightest flavor, or use good-quality store-bought in a pinch.
- Soy sauce (1/3 cup) – The salty backbone of our sauce. I use low-sodium to control the saltiness.
- Honey (1/4 cup) – For that perfect sticky-sweet balance. Maple syrup works beautifully too!
- Rice vinegar (2 tbsp) – A little tang to keep things interesting.
- Fresh garlic (4 cloves, minced) – Because everything’s better with garlic.
- Grated ginger (1 tbsp) – Warm, peppery, and oh-so-cozy.
- Orange zest (1 tbsp) – Don’t skip this! It’s where the magic lives.
- Red pepper flakes (1/2 tsp) – Just enough heat to make you smile.
- Cornstarch (2 tbsp) – Our trusty sauce thickener.
Let’s Get Cooking: Effortless Steps to Flavor Town
This recipe is so simple, you’ll wonder why you ever ordered takeout. Here’s how we do it:
- Prep the chicken. Pat your chicken thighs dry (this helps the sauce cling better) and place them in the slow cooker. No need to chop—they’ll shred beautifully later!
- Whisk the sauce. In a bowl, combine orange juice, soy sauce, honey, rice vinegar, garlic, ginger, orange zest, and red pepper flakes. Give it a taste—adjust the sweetness or spice if needed. Pour this glorious liquid over the chicken.
- Slow cook to perfection. Cover and cook on LOW for 4-5 hours (or HIGH for 2-3). Your kitchen will smell like a dream!
- Thicken the sauce. Once the chicken is fork-tender, remove it and shred lightly. Mix cornstarch with 2 tbsp of cold water, stir into the slow cooker, and let it bubble for 10-15 minutes until the sauce coats the back of a spoon.
Tip: If you’re home while it cooks, baste the chicken with the sauce once or twice—it’s not necessary, but it adds extra flavor love!
Pro Tips, Variations, and Substitutions
This slow cooker orange chicken is wonderfully forgiving, making it easy to tweak to your taste. Here are some ways to make it your own:
- Spice it up: Add a teaspoon of red pepper flakes or a dash of sriracha for a spicy kick.
- Make it gluten-free: Swap soy sauce for tamari or coconut aminos.
- Use fresh oranges: If you have fresh oranges on hand, replace the orange juice with 1/2 cup freshly squeezed juice and add a tablespoon of zest for extra brightness.
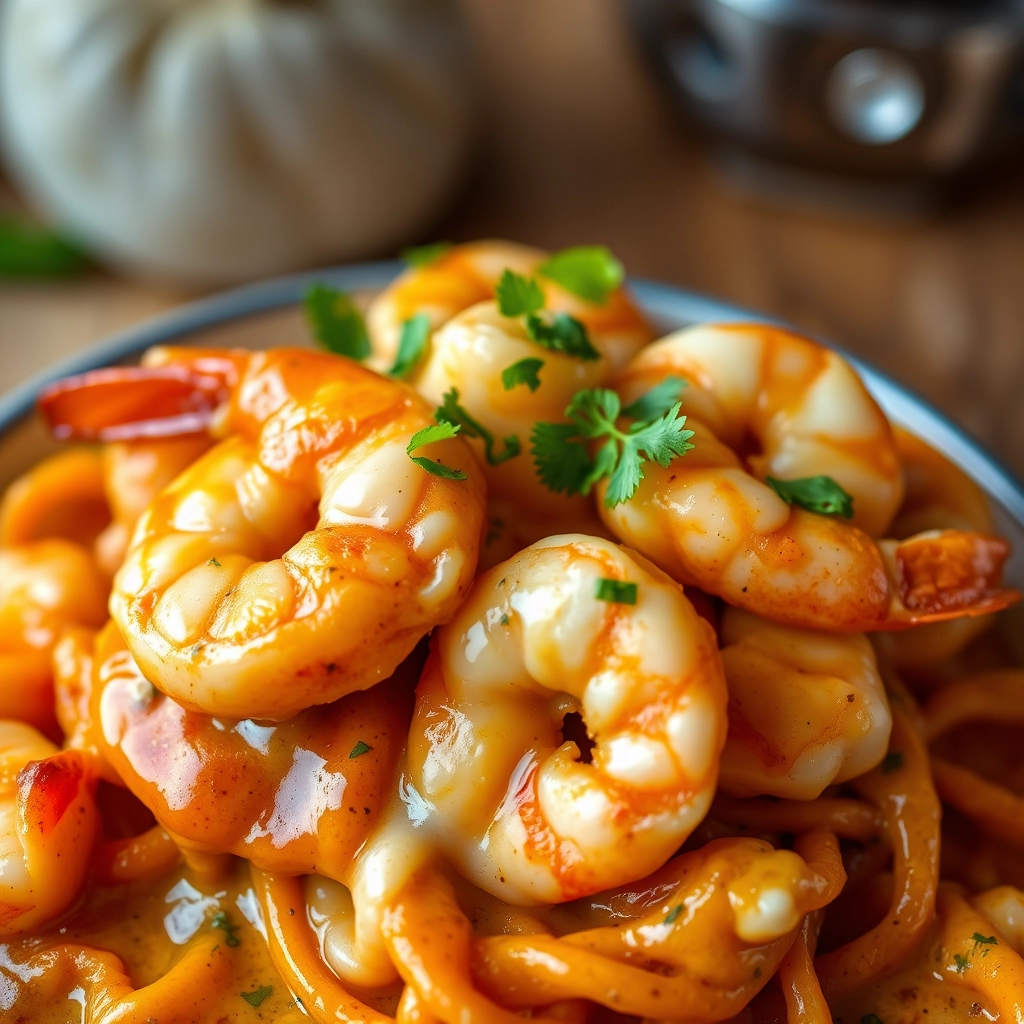
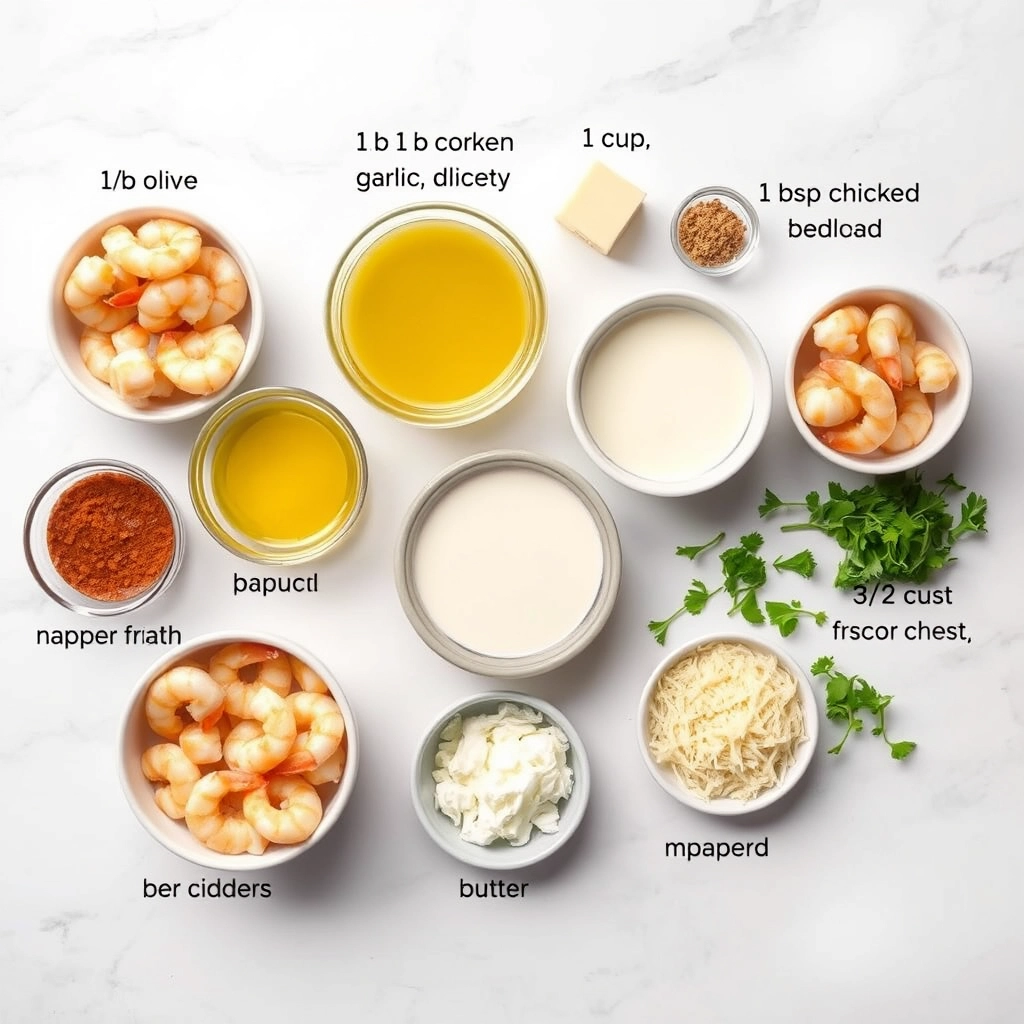
- Swap the protein: This sauce works beautifully with shrimp, tofu, or even pork for a fun twist.
What to Serve With Slow Cooker Orange Chicken
This dish is a star when paired with simple sides that let the flavors shine:
- Steamed jasmine or basmati rice to soak up the delicious sauce
- Stir-fried or roasted broccoli for a crisp, fresh contrast
- Quick-pickled cucumbers or carrots for a tangy bite
- Fortune cookies and hot tea for a fun, takeout-inspired finish
Storage and Reheating Tips
This orange chicken keeps beautifully, making it perfect for meal prep:
- Refrigerator: Store in an airtight container for up to 4 days.
- Freezer: Freeze portions in freezer-safe bags for up to 3 months. Thaw overnight in the refrigerator before reheating.
- Reheating: Warm gently in a skillet over medium-low heat with a splash of water or broth to refresh the sauce. Microwave works too – just cover and heat in 30-second intervals.
Frequently Asked Questions
Can I make this orange chicken in an Instant Pot?
Absolutely! Use the sauté function to brown the chicken first, then pressure cook on high for 5 minutes with a quick release.
Is there a way to make this less sweet?
Yes! Reduce the brown sugar to 2 tablespoons and add an extra tablespoon of soy sauce for balance.
Can I use frozen chicken?
It’s best to thaw first for even cooking, but you can use frozen in a pinch – just extend the cooking time by 1-2 hours.
How do I thicken the sauce if it’s too thin?
Mix 1 tablespoon cornstarch with 2 tablespoons cold water, stir into the slow cooker, and cook on high for 15 minutes uncovered.
Cozy Final Thoughts
There’s something so comforting about coming home to the sweet, citrusy aroma of this orange chicken filling your kitchen. Whether you’re craving a nostalgic takeout favorite or need an effortless weeknight dinner, this slow cooker version delivers all the flavor with none of the fuss. I love how the chicken becomes meltingly tender while the sauce develops deep, balanced flavors – it’s the kind of meal that makes everyone at the table happy. Wishing you many cozy meals ahead with this simple, satisfying recipe!
Print
Easy Slow Cooker Orange Chicken
Description
A delicious and simple slow cooker orange chicken recipe with a sweet and tangy sauce.
Ingredients
For the Crust:
- 1.5 lbs boneless, skinless chicken thighs, cut into bite-sized pieces
- 1/2 cup orange juice
- 1/4 cup soy sauce
- 1/4 cup honey
- 2 tbsp rice vinegar
- 3 cloves garlic, minced
- 1 tbsp ginger, grated
- 1 tsp red pepper flakes (optional)
- 1 tbsp cornstarch
- 2 tbsp water
- 2 green onions, sliced (for garnish)
- 1 tbsp sesame seeds (for garnish)
Instructions
1. Prepare the Crust:
- In a slow cooker, combine orange juice, soy sauce, honey, rice vinegar, garlic, ginger, and red pepper flakes (if using). Stir well.
- Add the chicken pieces to the slow cooker and toss to coat evenly with the sauce.
- Cover and cook on low for 4-5 hours or on high for 2-3 hours, until chicken is cooked through.
- In a small bowl, mix cornstarch and water to create a slurry. Stir the slurry into the slow cooker to thicken the sauce.
- Cook for an additional 15-20 minutes until the sauce has thickened.
- Garnish with sliced green onions and sesame seeds before serving.
Notes
You can customize the seasonings to taste.