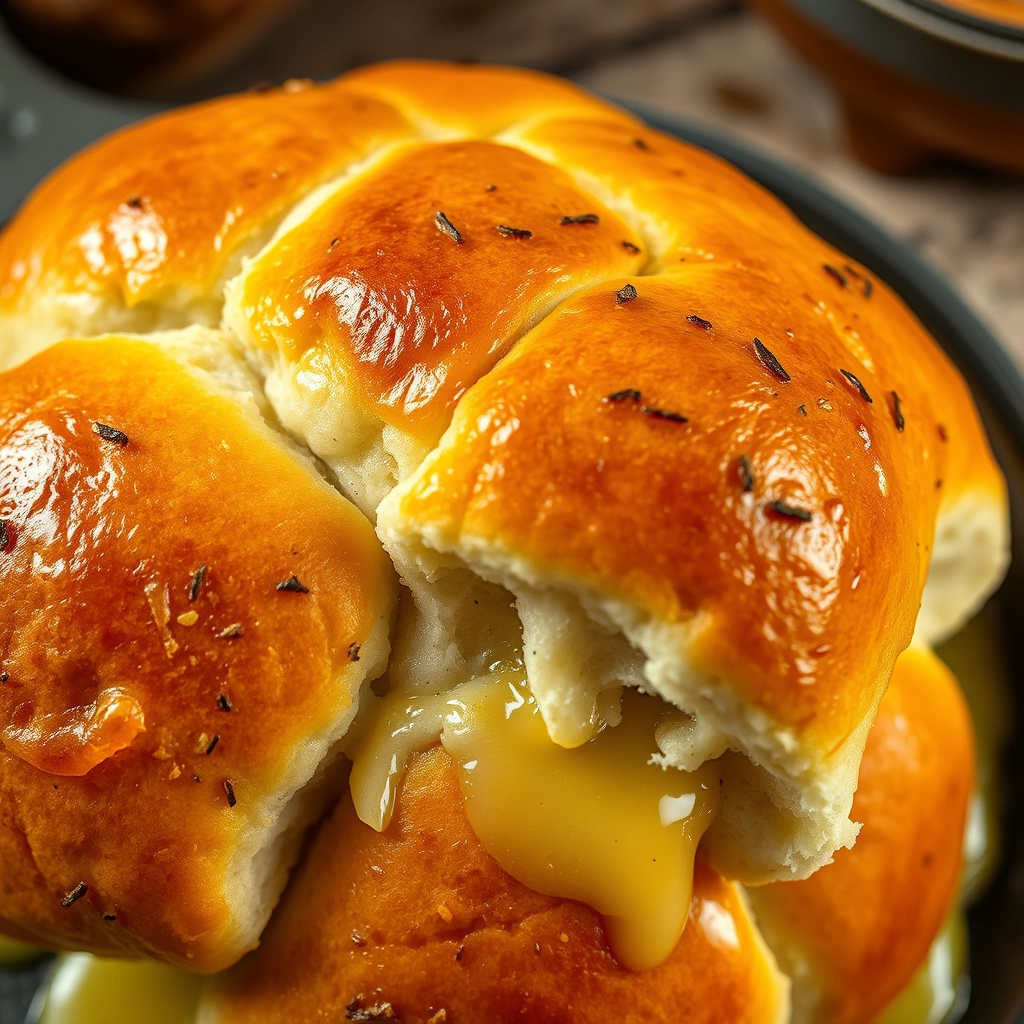
The Coziest Garlic Bread Rolls You’ll Ever Bake
There’s something magical about the scent of garlic and butter wafting through the kitchen, isn’t there? I remember rainy Sunday afternoons at my grandmother’s house, where she’d pull golden rolls from the oven just as the first droplets hit the windowpane. That’s exactly the warmth I wanted to recreate with these garlic bread rolls – pillowy soft centers with a crisp, buttery crust that makes you close your eyes after the first bite. Whether you’re serving them with pasta night or just craving comfort food, these little clouds of joy never disappoint.
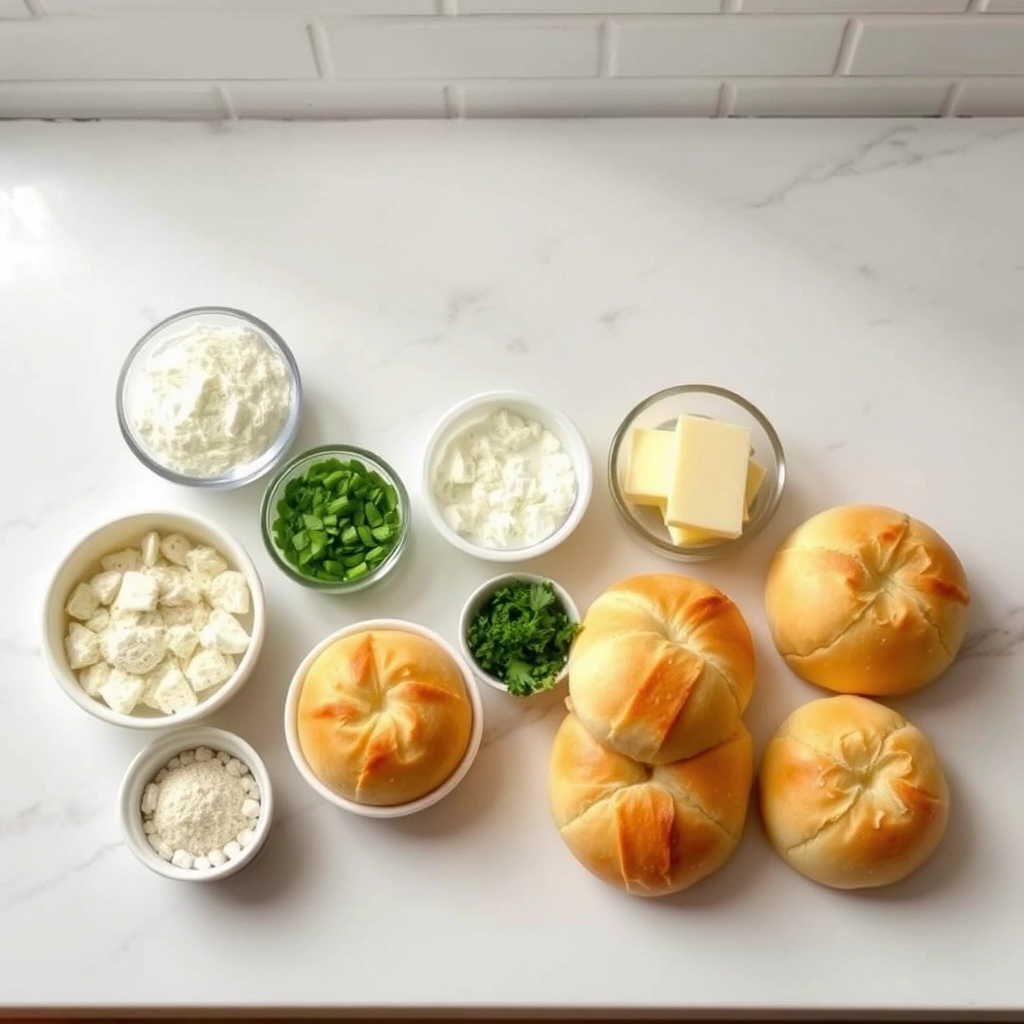
Ingredients You’ll Need
- 3 cups bread flour – The high protein content gives these rolls their wonderful chew
- 1 tbsp active dry yeast – Look for that fresh, earthy smell when you open the packet
- 1 tbsp sugar – Just enough to help the yeast work its magic
- 1 tsp salt – The flavor balancer we can’t skip
- 1 cup warm milk (110°F) – Whole milk makes them extra rich, but any works
- 1 large egg – Room temperature blends better into the dough
- 1/4 cup softened butter – Unsalted is best so we control the saltiness
- 4 garlic cloves, minced – Fresh is essential here, no powdered substitutes!
- 2 tbsp fresh parsley, finely chopped – That pop of color and freshness
- 3 tbsp melted butter for brushing – Because we can never have too much butter
Let’s Make the Dough
Start by waking up your yeast – combine the warm milk, sugar, and yeast in your mixing bowl. Let it sit for about 5 minutes until it gets frothy like a tiny cappuccino. This little pause is my favorite kitchen ritual; it feels like the ingredients are introducing themselves before the dance begins.
Add the egg, softened butter, and salt to the yeast mixture. Use your dough hook attachment to blend everything on low speed. Now gradually add the flour, about 1/2 cup at a time. I always stop when the dough just starts pulling away from the sides of the bowl – that’s when you know the texture is perfect.
Turn the dough onto a lightly floured surface (I use my grandmother’s wooden pastry board) and knead for about 8 minutes. You’ll feel the dough transform under your hands, becoming smooth and elastic. When it springs back slowly when poked, it’s ready for its first rise.
Place the dough in a greased bowl, cover with a damp kitchen towel, and let it rest in a warm spot. I like to turn my oven light on and place the bowl nearby – the gentle warmth creates the perfect rising environment. In about an hour, your dough should have doubled in size, all puffy and proud of itself.
Pro Tips for Perfect Garlic Bread Rolls Every Time
Making these garlic bread rolls is simple, but a few expert tricks will take them from good to unforgettable:
- Use room-temperature butter – It blends smoothly with the garlic and herbs for even distribution.
- Don’t skimp on the resting time – Letting the dough rise properly ensures fluffy, light rolls.
- Brush with butter twice – Once before baking for a golden crust, and again right after for extra richness.
- Toast the garlic lightly – If using fresh garlic, sauté it briefly in butter to mellow the sharpness.
Delicious Variations & Substitutions
This recipe is wonderfully adaptable! Try these twists:
- Cheesy upgrade – Sprinkle shredded mozzarella or Parmesan on top before baking.
- Herb variations – Swap parsley for fresh rosemary, thyme, or basil.
- Spicy kick – Add a pinch of red pepper flakes to the garlic butter.
- Dairy-free? Use olive oil or vegan butter instead.
- No fresh garlic? ½ teaspoon garlic powder per clove works in a pinch.
What to Serve With Garlic Bread Rolls
These buttery beauties pair perfectly with:
- Cozy soups (tomato basil or creamy mushroom)
- Pasta dishes (especially spaghetti Bolognese or Alfredo)
- Salads (think Caesar or a hearty Greek salad)
- Charcuterie boards – tear and share!
- Or simply enjoy warm with a drizzle of olive oil for dipping.
Storage & Reheating Tips
To store: Keep leftover rolls in an airtight container at room temperature for 2 days, or freeze for up to 1 month.
To reheat: Revive that fresh-baked magic by warming in a 350°F (175°C) oven for 5-8 minutes, or microwave for 15-20 seconds (though oven is best for crispness). For frozen rolls, thaw overnight first.
Frequently Asked Questions
Can I make these ahead of time?
Absolutely! Prepare the dough and let it rise, then refrigerate overnight. Shape and bake the next day.
Why are my rolls dense?
This usually happens if the dough didn’t rise enough. Ensure your yeast is fresh and the rising spot is warm (about 75-80°F).
Can I use pre-made dough?
Yes! Store-bought pizza or bread dough works well—just roll, fill, and bake as directed.
How do I get more garlic flavor?
Double the garlic, or let the minced garlic sit in melted butter for 10 minutes before brushing to infuse the flavor.
Final Thoughts
There’s something truly special about pulling apart a warm, buttery garlic bread roll fresh from the oven. Whether it’s a weeknight dinner or a gathering with loved ones, these little clouds of garlicky goodness never fail to delight. I hope this recipe becomes a staple in your kitchen—just be warned, they disappear fast! Wishing you many cozy, carb-filled moments ahead. Happy baking!
Print
Garlic Bread Rolls
Description
Soft and fluffy rolls infused with garlic butter, perfect as a side or snack.
Ingredients
For the Crust:
- 2 cups all-purpose flour
- 1 tbsp sugar
- 1 tsp salt
- 1 packet active dry yeast
- 3/4 cup warm milk
- 2 tbsp unsalted butter, melted
- 3 cloves garlic, minced
- 2 tbsp fresh parsley, chopped
- 2 tbsp grated Parmesan cheese
Instructions
1. Prepare the Crust:
- In a bowl, mix warm milk, sugar, and yeast. Let sit for 5 minutes until frothy.
- Add flour, salt, and melted butter to the yeast mixture. Knead until smooth.
- Cover the dough and let it rise for 1 hour or until doubled in size.
- Punch down the dough and divide into 8 equal portions. Shape into rolls.
- Place rolls on a baking sheet, cover, and let rise for another 30 minutes.
- Preheat oven to 375°F (190°C). Bake rolls for 15-18 minutes until golden.
- Mix minced garlic, parsley, and Parmesan. Brush over warm rolls before serving.
Notes
You can customize the seasonings to taste.