Make soft sourdough bread with this homemade sourdough bread recipe that’s great for beginners. It includes a complete guide to sourdough bread starter and shows how to bake crusty Dutch oven sourdough bread with no kneading required. If you’re interested in sourdough bread recipes that work every time, this one’s worth trying. Perfect for anyone learning about bread starter or making sourdough bread the easy way.
Print
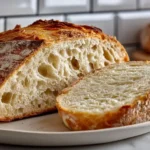
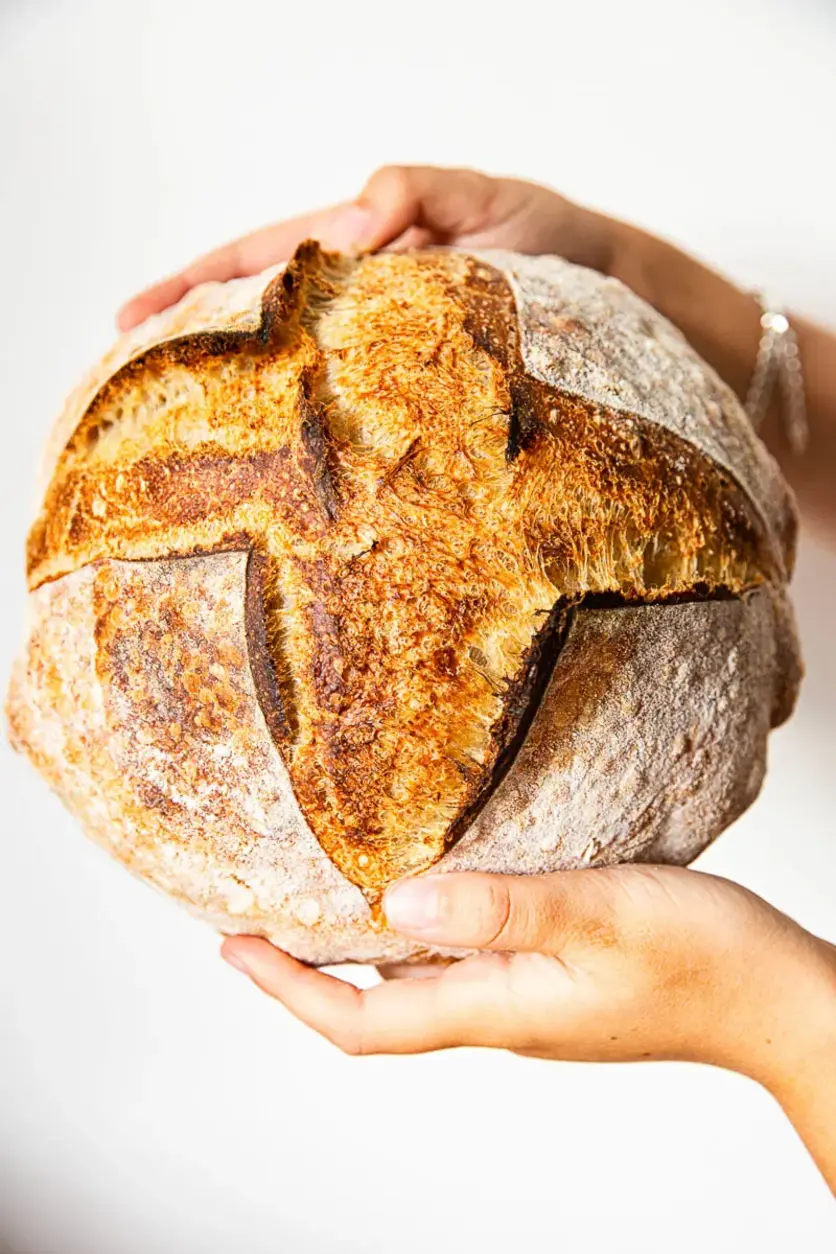
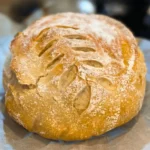
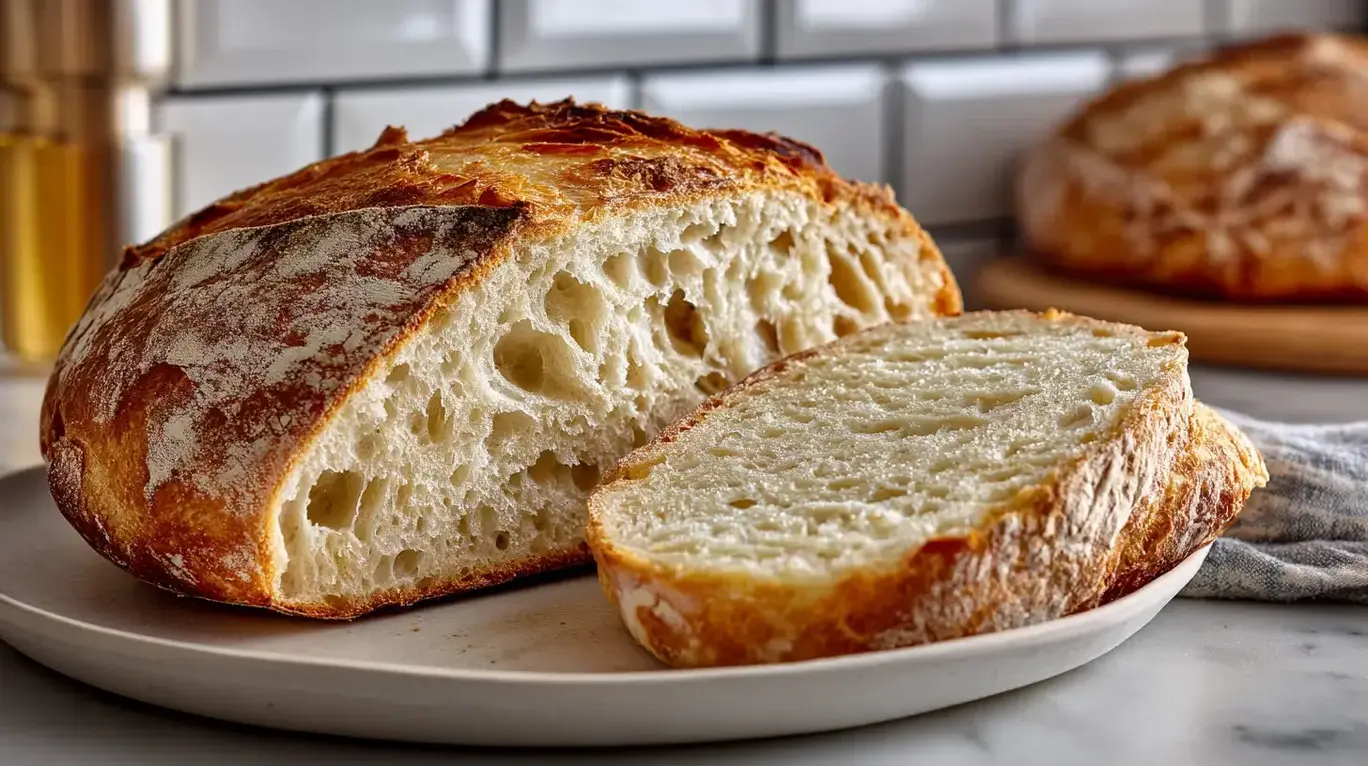
Sourdough Bread
Description
This classic sourdough bread has a chewy center, crisp golden crust, and simple ingredients. Its naturally leavened and baked to perfection in a Dutch ovenno kneading needed.
Ingredients
Scale
- 4 cups 500g bread flour or all-purpose flour
- 1 cups 375g warm water
- 1 cup 200g active sourdough starter
- 2 teaspoons 10g salt
Instructions
- In a large mixing bowl, combine 4 cups of flour and 1 cups of warm water.
- Stir until a shaggy dough forms, then let it rest for 30 minutes.
- After resting, add 1 cup of active sourdough starter and 2 teaspoons of salt.
- Mix well until everything is fully combined.
- Cover the bowl with a clean towel or plastic wrap.
- Let the dough sit at room temperature.
- Every 30 minutes for 2 hours, perform a set of stretch and folds.
- To stretch and fold, pull one side of the dough upward and fold it over itself.
- Turn the bowl a quarter turn and repeat three more times.
- After the final fold, cover the bowl again and let the dough rise for 6 to 8 hours.
- It should double in size and appear bubbly and puffy.
- Gently transfer the dough to a lightly floured surface.
- Shape it into a round or oval loaf by folding and tucking the edges underneath.
- Place the shaped dough seam-side up into a floured proofing basket or towel-lined bowl.
- Cover and refrigerate for 8 to 12 hours.
- The next day, place a Dutch oven into your oven and preheat to 450°F (232°C).
- Remove the dough from the fridge and turn it out onto parchment paper.
- Score the top of the dough with a sharp knife or razor blade.
- Carefully lower the dough into the hot Dutch oven using the parchment paper.
- Cover and bake for 20 minutes.
- Remove the lid and bake uncovered for another 25 minutes.
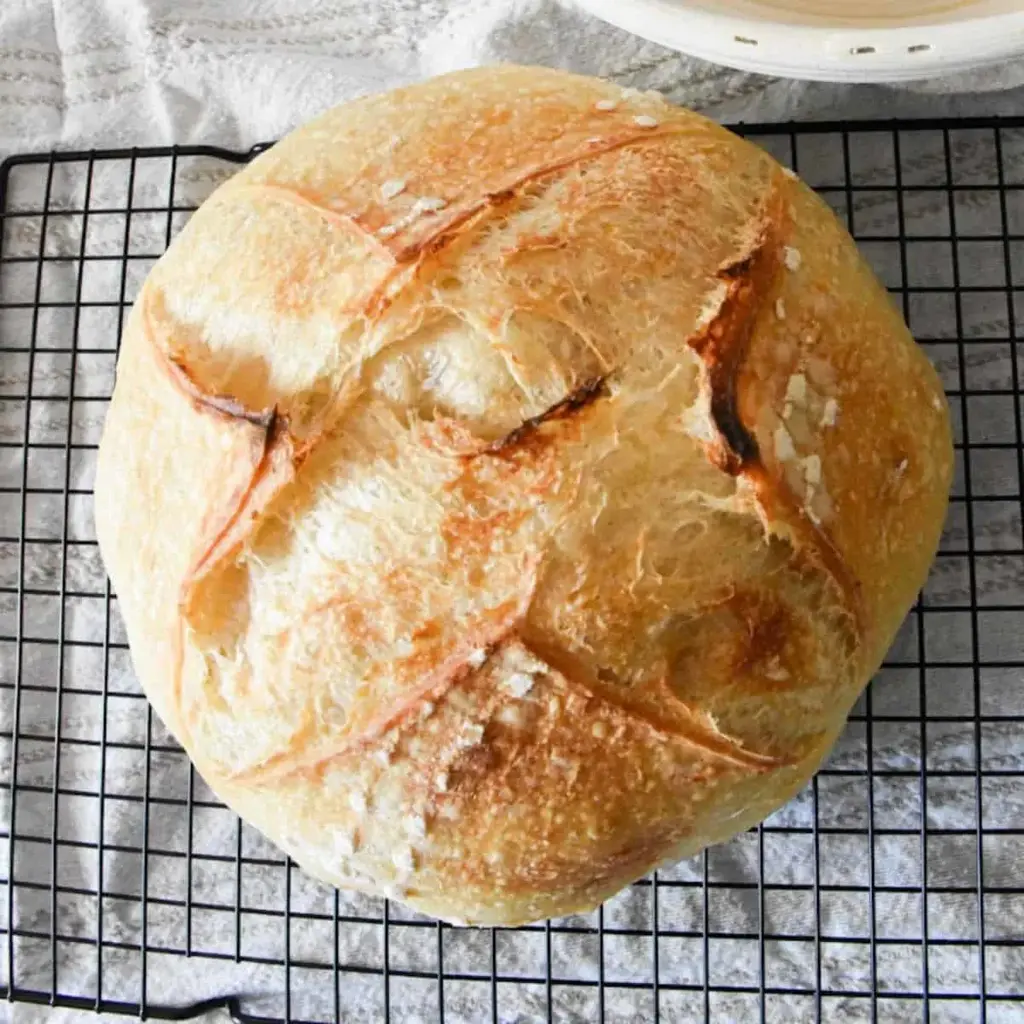
- Take the bread out of the Dutch oven and let it cool completely on a wire rack before slicing.