Introduction
There is something profoundly comforting about a warm bowl of homemade soup on a crisp day. It feels like a hug from the inside, a moment of pure, simple joy. If you crave that deep, earthy flavor and luxurious texture, you have come to the perfect place. Today, we are making a timeless favorite that never fails to soothe the soul: Velvety Creamy Mushroom Soup – A Comforting Classic.
This Velvety Creamy Mushroom Soup – A Comforting Classic is far more than just a simple starter. It represents the heart of home cooking, transforming humble ingredients like cremini mushrooms, aromatics, and herbs into an incredibly rich and elegant dish. Furthermore, its deep, umami flavor profile makes it a standout, offering a gourmet experience without any fuss. This recipe matters because it delivers restaurant-quality results with straightforward, easy-to-follow steps that anyone can master. Ultimately, it fits our blog’s tone perfectly by celebrating achievable, from-scratch cooking that impresses family and guests alike. For another fantastic way to enjoy mushrooms, explore our popular Garlic Butter Mushroom Pasta. Moreover, this soup is wonderfully versatile. You can serve it as an impressive beginning to a special dinner or as the main event with a chunk of crusty bread for a satisfying weeknight meal. It is also an excellent make-ahead option, as its flavors meld and deepen beautifully overnight. If you enjoy cozy, vegetable-forward dishes, you will absolutely adore our Roasted Butternut Squash Soup. This Velvety Creamy Mushroom Soup – A Comforting Classic truly is a must-have recipe for your collection.
Why I Love This Recipe
This soup holds a special place in my heart because it was the first dish I ever truly mastered. I remember the pride I felt when I finally perfected the blend of thyme and garlic, creating a aroma that filled my entire kitchen and brought my family running. It has since become my go-to recipe for quiet evenings when I need a moment of comfort and for hosting friends, always earning rave reviews. That transformation of simple mushrooms into something so luxurious and deeply satisfying never gets old.
Health and Nutrition
Why it’s good for your body
This Velvety Creamy Mushroom Soup – A Comforting Classic delivers a powerful nutritional punch. For instance, mushrooms are a fantastic source of essential B vitamins like riboflavin and niacin, which actively help your body convert food into usable energy. Furthermore, they provide a notable amount of selenium, a crucial antioxidant that supports your immune system and protects your cells from damage.
Additionally, this soup offers a satisfying and wholesome meal. The creamy texture often comes from a blend of broth and a touch of dairy, which contributes calcium for strong bones. Consequently, you enjoy a dish that feels indulgent while still providing foundational nutrients. Moreover, a warm bowl of Velvety Creamy Mushroom Soup – A Comforting Classic can be incredibly soothing, potentially aiding digestion and promoting a sense of calm.
Ultimately, this soup supports your well-being from the inside out. Therefore, you can feel great about serving it to your family. Enjoy this Velvety Creamy Mushroom Soup – A Comforting Classic knowing you are nourishing your body with every delicious spoonful.
How it fits in a healthy lifestyle
This Velvety Creamy Mushroom Soup – A Comforting Classic seamlessly fits into a balanced eating plan. You can easily make it a complete meal by pairing it with a crisp side salad or a slice of whole-grain bread for added fiber. It naturally aligns with a heart-healthy approach, especially if you use low-sodium broth and control the amount of added salt.
For those following specific diets, this soup is wonderfully adaptable. You can prepare a gluten-free version by ensuring your thickener is cornstarch or a gluten-free flour blend. It also complements a vegetarian lifestyle beautifully when you use a rich vegetable stock. If you are exploring more ways to incorporate wholesome, plant-based meals into your routine, our guide to starting a plant-based diet offers excellent tips. Enjoying this soup is a simple, practical step towards healthier everyday habits. For another comforting and nutritious option perfect for a busy weeknight, try our favorite hearty lentil stew recipe.
Print
Velvety Creamy Mushroom Soup – A Comforting Classic.
- Prep Time: PT15M
- Cook Time: PT45M
- Total Time: PT60M
- Yield: 6 servings 1x
- Method: Soup
Description
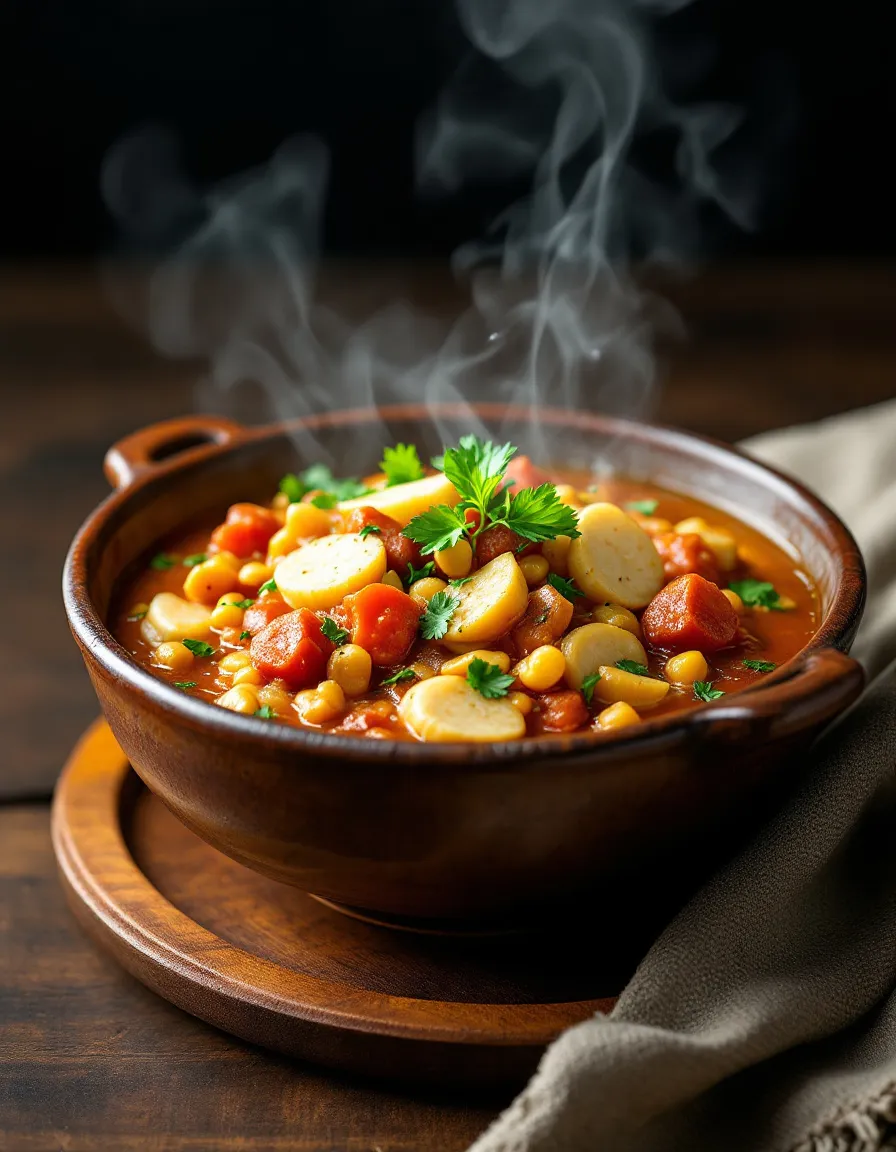
This velvety creamy mushroom soup is a comforting classic, boasting rich earthy flavors from roasted mushrooms blended into a silky smooth soup that’s perfect for chilly days.
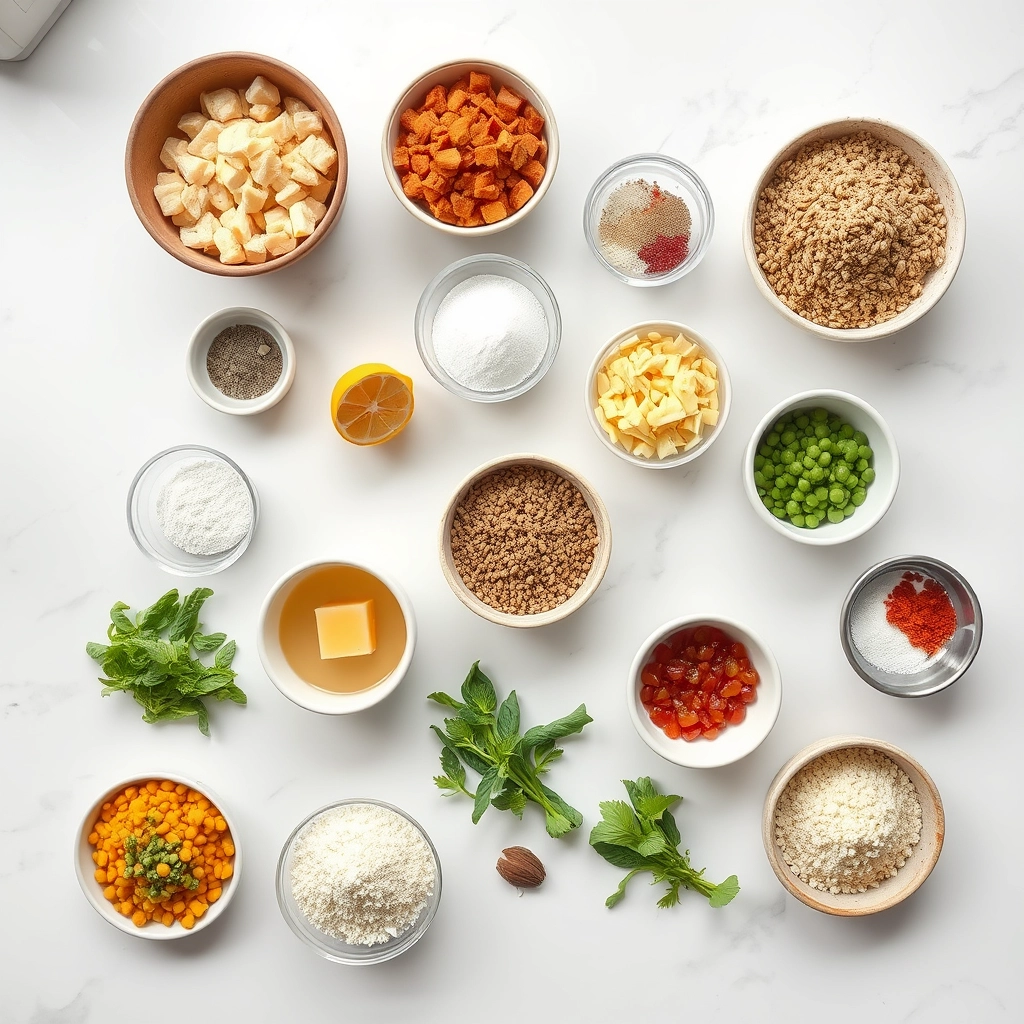
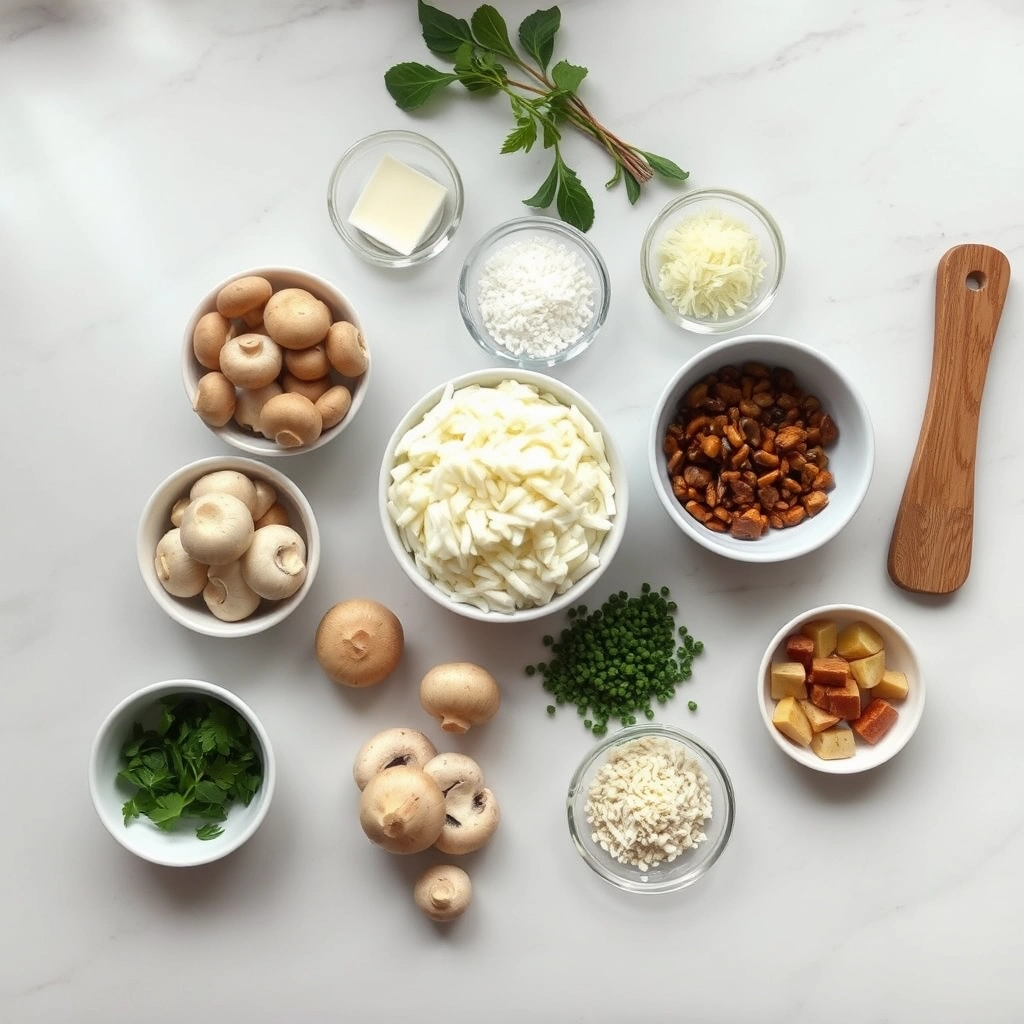
Ingredients
- Mushrooms and Roasting
- 2 pounds cremini mushrooms
- 3 tablespoons olive oil
- 4 cloves garlic, minced and divided
- 8 sprigs fresh thyme, divided
- Kosher salt and freshly ground black pepper, to taste
- Soup Base
- 3 tablespoons unsalted butter
- 1 large sweet onion, diced
- ¼ cup all-purpose flour
- ⅓ cup dry white wine*
- 5 cups chicken stock
- 2 bay leaves
- ⅓ cup heavy cream
Instructions
- Mushroom Roasting:
- Preheat oven to 400 degrees F. Line a baking sheet with parchment paper.
- Place mushrooms in a single layer onto the prepared baking sheet. Add olive oil, half of the garlic and 4 sprigs thyme; season with salt and pepper, to taste. Gently toss to combine.
- Place into oven and bake for 20-30 minutes, or until browned and tender, stirring once. Let cool before coarsely chopping; set aside.
- Soup Preparation:
- Sauté Aromatics: Melt butter in a large stockpot or Dutch oven over medium heat. Add onion, and cook, stirring constantly, until golden and caramelized, about 10-15 minutes. Stir in remaining garlic until fragrant, about 1 minute.
- Make Roux: Whisk in flour until lightly browned, about 1 minute. Stir in wine, scraping any browned bits from the bottom of the pot.
- Add Liquids and Herbs: Stir in chicken stock, bay leaves and remaining thyme; season with salt and pepper, to taste. Bring to a boil; reduce heat and simmer until slightly reduced, about 15 minutes.
- Finish Soup: Stir in mushrooms; simmer until thickened, about 10-15 additional minutes. Remove from heat; stir in heavy cream.
- Serve immediately.
How to Prepare This Dish
Steps and time-saving tips
First, gather all your ingredients for this Velvety Creamy Mushroom Soup – A Comforting Classic. Then, quickly wipe your mushrooms clean with a damp paper towel instead of washing them; this prevents them from absorbing excess water and becoming soggy. Next, slice them uniformly so they cook at the same rate. Meanwhile, melt butter in a heavy-bottomed pot over medium heat. Sauté your onions until they turn translucent and fragrant. Subsequently, add the sliced mushrooms and cook them until they release their liquid and achieve a beautiful golden-brown color. Sprinkle the flour over the mixture and stir constantly for one full minute to cook out the raw flour taste. Gradually pour in your broth and cream, stirring continuously to avoid any lumps. Finally, bring the soup to a gentle simmer, let it thicken for a few minutes, and then carefully blend it until perfectly smooth. For a major time-saver, use an immersion blender directly in the pot. Season generously with salt and pepper right at the end for the brightest flavor. This entire process for Velvety Creamy Mushroom Soup – A Comforting Classic is straightforward and delivers incredible results every single time.
Mistakes I’ve made and learned from
I have definitely learned a few lessons the hard way with this Velvety Creamy Mushroom Soup – A Comforting Classic. My biggest mistake was rushing the browning process for the mushrooms. I would overcrowd the pot, causing them to steam and turn rubbery instead of developing that deep, savory flavor we all love. Now, I cook them in batches for the perfect sear. Another error was adding salt too early in the cooking process. This drew out too much moisture from the mushrooms and resulted in a soup that was less creamy. I also once used a weak, store-bought broth and the entire soup fell flat. That experience taught me the immense value of a rich homemade stock as a flavor foundation. Getting the consistency right was another hurdle; my soup was often too thin. I discovered that letting it simmer a bit longer to reduce, or using a roux, creates that signature velvety texture. For more on mastering textures in your dishes, my guide on perfecting sauces covers these techniques in detail.