
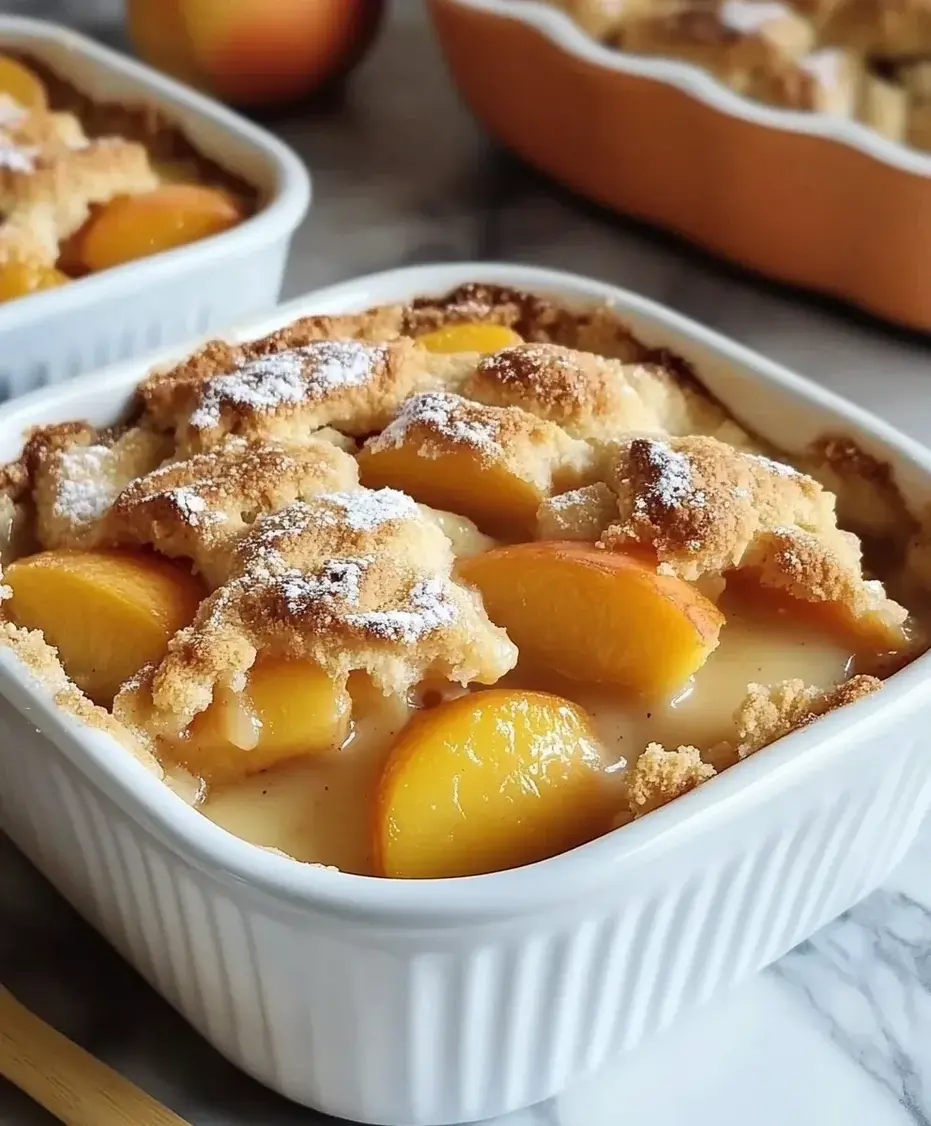
Triple Crust Peach Cobbler
Print

Classic southern peach cobbler is a perfect dessert for summer using fresh peaches and simple ingredients. This easy homemade recipe delivers warm, sweet flavors with a tender crust, ideal for family gatherings or holiday dinners. Save this recipe for your next sweet treat!
Print

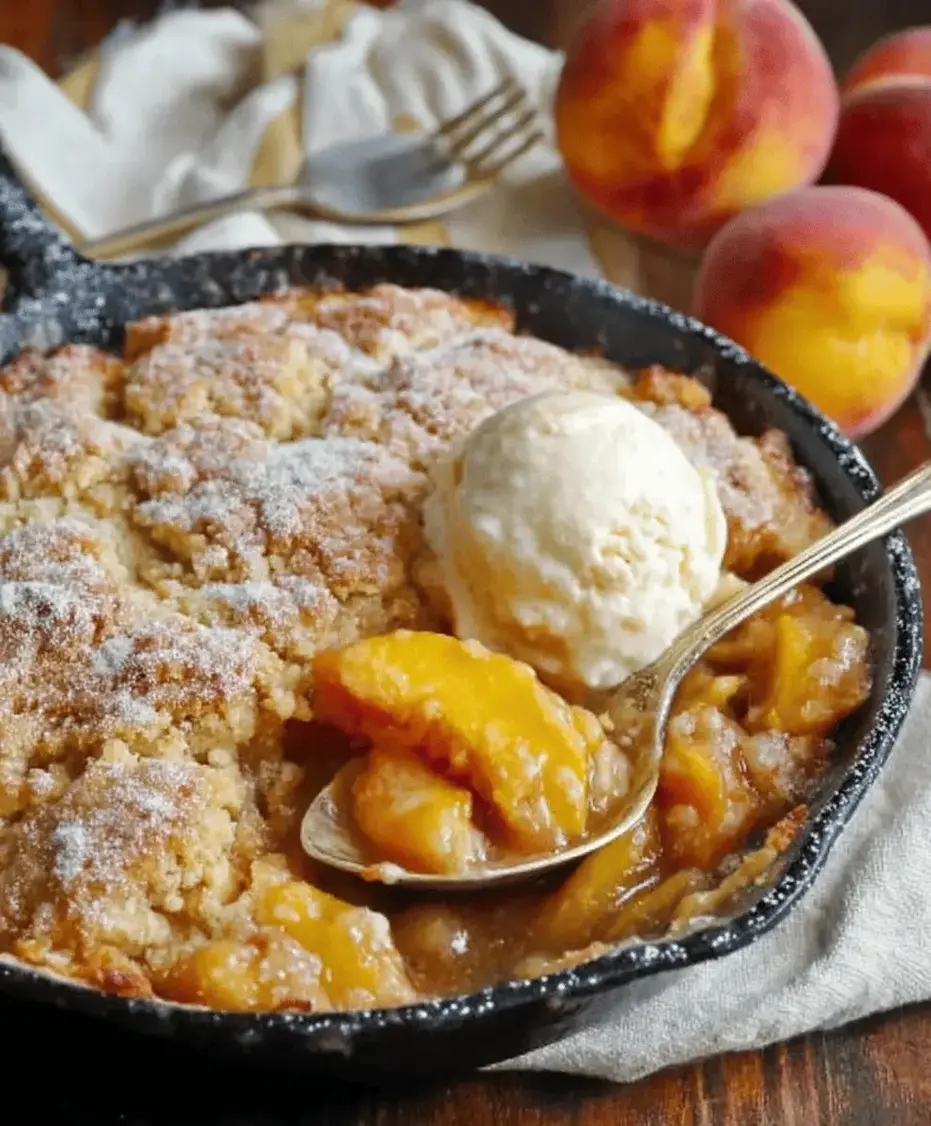
Easy Peach Cobbler Recipe – Made From Scratch with Canned Peaches!
Print

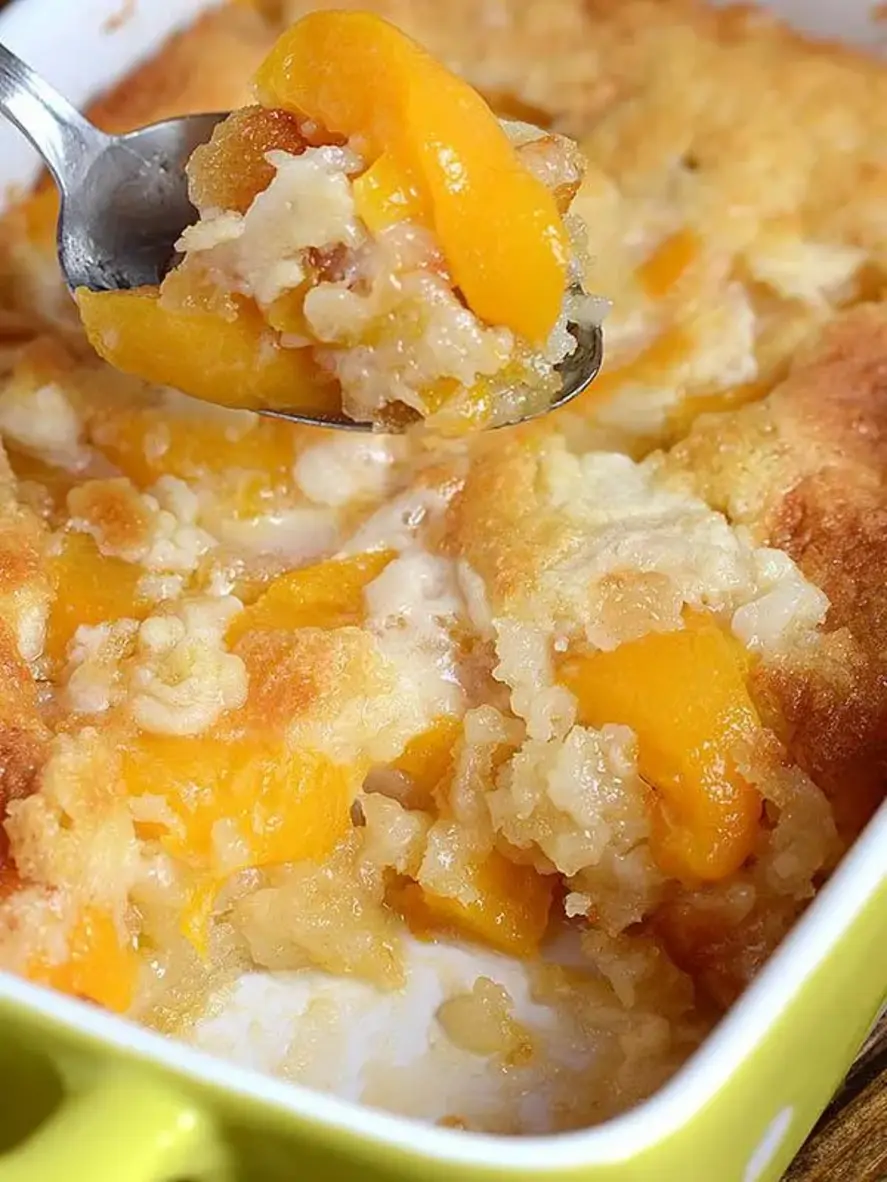
Lazy Man’s Pie Peach Cobbler Recipe –
Print


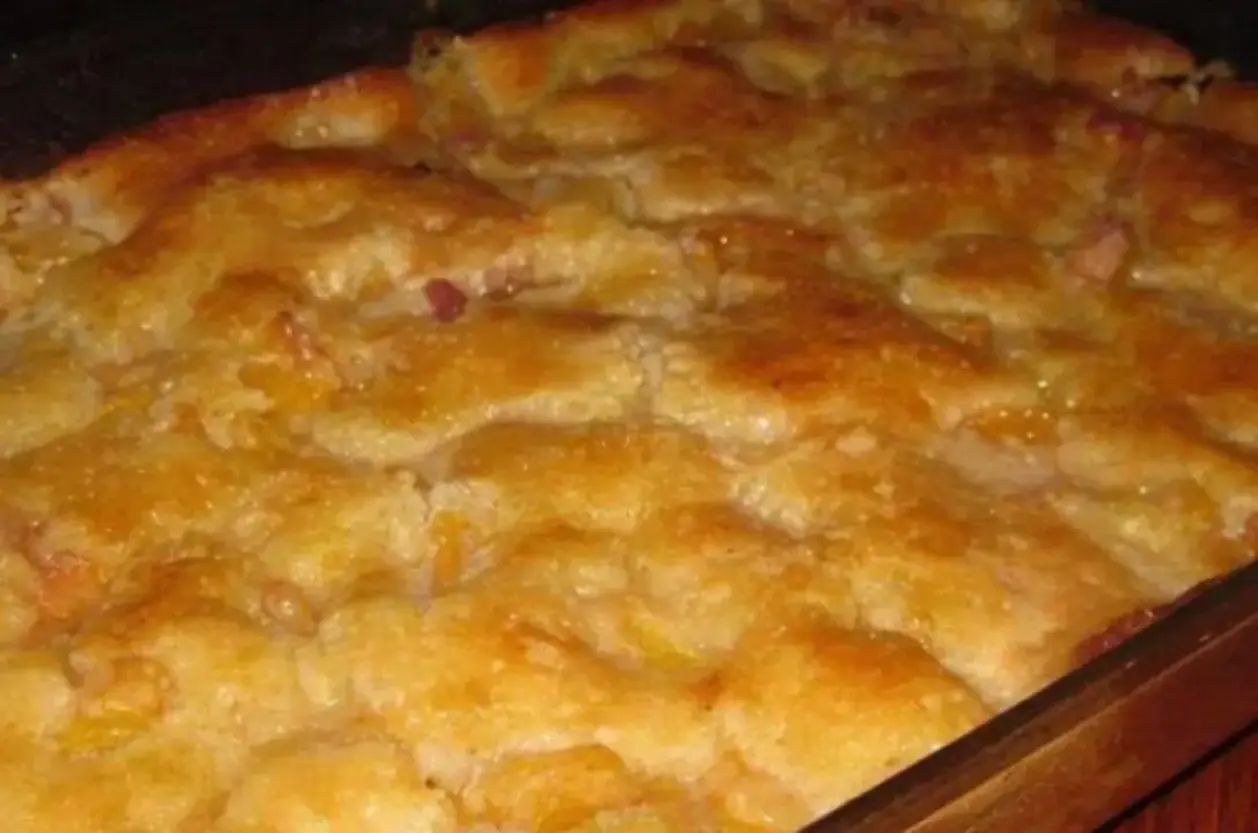
Old-Fashioned Oven-Baked Peach Cobbler
Print
