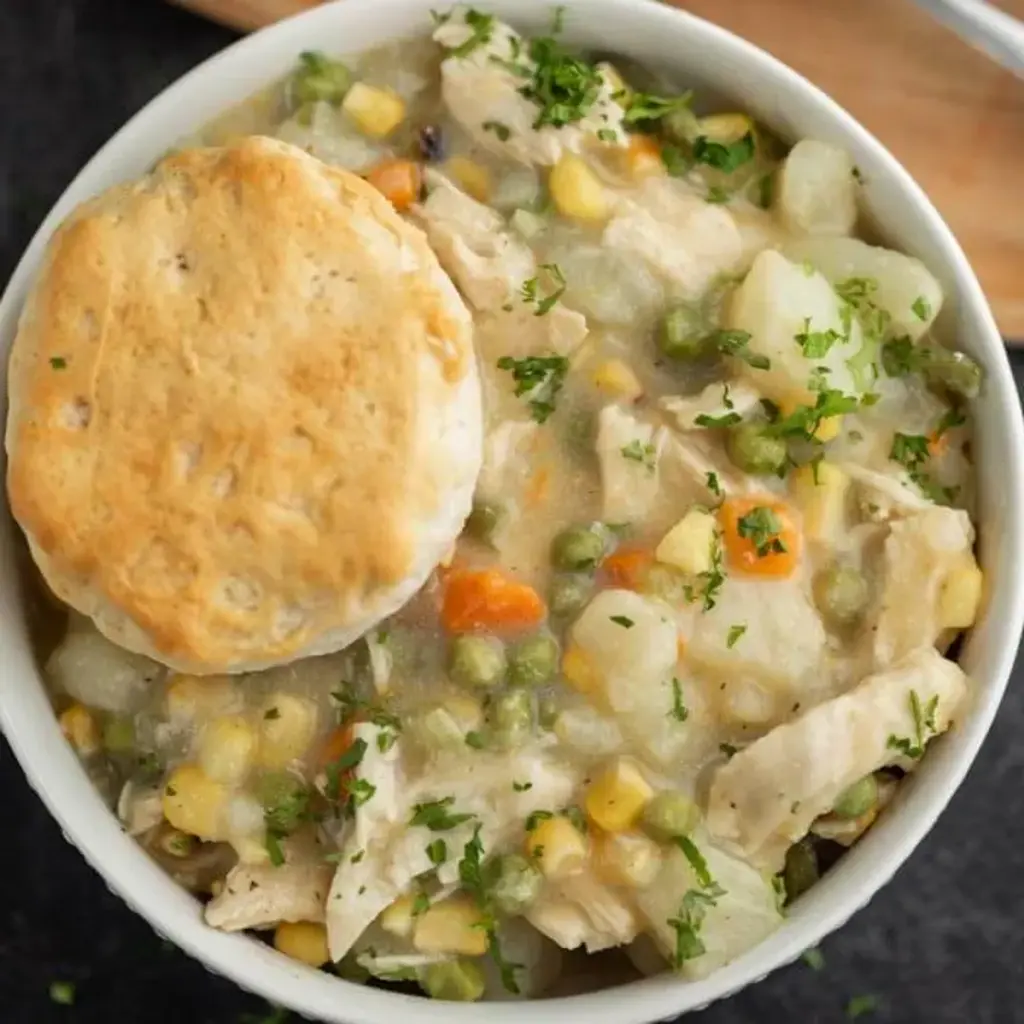
Chicken Pot Pie with Biscuits is a delicious comfort food that’s budget friendly and easy to make! Make it with homemade or refrigerated biscuits!
Print

Chicken Pot Pie with Biscuits
Description
Chicken Pot Pie with Biscuits is an easy comfort food dinner recipe that your family will love! Make it with homemade or refrigerated biscuits!
Ingredients
Scale
- 2 small boneless skinless chicken breasts, see notes
- Salt/pepper, to taste
- 3 cups chicken broth
- 4 Tablespoons butter
- ½ cup onions, finely diced
- ½ cup celery, finely diced
- ½ cup carrots, finely diced
- 2 cloves garlic, minced
- ½ teaspoon EACH: Onion Powder, Dry Thyme, Dry Rosemary
- ¼ teaspoon ground sage
- 1/3 cup flour
- ½ cup half and half
- 1 chicken bouillon cube
- 1 teaspoon low sodium soy sauce, can sub Worcestershire sauce
- 1 cup frozen peas
Instructions
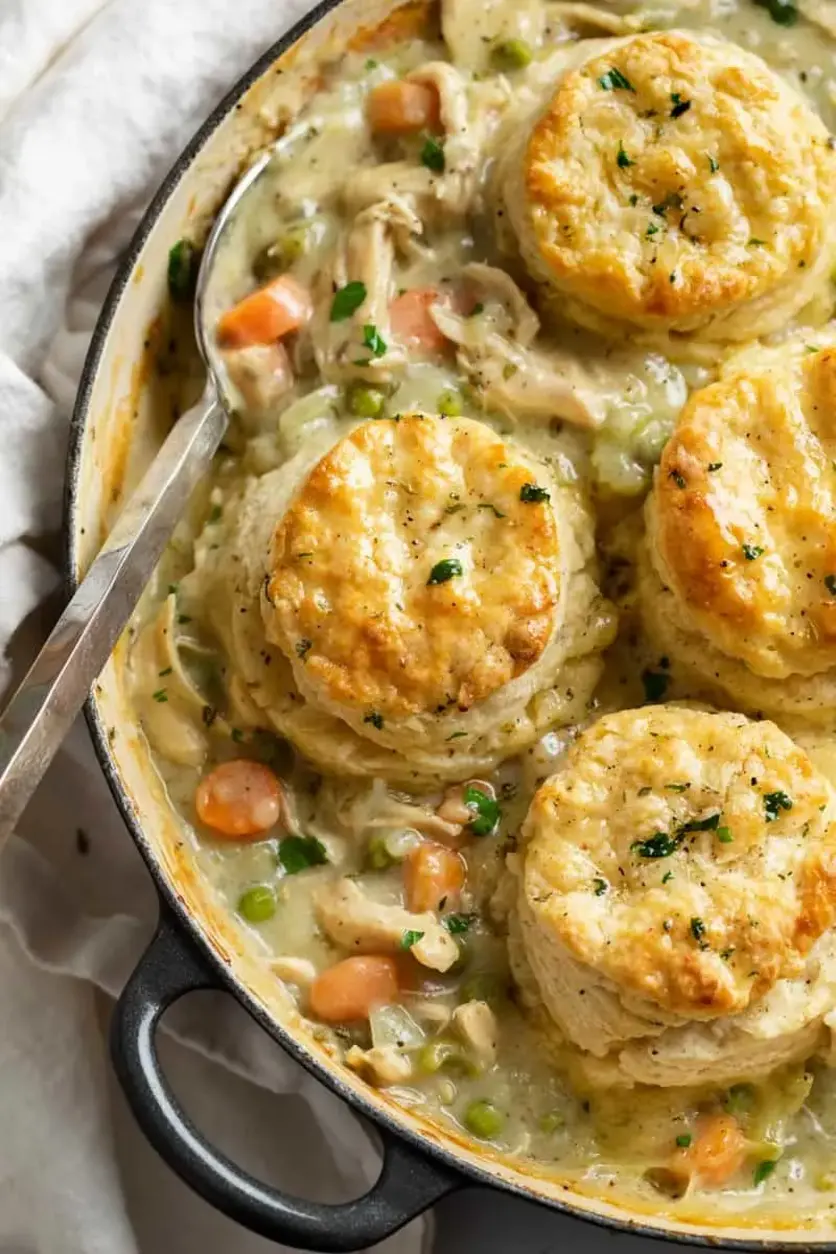
- Prepare buttermilk biscuits but do not bake. Store formed biscuits on a plate in the fridge while you prepare the pot pie, then add the formed biscuits to the top when ready to bake. Bake at 425° for 15-18 minutes. (Optional: Brush with butter and bake at 450° for up to 5 more minutes to brown the top more.)You may also use my Cheddar Bay Biscuit recipe: Combine the dry ingredients together in advance. When youre ready to bake, proceed in mixing the wet ingredients and forming the dough. Add biscuits to the top of the skillet when ready to bake. Bake at 450° for 12-15 minutes.Refrigerated biscuits may also be used. If making Bisquick biscuits or using a Biscuit mix: Prepare them JUST before baking. Refer to package for baking time/temperature.
- You may also bake the biscuits on a baking sheet while you prepare the filling, but baking them on top of the skillet of pot pie adds an extra level of cozy comfort!
- Season each side of the chicken with salt and pepper. Add it to a medium saucepan along with the chicken broth and bring it to a very gentle bubble with the lid cracked for 15 minutes, until cooked through. Dont boil rapidly or the chicken will be tough. Remove the chicken and use forks to shred. Set aside and reserve the broth that the chicken cooked in.
- Meanwhile, melt butter in a wide (12-inch) pan over medium heat and sauté onions, celery, and carrots for 5-6 minutes. Add garlic and seasonings. Toss to coat and cook for 1 more minute.
- Add flour and toss to coat. Cook for 2 minutes or until you can no longer smell raw flour.
- Add 2/3 of the chicken broth in small splashes, stirring to incorporate. Add the half and half in the same manner.
- Add chicken bouillon and soy sauce. Then add the shredded chicken and stir to combine.
- If the liquid was added slowly, the gravy should be pretty thick. If you would like it to be thicker, bring to a gentle boil and reduce to a simmer.
- Optional: Add any of the remaining 1/3 chicken broth if desired. The bottom of the biscuits will absorb some of it during baking.
- Add the frozen peas and stir to combine and heat through. Remove from heat.
- Transfer filling to a lightly greased 8 x 8-inch baking dish if your skillet isnt oven safe.
- Add the biscuits to the top and bake per biscuit recipe instructions, or until biscuits are golden and set in the middle. Note: you can also bake the biscuits separately on a baking sheet and place them on the filling after, resulting in a crispier bottom biscuit.
- Optional: Brush butter on top of the biscuits at the end and bake at 450° for 3-5 more minutes if additional browning is desired.
Notes
Pro Tips:
Make-Ahead Method:
Nutrition information is an estimate and is for the filling. Biscuits are not included as those can vary depending on which biscuits are being used.
Nutrition
- Calories: 301kcal
- Sugar: 4g
- Protein: 17g