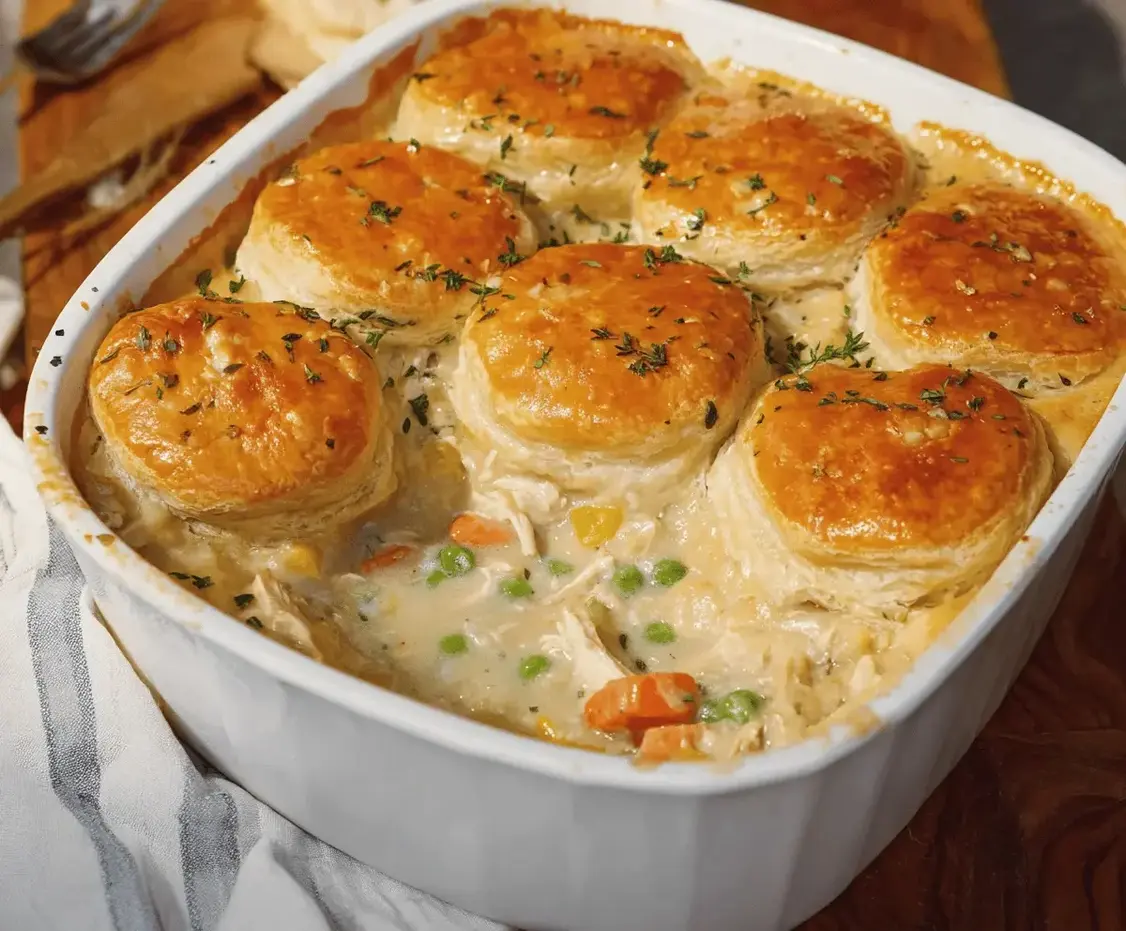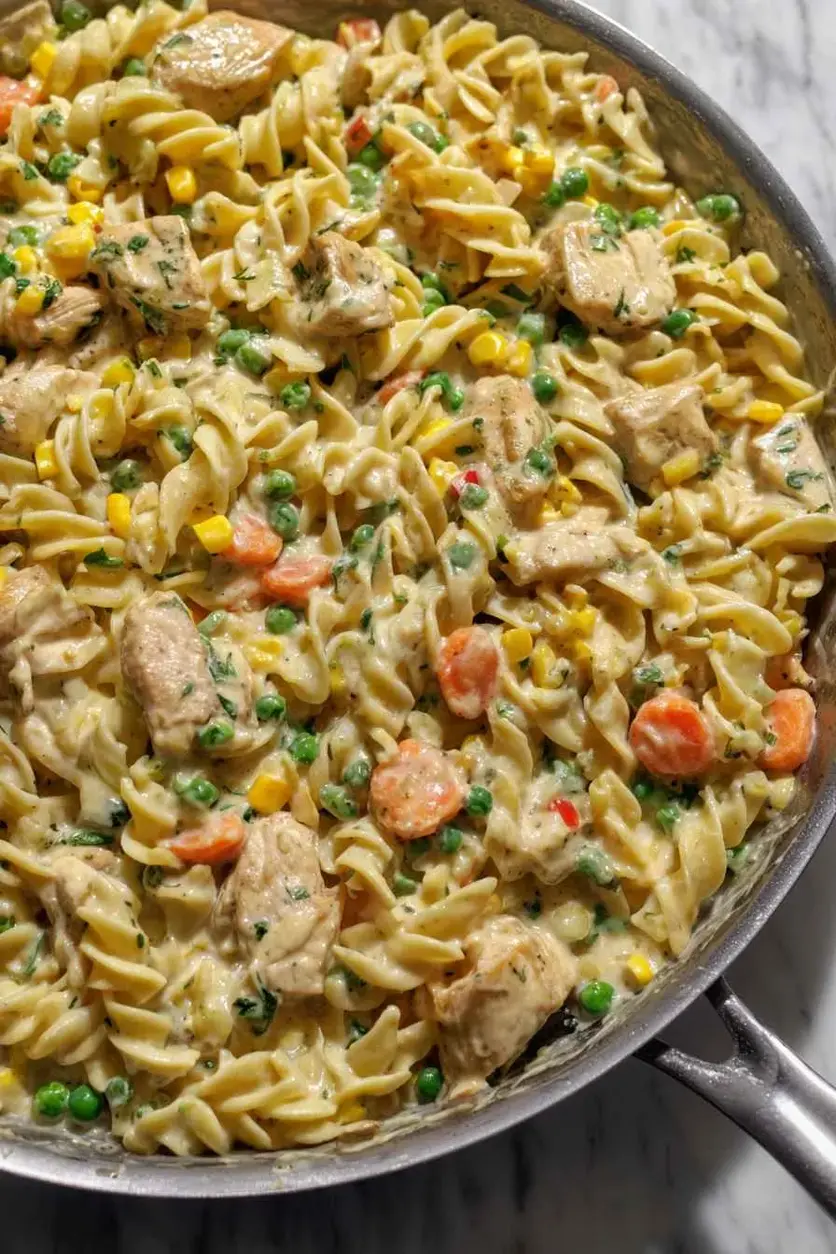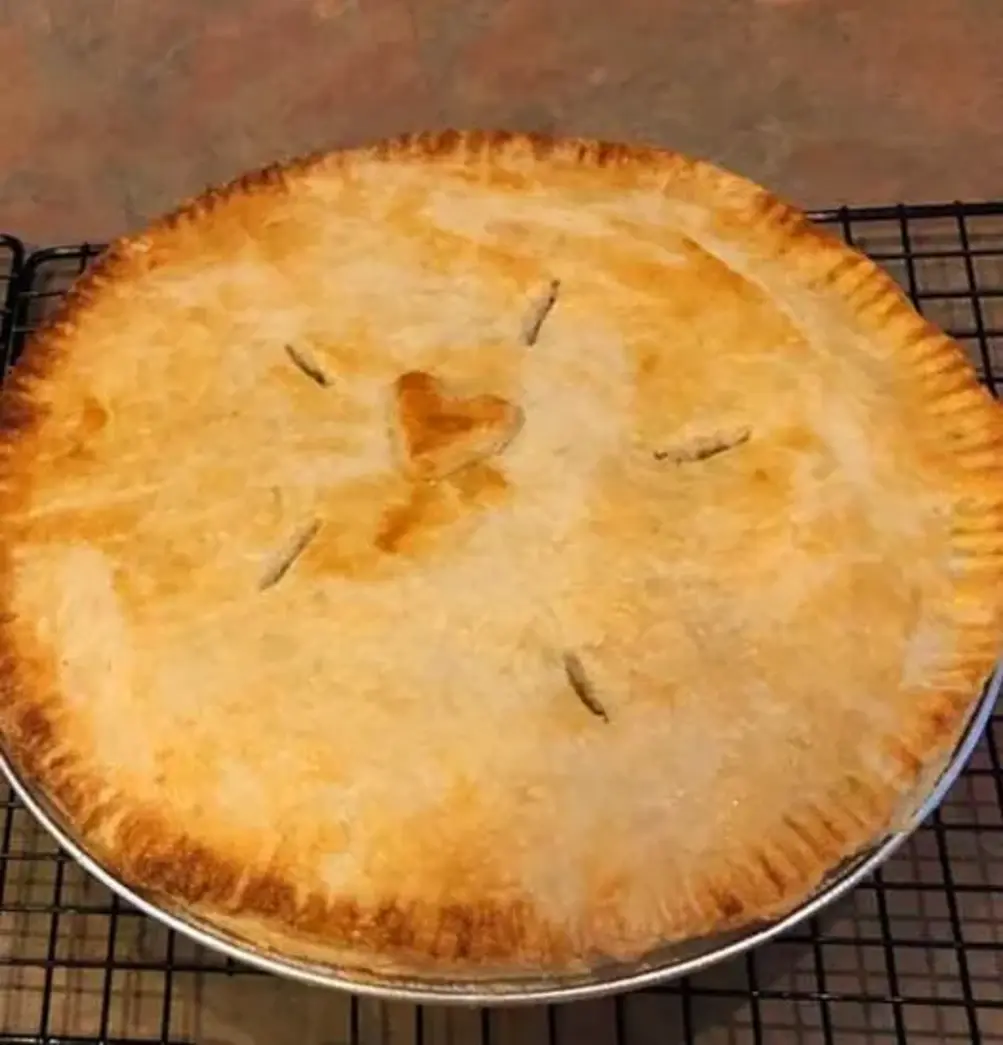
Creamy Chicken Pot Pie Pasta Recipe- easy dinner meal for the family. Crowd pleaser! Comfort meal idea that kids love. Alternative to a traditional chicken pot pie. Easy simple Chicken pot pie noodles dish. Unique dinner idea.
Print

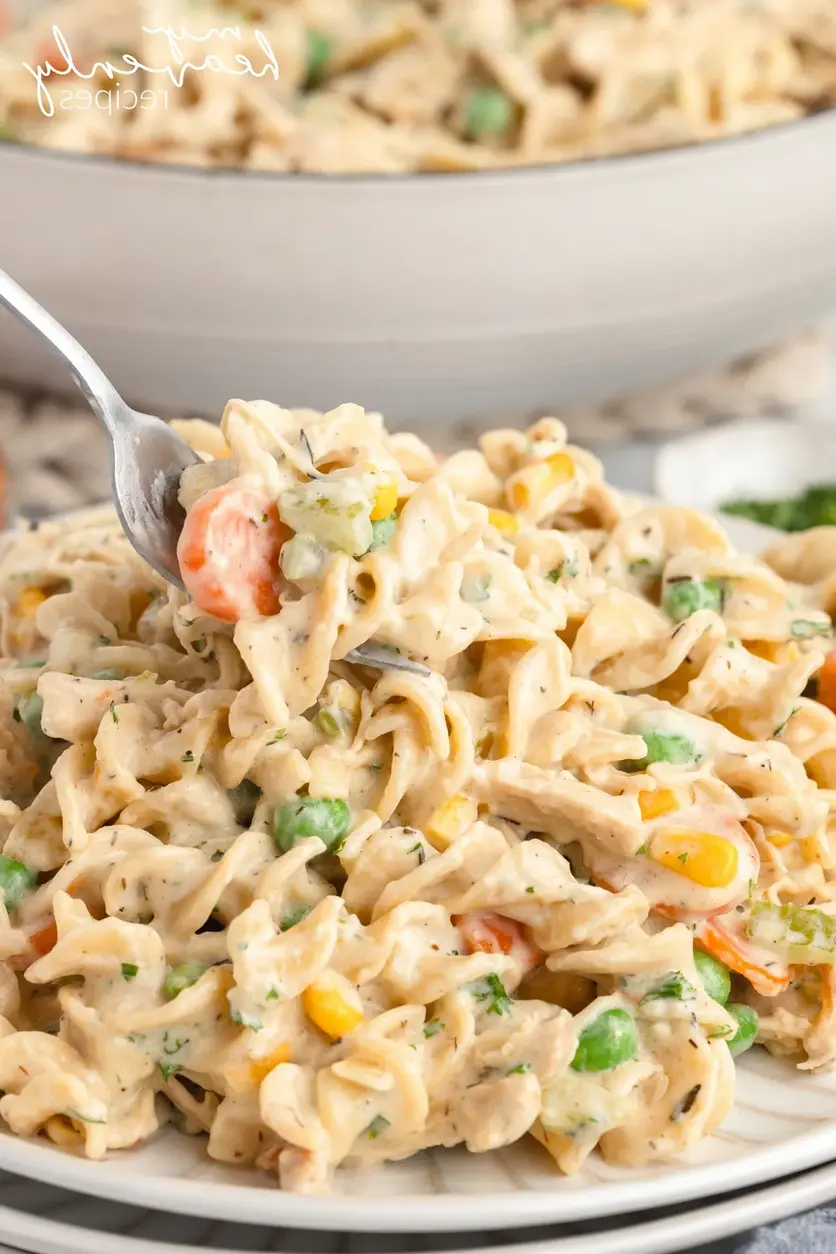
Creamy Chicken Pot Pie Pasta Recipe
Ingredients
Scale
- 3 cups cooked shredded chicken
- 8 ounces wide egg noodles
- 2 tablespoons butter
- 1 medium onion diced
- 2 celery stalks diced
- 2 carrots peeled and diced
- 3 cloves garlic minced
- ¼ cup all-purpose flour
- 2 cups chicken broth
- 1 ½ cups heavy cream
- 1 teaspoon dried thyme
- ½ teaspoon dried sage
- ½ teaspoon salt
- ¼ teaspoon black pepper
- 1 cup frozen peas
- 1 cup frozen corn
- ½ cup grated Parmesan cheese
- ¼ cup chopped fresh parsley
Instructions
- Cook the egg noodles in a large pot of salted water according to package instruc ons un l al dente.
- Drain and set aside.
- In a large, deep skillet or Dutch oven, melt the butter over medium heat. Add the diced onion, celery, and carrots. Cook, stirring occasionally, un l the vegetables are tender, about 8-10 minutes.
- Add the minced garlic to the skillet and cook for an additional 1-2 minutes until fragrant.
- Sprinkle the flour over the vegetables and stir to combine. Cook for 1-2 minutes to remove the raw flour taste.
- Gradually whisk in the chicken broth and heavy cream, stirring constantly to prevent lumps from forming. Add the thyme, sage, salt, and black pepper. Bring the mixture to a simmer and cook until thickened, about 5 minutes.
- Stir in the shredded chicken, peas, and corn. Cook until the chicken is heated through and the peas and corn are tender, about 3-4 minutes.
- Add the cooked egg noodles to the skillet and toss gently to combine with the chicken and vegetable mixture.
- Remove the skillet from heat and stir in the grated Parmesan cheese and fresh parsley until well incorporated.
- Serve and enjoy!