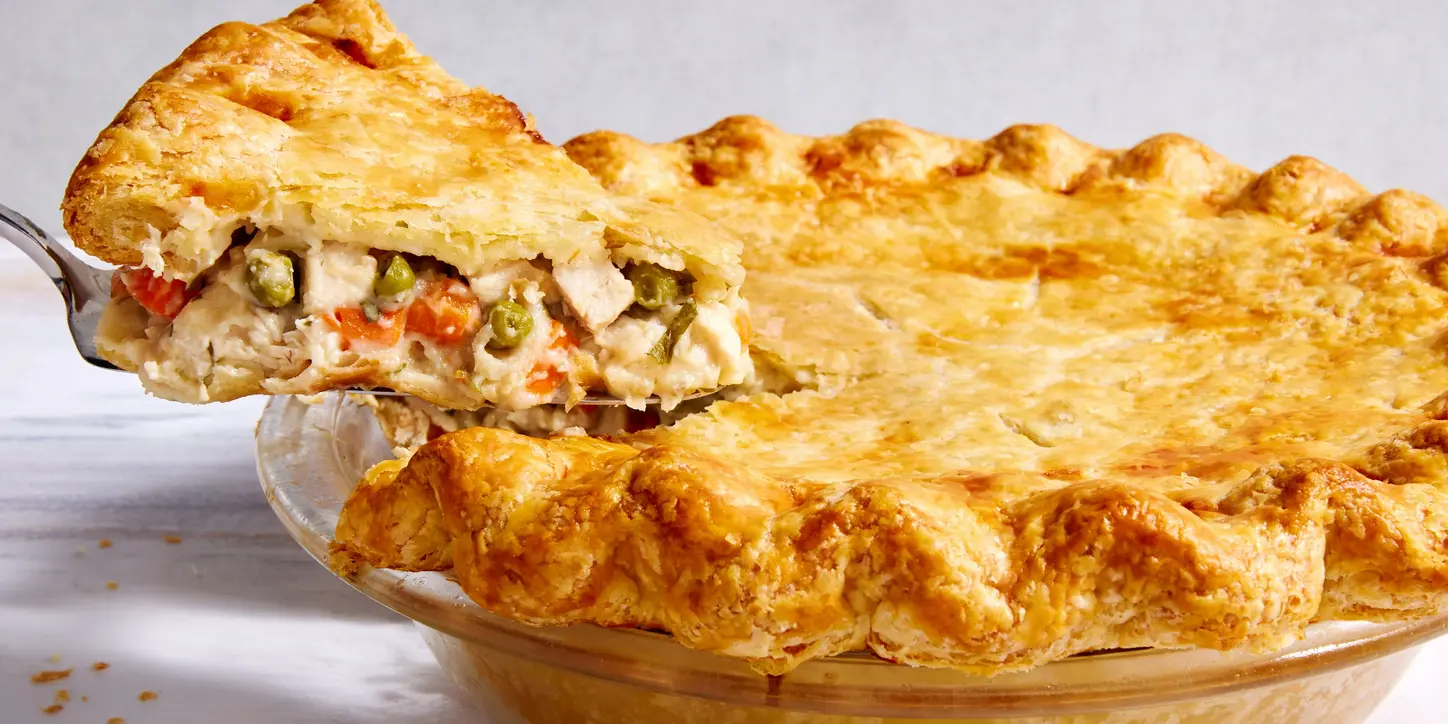
Chicken Pot Pie Soup is creamy, comforting, hearty, and loaded with tender chicken, potatoes, and veggies. It has all the comforts of classic Chicken Pot Pie without the effort of making a crust and it’s a one-pot meal. Homemade chicken pot pie soup is the ultimate comfort food. It’s so much better than any canned or store-bought version and it’s healthier. It really is a meal in itself. #chickenpotpie #chickenpotpiesoup #souprecipe #chickensoup #creamychickensoup #natashaskitchen #comfortfood
Print

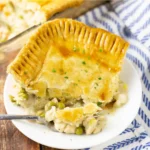
Chicken Pot Pie Soup Recipe
Description
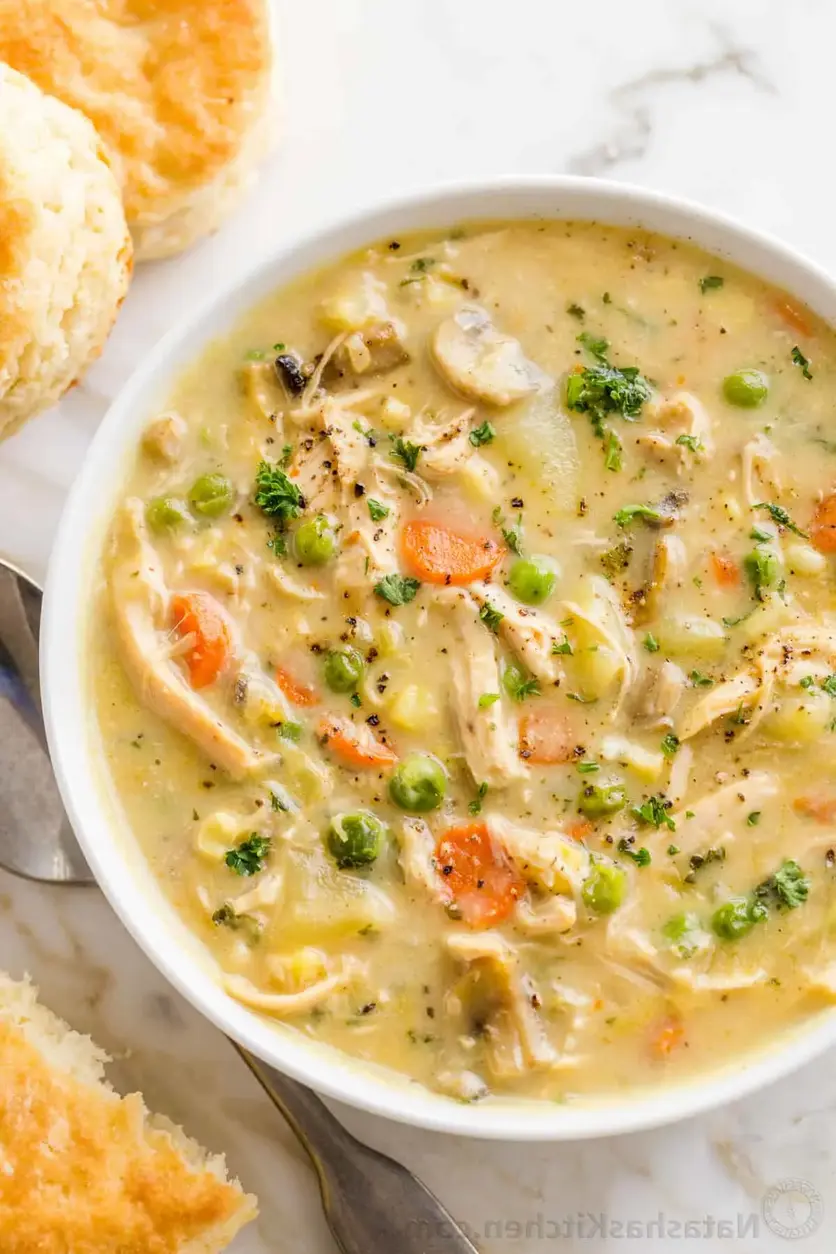
Chicken pot pie soup is creamy, comforting and hearty. It has all the comforts of Chicken Pot Pie without the effort of making the crust. We love this with freshly-baked Biscuits.
Ingredients
Scale
- 6 Tbsp unsalted butter
- 1 medium yellow onion, 1 cup chopped
- 2 medium carrots, thinly sliced into rings
- 2 celery sticks, finely chopped
- 8 oz white or brown mushrooms, sliced
- 3 garlic cloves, minced
- 1/3 cup all-purpose flour
- 6 cups chicken stock
- 3–4 tsp salt, (or to taste)
- 1/2 tsp black pepper
- 1 lb Yukon gold potatoes, peeled and sliced into 1/4 thick pieces.
- 5 cups cooked chicken, (shredded)
- 1 cup frozen peas
- 1 cup corn, (frozen or canned)
- 1/2 cup whipping cream
- 1/4 cup parsley, finely chopped, plus more for garnish
Instructions
- Heat a dutch oven or soup pot over medium/high heat and melt in 6 Tbsp butter. Add chopped onion, chopped celery, and sliced carrots and sauté 5-7 minutes, stirring occasionally, until softened and lightly golden.
- Add sliced mushrooms and garlic and sauté for another 5 minutes, stirring occasionally until softened.
- Add 1/3 cup flour and stir constantly for 1 minute until golden.
- Add 6 cups chicken stock, sliced potatoes, 3 1/2 tsp salt (or to taste), and 1/2 tsp black pepper. Bring to a boil then reduce heat to a simmer, partially cover and cook 12-15 minutes or just until potatoes are tender.
- Add shredded chicken, frozen peas, and frozen corn, 1/2 cup heavy whipping cream and 1/4 cup parsley. Bring back to a simmer and continue to cook for another 5 minutes or until peas and corn are tender. Season to taste with salt and pepper and remove from heat.
Nutrition
- Calories: 363kcal
- Sugar: 6g
- Protein: 25g