Table of Contents
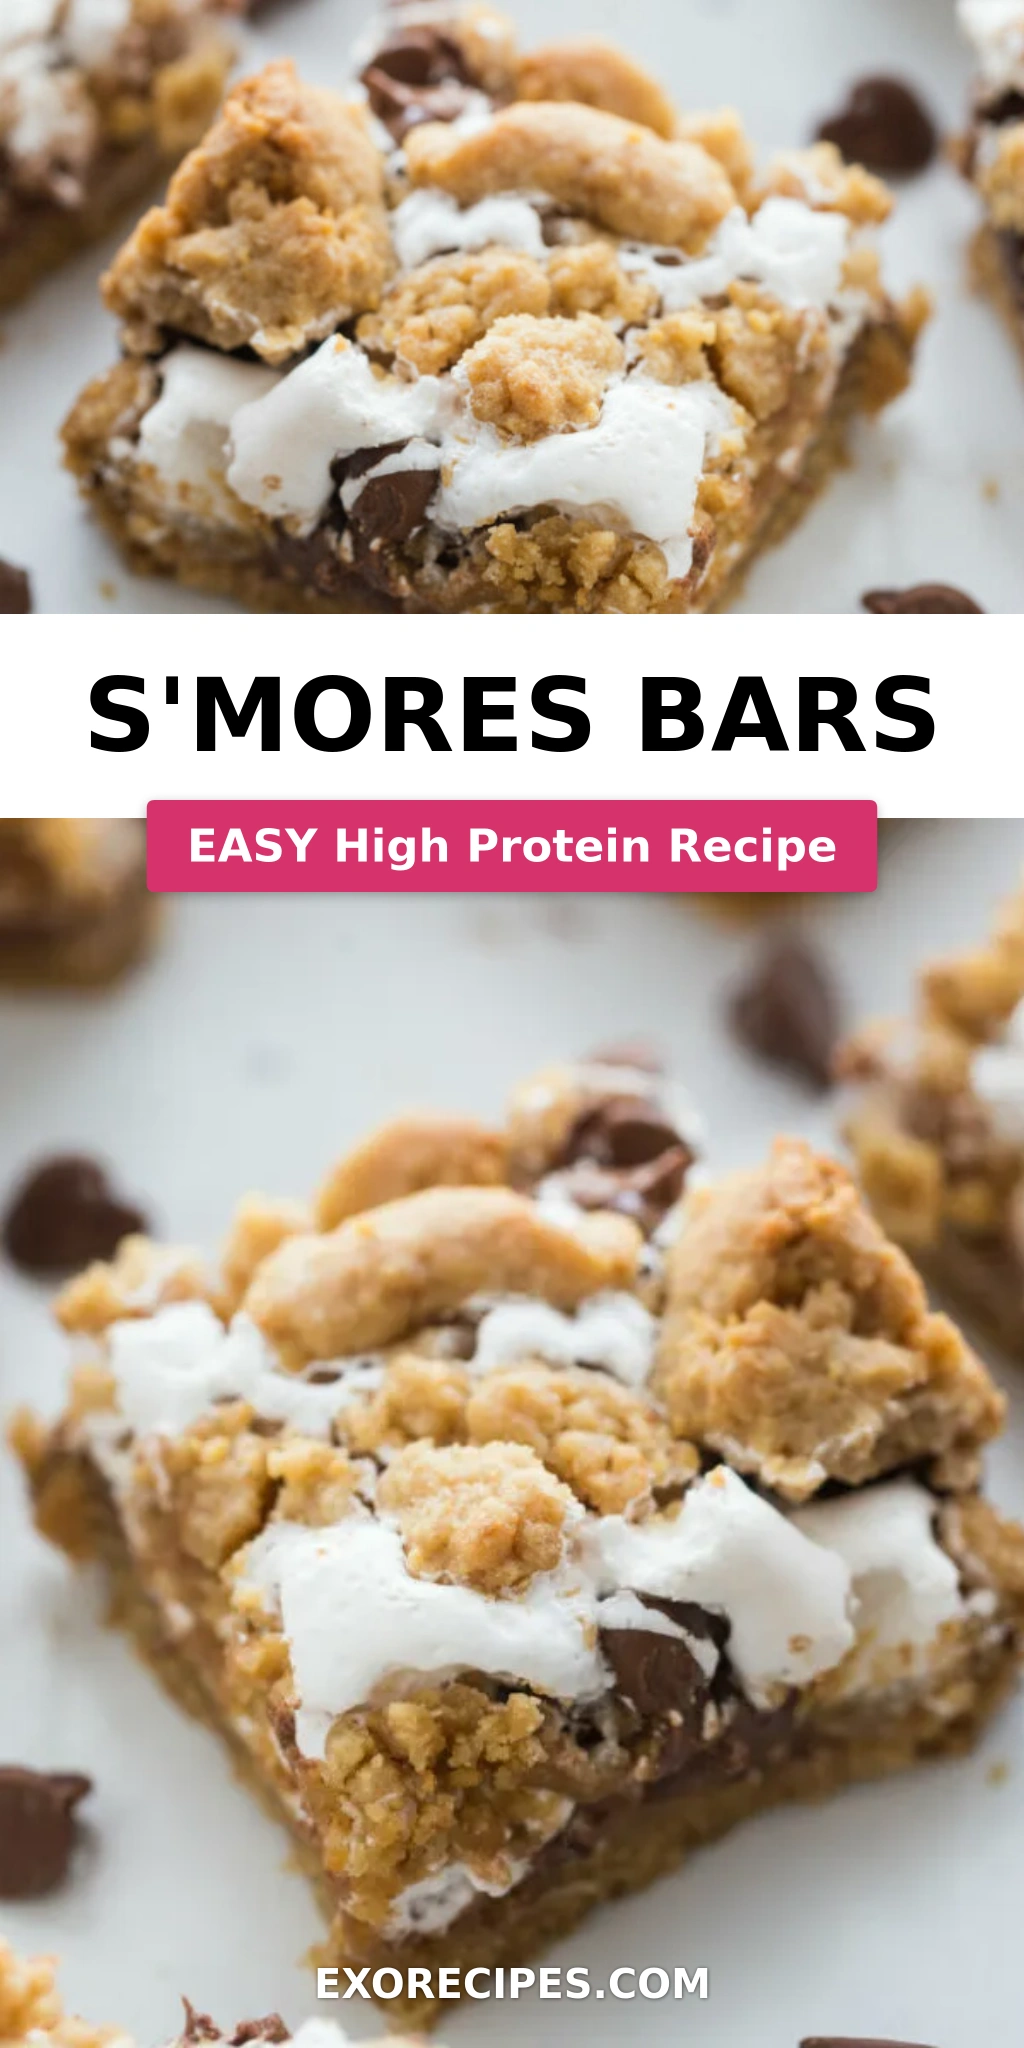
S’Mores Bars: Easy Chocolate Marshmallow Bars
Oh, the sweet scent of nostalgia! When I think of cozy nights and simple pleasures, my mind instantly goes to campfire s’mores. But living in the heart of New York City, a roaring bonfire isn’t always an option. That’s why I’ve perfected this incredible S’Mores Bars recipe, turning that beloved indoor/outdoor treat into an effortlessly delicious pan dessert. These easy S’Mores bars capture all the magic of melted marshmallow, gooey chocolate, and buttery graham crackers in a convenient, sliceable form. It’s less about the campfire smoke and more about the pure joy of that classic flavor combination, made accessible any night of the week.
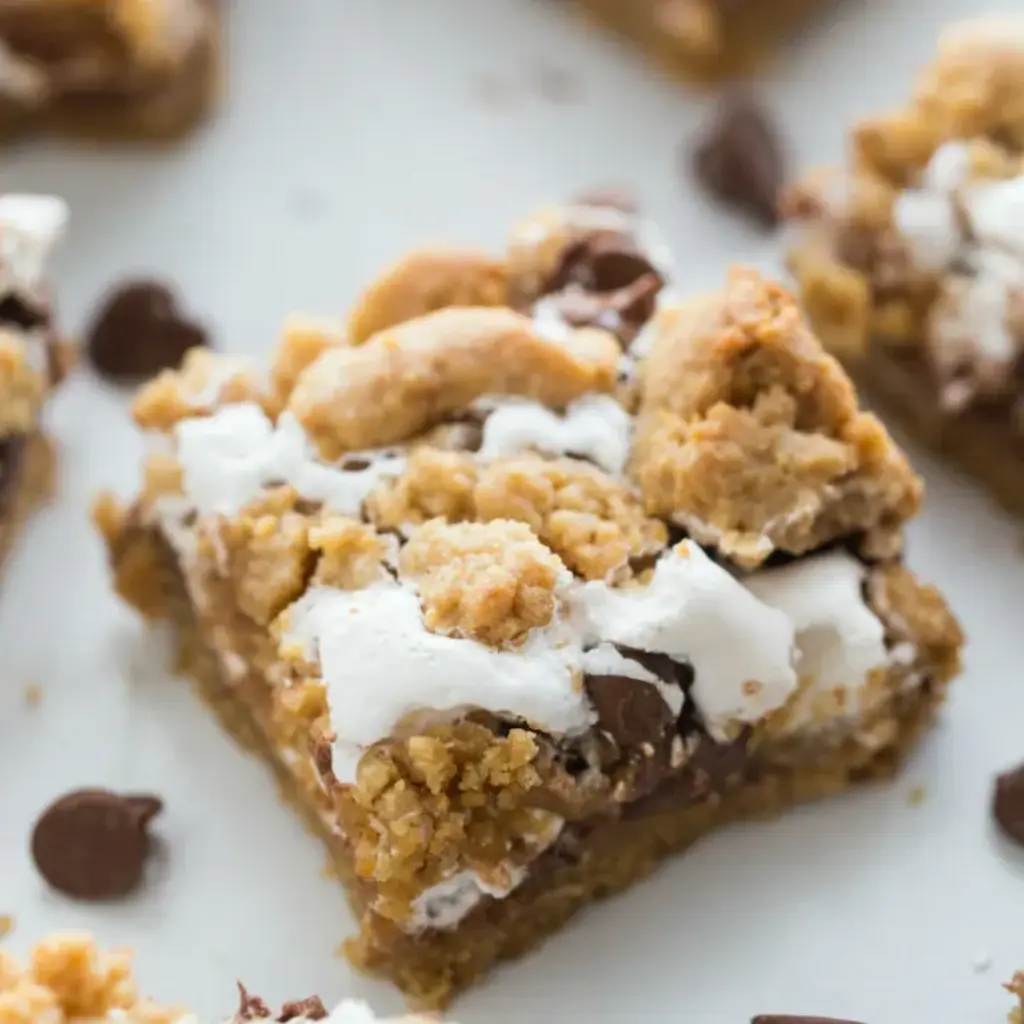
Imagine a golden-brown, slightly crisp graham cracker base, baked to perfection, generously topped with a luscious layer of melted marshmallow that’s just beginning to toast. Nestled within that sweet cloud are pockets of rich milk chocolate chips, destined to become perfectly gooey under the heat. The aroma alone is enough to transport you! It reminds me a bit of the *msemen* my mother used to make back in Morocco – that wonderful blend of comfort and comforting spices, but with a distinctly American twist. This dessert is a symphony of textures: the slight crunch of the top layer, the chewy marshmallow, and the satisfying melt of the chocolate. It’s pure indulgence, without the fuss.
What makes this recipe a winner for me, a seasoned professional cook who also loves a shortcut, is its delightful balance of simplicity and flavor. I’ve tweaked it slightly from the classic to ensure the perfect consistency, and I’ll share my secret for maximizing that gooey factor. I also want to warn you about a common pitfall that can leave your bars dry or overly crumbly. Stick with me, and you’ll be whipping up these incredible chocolate marshmallow bars in no time. Ready to bring a little s’mores magic into your kitchen?
Why This S’Mores Bars Recipe Is the Best
The true magic of these easy S’Mores bars lies in their perfect balance of nostalgic flavor and modern convenience. Unlike traditional s’mores that require careful assembly over a fire, these bars deliver that iconic taste in a single, crowd-pleasing dish. The secret is in the dough: it provides a stable, flavorful base and a delectable crumbly topping, ensuring every bite is a harmonious blend of graham cracker goodness, gooey marshmallow, and melted chocolate. It’s a recipe I’ve fine-tuned to be as forgiving as it is flavorful, making it a go-to for busy weeknights or last-minute gatherings.
As a trained pastry chef, I appreciate the nuance of texture. For these bars, the key is in the dough formulation and the baking time. By dividing the dough and using it as both a base and a crumbly topping, we achieve that delightful contrast of textures – a slightly crisp bottom and a delightfully crumbly top with pockets of gooey goodness peeking through. This technique ensures the marshmallow and chocolate don’t get lost, and you get that signature s’mores experience in every slice, avoiding the common pitfall of a dense, uniform texture.
Beyond the delicious outcome, what truly sets this recipe apart is its simplicity. It’s a true no-bake S’Mores bars style of convenience, even though it uses the oven, because it requires minimal effort and no fussy techniques. Perfect for beginners or anyone looking for a quick dessert fix, these bars come together in under an hour from start to finish. You don’t need special equipment or advanced culinary skills to achieve a bakery-worthy result. It’s the ultimate crowd-pleaser that tastes like it came from a gourmet bakery, but is secretly incredibly simple to make.
Easy S’Mores Bars Ingredients
When I’m developing a recipe here in my NYC kitchen, I love sourcing ingredients from local spots like Eli Zabar’s or a quick trip to Trader Joe’s. For these S’Mores Bars, the ingredients are wonderfully straightforward, ones you likely have or can easily find. The graham cracker element is crucial, providing that signature base flavor. And of course, no s’mores would be complete without marshmallows and chocolate!
Ingredients List
- 2 cups all-purpose flour
- 2 cups graham cracker crumbs (about 14-16 full sheets)
- 1 teaspoon baking powder
- ¼ teaspoon salt
- 1 cup (2 sticks) unsalted butter, at room temperature
- 1½ cups packed light brown sugar
- 2 large eggs, beaten
- 2 cups marshmallow topping (such as Marshmallow Creme)
- 2 cups milk chocolate chips
Ingredient Spotlight
Graham Cracker Crumbs: These are the backbone of our bars, providing that classic sweet, slightly honeyed flavor and essential crumbly texture. You can buy pre-crushed crumbs at any major US supermarket, or easily make your own by pulsing whole graham crackers in a food processor until fine. For a richer flavor, consider using cinnamon graham crackers, though the classic honey variety is perfect.
Marshmallow Topping: This is key for that signature gooey, cloud-like layer. My go-to is Marshmallow Creme (or Jet-Puffed Marshmallow Topping), which is readily available in the baking aisle. It stays wonderfully soft and pliable even when baked. If you can’t find it, you can try using mini marshmallows, but be aware they might melt and toast differently, potentially requiring a slightly adjusted baking time to achieve similar gooiness.
Milk Chocolate Chips: These melt into luscious pockets of chocolatey goodness. While milk chocolate is traditional for s’mores, don’t hesitate to experiment! Semi-sweet chips offer a more robust chocolate flavor that balances the sweetness of the marshmallow and graham cracker perfectly. For a gourmet touch, consider using high-quality chocolate chunks.
| Original Ingredient | Best Substitution | Flavor / Texture Impact |
|---|---|---|
| Graham Cracker Crumbs | Cinnamon graham crackers or digestive biscuits | Adds a hint of spice (cinnamon) or a milder, buttery flavor (digestives). Texture remains similar. |
| Marshmallow Topping | Mini marshmallows (use more, about 3-4 cups, and possibly melt slightly beforehand) | Marshmallows may toast darker and might not spread as evenly. The texture can be slightly chewier and less uniformly creamy. |
| Milk Chocolate Chips | Semi-sweet chocolate chips or chocolate chunks | A deeper, less sweet chocolate flavor. Chunks may provide larger molten pockets. |
How to Make S’Mores Bars — Step-by-Step
Making these bars is a joy, and I promise it’s simpler than it looks! Just follow these easy steps, and you’ll be rewarded with pure gooey, chocolatey bliss.
Step 1: Prepare Your Pan
Preheat your oven to 350°F (175°C). This temperature is perfect for baking the dough through while gently toasting the marshmallow topping. Line a 9-by-13-inch baking pan with aluminum foil, allowing a two-inch overhang on each side. This foil ‘sling’ is my secret for easily lifting the entire dessert out of the pan once cooled, making slicing much cleaner and less messy.
💡 mia’s Pro Tip: Spray the foil generously with non-stick cooking spray. This prevents the dough and marshmallows from sticking, ensuring a clean release every time.
Step 2: Mix the Dough Base
In a medium bowl, whisk together the all-purpose flour, graham cracker crumbs, baking powder, and salt. Whisking ensures that the leavening agent (baking powder) and salt are evenly distributed throughout the dry ingredients, which is crucial for a consistent texture in both the base and the topping.
Step 3: Cream Butter and Sugar
In a separate, larger bowl, use an electric mixer on medium speed to beat the softened butter and packed light brown sugar until the mixture is light and fluffy, about 2 minutes. Softened butter, not melted, is key here; it traps air, creating a lighter texture. The brown sugar adds moisture and caramel notes.
⚠️ Common Mistake to Avoid: Don’t overmix the butter and sugar once the dry ingredients are added. Overmixing can develop the gluten in the flour too much, resulting in a tougher bar instead of a tender, crumbly one.
Step 4: Finish the Dough
Beat in the two large eggs until they are fully incorporated into the butter-sugar mixture. Then, reduce the mixer speed to low and gradually beat in the dry ingredient mixture until just combined. Be careful not to overmix. The dough will be thick and somewhat stiff.
Step 5: Assemble the Bars
Divide the dough in half. Press one half evenly into the bottom of the prepared baking pan, creating a solid base layer. Spread the marshmallow topping evenly over this base. Next, sprinkle the milk chocolate chips liberally over the marshmallow layer. Finally, scatter the remaining half of the dough over the top in small clumps or dollops. Don’t aim to cover the chocolate and marshmallow completely; the goal is to have them peek through enticingly. This creates that signature rustic look and ensures pockets of gooeyness.
Step 6: Bake
Bake in the preheated oven for 30 to 35 minutes, or until the dough is golden brown around the edges and the marshmallow topping is lightly toasted. The baking time is crucial for achieving the right balance of cooked crust and gooey center. Keep an eye on it in the last few minutes of baking.
💡 mia’s Pro Tip: For a more toasted marshmallow top, you can carefully broil for 1-2 minutes at the very end, watching *very* closely to prevent burning. This mimics the campfire char.
Step 7: Cool and Cut
Place the pan on a wire rack and let the bars cool completely. This step is vital for the bars to set properly, making them easier to cut into neat squares. If you’re impatient (I know I can be!), chilling the bars in the refrigerator for at least 30 minutes after they’ve cooled down a bit will make them even easier to slice.
| Step | Action | Duration | Key Visual Cue |
|---|---|---|---|
| 1 | Prepare Pan | N/A | Foil lined pan with overhang, sprayed. |
| 2 | Mix Dry Ingredients | ~2 mins | Evenly distributed flour, crumbs, baking powder, salt. |
| 3 | Cream Butter & Sugar | ~2 mins | Light and fluffy mixture. |
| 4 | Combine Dough | ~1-2 mins | Thick, cohesive dough. |
| 5 | Assemble Bars | ~5 mins | Layered base, marshmallow, chips, and crumbly top. |
| 6 | Bake | 30-35 mins | Golden brown edges, lightly toasted marshmallow. |
| 7 | Cool & Cut | ~30 mins (active cooling) + optional chill | Firm enough to slice cleanly. |
Serving & Presentation
These bars are a triumph on their own, embodying the simple joy of a classic treat. For a truly New York moment, I like to serve them slightly warm, allowing the chocolate to be extra melty, perhaps with a small scoop of high-quality vanilla bean ice cream. The contrast between the warm, gooey bar and cold ice cream is divine! You can also dust them lightly with powdered sugar for an elegant finish, reminiscent of Parisian patisseries, or serve them simply as they are – a delightful afternoon treat with your coffee.
Presentation is all about showcasing that gooey promise! When you have that moment of pulling the bars out of the oven, let them cool completely before attempting to cut. This ensures clean edges. Use those foil overhangs to lift the entire slab out of the pan onto a cutting board. A sharp knife, perhaps wiped clean between cuts, will give you those perfect squares. For parties or potlucks, consider cutting them into smaller, bite-sized portions – they’re incredibly rich and satisfying!
| Pairing Type | Suggestions | Why It Works |
|---|---|---|
| Side Dish | Not typically served as a side | These are a sweet indulgence, best enjoyed as a dessert or sweet treat. |
| Sauce / Dip | Caramel sauce, chocolate ganache drizzle | Enhances the sweetness and richness, adding another layer of indulgence. |
| Beverage | Hot chocolate, strong coffee, milk, or a dessert wine | Complements the flavors; coffee cuts through the sweetness, milk balances it. |
| Garnish | Whipped cream, toasted mini marshmallows, chocolate shavings | Adds visual appeal and reinforces the s’mores theme. |
Make-Ahead, Storage & Reheating
Life in NYC is always on the go, so I love recipes that can be prepped ahead. These S’Mores Bars are fantastic for that! I often bake them on a Sunday afternoon and store them airtight for delicious snacks and desserts throughout the week. They hold up beautifully, making them perfect for packing in lunchboxes or bringing to a friend’s house without worry.
| Method | Container | Duration | Reheating Tip |
|---|---|---|---|
| Refrigerator | Airtight container or wrapped well | 3–4 days | Serve chilled or gently warmed. |
| Freezer | Freezer-safe container or bag, cut into bars | 2–3 months | Thaw in refrigerator overnight. Gently warm if desired. |
| Make-Ahead | Store uncut slab or cut bars | Up to 2 days before serving | Cut into bars just before serving for neatest appearance. |
For reheating, I usually opt for a quick zap in the microwave, about 10-15 seconds per bar, or place them on a baking sheet for a few minutes in a low oven (around 250°F/120°C) if I want to revive that slightly crisp edge. Be cautious not to overheat, as the marshmallow can become overly sticky or even brown too quickly. They are also wonderfully satisfying served at room temperature or chilled, making them incredibly versatile.
Variations & Easy Swaps
| Variation | Key Change | Best For | Difficulty Impact |
|---|---|---|---|
| Dark Chocolate S’Mores | Use dark chocolate chips or chunks | Chocolate lovers who prefer a less sweet, more intense flavor. | No change. |
| Spiced S’Mores | Add ½ tsp cinnamon and ¼ tsp nutmeg to the dry ingredients | Those who enjoy warm, comforting spices. Reminds me of my Moroccan heritage. | No change. |
| Gluten-Free S’Mores | Use gluten-free graham crackers | Individuals with gluten sensitivities or celiac disease. | Requires sourcing GF crackers. |
Dark Chocolate S’Mores
For a deeper, more sophisticated chocolate flavor, simply swap out the milk chocolate chips for dark chocolate chips or even chopped dark chocolate. I find that a good quality 60-70% cacao chocolate works beautifully, offering a rich flavor that stands up to the sweetness of the marshmallow and the buttery graham cracker base. This variation brings a grown-up twist to a childhood favorite.
Gluten-Free S’Mores
Making these bars gluten-free is incredibly easy! The only change needed is to substitute the regular graham crackers with your favorite gluten-free graham crackers. Most brands available in US supermarkets now offer delicious GF options that mimic the texture and flavor of traditional ones. The rest of the recipe remains exactly the same, ensuring you don’t miss out on any of the gooey, chocolatey goodness.
Spiced S’Mores
Infuse your bars with a touch of warmth and spice! Inspired by the aromatic spices common in my mother’s Moroccan kitchen, I love adding ½ teaspoon of ground cinnamon and ¼ teaspoon of nutmeg directly into the dry ingredients. This subtle addition creates a wonderfully cozy flavor profile that complements the sweet marshmallow and chocolate perfectly, making these bars even more comforting and unique.
How do you keep s’mores bars from falling apart?
The most crucial step to prevent s’mores bars from falling apart is ensuring they cool completely before cutting. The structure sets as it cools. Chilling the bars in the refrigerator for at least 30 minutes after they’ve reached room temperature also significantly improves their coherence. If the bars are still crumbly after cooling, it might indicate they were slightly underbaked or that the dough needed a touch more moisture. Always use the foil overhang to lift the slab out of the pan before slicing for cleaner cuts.
What can I substitute for graham crackers in s’mores bars?
You have a few delicious options if graham crackers aren’t available. Cinnamon graham crackers offer a slightly spiced twist. For a nuttier flavor, consider crushed shortbread cookies or even finely crushed digestive biscuits. If you need a gluten-free option, most brands now offer gluten-free graham crackers. Whichever substitute you choose, ensure it’s crushed into fine crumbs to create a cohesive base and topping consistent with the original recipe.
Can I make s’mores bars ahead of time and reheat them?
Absolutely! These s’mores bars are excellent for making ahead. Store them in an airtight container at room temperature for up to 2 days, or in the refrigerator for up to 4 days. To reheat, you can gently warm individual bars in the microwave for about 10-15 seconds or place them on a baking sheet in a low oven (around 250°F/120°C) for a few minutes. This will help revive some of that lovely gooey texture, especially in the marshmallow and chocolate.
How long should you bake s’mores bars for a gooey center?
To achieve that signature gooey center, bake the s’mores bars for approximately 30 to 35 minutes at 350°F (175°C). You’re looking for the edges of the dough to be golden brown and the marshmallow topping to be lightly toasted and bubbly. Avoid overbaking, as this can dry out both the crust and the marshmallow, making it less gooey. The bars will continue to set up as they cool, so a slightly softer center right out of the oven is ideal.
Why do my s’mores bars turn out dry?
Dry s’mores bars often result from overbaking. The marshmallow topping can dry out and become brittle if left in the oven for too long. Ensure you’re baking only until the edges are golden and the marshmallow is lightly toasted, not deeply browned or hardened. Another reason could be insufficient moisture in the dough itself – making sure your butter is properly softened and the brown sugar is packed well can help. Lastly, cool the bars completely after baking before slicing; cutting them while hot can make them seem crumbly.
Can I use regular marshmallows instead of marshmallow topping?
Yes, you absolutely can substitute regular marshmallows, but it will change the texture slightly. If using mini marshmallows, you’ll need about 3 to 4 cups and might want to spread them on the crust before the crumb topping. They tend to melt and toast more quickly and can sometimes form a more intensely browned, slightly chewy layer rather than the smooth, creamy texture of marshmallow topping. Keep a close eye on them during baking to prevent burning.
Are these bars no-bake?
While these bars utilize classic s’mores flavors often associated with no-bake treats, this specific recipe does require baking. The baking process is essential to set the graham cracker base, meld the marshmallow and chocolate, and achieve a golden-brown finish on the crumbly topping. However, the preparation itself is quite simple and doesn’t involve complex cooking techniques, making them very beginner-friendly and far less effort than traditional s’mores assembly.
How do I get clean cuts on my s’mores bars?
Clean cuts are all about patience and the right tool! First and foremost, let the bars cool completely, and even give them a stint in the refrigerator for about 30 minutes to firm up. Then, use a large, sharp knife. For extra clean cuts, dip the knife in hot water and wipe it dry between each slice. Alternatively, a metal bench scraper can also work wonders. Using the foil overhang to lift the entire baked slab out of the pan onto a cutting board makes slicing much easier.
Share Your Version!
I absolutely adore seeing how you bring my recipes to life in your own kitchens! If you’ve made these Easy S’Mores Bars, please take a moment to leave a star rating and a comment below. Your feedback means the world to me and helps other home cooks too! If you share a photo on Instagram or Pinterest, please tag me @exorecipe – I can’t wait to see your delicious creations!
And I’d love to hear: what’s your favorite way to enjoy s’mores flavor outside of a campfire? Are you team milk chocolate, dark chocolate, or perhaps something more adventurous? Let me know in the comments!
From my NYC kitchen to yours — I hope this recipe brings as much warmth to your table as it does to mine. — mia 🧡
Love This Recipe? Save It to Pinterest!
If you enjoyed this S’Mores Bars recipe, don’t let it get lost in your browser tabs! 😄 Pin it now so you can find it again anytime — and explore hundreds more tried-and-tested recipes waiting for you on my Pinterest boards.
👉 Follow mia on Pinterest @chefrecipes2
📌 Pin this recipe · 🔁 Re-pin your favorites · 💬 Tag me when you make it — I love seeing your creations!

S’Mores Bars
Description
Super easy dessert recipe for these Chocolate Marshmallow Bars.
Ingredients
- 2 cups all purpose flour
- 2 cups graham cracker crumbs
- 1 teaspoon baking powder
- ¼ teaspoon salt
- 1 cup (2 sticks) unsalted butter, (at room temperature)
- 1½ cups packed light brown sugar
- 2 large eggs, (beaten)
- 2 cups marshmallow topping ((such as Marshmallow Creme))
- 2 cups milk chocolate chips
Instructions
- Preheat the oven to 350. Line a 9-by-13-inch baking pan with foil, leaving a 2-inch overhang on 2 sides. Spray the foil with nonstick spray.
- In a bowl, whisk together flour, graham cracker crumbs, baking powder and salt. In a separate large bowl, using an electric mixer on medium speed, beat the butter and sugar until light, about 2 minutes. Beat in the eggs until well combined. Reduce the mixer speed to low and slowly beat the flour mixture into the butter mixture. Divide the dough in half. Press half of the dough into the pan until the dough is even and flat. Spread with marshmallow topping and sprinkle chocolate chips on top. Scatter the remaining dough over the top in clumps. Don't worry about covering the top with the dough. The marshmallow and chocolate chips should peek through.
- Bake until golden brown, 30 to 35 minutes. Place the pan on a wire rack to cool completely. Remove from the pan, peel off the foil and cut into bars. They're also a little easier to cut if they have been refrigerated for a while.
Nutrition
- Calories: 328 kcal
- Sugar: 33 g
- Fat: 15 g
- Carbohydrates: 49 g
- Protein: 2 g
k">
Tried This Recipe? Leave a Comment!
Did you make this recipe? I’d love to hear how it turned out! Please leave a comment and a rating below. Your feedback helps other home cooks and supports cheerychop.com!
For more delicious inspiration, follow me on Pinterest!
