Table of Contents
No-Bake Unicorn Cheesecake Recipe
Introduction
Did you know that visually appealing, colorful food can increase perceived enjoyment by up to 60%? This No-Bake Unicorn Cheesecake is the ultimate proof, combining vibrant swirls of color with a buttery digestive crust, all topped with a sprinkle of edible glitter. Perfect for birthdays and festive occasions, this magical dessert is more than just a treat—it’s a centerpiece that sparks joy and conversation. The best part? You don’t need an oven, making it a surprisingly accessible project for bakers of all levels. If you’re looking for a show-stopping dessert that delivers on both whimsy and creamy, tangy flavor, you’ve found your recipe. Let’s dive into creating this edible rainbow.
Ingredients List
Gather these ingredients for a magical, creamy, and crunchy dessert experience. I’ve included sensory notes and substitutions to ensure success no matter your pantry situation.
- For the Digestive Crust:
- 250g Digestive Biscuits (Graham Crackers): These provide a sweet, wheaty, and slightly malty base with a perfect crumbly texture. Substitution: Use any plain sweet biscuit like Marie biscuits or even gluten-free digestives.
- 100g Unsalted Butter, melted: Acts as the glue, offering a rich, salty-sweet flavor that binds the crumbs. Substitution: For a dairy-free version, use refined coconut oil (for a neutral taste) or a plant-based butter.
- 1 tbsp Granulated Sugar (optional): Adds a subtle extra sweetness if your biscuits aren’t very sweet.
- For the Cheesecake Filling:
- 600g Full-Fat Cream Cheese, room temperature: The star of the show. Full-fat is non-negotiable for that luxuriously thick, creamy, and tangy mouthfeel that holds its shape. Substitution: For a lighter version, see Healthier Alternatives below.
- 100g Icing Sugar (Powdered Sugar), sifted: Dissolves seamlessly into the cream cheese, providing sweetness without grittiness.
- 300ml Double Cream (Heavy Cream), cold: Whipped to soft peaks, it introduces air and lightness, balancing the density of the cream cheese.
- 1 tsp Vanilla Bean Paste or Extract: Adds a warm, aromatic depth that elevates the simple flavors.
- Zest of 1 Lemon: A secret weapon! The bright, citrusy notes cut through the richness and prevent the cheesecake from tasting overly cloying.
- For the Unicorn Swirls & Decoration:
- Gel Food Coloring (Pink, Purple, Blue, Yellow): Gel colors are highly pigmented and won’t water down your filling. They create those vibrant, bold swirls.
- Edible Glitter or Gold/Silver Dust: For the final magical shimmer. Ensure it’s labeled “edible.”
- Optional: White Chocolate Curls, Sprinkles, Fresh Berries: For extra decoration and texture.
Timing
Compared to a traditional baked cheesecake, which can take over an hour of active baking plus cooling time, this no-bake version is significantly faster and requires no technical baking skills. The majority of the time is hands-off chilling, allowing the flavors to meld and the structure to set perfectly. Plan to make this the day before your event for the best results and minimal stress.
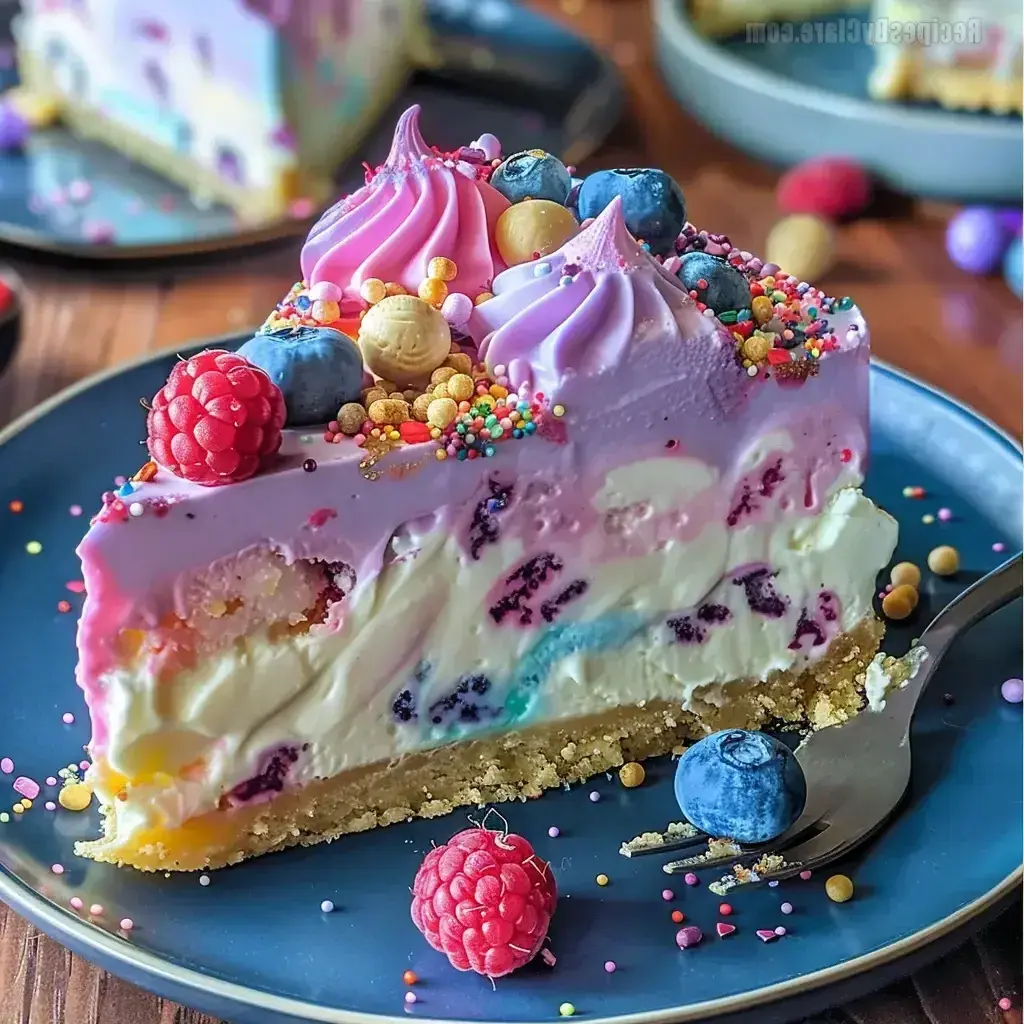
This stunning No-Bake Unicorn Cheesecake is as fun to make as it is to eat!
Step-by-Step Instructions
Step 1: Prepare the Crust
First, line the base of a 20cm (8-inch) springform pan with parchment paper. This is your insurance policy for a clean release later. Place your digestive biscuits in a sturdy zip-top bag and crush them using a rolling pin until you have fine, even crumbs. You want the texture of damp sand—no large chunks. Alternatively, pulse them in a food processor. Transfer the crumbs to a mixing bowl and pour over the melted butter (and optional sugar). Mix thoroughly until every crumb is coated and the mixture holds together when pinched. Press this mixture firmly and evenly into the bottom of your prepared pan. I like to use the bottom of a flat glass or measuring cup to get a compact, level base. Pop the crust in the refrigerator to firm up while you make the filling.
Step 2: Make the Cheesecake Filling
In a large bowl, beat the room-temperature cream cheese with an electric mixer on medium speed until it’s completely smooth, creamy, and free of any lumps. This is crucial for a silky final texture. Add the sifted icing sugar, vanilla, and lemon zest. Beat again until fully incorporated and smooth. In a separate, clean, cold bowl, whip the double cream to soft peaks. It should hold its shape but still be billowy. Gently fold the whipped cream into the cream cheese mixture in two or three additions. Use a large spatula and a light hand to maintain the air you’ve just whipped in. The mixture will be thick, luscious, and spreadable.
Step 3: Create the Unicorn Swirls
This is the fun part! Divide the plain cheesecake filling evenly between 4 or 5 smaller bowls. Now, add a tiny drop of gel food coloring to each bowl—pink, purple, blue, and yellow are classic. Use a toothpick to add the color, as gel is potent. Stir each bowl until the color is uniform. To assemble, retrieve your chilled crust. Drop large, random spoonfuls of the different colored fillings all over the crust. Alternate the colors as you go. Once all the filling is in the pan, take a knife or a skewer and gently swirl it through the colors just 2-3 times. Don’t over-mix, or you’ll end up with a muddy brown or grey color. You want distinct, marbled streaks of color.
Step 4: Chill and Set
Carefully smooth the top with an offset spatula or the back of a spoon. Cover the pan tightly with cling film. This is non-negotiable for a proper set. Place the cheesecake in the refrigerator to chill for at least 6 hours, but ideally overnight. This extended chilling time allows the filling to firm up completely, making it sliceable and ensuring the flavors fully develop. Patience is key here for the perfect texture.
Step 5: Decorate and Serve
When ready to serve, run a thin, warm knife around the inside edge of the springform pan before releasing the clamp. Carefully transfer the cheesecake to a serving plate. Now, unleash your inner artist! Generously sprinkle with edible glitter or dust with edible gold/silver powder. Add white chocolate curls, a crown of sprinkles, or a ring of fresh berries around the edge for an extra festive touch. Use a hot, clean knife to slice, wiping it between cuts for beautifully clean slices.
Nutritional Information
The following is an approximate nutritional breakdown per serving (based on 12 slices).
- Calories: ~480 kcal
- Total Fat: 38g
- Saturated Fat: 23g
- Carbohydrates: 30g
- Sugars: 20g
- Protein: 6g
- Fiber: 1g
Healthier Alternatives
You can easily adapt this magical dessert to suit different dietary needs without sacrificing the fun.
- Lighter Filling: Swap full-fat cream cheese for a blend of low-fat cream cheese and thick Greek yogurt. Use a well-chilled coconut cream instead of double cream for a dairy-free option (ensure it whips well).
- Reduced Sugar: Replace icing sugar with a powdered erythritol/monk fruit blend designed for baking. The crust can be made without the added tablespoon of sugar.
- Nut-Based Crust: For a gluten-free, nutrient-dense base, use 200g of finely ground almonds or pecans mixed with 2 tbsp of maple syrup and 50g of melted coconut oil.
- Natural Colors: Use freeze-dried fruit powders (raspberry for pink, blueberry for purple, spirulina for blue, turmeric for yellow) instead of gel colors. Note: these may subtly alter the flavor.
Serving Suggestions
This cheesecake is a star on its own, but a few accompaniments can elevate it further. Serve with a side of fresh mixed berries (strawberries, raspberries, blueberries) for a tart contrast. A drizzle of raspberry or mango coulis adds a beautiful pop of color and acidity. For a truly decadent experience, offer a dollop of lightly sweetened whipped cream on the side. Pair with sparkling drinks like prosecco, lemonade, or a fruity herbal iced tea to balance the richness.
Common Mistakes
- Using Cold Cream Cheese: This is the #1 cause of a lumpy filling. Always ensure your cream cheese is at room temperature for a perfectly smooth blend.
- Over-whipping the Cream: If you whip the double cream to stiff peaks, it becomes difficult to fold in and can make the final texture grainy. Aim for soft, billowy peaks.
- Over-mixing the Colors: Swirling too vigorously will blend the vibrant colors into a murky, unappealing shade. Less is more—just a few gentle passes with a knife.
- Insufficient Chilling Time: Trying to slice a no-bake cheesecake before it’s fully set leads to a messy, soupy slice. Respect the 6-hour minimum, with overnight being ideal.
- Using Liquid Food Coloring: Liquid colors dilute the filling, potentially affecting the set and producing pastel, less vibrant swirls. Always opt for gel or paste colors.
Storing Tips
This cheesecake stores beautifully. Keep it covered in the refrigerator for up to 4 days. For longer storage, you can freeze it. Wrap the whole cheesecake (or individual slices) tightly in cling film and then in foil. Freeze for up to 2 months. Thaw overnight in the refrigerator before serving. Note: The glitter and some sprinkles
