
Table of Contents
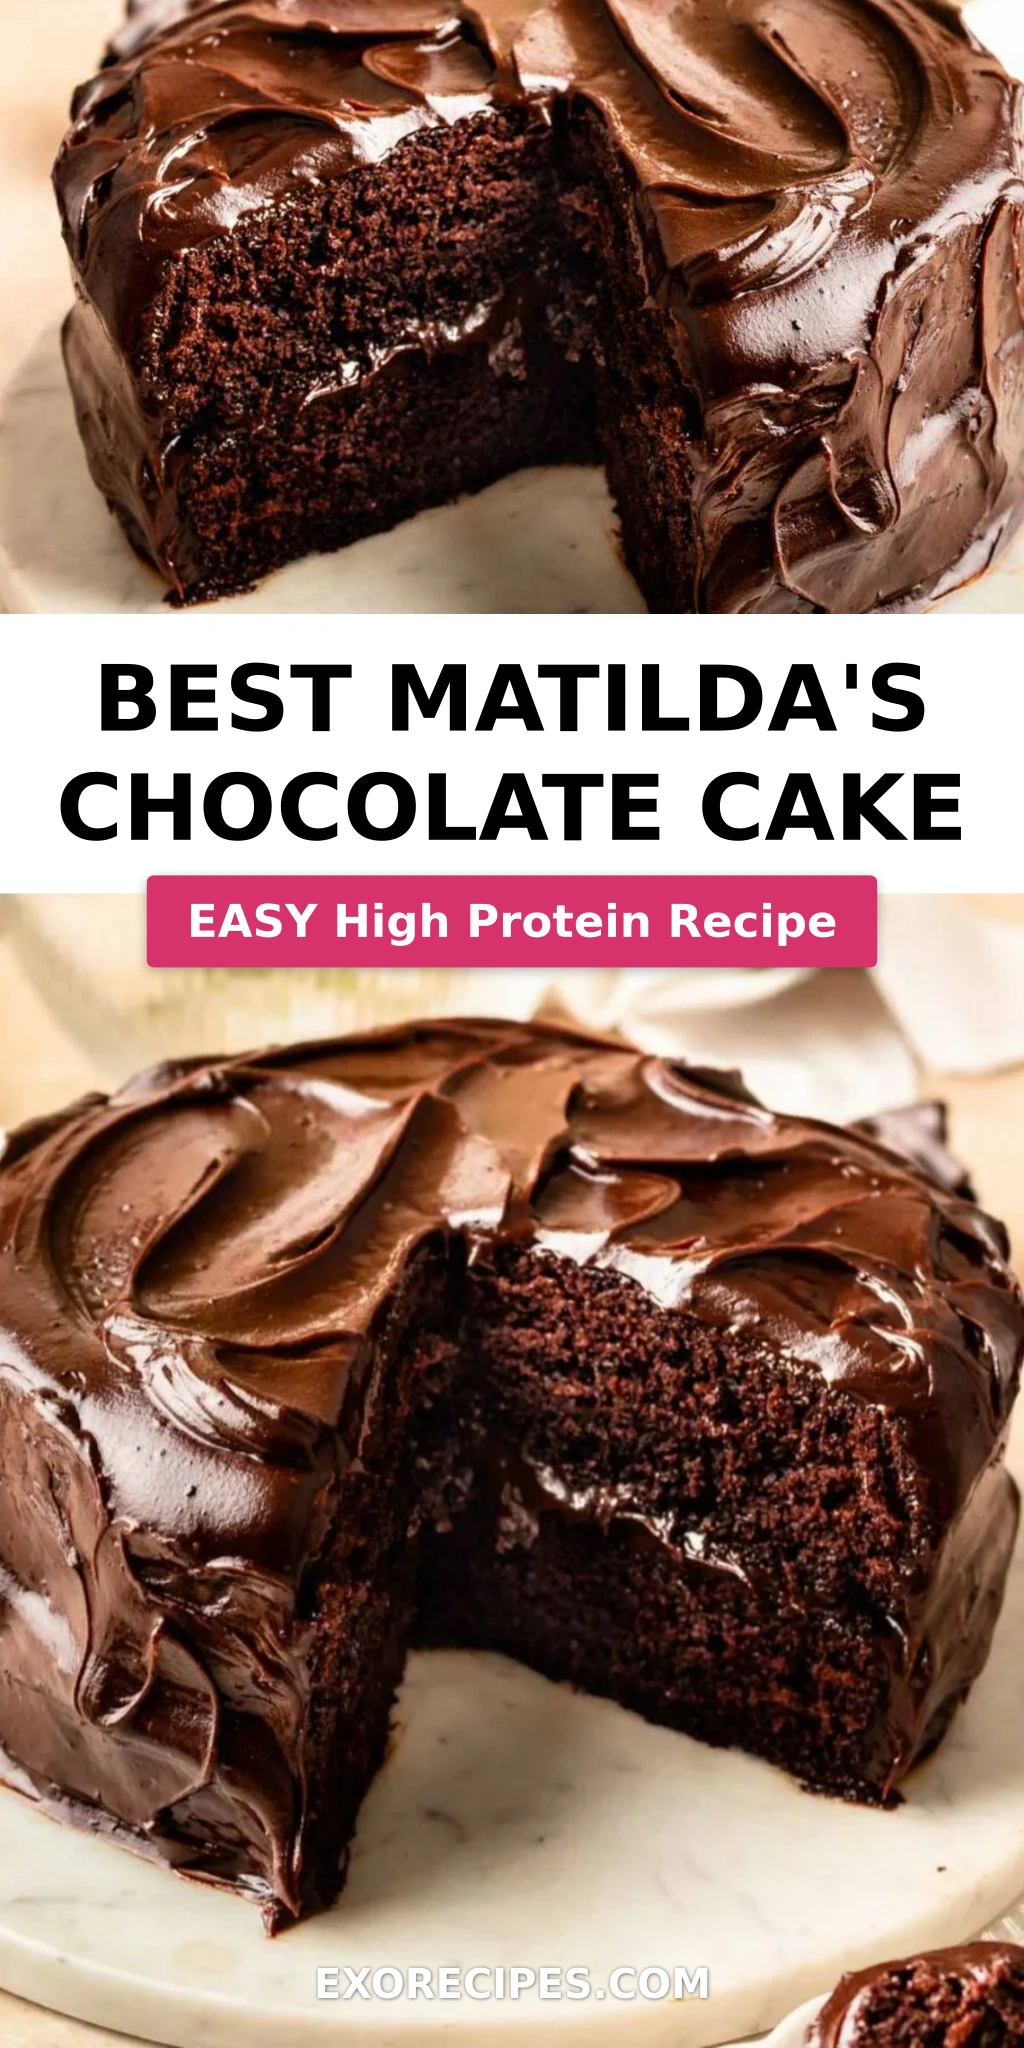
Best Matilda’s Chocolate Cake: Rich One-Bowl Wonder
Ah, the Matilda chocolate cake! Just saying the name conjures up images of that wonderfully insane, gravity-defying tower of chocolate from the movie. As a baker who grew up with my mother’s aromatic tagines in Morocco and later fine-tuned my skills in the patisseries of Paris, I have a deep appreciation for cakes that are both comforting and spectacular. This quest for the best Matilda’s chocolate cake recipe led me to create this one-bowl wonder. It’s designed to deliver that quintessential, deep chocolate flavor and impossibly moist crumb, all while being remarkably easy to make, even for a novice baker. Forget complicated techniques; we’re focusing on pure chocolate indulgence.
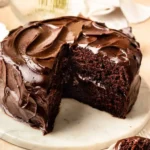
Imagine sinking your fork into a slice of pure bliss: the exterior a glossy, decadent fudge frosting that barely holds its mirror-like sheen, giving way to an interior so tender and moist it practically melts. The aroma alone is enough to transport you – a rich, dark chocolate perfume with subtle earthy notes from the coffee that enhances but never overwhelms the cocoa. This isn’t just any chocolate cake; it’s an experience. It’s the kind of cake that makes a regular Tuesday feel like a special occasion, reminiscent of the celebratory feasts I’d witness during family gatherings back home.
My goal with this recipe is to capture that magic without the fuss. I’ve taken a classic approach, infusing it with my professional insights garnered from years in bustling NYC kitchens. We’ll use a simple one-bowl method for the cake batter, which is a game-changer for easy cleanup. The frosting, a luscious chocolate fudge, is equally straightforward yet yields restaurant-quality results. I’ll share a crucial tip about blooming your cocoa and a common mistake to avoid that many home bakers overlook, ensuring your cake rises beautifully and tastes divine every single time. Get ready to bake the best matilda chocolate cake right in your own kitchen!
Why This Best Matilda’s Chocolate Cake Recipe Is the Best
What sets this recipe apart is its ingenious combination of bold flavors and accessible techniques. Drawing inspiration from the film’s iconic cake, I’ve focused on maximizing chocolate intensity. The secret lies in a clever use of both cocoa powder *and* melted chocolate in the frosting, creating a multi-dimensional richness. It’s a technique I learned early on in Paris that guarantees a deep, satisfying chocolate flavor that’s both complex and utterly craveable. This isn’t just about sweetness; it’s about the profound, dark soul of chocolate shining through.
The texture is where this chocolate cake from the Matilda movie truly shines. The batter is designed to be poured into two pans, ensuring even baking and a quicker cook time compared to a single, taller cake. Using hot coffee not only deepens the chocolate flavor but also helps to bloom the cocoa powder, releasing its full aromatic potential. This, combined with the buttermilk, creates an incredibly tender crumb that stays moist for days – a testament to the science of baking that I respect so much, from my Moroccan mother’s simple yet perfect breads to French patisserie precision.
You don’t need to be a pastry chef to achieve a show-stopping cake. This recipe is intentionally designed for ease. The one-bowl method for the cake batter minimizes mess and simplifies the process. The frosting, while luxurious, is also surprisingly simple to whip up. I’ve always believed that great food should be approachable, reflecting the bustling, yet often hurried, pace of life here in New York City. With straightforward instructions and readily available ingredients, this easy chocolate cake recipe guarantees brilliant results, making it perfect for any home baker looking to impress.
Best Matilda’s Chocolate Cake Ingredients
To bake the best Matilda’s chocolate cake, I always recommend sourcing the best ingredients. For my staples, I love visiting the Union Square Greenmarket here in NYC for the freshest dairy and eggs, but for specialty items like high-quality cocoa powder, I often rely on Italian or French brands found at gourmet shops in Manhattan. My mother always said that the soul of a dish is in its ingredients, and that rings especially true for chocolate. A good dark chocolate and Dutch-processed cocoa are non-negotiable for that deep, complex flavor we’re chasing.
Ingredients List
- 2 1/2 cups All-purpose flour
- 1 3/4 cups Granulated sugar
- 2 tsp Baking powder
- 1 tsp Baking soda
- 1/2 tsp Kosher salt (for cake)
- 1/2 cup Dutch-processed cocoa powder (for cake)
- 2/3 cup Vegetable oil (or canola oil)
- 1 tsp Vanilla extract (for cake)
- 3 Large eggs (room temperature)
- 2/3 cup Buttermilk
- 1 cup Hot brewed coffee
- 4 oz Unsalted butter, cut into cubes (for frosting)
- 8 oz Dark chocolate (60%-70% cacao), finely chopped (for frosting)
- 1/3 cup Dutch-processed cocoa powder (for frosting)
- 1 1/3 cups Heavy cream
- 1 1/3 cups Powdered sugar, sifted
- 1/2 tsp Kosher salt (for frosting)
- 1 tsp Vanilla extract (for frosting)
Ingredient Spotlight
Hot Coffee: This is my secret weapon for chocolate cakes. Using hot coffee, brewing about 8 ounces of your favorite dark roast, doesn’t make the cake taste like coffee. Instead, it intensifies the chocolate flavor, making it richer and more complex. It also helps “bloom” the cocoa powder, releasing its full aromatic potential. If you absolutely must avoid coffee, a strong black tea or even hot water can be used, but the depth of flavor won’t be quite the same.
Dutch-Processed Cocoa Powder: This is key for that deep, dark color and mellow chocolate flavor. Unlike natural cocoa, Dutch-processed cocoa has been treated to neutralize its acidity, resulting in a smoother, less bitter taste. You can usually find it in the baking aisle of most major supermarkets. If you can’t find Dutch-processed, natural cocoa powder will work, but the cake might be a shade lighter and have a slightly sharper chocolate note.
Buttermilk: Buttermilk provides crucial tenderness and a slight tang that balances the richness of the chocolate. Its acidity also reacts with the baking soda to help the cake rise beautifully. If you don’t have buttermilk on hand, you can easily make a substitute: just add 1 tablespoon of white vinegar or lemon juice to 1 cup of milk, let it sit for 5-10 minutes until it slightly curdles, and then use it as directed. Another good option is plain yogurt thinned with a little milk.
| Original Ingredient | Best Substitution | Flavor / Texture Impact |
|---|---|---|
| Hot Coffee | 8 oz Strong Black Tea or Hot Water | Slightly less depth; chocolate flavor less pronounced. Still moist. |
| Dutch-Processed Cocoa Powder | Natural Cocoa Powder | Cake may be lighter in color, with a sharper chocolate taste. Texture should remain similar. |
| Buttermilk | 1 cup Milk + 1 tbsp Lemon Juice/Vinegar (let sit 5-10 min) & Plain Yogurt thinned with milk | Slightly less tang, but still tender and moist. |
How to Make Best Matilda’s Chocolate Cake — Step-by-Step
Gather your ingredients and let’s get baking! This recipe is designed for ease, so let’s dive right in.
Step 1: Prepare the Pans and Oven
Preheat your oven to 350°F (175°C). Grease two 8-inch round cake pans thoroughly. For extra insurance against sticking, line the bottoms with parchment paper rounds and grease the parchment too. This is crucial for easily unmolding the cakes later.
💡 mia’s Pro Tip: For perfectly even cakes, use a kitchen scale to divide batter. If you don’t have one, eyeball it as evenly as possible – I often use an ice cream scoop to start.
Step 2: Bloom the Cocoa
In a small bowl or liquid measuring cup, whisk together the 1 cup of hot brewed coffee and the 1/2 cup of Dutch-processed cocoa powder until completely smooth. This step, called blooming, intensifies the cocoa’s flavor and aroma. Set this mixture aside to cool slightly.
Step 3: Combine Dry Ingredients
In a large mixing bowl, sift together the flour, granulated sugar, baking powder, baking soda, and 1/2 teaspoon of kosher salt. Whisk them together briefly to ensure even distribution. Sifting helps prevent lumps, especially in the cocoa powder.
⚠️ Common Mistake to Avoid: Don’t skip sifting! Especially with cocoa powder. Lumps of dry ingredients can lead to pockets of unincorporated flour or uneven texture in your final cake.
Step 4: Add Wet Ingredients
Create a well in the center of your dry ingredients. Add the eggs (make sure they are room temperature for better emulsification), buttermilk, vegetable oil, and 1 teaspoon of vanilla extract. Whisk everything by hand in the bowl until the batter is smooth and homogenous; it might seem thick at this stage.
Step 5: Incorporate Cocoa-Coffee Mixture
Slowly pour the slightly cooled cocoa-coffee mixture into the main bowl with the batter. Gently stir with a whisk or spatula until everything is just combined and the batter is smooth and uniform. Be careful not to overmix; just stir until you no longer see streaks of dry ingredients.
Step 6: Bake the Cakes
Divide the batter evenly between the two prepared 8-inch cake pans. Bake for 30-35 minutes. To check for doneness, insert an instant-read thermometer into the center of a cake – it should register 205°F (96°C).
Step 7: Cool the Cakes
Let the cakes cool in their pans on a wire rack for about 10 minutes. Then, carefully invert them onto the wire rack to cool completely. Ensure they are fully cooled before frosting, otherwise your frosting will melt!
Step 8: Prepare the Chocolate Fudge Frosting
While the cakes cool, let’s make that luscious frosting. In a medium saucepan, combine the 4 ounces of unsalted butter (cubed), the 8 ounces of finely chopped dark chocolate, 1/1/3 cups heavy cream, and 1/3 cup Dutch-processed cocoa powder. Add the sifted powdered sugar and 1/2 teaspoon kosher salt.
💡 mia’s Pro Tip: Using a good quality dark chocolate (60-70% cacao) is crucial for a rich, non-too-sweet frosting. Chop it finely for quicker, more even melting.
Step 9: Melt and Dissolve Frosting Ingredients
Place the saucepan over the *lowest* heat setting possible on your stovetop. Whisk constantly. You want the butter to melt, the chocolate to become fully incorporated, and the powdered sugar to dissolve without boiling. This gentle heating process is key to a smooth, glossy frosting without graininess.
Step 10: Strain for Smoothness
Once everything is melted and smooth, carefully pour the warm frosting mixture through a fine-mesh sieve into a heatproof bowl or a sturdy square pan. This step is essential to catch any not-fully-melted bits of chocolate or undissolved sugar, ensuring a perfectly smooth, mirror-like finish.
Step 11: Chill the Frosting
Place the strained frosting in the refrigerator. Let it chill, stirring every 15-20 minutes, until it thickens to a spreadable, fudgy consistency. You’re looking for a texture that holds its shape when spooned but is still easily spreadable. This may take about 1 to 2 hours, depending on your fridge.
Step 12: Frost the First Layer
Once the cakes are completely cool and the frosting has reached the desired consistency, place one cake layer on your serving plate or cake stand. Spread a generous, even layer of the thickened chocolate fudge frosting over the entire surface of this first layer, going right to the edges.
Step 13: Assemble and Frost the Cake
Carefully place the second cake layer on top of the first. Now, frost the top and sides of the entire cake. The frosting should be thick and luxurious enough to hold its shape, creating that signature luscious, mirror-shine finish. Don’t worry about perfect smoothness; a slightly rustic look can be charming too!
| Step | Action | Duration | Key Visual Cue |
|---|---|---|---|
| 1 | Prep Pans & Oven | 5 mins | Oven at 350°F, pans greased & lined. |
| 2 | Bloom Cocoa | 2 mins | Smooth, dark cocoa paste. |
| 3 | Combine Dry | 3 mins | Evenly mixed dry ingredients. |
| 4 | Add Wet | 3 mins | Smooth, homogenous batter. |
| 5 | Incorporate Cocoa-Coffee | 2 mins | Uniform, pourable batter. |
| 6 | Bake Cakes | 30-35 mins | Thermometer reads 205°F (96°C). |
| 7 | Cool Cakes | 15-20 mins in pan, then fully on rack | Cooled to room temperature. |
| 8 | Prep Frosting Base | 5 mins | All frosting ingredients in saucepan. |
| 9 | Melt & Dissolve | 5-8 mins (low heat) | Smooth, glossy chocolate mixture. |
| 10 | Strain Frosting | 1 min | Perfectly smooth liquid frosting. |
| 11 | Chill Frosting | 1-2 hours (stirring occassionally) | Thick, spreadable fudge consistency. |
| 12 | Frost First Layer | 3 mins | Even layer on bottom cake. |
| 13 | Assemble & Frost | 5 mins | Fully frosted cake, mirror shine. |
Serving & Presentation
Presenting this Matilda chocolate cake is a joy! The glossy fudge frosting creates a stunning visual. For a classic look, a simple swirl on top is effective. If you want to channel those movie vibes, a truly towering stack of chocolate rounds (using multiple cake layers) with generous frosting between and around them is the way to go. In NYC, I often find inspiration for plating from fine dining restaurants, but for this cake, I lean into its comforting, slightly whimsical nature.
Garnishes can elevate the cake further. A light dusting of cocoa powder, a scattering of chocolate shavings, or a few fresh raspberries can add a pop of color and flavor. For a more elegant touch, consider a delicate tempered chocolate curl or fan. I love pairing this rich chocolate cake with a scoop of high-quality vanilla bean ice cream or a dollop of slightly sweetened whipped cream. A glass of cold milk, or for adults, a robust red wine or a rich mocha, makes for a perfect accompaniment.
| Pairing Type | Suggestions | Why It Works |
|---|---|---|
| Side Dish | Vanilla Bean Ice Cream, Fresh Berries, Whipped Cream | The creaminess and sweetness of ice cream cut through the richness. Berries add brightness. Cream provides a lighter counterpoint. |
| Sauce / Dip | Raspberry Coulis, Salted Caramel Sauce, Chocolate Ganache Drizzle | The tartness of raspberry complements chocolate beautifully. Caramel adds another layer of flavor. Extra ganache for pure indulgence. |
| Beverage | Cold Milk, Strong Coffee, Espresso, Full-bodied Red Wine (like Zinfandel) | Milk is a classic pairing. Coffee enhances chocolate notes. Wine’s tannins balance the sweetness and richness. |
| Garnish | Chocolate Shavings, Cocoa Powder Dusting, Fresh Mint Leaves | Adds visual appeal and textural contrast. Simple, elegant, and effective. |
Make-Ahead, Storage & Reheating
Life in the city is always on the go, so I often bake this cake a day in advance. It’s surprisingly resilient! The moist crumb actually improves in flavor and texture after a day. Ensure the cake is fully cooled before wrapping it tightly in plastic wrap. For best results, I store the unfrosted layers separately if I’m not frosting it the same day. Then, once frosted, it can sit at room temperature for a few hours, but if it’s warm out, I’ll keep storage to the refrigerator.
| Method | Container | Duration | Reheating Tip |
|---|---|---|---|
| Refrigerator | Airtight container or cake dome | 3-5 days | Let sit at room temperature for 30-60 minutes before serving for best texture. |
| Freezer | Wrapped well in plastic wrap, then foil or airtight container | Up to 3 months | Thaw overnight in refrigerator, then bring to room temperature for 30-60 minutes before serving. |
| Make-Ahead | Wrap layers individually in plastic wrap. Frost once fully thawed or just before serving. | 2 days (baked layers) | Frosting can also be made ahead and stored in the fridge; bring to room temperature and re-whip if needed. |
If your cake has been refrigerated, allow it to come to room temperature for at least 30 minutes to an hour before serving. This allows the fats in the cake and frosting to soften, restoring that tender, moist texture. For frozen cake, thaw it completely in the refrigerator overnight, then follow the same room temperature resting period. Reheating specific slices in the microwave for 10-15 seconds can help revive it if it feels a bit dry, but usually, the natural moisture holds up beautifully.
Variations & Easy Swaps
| Variation | Key Change | Best For | Difficulty Impact |
|---|---|---|---|
| The Movie Original | Use one very tall cake layer, or stack 3-4 thinner layers. Frosting might need to be slightly stiffer to hold height. | Recreating the iconic movie look. | Slightly more advanced due to cake height/stability. |
| Gluten-Free | Use a good quality 1:1 gluten-free flour blend. | Bakers avoiding gluten. | Minimal impact, ensure blend has xanthan gum. |
| Spiced Chocolate | Add 1/2 tsp cinnamon and a pinch of cardamom to dry ingredients. | Those who love warm spices, inspired by Moroccan flavors. | Adds complexity; easy swap. |
Matilda’s Movie-Inspired Dark Chocolate Cake
To truly capture the essence of the movie cake, you can bake this as one very tall, thick layer or stack three thinner layers instead of two. This might require slightly longer baking time or baking at a slightly lower temperature (around 325°F/160°C) to ensure the center cooks through without the outside burning. The frosting can be made a touch thicker to support the height, perhaps by chilling it a little longer until it’s almost firm but still spreadable.
Gluten-Free Matilda’s Chocolate Cake
Baking gluten-free is very achievable with this recipe. I’ve tested it successfully using a reputable 1:1 gluten-free baking flour blend (one that already contains xanthan gum). Simply substitute the all-purpose flour cup for cup. The texture remains remarkably similar – moist and tender. Ensure your chosen blend is good for cakes, as some can be better suited for cookies or breads.
Extra Decadence: Raspberry Swirl
For a touch of elegance and a flavor contrast, consider swirling a good quality raspberry jam or a homemade raspberry coulis into the frosting *before* it fully chills, or serve with a side of it. The tartness of the raspberry cuts through the richness of the dark chocolate beautifully. It’s a combination I often use in my French pastry work, adding a vibrant fruit note that makes the chocolate sing.
How do you make Matilda’s chocolate cake from the movie?
To make a cake like the one in the Matilda movie, you’ll want an exceptionally dark, moist, and rich chocolate cake. The key is using good quality cocoa powder and chocolate, and often techniques that guarantee moisture like using oil and coffee in the batter. The movie cake is famously tall and has incredible fudge-like frosting. My recipe aims to capture that intensity and moistness, focusing on a one-bowl cake and a simple, decadent fudge frosting that mimics the movie’s look and taste. For the height, consider baking this recipe in a single, tall pan or stacking multiple thinner layers.
What frosting is used on the cake in the Matilda movie?
The frosting on the spectacular cake in the Matilda movie appears to be a very rich, dark fudge frosting. It has a glossy, almost mirror-like finish and seems to be quite dense and decadent, holding its shape beautifully on that enormous confection. This recipe uses a simplified, but equally delicious, chocolate fudge frosting made with butter, dark chocolate, cocoa powder, heavy cream, and powdered sugar that delivers that classic deep chocolate flavor and luxurious texture reminiscent of the film’s iconic dessert.
Can I make Matilda’s chocolate cake without buttermilk?
Absolutely! If you don’t have buttermilk on hand, you can easily make a substitute. For every cup of buttermilk required by the recipe (we need 2/3 cup here), you can use 2/3 cup of regular milk plus 2 teaspoons of white vinegar or lemon juice. Let it sit for about 5-10 minutes until it curdles slightly. This homemade ‘buttermilk’ will provide the necessary acidity to react with the baking soda and create a tender crumb, just like real buttermilk does. Plain yogurt thinned with a little milk is also a great alternative.
What is the baking time for a tall Matilda-style chocolate cake?
When baking a single, tall layer of chocolate cake to mimic the movie’s aesthetic, the baking time will be significantly longer than for thinner layers. The cake in the movie looks several inches high, suggesting it might take anywhere from 50 to 75 minutes, or even longer, depending on the pan size and oven. It’s crucial to bake it at a slightly lower temperature (around 325-340°F or 160-170°C) to prevent the outside from burning before the inside is cooked. Always use an instant-read thermometer; it should register around 205°F (96°C) in the center. Also, be aware that very tall cakes can be more prone to sinking in the middle after cooling, so patience and careful monitoring are key.
Why is my chocolate cake dry?
A dry chocolate cake, unfortunately, is a common issue, but usually preventable! The most frequent culprit is overbaking. Once a cake’s internal temperature reaches about 205-210°F (96-99°C), it’s done. Extending the baking time beyond that, even by a few minutes, can dry it out considerably. Other causes include measuring flour incorrectly (too much flour will absorb too much moisture), or using ingredients that are not at room temperature, which can affect how they emulsify. Ensure you use the hot coffee as directed, as it adds essential moisture to this specific recipe, and always trust your thermometer over just the clock!
Can I use natural cocoa powder instead of Dutch-processed?
Yes, you can use natural cocoa powder if Dutch-processed isn’t available, but keep in mind there will be a slight difference in the final cake. Dutch-processed cocoa has been treated to be less acidic, resulting in a mellower, smoother chocolate flavor and a darker color. Natural cocoa powder is more acidic and has a more intense, sometimes slightly sharper, chocolate taste, and typically yields a lighter colored cake. For this recipe specifically, using natural cocoa *might* slightly alter the leavening because it’s more acidic and reacts differently with baking soda, but it’s generally an acceptable substitute. You might see a subtle difference in the crumb and color, but the moistness should still be there.
How do I get a smooth, glossy frosting?
Achieving a smooth, glossy frosting is all about technique and ingredient quality. For this chocolate fudge frosting, the key steps are using finely chopped good-quality dark chocolate and heavy cream. Heating the mixture gently over very low heat, stirring constantly until everything is fully melted and dissolved, is crucial—avoid boiling at all costs! My secret weapon is straining the warm mixture through a fine-mesh sieve into a clean bowl. This catches any tiny bits of undissolved sugar or chocolate, guaranteeing a silky-smooth, streak-free finish that will have that beautiful mirror-like shine. Chilling it to the right consistency also helps it spread smoothly.
Can I skip the coffee in the cake recipe?
While I absolutely recommend using hot coffee, you can omit it if necessary for this “best matilda’s chocolate cake recipe.” The coffee’s primary role is to enhance the chocolate flavor and bloom the cocoa powder, making it more potent and rich. If you can’t use coffee, a strong brewed black tea or even just hot water will work as a liquid base. However, be aware that skipping the coffee might result in a slightly less intense chocolate flavor. For the most authentic and deep chocolate essence that this recipe aims for, I encourage you to try it with the coffee!
Share Your Version!
I truly hope you enjoy baking and devouring this Best Matilda’s Chocolate Cake! It’s a project that brings me so much joy, blending fond memories with professional techniques. Please, if you make this recipe, leave a star rating and a comment below – your feedback helps me and other home bakers immensely. I’d be absolutely thrilled if you shared a photo of your creation on Instagram or Pinterest and tagged me at @chefrecipes2, I love seeing your kitchen successes!
And tell me, when you make this easy chocolate cake recipe, what’s your favorite way to enjoy a slice? Do you have a go-to pairing, or perhaps a secret ingredient you love to add? I’m always curious to hear about your culinary adventures! From my NYC kitchen to yours — I hope this recipe brings as much warmth to your table as it does to mine. — mia 🧡
Love This Recipe? Save It to Pinterest!
If you enjoyed this Best Matilda’s Chocolate Cake recipe, don’t let it get lost in your browser tabs! 😄 Pin it now so you can find it again anytime — and explore hundreds more tried-and-tested recipes waiting for you on my Pinterest boards.
👉 Follow mia on Pinterest @chefrecipes2
📌 Pin this recipe · 🔁 Re-pin your favorites · 💬 Tag me when you make it — I love seeing your creations!
Best Matilda’s Chocolate Cake
Description
This easy one-bowl Matilda chocolate cake is incredibly moist, rich, and topped with a glossy chocolate fudge frosting.
Ingredients
- 2 1/2 cups Flour (AP, plain flour)
- 1 3/4 cups Granulated sugar
- 2 tsp Baking powder
- 1 tsp Baking soda
- 1/2 tsp Kosher salt
- 1/2 cup Cocoa powder (Dutch processed cocoa powder)
- 2/3 cup Vegetable oil (or canola oil)
- 1 tsp Vanilla extract
- 3 Eggs (room temperature large eggs)
- 2/3 cup Buttermilk
- 1 cup Coffee (hot)
- 11.11 oz Butter (unsalted)
- 14.1 oz Dark chocolate (about 60%-70%)
- 1/3 cup Cocoa powder (Dutch processed )
- 1 1/3 cups Heavy cream
- 1 1/3 cups Powdered sugar
- 1/2 tsp Kosher salt
- 1 tsp Vanilla extract
Instructions
- Preheat the oven to 350°F (175°C). Grease two 8-inch cake pans and line the bottoms with parchment paper.
- Whisk the hot brewed coffee and Dutch-processed cocoa powder in a small bowl until smooth. Set aside.
- Sift the flour, sugars, baking soda, baking powder, and salt into a large mixing bowl. Whisk briefly to combine.
- Create a well in the dry ingredients. Add the eggs, buttermilk, oil, and vanilla. Whisk by hand until the batter is smooth.
- Slowly pour the warm cocoa-coffee mixture into the main bowl. Gently stir until the batter is uniform.
- Divide the batter evenly between the pans. Bake for 3035 minutes, or until the internal temperature hits 205°F (96°C).
- Let the cakes cool in the pans for 10 minutes before transferring to a wire rack to cool completely.
- Add the chopped chocolate, butter, heavy cream, and sifted powdered sugar into a saucepan.
- Place over the lowest heat setting possible. Whisk constantly until the chocolate is melted and the sugar is fully dissolved.
- Pour the warm frosting through a fine-mesh strainer into a square pan to ensure a perfectly smooth, bubble-free texture.
- Place the pan in the refrigerator. Let it chill, stirring occasionally, until it thickens to a spreadable, fudge-like consistency.
- Place the first cake layer on a plate and spread a generous amount of thickened frosting over the top.
- Add the second layer and coat the top and sides. The frosting should be thick enough to hold its shape while maintaining its signature mirror-shine.
Nutrition
- Calories: 713 kcal
- Sugar: 33 g
- Fat: 51 g
- Carbohydrates: 71 g
- Protein: 8 g
k">
Tried This Recipe? Leave a Comment!
Did you make this recipe? I’d love to hear how it turned out! Please leave a comment and a rating below. Your feedback helps other home cooks and supports cheerychop.com!
For more delicious inspiration, follow me on Pinterest!
