Creamy Dream Whip Pie
There’s something undeniably magical about a dessert that’s both effortless and show-stopping. Creamy Dream Whip Pie is one of those rare treats that delivers on both fronts—luxuriously smooth, impossibly light, and endlessly adaptable to whatever flavors you crave. Whether you’re hosting a summer barbecue, need a quick holiday dessert, or simply want to indulge in a no-bake masterpiece, this pie has your back. Let’s dive into why this recipe deserves a permanent spot in your dessert rotation.
Why You’ll Love This Recipe
First, let’s talk about why Creamy Dream Whip Pie is about to become your new favorite dessert. Here’s what makes it so irresistible:
- No-Bake Simplicity: Skip the oven and avoid sweating over a hot stove. This pie comes together in minutes with minimal effort, making it perfect for busy days or last-minute gatherings.
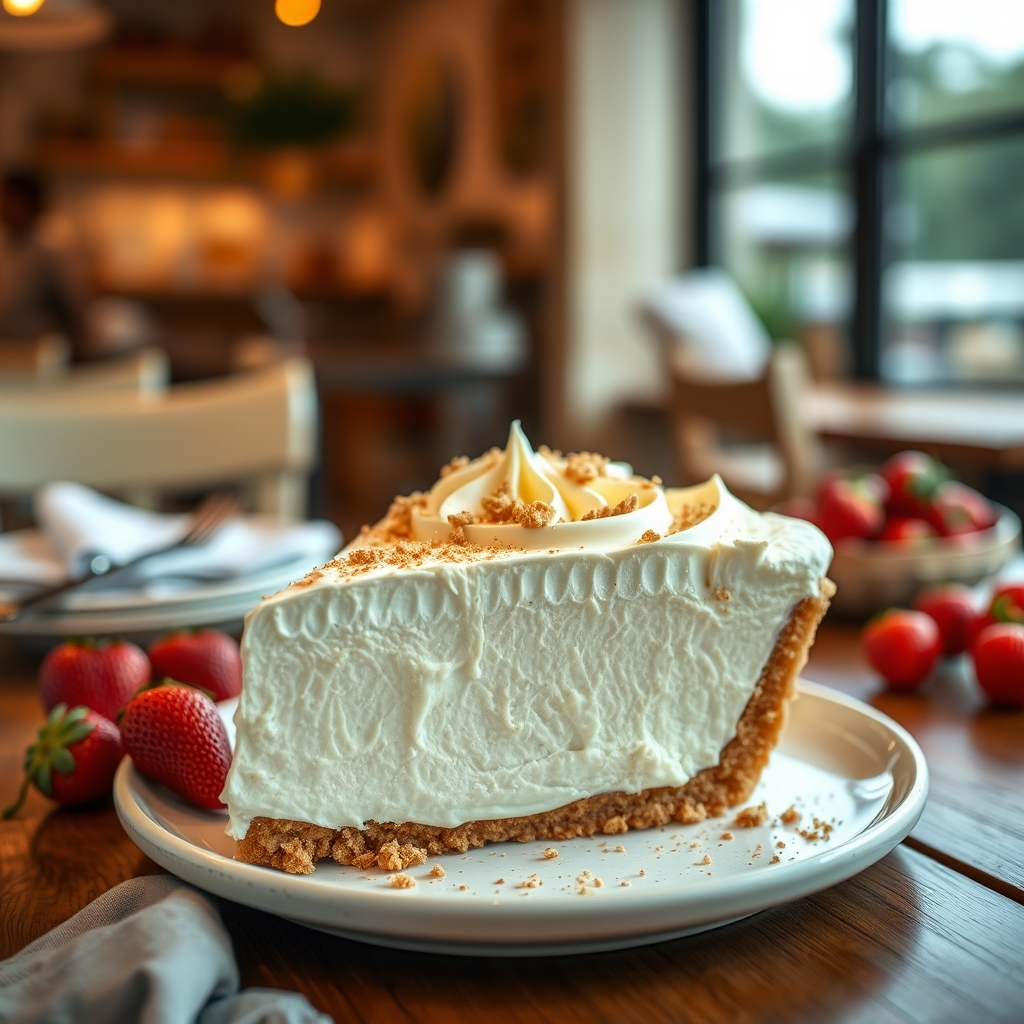
- Cloud-Like Texture: The combination of Dream Whip and cream cheese creates a filling that’s airy yet rich, melting on the tongue with every bite.
- Endless Flavor Options: From classic vanilla to chocolate, strawberry, or even citrus-infused variations, this pie is a blank canvas for your creativity.
- Crowd-Pleasing Versatility: Kids adore it, adults rave about it, and it’s always the first dessert to disappear at potlucks.
- Make-Ahead Friendly: Assemble it a day in advance, and let the fridge do the work—no last-minute stress required.
Ingredients Breakdown
Every great recipe starts with quality ingredients. Here’s what you’ll need and why each component matters:
- Dream Whip: This whipped topping mix is the star, delivering a stable, fluffy base that holds its shape beautifully.
- Cream Cheese: Adds richness and depth, balancing the lightness of the whipped topping with a subtle tang.
- Granulated Sugar: Sweetens the filling just enough without overpowering the other flavors.
- Vanilla Extract: A splash enhances the overall aroma and rounds out the sweetness.
- Graham Cracker Crust: The classic choice for its buttery, slightly crunchy contrast to the creamy filling. A store-bought crust works, but homemade takes it up a notch.
- Milk: Used to prepare the Dream Whip, whole milk ensures the creamiest consistency.
How to Make Creamy Dream Whip Pie
Ready to whip up this dreamy dessert? Follow these steps for flawless results every time:
- Prepare the Dream Whip: In a large bowl, combine the Dream Whip mix with cold milk and vanilla extract. Beat with an electric mixer on high speed until stiff peaks form, about 4-5 minutes. Set aside.
- Whip the Cream Cheese: In a separate bowl, beat the softened cream cheese and sugar until smooth and lump-free. This ensures a silky texture in the final filling.
- Combine the Mixtures: Gently fold the Dream Whip into the cream cheese mixture in batches, using a spatula to maintain the airy texture. Avoid overmixing.
- Fill the Crust: Spoon the filling into the graham cracker crust, smoothing the top with an offset spatula for a polished finish.
- Chill to Set: Refrigerate the pie for at least 4 hours, though overnight is ideal. This allows the filling to firm up and the flavors to meld.
- Add Toppings (Optional): Before serving, garnish with fresh berries, chocolate shavings, or a drizzle of caramel for extra flair.
Pro Tips for the Best Results
Want to take your Creamy Dream Whip Pie from great to extraordinary? Keep these expert tricks in mind:
- Room Temperature Cream Cheese: Softened cream cheese blends seamlessly, preventing gritty streaks in the filling.
- Cold Ingredients: Ensure the milk and Dream Whip mix are chilled before whipping for maximum volume.
- Fold, Don’t Stir: Preserve the fluffiness by gently folding the mixtures together—vigorous stirring deflates the air bubbles.
- Prevent a Soggy Crust: For a crispier base, brush the crust with melted butter and bake at 350°F for 5 minutes before filling.
- Layer Flavors: Add a thin layer of fruit preserves or chocolate ganache at the bottom of the crust for a surprise burst of flavor.
Variations and Substitutions
One of the best things about this pie is its adaptability. Here are some delicious twists to try:
- Chocolate Dream Whip Pie: Add 1/4 cup cocoa powder to the filling and use an Oreo crust.
- Lemon Bliss: Fold in 2 tablespoons of lemon zest and top with blueberry compote.
- Peanut Butter Cup: Swirl 1/2 cup melted peanut butter into the filling and garnish with chopped Reese’s cups.
- Dairy-Free Version: Use coconut milk and vegan cream cheese, paired with a nut-based crust.
- Mini Pies: Divide the filling into individual graham cracker tart shells for a portable treat.
What to Serve With It
While this pie shines on its own, pairing it with the right accompaniments can elevate the experience:
- Fresh Fruit: A medley of strawberries, raspberries, or mango slices adds a refreshing contrast.
- Hot Beverages: Serve with coffee, chai tea, or hot chocolate for a cozy dessert moment.
- Whipped Cream: A dollop of extra whipped topping never hurts.
- Ice Cream: A scoop of vanilla or salted caramel ice cream turns it into a decadent sundae.
How to Store and Reheat
Proper storage keeps your pie tasting fresh:
- Refrigeration: Cover loosely with plastic wrap or store in an airtight container for up to 3 days.
- Freezing: Freeze individual slices on a parchment-lined tray, then wrap tightly in foil. Thaw in the fridge overnight before serving.
- Reheating: Not recommended—this pie is best enjoyed cold straight from the fridge.
Frequently Asked Questions (FAQs)
Let’s tackle some common queries about Creamy Dream Whip Pie:
Can I use Cool Whip instead of Dream Whip?
Yes, but the texture will be denser. Dream Whip is lighter and fluffier when prepared fresh.
Why is my filling runny?
This happens if the Dream Whip wasn’t whipped to stiff peaks or if the pie didn’t chill long enough. Always refrigerate for at least 4 hours.
Can I make this pie gluten-free?
Absolutely! Use a gluten-free graham cracker crust or almond flour crust.
How far in advance can I prepare it?
Up to 24 hours ahead—just add toppings right before serving to maintain freshness.
Final Thoughts
Creamy Dream Whip Pie is more than just a dessert—it’s a little slice of joy that’s as fun to make as it is to eat. Whether you stick to the classic version or experiment with bold flavors, this pie promises to deliver smiles with every forkful. So grab your mixing bowl, channel your inner dessert artist, and get ready to savor the creamy, dreamy magic. Happy baking—or rather, happy no-baking!
Print
Creamy Dream Whip Pie
Description
A light and fluffy no-bake pie with a creamy Dream Whip filling and a buttery graham cracker crust. Perfect for summer gatherings or a sweet treat any time of year.
Ingredients
For the Crust:
- For the crust:
- 1 1/2 cups graham cracker crumbs
- 1/3 cup granulated sugar
- 6 tablespoons melted butter
- For the filling:
- 2 (3.4 oz) packages instant vanilla pudding mix
- 2 cups cold milk
- 1 (8 oz) package cream cheese, softened
- 1 (8 oz) container frozen whipped topping (like Cool Whip), thawed
- 1 teaspoon vanilla extract
- For garnish (optional):
- Additional whipped topping
- Fresh berries or chocolate shavings
Instructions
1. Prepare the Crust:
- 1. Make the crust: In a medium bowl, mix graham cracker crumbs, sugar, and melted butter until combined.
- 2. Press the mixture firmly into a 9-inch pie dish, covering the bottom and sides evenly. Chill in the refrigerator for at least 30 minutes to set.
- 3. Prepare the filling: In a large bowl, whisk together the pudding mix and cold milk until thickened (about 2 minutes).
- 4. In another bowl, beat the softened cream cheese until smooth. Gradually fold in the pudding mixture until fully combined.
- 5. Gently fold in the thawed whipped topping and vanilla extract until the filling is light and fluffy.
- 6. Pour the filling into the chilled crust and smooth the top with a spatula.
- 7. Refrigerate for at least 4 hours (or overnight) to set completely.
- 8. Before serving, garnish with additional whipped topping and fresh berries or chocolate shavings if desired.
Notes
For a chocolate variation, use chocolate pudding mix and add 1/4 cup cocoa powder to the crust mixture. Ensure the cream cheese is fully softened to avoid lumps in the filling.
