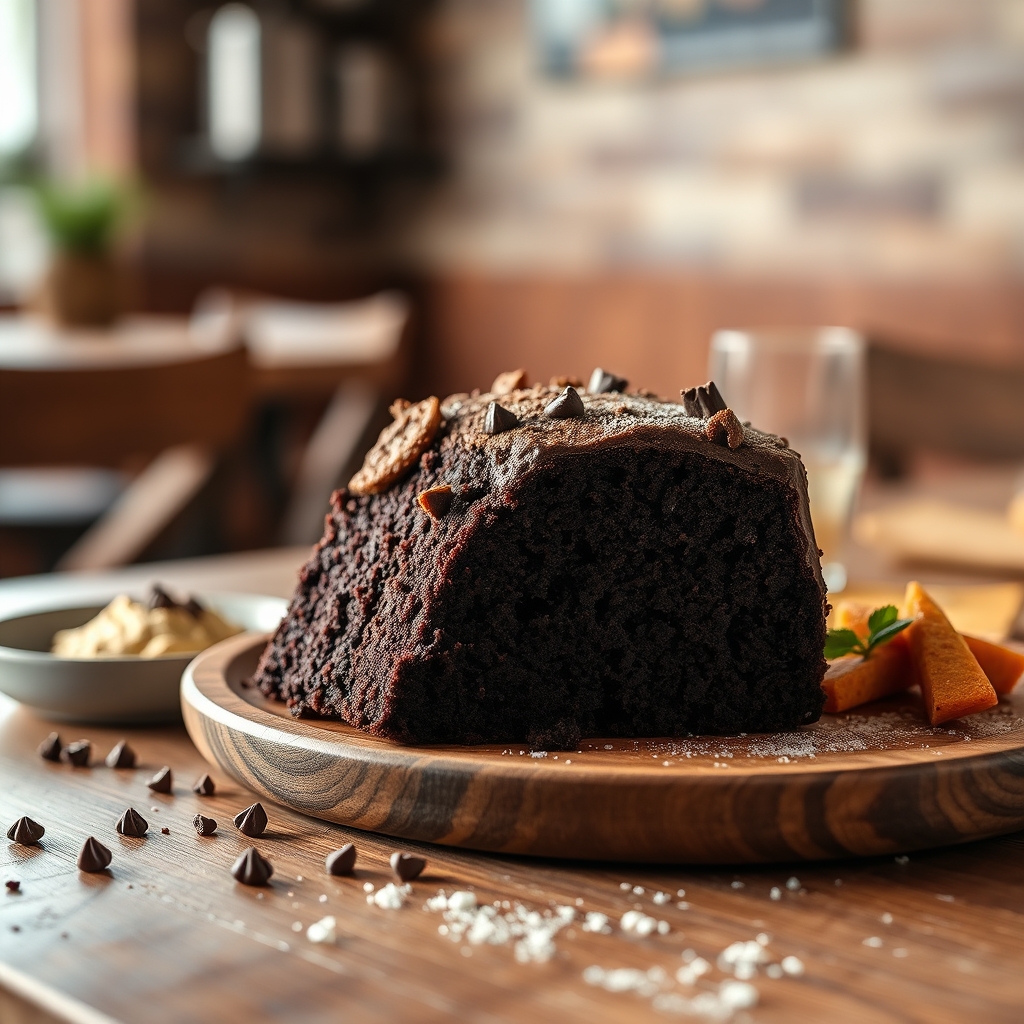
Classic Wacky Chocolate Cake
There’s something undeniably charming about a cake that defies expectations. The Classic Wacky Chocolate Cake is one of those delightful recipes that has stood the test of time, beloved for its simplicity, rich flavor, and foolproof method. Whether you’re a seasoned baker or a beginner, this cake is a joy to make—no eggs, no butter, and no fancy equipment required. It’s moist, deeply chocolatey, and perfect for any occasion, from weeknight desserts to festive gatherings. Let’s dive into why this cake is a must-try and how you can make it your own.
Why You’ll Love This Recipe
First, let’s talk about what makes the Classic Wacky Chocolate Cake so special. Here are just a few reasons why this recipe will become a staple in your kitchen:
- No eggs or dairy needed—This cake is naturally vegan-friendly, making it a great option for those with dietary restrictions or anyone looking to bake with pantry staples.
- One-bowl wonder—With minimal cleanup and no need for a mixer, this recipe is as easy as it gets. Just whisk, pour, and bake.
- Unbeatable texture—The combination of vinegar and baking soda creates a light, tender crumb that stays moist for days.
- Rich chocolate flavor—Thanks to a generous amount of cocoa powder, this cake delivers a deep, satisfying chocolate taste without being overly sweet.
- Budget-friendly—Made with simple ingredients you likely already have, this cake is as economical as it is delicious.
Ingredients Breakdown
Understanding the ingredients in this Classic Wacky Chocolate Cake will help you appreciate how they work together to create such a fantastic dessert. Here’s what you’ll need:
- All-purpose flour—The base of the cake, providing structure. For a lighter texture, you can sift it before mixing.
- Granulated sugar—Sweetens the cake and helps keep it moist. You can reduce the amount slightly if you prefer a less sweet dessert.
- Unsweetened cocoa powder—The star of the show, delivering that rich chocolate flavor. Use high-quality cocoa for the best results.
- Baking soda—The leavening agent that helps the cake rise, especially when activated by the vinegar.
- Salt—Enhances all the flavors and balances the sweetness.
- Vegetable oil—Keeps the cake moist and tender. Any neutral oil like canola or sunflower works well.
- White vinegar—Reacts with the baking soda to create lift, ensuring a fluffy texture.
- Vanilla extract—Adds depth and warmth to the chocolate flavor.
- Cold water—Binds everything together. Using cold water helps keep the batter at the right consistency.
How to Make Classic Wacky Chocolate Cake
Now, let’s walk through the simple steps to make this irresistible cake. Follow along for the best results:
- Preheat your oven to 350°F (175°C). Lightly grease an 8×8-inch or 9×9-inch square baking pan, or line it with parchment paper for easy removal.
- Mix the dry ingredients—In a large mixing bowl, whisk together the flour, sugar, cocoa powder, baking soda, and salt until well combined.
- Add the wet ingredients—Make three wells in the dry mixture. Pour the vegetable oil into the first, vinegar into the second, and vanilla extract into the third. Then, pour the cold water over everything.
- Whisk until smooth—Stir the batter vigorously until it’s completely smooth and no dry spots remain. Don’t overmix—just ensure everything is evenly incorporated.
- Bake the cake—Pour the batter into the prepared pan and smooth the top. Bake for 30-35 minutes, or until a toothpick inserted in the center comes out clean.
- Cool before serving—Let the cake cool in the pan for at least 10 minutes before slicing. This helps it set and makes for cleaner cuts.
Pro Tips for the Best Results
Want to take your Classic Wacky Chocolate Cake to the next level? Here are some expert tips to ensure perfection every time:
- Use high-quality cocoa powder—Since cocoa is the main flavor, opt for a premium brand like Valrhona or Dutch-processed cocoa for a richer taste.
- Don’t skip the vinegar—It’s essential for activating the baking soda and creating the cake’s signature texture.
- Check for doneness early—Ovens vary, so start checking at the 25-minute mark to avoid overbaking.
- Let it cool completely before frosting—If you’re adding a glaze or frosting, waiting ensures it won’t melt and slide off.
- Double the recipe for a layer cake—This recipe works beautifully doubled and baked in two round pans for a stunning layered dessert.
Variations and Substitutions
One of the best things about this cake is how adaptable it is. Here are some fun ways to customize it:
- Gluten-free option—Swap the all-purpose flour for a gluten-free blend. Just ensure it contains xanthan gum for structure.
- Darker chocolate flavor—Replace 1-2 tablespoons of water with strong brewed coffee to enhance the cocoa notes.
- Mint chocolate twist—Add 1/2 teaspoon of peppermint extract along with the vanilla for a refreshing twist.
- Add-ins—Fold in chocolate chips, chopped nuts, or even a swirl of peanut butter before baking.
- Frosting ideas—Top with a simple chocolate ganache, cream cheese frosting, or a dusting of powdered sugar.
What to Serve With It
While this cake is fantastic on its own, pairing it with the right accompaniments can make it even more special. Here are some serving suggestions:
- Vanilla ice cream—A scoop of creamy vanilla ice cream contrasts beautifully with the rich chocolate.
- Fresh berries—Strawberries, raspberries, or cherries add a bright, fruity note.
- Whipped coconut cream—A dairy-free topping that’s light and fluffy.
- Hot coffee or cold milk—The perfect beverages to enjoy alongside a slice.
How to Store and Reheat
This cake keeps wonderfully, so you can enjoy it for days. Here’s how to store and reheat leftovers:
- Room temperature—Store in an airtight container for up to 3 days. The cake stays moist and delicious.
- Refrigerator—If frosted, refrigerate for up to 5 days. Let slices come to room temperature before serving.
- Freezer—Wrap individual slices tightly in plastic wrap and freeze for up to 3 months. Thaw at room temperature or warm briefly in the microwave.
- Reheating—Microwave slices for 10-15 seconds to restore that fresh-from-the-oven warmth.
Frequently Asked Questions (FAQs)
Here are answers to some common questions about making Classic Wacky Chocolate Cake:
Can I use apple cider vinegar instead of white vinegar?
Yes, apple cider vinegar works just as well. The flavor difference is minimal in the final cake.
Why is there no butter or eggs in this recipe?
The oil keeps the cake moist without needing butter, and the vinegar-baking soda reaction replaces the leavening power of eggs.
Can I make this cake in a different pan?
Absolutely! A 9-inch round pan or even a loaf pan will work, though baking times may vary slightly.
Is this cake suitable for high-altitude baking?
Yes, but you may need to reduce the baking soda by 1/4 teaspoon and add an extra tablespoon of water.
Can I make cupcakes with this batter?
Definitely! Fill cupcake liners 2/3 full and bake for 18-22 minutes.
Final Thoughts
There’s a reason the Classic Wacky Chocolate Cake has been a favorite for generations. It’s simple, reliable, and utterly delicious—a testament to the magic of home baking. Whether you’re making it for a special occasion or just because, this cake is sure to bring smiles. So grab your mixing bowl, preheat that oven, and get ready to enjoy a slice of chocolatey perfection. Happy baking!
Print
Classic Wacky Chocolate Cake
Description
A depression-era chocolate cake that’s moist, rich, and requires no eggs or milk! This quirky recipe mixes right in the baking pan for easy cleanup.
Ingredients
For the Crust:
- For the cake:
- 1 1/2 cups all-purpose flour
- 1 cup granulated sugar
- 3 tablespoons unsweetened cocoa powder
- 1 teaspoon baking soda
- 1/2 teaspoon salt
- 1 teaspoon white vinegar
- 1 teaspoon vanilla extract
- 5 tablespoons vegetable oil
- 1 cup water
- For the frosting (optional):
- 1/2 cup unsalted butter, softened
- 2 cups powdered sugar
- 1/4 cup unsweetened cocoa powder
- 2 tablespoons milk (or water for vegan)
- 1 teaspoon vanilla extract
Instructions
1. Prepare the Crust:
- 1. Preheat oven to 350°F (175°C). Grease an 8×8-inch square baking pan.
- 2. In the ungreased pan, whisk together flour, sugar, cocoa powder, baking soda, and salt.
- 3. Make three wells in the dry ingredients. Pour vinegar into the first, vanilla into the second, and oil into the third.
- 4. Pour water over everything and stir vigorously with a fork until completely combined and smooth.
- 5. Bake for 30-35 minutes until a toothpick comes out clean. Cool completely.
- 6. For frosting: Beat butter until creamy. Gradually add powdered sugar and cocoa. Mix in milk and vanilla until smooth. Spread over cooled cake.
Notes
This cake stays moist for days when stored covered at room temperature. For vegan version, use water instead of milk in frosting. The batter will look thin – this is normal!
