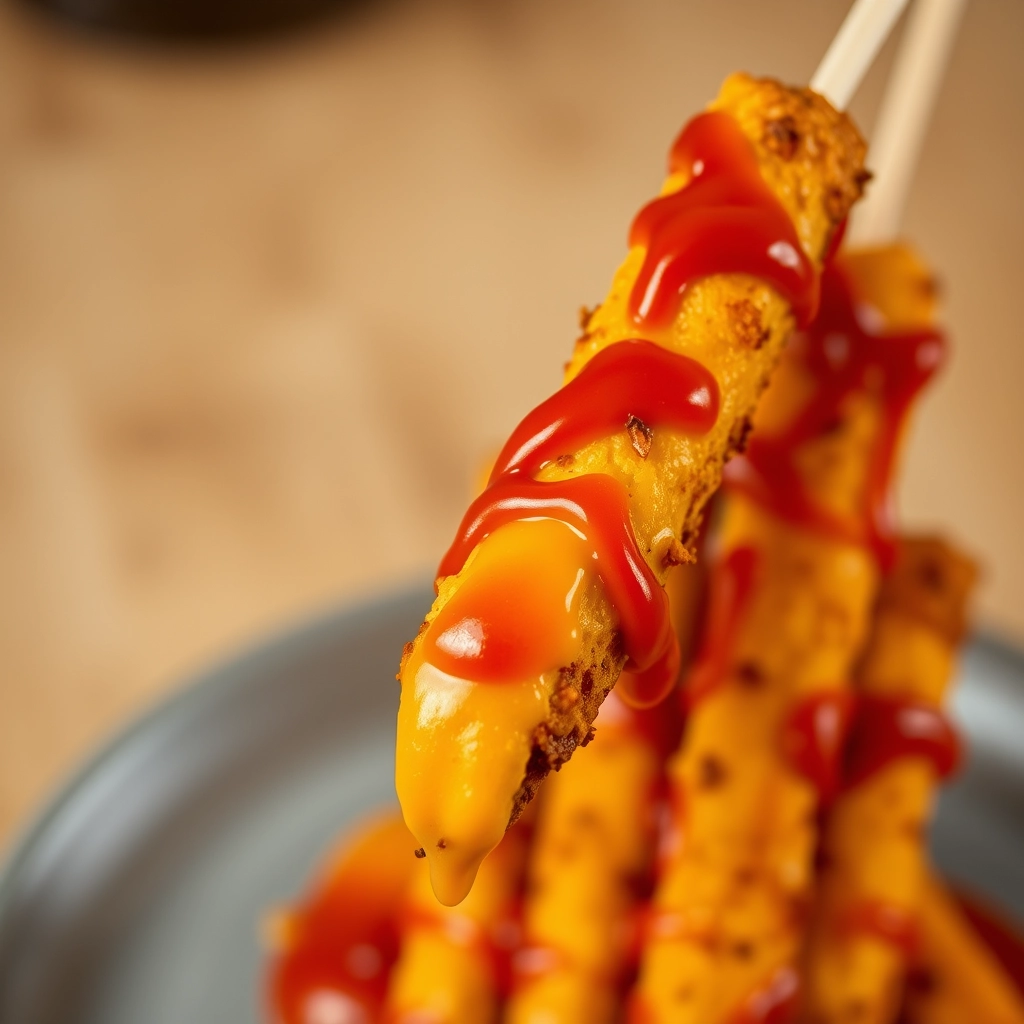
Cheesy Taco Sticks: The Perfect Snack for Cozy Nights In
There’s something about golden, melty cheese and warm taco spices that just feels like a hug in food form. I first made these Cheesy Taco Sticks on a chilly evening when my best friend dropped by unexpectedly—you know, one of those “I brought wine, now feed me” kind of visits. I needed something quick, comforting, and just a little indulgent. These crispy, cheesy sticks, packed with all the taco flavors we love, were the answer. They disappeared in minutes, and I knew right then—this recipe was a keeper.
What You’ll Need
Gather these simple ingredients, and let’s turn taco night into snackable magic:
- 1 package puff pastry sheets – Thawed but still cool. This flaky base makes everything better.
- 1 cup shredded cheddar cheese – Sharp cheddar brings that irresistible tang.
- 1 cup shredded Monterey Jack cheese – For that dreamy, melty stretch.
- 1/2 lb ground beef (or turkey) – Browned and seasoned well. This is your taco heart!
- 1 packet taco seasoning – Or make your own blend if you’re feeling fancy.
- 1/4 cup diced bell peppers – For a little crunch and color.
- 1 egg – Beaten, for that golden, glossy finish.
- Sour cream & salsa – For dipping, because what’s a taco without the extras?
Let’s Make Some Cheesy Magic
Now, roll up your sleeves—this is where the fun begins!
- Prep your filling: In a skillet, brown the ground beef over medium heat. Drain any excess fat, then stir in the taco seasoning and a splash of water. Let it simmer for a minute until fragrant. Toss in the diced peppers, then set aside to cool slightly. (Pro tip: Letting it cool prevents the pastry from getting soggy!)
- Roll it out: Lightly flour your counter and unfold one sheet of puff pastry. Gently roll it out just enough to smooth any creases—this isn’t the time for heavy-handedness. Puff pastry loves a gentle touch.
- Layer the goodness: Sprinkle half the cheeses evenly over the pastry, leaving a small border around the edges. Spoon the taco meat mixture on top, then finish with the remaining cheese. (Yes, we’re doubling down on cheese. No regrets.)
- Fold and seal: Carefully roll the pastry into a tight log, starting from the longer side. Pinch the edges to seal, then place seam-side down on a lined baking sheet. Repeat with the second sheet if you’re doubling the batch—which I highly recommend.
Now, pop these beauties in the fridge for 10 minutes to firm up—it’ll make slicing so much easier. While we wait, preheat that oven and maybe pour yourself a little something to sip on. The best part is just around the corner!
Pro Tips, Variations, and Substitutions
These Cheesy Taco Sticks are wonderfully versatile, so don’t be afraid to make them your own! Here are a few ideas to customize them:
- Protein Swap: Ground beef is classic, but shredded chicken, turkey, or even plant-based crumbles work beautifully.
- Cheese Choices: Monterey Jack, pepper jack, or a Mexican cheese blend add extra flavor. For a spicy kick, mix in some diced jalapeños.
- Veggie Boost: Stir in sautéed bell peppers, onions, or black beans for extra texture and nutrition.
- Shortcut Option: Use store-bought pizza dough or crescent roll dough for a quicker version.
What to Serve With Cheesy Taco Sticks
These cheesy delights are perfect on their own, but pairing them with the right sides takes them to the next level:
- A fresh pico de gallo or chunky guacamole for dipping
- A crisp garden salad with a lime vinaigrette
- A bowl of sour cream or spicy queso for extra indulgence
- Warm black bean soup or Mexican rice for a heartier meal
Storage and Reheating Tips
If you have leftovers (which is rare!), here’s how to keep them tasting fresh:
- Storage: Place cooled sticks in an airtight container and refrigerate for up to 3 days.
- Reheating: Warm them in the oven at 350°F for 5–7 minutes or in the air fryer for 3–4 minutes to keep them crispy. Avoid microwaving—they’ll lose their crunch!
- Freezing: Wrap tightly in foil and freeze for up to 2 months. Reheat straight from frozen in the oven for 10–12 minutes.
Frequently Asked Questions
Can I make these ahead of time?
Absolutely! Assemble the sticks, wrap them in plastic, and refrigerate for up to 24 hours before baking. Add a few extra minutes to the baking time if they go in cold.
Can I use flour tortillas instead of dough?
Yes! For a lighter version, spread the filling on large flour tortillas, roll tightly, and bake until golden. Slice into sticks after baking.
How do I prevent the cheese from oozing out?
Seal the edges tightly and avoid overstuffing. A little cheese leakage is normal (and delicious!), but a good seal keeps most of it inside.
Are these kid-friendly?
100%! Kids love the fun shape and cheesy goodness. For picky eaters, keep the seasoning mild and add extra cheese.
Final Thoughts
There’s something so comforting about pulling a tray of golden, cheesy taco sticks out of the oven—warm, gooey, and packed with flavor. Whether you’re serving them as a party appetizer, a quick weeknight dinner, or a game-day snack, they’re always a hit. I hope this recipe brings as much joy to your table as it does to mine. Happy cooking, friends!
Print
Cheesy Taco Sticks
Description
Crispy tortilla sticks filled with melted cheese and taco-seasoned beef, perfect for dipping.
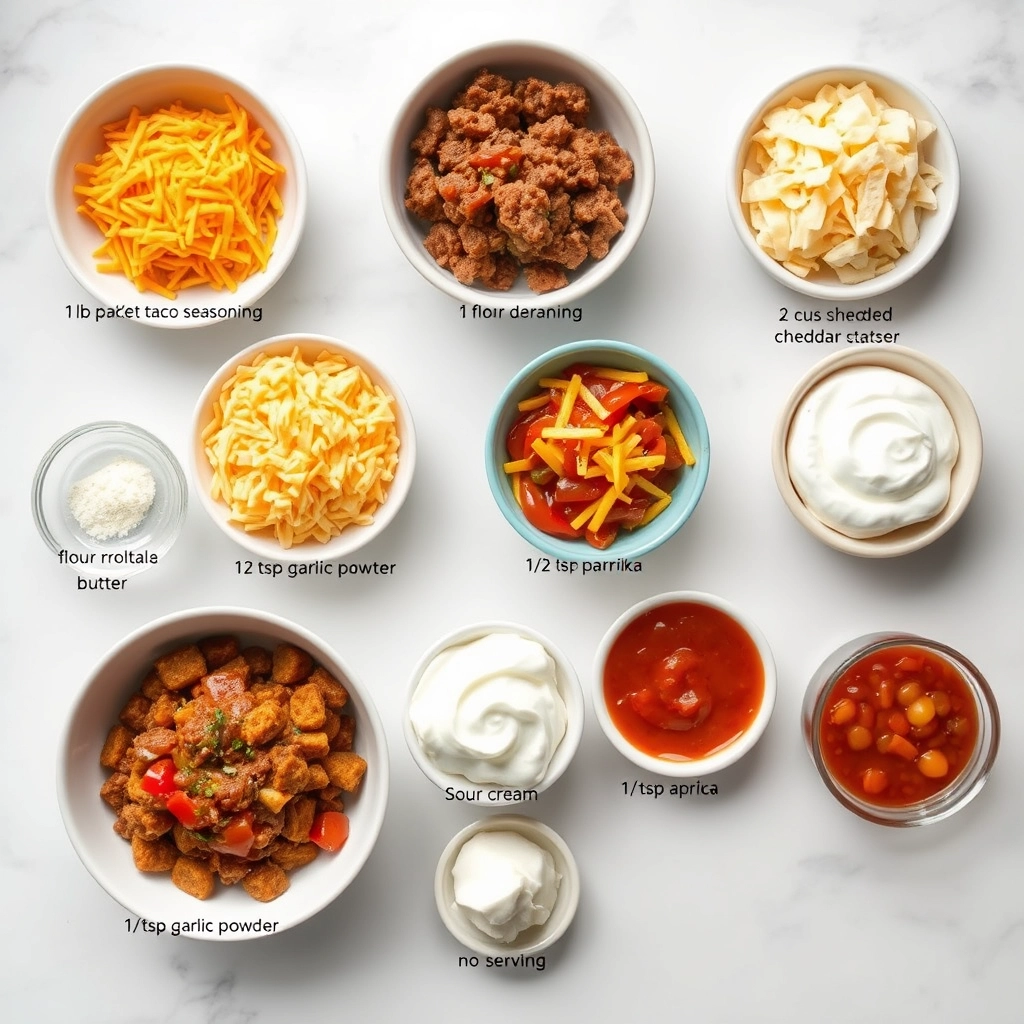
Ingredients
For the Crust:
- 1 lb ground beef
- 1 packet taco seasoning
- 8 flour tortillas
- 2 cups shredded cheddar cheese
- 1/4 cup melted butter
- 1/2 tsp garlic powder
- 1/2 tsp paprika
- Sour cream and salsa for serving
Instructions
1. Prepare the Crust:
- Preheat oven to 375°F. Brown ground beef in a skillet, drain fat, and stir in taco seasoning.
- Lay tortillas flat and evenly distribute beef and cheese on each. Roll tightly and place seam-side down on a baking sheet.
- Brush melted butter over tortilla rolls and sprinkle with garlic powder and paprika.
- Bake for 15-20 minutes until golden and crispy. Let cool slightly before cutting into sticks.
- Serve warm with sour cream and salsa for dipping.
Notes
You can customize the seasonings to taste.
