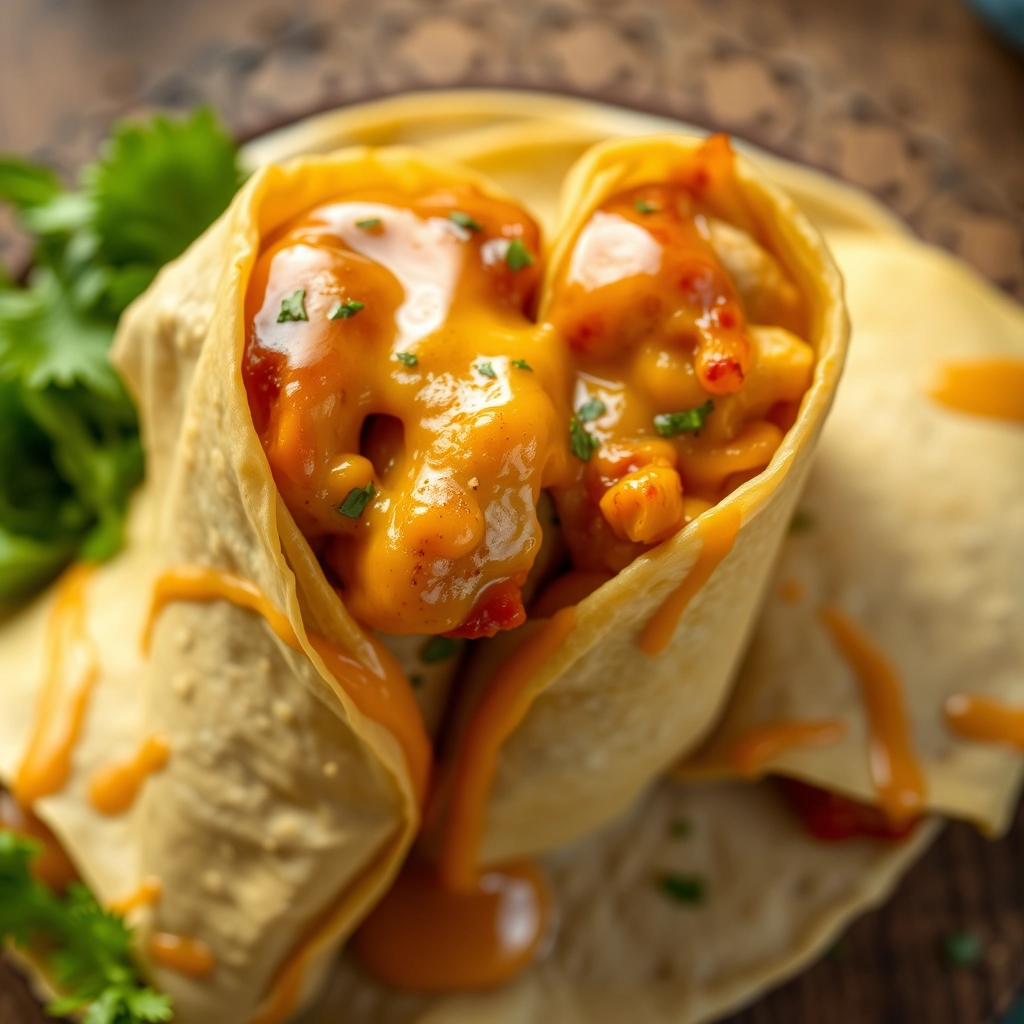
Cheesy Garlic Chicken Wraps: The Ultimate Comfort Food Hug
There’s something about a warm, cheesy wrap that feels like a cozy blanket on a rainy day—or in my case, a much-needed pick-me-up after a whirlwind week of school runs and deadlines. Last Thursday, as I stood in my kitchen with a craving for something indulgent yet simple, these Cheesy Garlic Chicken Wraps came to life. The aroma of garlic butter sizzling in the pan alone was enough to make my little ones peek in, noses twitching like curious bunnies. By the time the cheese melted into golden gooeyness, we were all gathered around the stove, forks at the ready. And just like that, a new family favorite was born.
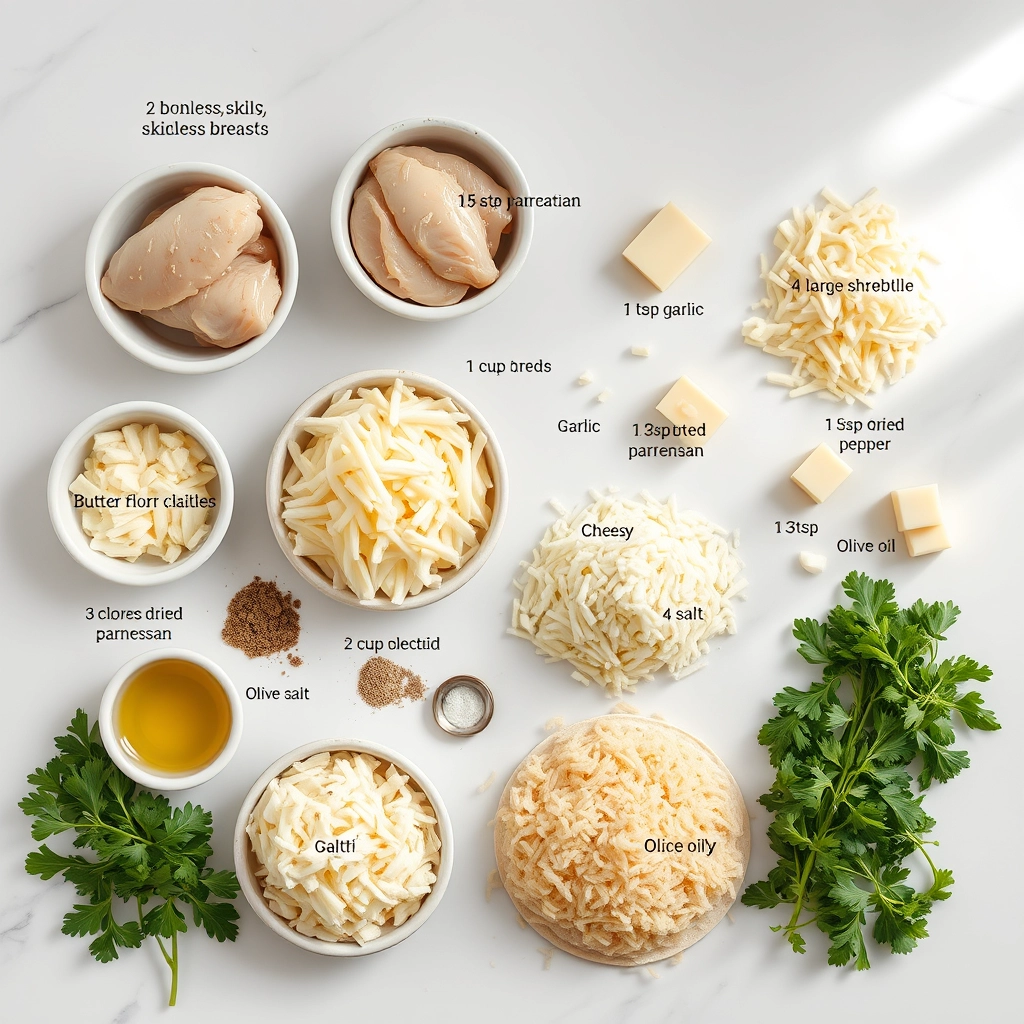
Ingredients You’ll Need (and Why You’ll Love Them)
- 2 boneless, skinless chicken breasts – Tender, lean, and the perfect protein canvas for all that garlicky goodness. I like to slice them thinly for quicker cooking.
- 3 cloves garlic, minced – Because life’s too short for timid flavors. Fresh is best here—trust me.
- 2 tbsp butter – The rich base that’ll make your kitchen smell like a French bistro.
- 1 tsp smoked paprika – A whisper of warmth and depth. If you don’t have smoked, regular paprika will do, but the smokiness is *chef’s kiss*.
- 1 cup shredded mozzarella – The meltiest, stretchiest hug for your chicken. A blend of cheddar and mozzarella works wonders too.
- 4 large flour tortillas – Soft, pliable, and ready to cradle all that cheesy goodness. For a crispier bite, try lightly toasting them first.
- Handful of fresh spinach or arugula – A pop of green for balance (and to pretend we’re being virtuous).
- Salt & pepper to taste – The unsung heroes of every great dish.
Let’s Make the Magic Happen
Step 1: Start by butterflying your chicken breasts—slice them horizontally so they cook evenly and stay juicy. Season both sides generously with salt, pepper, and that glorious smoked paprika. If you’ve got time, let them sit for 10 minutes to soak up the flavors (but no stress if you’re hangry—I’ve been there).
Step 2: Melt the butter in a large skillet over medium heat. Add the minced garlic and let it sizzle for just 30 seconds until fragrant (but not browned—burnt garlic is a tragedy we shall avoid). This is when your kitchen starts smelling like heaven.
Step 3: Add the chicken to the skillet, letting it sear for about 4-5 minutes per side until golden and cooked through. Pro tip: Resist the urge to move it around too much! Letting it sit ensures a beautiful crust. Once done, transfer the chicken to a cutting board and slice it into tender strips.
Step 4: Now, the fun part—assembly! Lay out your tortillas and divide the chicken strips evenly among them. Sprinkle each with a generous handful of mozzarella (this is no time for restraint) and a few leaves of spinach. The residual heat from the chicken will start melting the cheese dreamily.
Pro Tips, Variations, and Substitutions
These Cheesy Garlic Chicken Wraps are wonderfully adaptable to suit your tastes or what you have on hand. Here are some ideas to make them your own:
- Protein Swap: Not a chicken fan? Try ground turkey, shredded beef, or even black beans for a vegetarian twist.
- Cheese Choices: While mozzarella melts beautifully, cheddar, pepper jack, or even feta can add exciting flavor variations.
- Wrap Alternatives: Use whole wheat tortillas for extra fiber, or lettuce leaves for a low-carb option.
- Extra Veggies: Sneak in some spinach, bell peppers, or mushrooms for added nutrition.
- Spice It Up: Add a pinch of red pepper flakes or a dash of hot sauce for those who like it spicy.
What to Serve With Cheesy Garlic Chicken Wraps
These wraps are satisfying on their own, but they pair beautifully with:
- A crisp green salad with lemon vinaigrette
- Roasted sweet potato wedges
- Fresh vegetable sticks with ranch dip
- A bowl of tomato soup for cozy comfort
- Sweet corn on the cob in summer months
Storage and Reheating Tips
These wraps taste best fresh, but here’s how to enjoy leftovers:
- Refrigeration: Store assembled wraps tightly wrapped in foil or plastic for up to 2 days.
- Freezing: Freeze before cooking (without fresh veggies) for up to 1 month. Thaw overnight before heating.
- Reheating: Warm in a 350°F oven for 10-15 minutes until heated through. The microwave works in a pinch but may soften the tortilla.
- Make-Ahead: Prep the chicken filling up to 3 days ahead for quick assembly.
Frequently Asked Questions
Can I make these wraps ahead for meal prep?
Absolutely! Prepare the filling and store separately from tortillas. Assemble just before eating to prevent soggy wraps.
How can I make these wraps gluten-free?
Simply use your favorite gluten-free tortillas and double-check that your garlic sauce ingredients are GF.
What’s the best way to prevent the wraps from falling apart?
Don’t overfill them, and be sure to fold in the sides before rolling tightly. A quick toast in the pan helps seal them too.
Can I use pre-cooked chicken?
Yes! Rotisserie chicken works wonderfully here – just shred it and mix with the garlic sauce.
Final Thoughts
There’s something so comforting about pulling apart a warm, cheesy wrap and seeing that stretchy melted cheese. These Cheesy Garlic Chicken Wraps have become a regular in our meal rotation because they’re just as perfect for busy weeknights as they are for casual weekend lunches. Whether you stick to the classic recipe or try one of the fun variations, I hope these wraps bring as much joy to your table as they do to mine. Don’t forget to have napkins ready – the best meals are often the messiest!
Print
Cheesy Garlic Chicken Wraps
Description
Delicious and easy-to-make chicken wraps loaded with cheese and garlic flavor.
Ingredients
For the Crust:
- 2 boneless, skinless chicken breasts
- 4 large flour tortillas
- 1 cup shredded mozzarella cheese
- 1/2 cup grated parmesan cheese
- 3 cloves garlic, minced
- 2 tbsp butter, melted
- 1 tsp dried oregano
- 1/2 tsp salt
- 1/4 tsp black pepper
- 1 tbsp olive oil
- 1/2 cup chopped fresh parsley
Instructions
1. Prepare the Crust:
- Preheat oven to 375°F (190°C).
- Cut chicken breasts into thin strips. Season with salt and pepper.
- Heat olive oil in a pan over medium heat. Cook chicken until no longer pink, about 6-8 minutes. Remove from heat.
- In a small bowl, mix melted butter, minced garlic, and oregano.
- Brush tortillas with garlic butter mixture, leaving a 1-inch border.
- Divide cooked chicken, mozzarella, and parmesan among tortillas. Sprinkle with parsley.
- Roll up tortillas tightly and place seam-side down on a baking sheet.
- Bake for 10-12 minutes until cheese is melted and tortillas are golden.
- Let cool for 2 minutes before serving.
Notes
You can customize the seasonings to taste.
