Table of Contents
BEST Sweet and Sour Sauce From Scratch – Better Than Takeout!
I still remember the first time I made this best sweet and sour sauce recipe in my tiny Parisian apartment kitchen. I was a culinary student then, missing the bright, tangy flavors of the Moroccan markets I grew up with in Marrakech. My mother would always make a similar sweet-tart sauce to drizzle over her lamb tagine, using preserved lemons and honey. That memory came flooding back when I moved to New York City and found myself craving that perfect balance of sweet and sour for my weeknight stir-fries. This easy sweet and sour sauce is my homage to those flavors — simpler, faster, and absolutely packed with clean, pure taste.
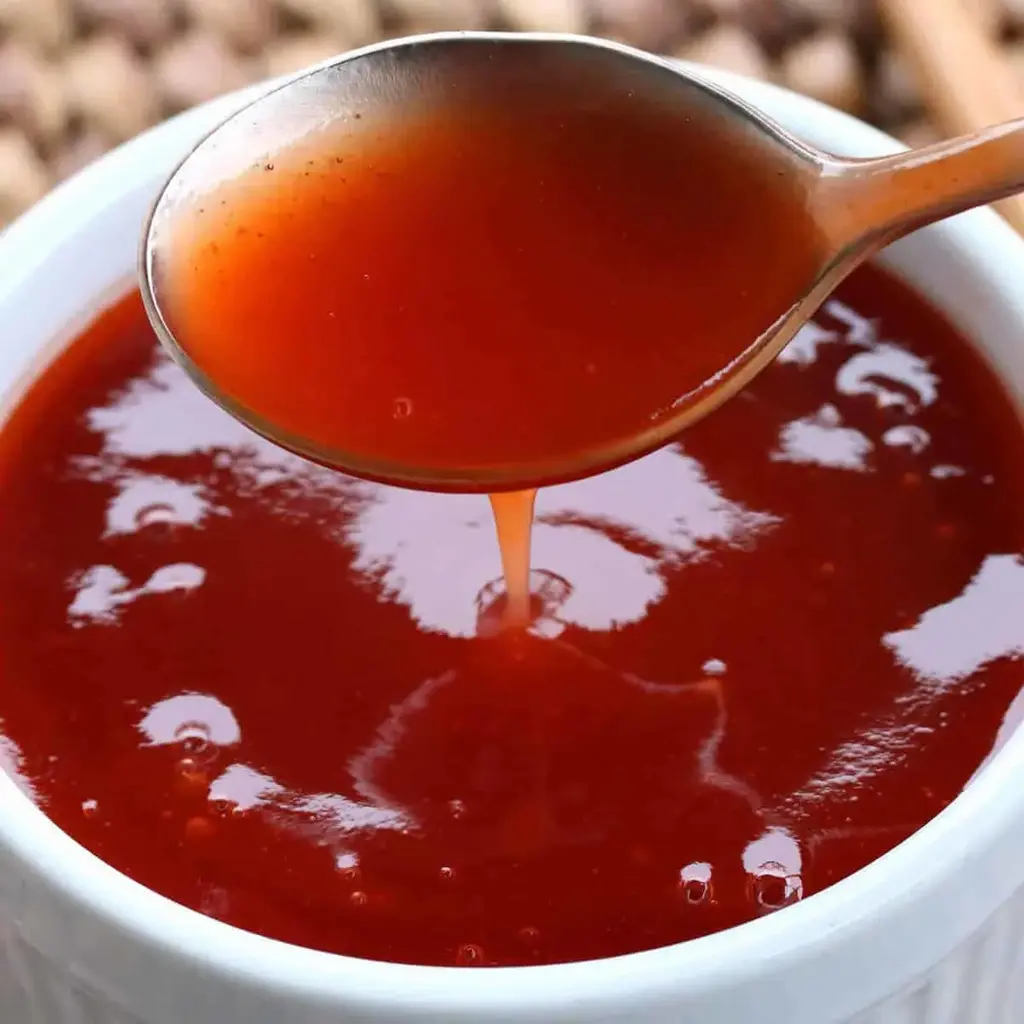
The magic of this homemade sweet and sour sauce lies in its simplicity. You get a glossy, ruby-red sauce that clings perfectly to every piece of chicken or crispy tofu. The first whiff hits you with the bright scent of pineapple and rice vinegar — fruity, sharp, and inviting. A spoonful reveals layers: the deep caramel sweetness from brown sugar, the subtle umami from soy sauce, and the gentle tang that lingers on your tongue. It’s not cloying like some bottled versions; it’s balanced, vibrant, and utterly addictive. I love watching it bubble on the stove, thickening into a silky, smooth sauce that looks almost too beautiful to eat.
What makes my best sweet and sour sauce recipe truly special is that I trained professionally in Paris — I know how to build a sauce from the ground up. The secret here is using cornstarch slurry for the perfect consistency, avoiding lumps or a pasty finish. Plus, we skip all the artificial preservatives and high-fructose corn syrup you’d find in store-bought versions. In just 10 minutes, you’ll have a jar of this delicious sweet and sour dipping sauce that will revolutionize your homemade takeout nights. 💡 mia’s Pro Tip: Always use fresh pineapple juice — it makes a world of difference in flavor depth.
Why This BEST Sweet and Sour Sauce Recipe Is the Best
The Flavor Secret — My professional cooking background in Paris taught me that great sauces are built on balance, not just ingredients. In this homemade sweet and sour sauce, I use pineapple juice as the base — it provides natural sweetness and a bright acidity that bottled versions can’t replicate. The brown sugar adds a deep, almost molasses-like richness, while rice vinegar brings a clean, sharp tang. The ketchup rounds everything out with a touch of tomato sweetness and color. It’s the same principle my mother used in Morocco with her honey-lemon dressings — a dance of contrasts that wakes up your palate.
Perfected Texture — The key to the best sweet and sour sauce is that luscious, clingy texture that doesn’t feel gluggy or gluey. My technique comes straight from classic French sauce work: using a cornstarch slurry (not just adding starch directly) ensures the sauce thickens evenly without lumps. I simmer the mixture just long enough for the cornstarch to activate, but not so long that it breaks down. The result is a glossy, velvety sauce that coats a spoon beautifully and stays suspended on your chicken or vegetables without pooling.
Foolproof & Fast — This easy sweet and sour sauce recipe is perfect for beginners because it only requires five main ingredients plus water, and the whole process takes ten minutes from start to finish. There’s no chopping, no blending, no complicated reductions. I’ve tested this countless times in my NYC apartment, and it works every single time. Even if you’ve never made a sauce from scratch before, you’ll get a perfect result. The only thing to watch is the whisk — keep it moving so the sauce doesn’t scorch on the bottom of the pan.
BEST Sweet and Sour Sauce Recipe Ingredients
When I make this sweet and sour sauce for chicken or as a dipping sauce for egg rolls, I always grab my ingredients from Union Square Greenmarket or my local Asian grocery store in Manhattan. The pineapple juice should be canned (unsweetened) — I like Dole or a good store brand. For rice vinegar, look for Marukan or Nakano brands — they’re available in any regular supermarket’s Asian section. The soy sauce should be a good quality one like Kikkoman or San-J for tamari if you’re going gluten-free. These ingredients are pantry staples in my kitchen, but each plays a crucial role in the final flavor.
Ingredients List
- 1 cup canned pineapple juice (see note)
- 3/4 cup packed light brown sugar, OR brown sugar alternative (for low sugar option)
- 1/3 cup rice vinegar (found in the Asian or general vinegar section, or substitute apple cider vinegar)
- 3 tablespoons ketchup
- 2 tablespoons soy sauce or tamari (GF)
- For the Cornstarch Slurry: 1 1/2 tablespoons cornstarch dissolved in 2 tablespoons water
- Optional: 2-3 drops natural red food coloring
Ingredient Spotlight
Pineapple Juice — This is the backbone of the sauce. Use canned pineapple juice for consistency — fresh pineapple can vary in sweetness and acidity. It provides the sweet base and a tropical note that defines this sauce. I always choose juice with no added sugar for the best control over the final flavor.
Light Brown Sugar — This adds a deep, caramel-like sweetness that white sugar can’t match. It also contributes to the glossy sheen of the sauce. For a low-sugar version, I’ve tested Swerve brown sugar alternative — it works well, though the sauce won’t be quite as thick or shiny.
Rice Vinegar — This is the “sour” in sweet and sour. It’s milder and cleaner than white vinegar, with a subtle sweetness. Never substitute white vinegar directly — it’s too harsh. Apple cider vinegar works in a pinch but will add a slightly fruity note.
Soy Sauce — This adds the umami depth that balances the sweet and sour. I use regular soy sauce for most batches, but tamari is perfect for gluten-free diets. Low-sodium soy sauce works too — just add a pinch of salt if needed.
| Original Ingredient | Best Substitution | Flavor / Texture Impact |
|---|---|---|
| Pineapple Juice | Orange juice + 1 tsp lemon juice | More citrusy, less tropical; still works |
| Rice Vinegar | Apple cider vinegar | Slightly fruitier, but very close |
| Brown Sugar | Coconut sugar (use 1 cup) | Less sweet, more caramel notes |
| Soy Sauce | Coconut aminos | Milder, slightly sweeter; gluten-free |
How to Make BEST Sweet and Sour Sauce — Step-by-Step
Trust me, making this sweet and sour dipping sauce is easier than ordering takeout. Follow these simple steps and you’ll have a restaurant-quality sauce in under 10 minutes.
Step 1: Combine and Boil
Place all of the ingredients, except for the cornstarch slurry, in a small saucepan and bring to a boil over medium-high heat. Stir occasionally as the sugar dissolves — you’ll see the mixture go from cloudy to clear as it heats. The aroma will fill your kitchen with a sweet-and-tangy promise.
💡 mia’s Pro Tip: Use a heavy-bottomed saucepan to prevent scorching. My Le Creuset is perfect for this — it distributes heat evenly so the sugar doesn’t burn on the bottom.
Step 2: Thicken and Cool
Once the mixture is boiling, stir in the cornstarch slurry (make sure it’s well-dissolved first) and simmer for another minute until thickened, stirring constantly. You’ll see the sauce transform from a thin liquid to a glossy, syrupy consistency. If using red food coloring, stir it in at the very end. Remove from heat.
⚠️ Common Mistake to Avoid: Adding the slurry without dissolving it first — you’ll get lumps in your sauce. Always whisk the cornstarch with cold water in a small bowl until completely smooth before adding.
Let the sauce cool completely and store in an airtight container in the refrigerator where it will keep for 2-3 weeks.
| Step | Action | Duration | Key Visual Cue |
|---|---|---|---|
| 1 | Combine all ingredients except slurry | 3-4 minutes | Mixture goes from cloudy to bubbling |
| 2 | Add slurry and simmer | 1 minute | Sauce thickens and turns glossy |
Serving & Presentation
This sweet and sour sauce for chicken is a star — just toss crispy fried chicken pieces in the warm sauce right before serving. The sauce clings beautifully and creates that iconic glossy finish you see in Chinese takeout. I also love it as a sweet and sour dipping sauce for spring rolls, wontons, or even drizzle it over a bowl of steamed jasmine rice with roasted vegetables. When I’m hosting friends in my Brooklyn apartment, I pour it into a small ceramic bowl and set it out next to crispy tofu — the color alone makes the table look special.
For garnish, a sprinkle of thinly sliced scallions or toasted sesame seeds adds a nice contrast. If you’re serving it with chicken, try a side of steamed broccoli or a simple cucumber salad to cut through the richness. In my home, we often serve it alongside the chicken and broccoli stir-fry we grew up eating in Morocco — a fusion that always gets compliments.
| Pairing Type | Suggestions | Why It Works |
|---|---|---|
| Side Dish | Steamed jasmine rice, stir-fried vegetables, egg rolls | Absorbs the sauce and balances the sweetness |
| Sauce / Dip | Crispy chicken, fried tofu, spring rolls | Coat evenly and add savory flavor |
| Beverage | Iced green tea, jasmine tea, crisp white wine | Cleanses the palate between bites |
| Garnish | Scallions, toasted sesame seeds, chili flakes | Adds freshness and visual appeal |
Make-Ahead, Storage & Reheating
As a busy NYC food blogger, I’m all about meal prep that works hard for me. This best sweet and sour sauce is a perfect make-ahead item — I usually double the batch every Sunday and keep it in the fridge for the week. It’s great for quick weeknight dinners when I need to add instant flavor to chicken, shrimp, or tofu.
| Method | Container | Duration | Reheating Tip |
|---|---|---|---|
| Refrigerator | Airtight glass jar or container | 2-3 weeks | Warm in a saucepan over low heat, stirring |
| Freezer | Freezer-safe bag or container | 3 months | Thaw in fridge overnight, then reheat gently |
| Make-Ahead | Store in fridge | Up to 1 week in advance | Use as needed — no assembly required |
When reheating, you might notice the sauce thickens a bit as it sits. That’s perfectly normal — just add a tablespoon of water or pineapple juice while gently warming it up, and whisk until smooth. Never microwave it straight from the fridge, as it can break and become grainy. I find a small saucepan over low heat works best, stirring for just a minute or two until it’s pourable again.
Variations & Easy Swaps
Over the years, I’ve experimented with many variations of this sauce for different dishes. Here are some of my favorites that I’ve developed in my NYC kitchen.
 Tried This Recipe? Leave a Comment!Did you make this recipe? I’d love to hear how it turned out! Please leave a comment and a rating below. Your feedback helps other home cooks and supports cheerychop.com! For more delicious inspiration, follow me on Pinterest!  Hi, I’m Ema! Let’s make every bite unforgettable! ABOUT MELet's connect |
|---|