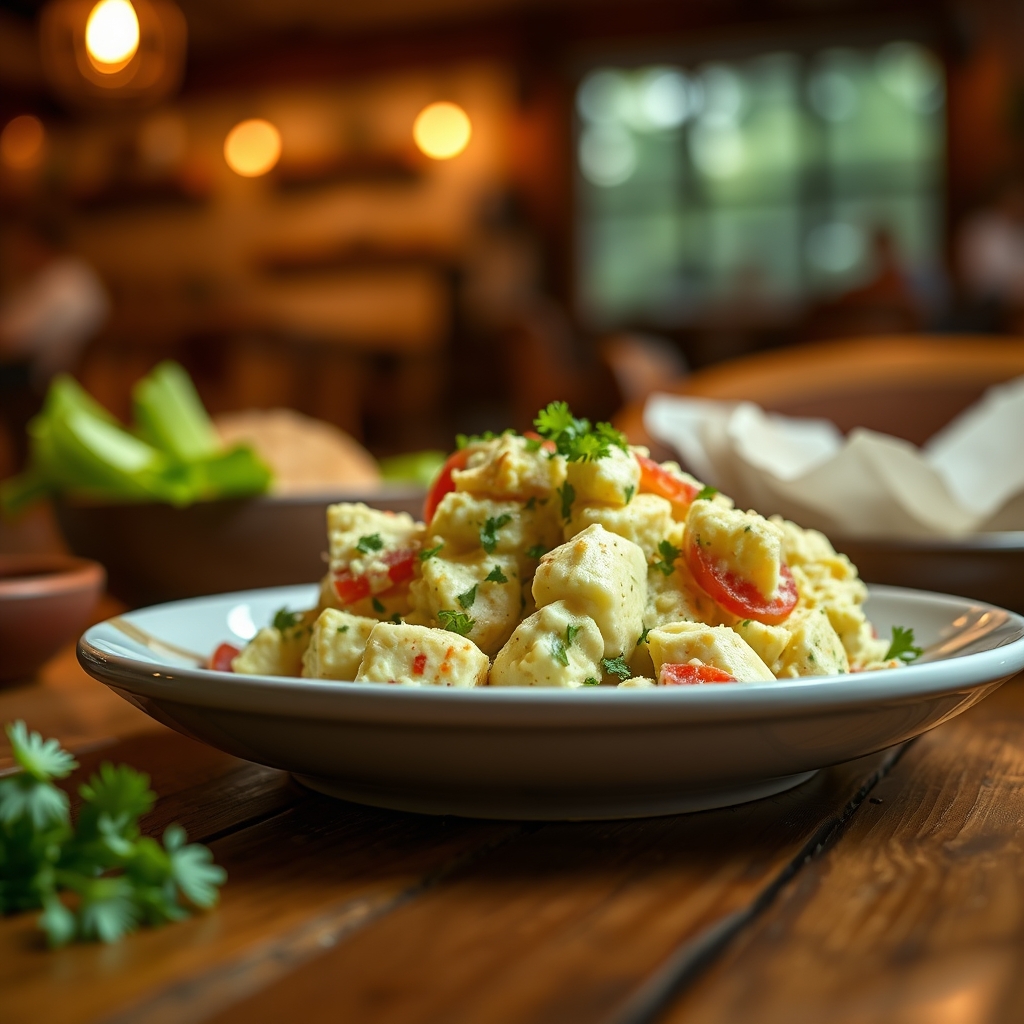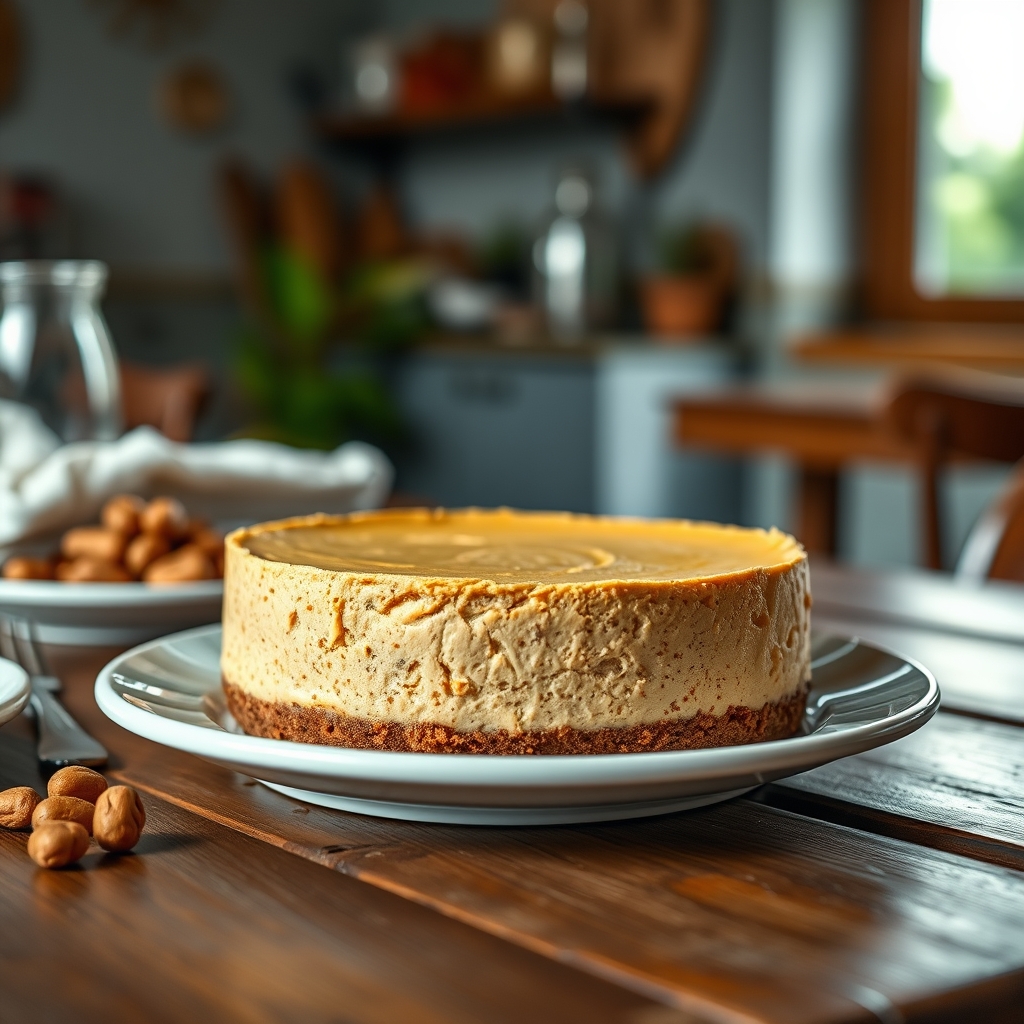
Peanut Butter Cheesecake
There’s something undeniably magical about the combination of creamy peanut butter and rich, velvety cheesecake. This Peanut Butter Cheesecake recipe is a dream come true for anyone who loves the nutty depth of peanut butter paired with the smooth decadence of classic cheesecake. Whether you’re serving it at a dinner party or indulging in a slice after a long day, this dessert is guaranteed to impress. Follow along as we break down everything you need to know to create the perfect peanut butter cheesecake at home.
Why You’ll Love This Recipe
First, let’s talk about why this Peanut Butter Cheesecake deserves a spot in your dessert rotation. Here are just a few reasons:
- Irresistible Flavor Combination – The marriage of peanut butter and cream cheese creates a rich, nutty, and slightly tangy flavor that’s impossible to resist.
- Creamy, Luxurious Texture – This cheesecake is velvety smooth with a dense yet melt-in-your-mouth consistency, thanks to the perfect balance of ingredients.
- Perfect for Any Occasion – Whether it’s a holiday gathering, birthday celebration, or just a weekend treat, this dessert is always a crowd-pleaser.
- Make-Ahead Friendly – Cheesecake actually tastes better after chilling, making it an ideal dessert to prepare in advance.
- Endless Customization – From drizzling chocolate ganache to adding a crunchy peanut butter crust, there are countless ways to make this recipe your own.
Ingredients Breakdown
Every great recipe starts with quality ingredients. Here’s what you’ll need and why each one matters:
- Cream Cheese – The foundation of any cheesecake, cream cheese provides the signature tangy richness. Use full-fat for the best texture.
- Peanut Butter – Opt for creamy peanut butter without added sugar or oils for a smooth, balanced flavor.
- Granulated Sugar – Sweetens the filling without overpowering the peanut butter.
- Eggs – They bind the filling and give the cheesecake structure while keeping it light.
- Sour Cream – Adds moisture and a slight tang, enhancing the creaminess.
- Vanilla Extract – A touch of vanilla rounds out the flavors.
- Graham Cracker Crumbs – The classic base for the crust, providing a sweet, crunchy contrast to the creamy filling.
- Butter – Binds the crust together and adds richness.
How to Make Peanut Butter Cheesecake
Now, let’s dive into the step-by-step process to create this indulgent dessert.
Step 1: Prepare the Crust
Preheat your oven to 325°F. In a bowl, mix graham cracker crumbs with melted butter and a pinch of sugar until it resembles wet sand. Press the mixture firmly into the bottom of a 9-inch springform pan. Bake for 10 minutes, then set aside to cool.
Step 2: Make the Filling
In a large mixing bowl, beat the cream cheese until smooth and lump-free. Add the peanut butter and sugar, blending until fully incorporated. Mix in the eggs one at a time, followed by the sour cream and vanilla. Be careful not to overmix, as this can introduce too much air and cause cracks.
Step 3: Bake the Cheesecake
Pour the filling over the cooled crust. Place the springform pan in a larger baking dish and fill the outer dish with hot water (about halfway up the sides of the springform pan) to create a water bath. This prevents cracks and ensures even baking. Bake for 50-60 minutes until the edges are set but the center is slightly jiggly.
Step 4: Cool and Chill
Turn off the oven and crack the door open, letting the cheesecake cool gradually for about an hour. Then, transfer it to the refrigerator and chill for at least 4 hours, preferably overnight, before serving.
Pro Tips for the Best Results
- Room Temperature Ingredients – Ensure your cream cheese, eggs, and sour cream are at room temperature for a smoother batter.
- Avoid Overmixing – Mix just until ingredients are combined to prevent air bubbles that can lead to cracks.
- Use a Water Bath – This gentle baking method prevents the cheesecake from drying out or cracking.
- Patience is Key – Let the cheesecake cool slowly and chill thoroughly for the best texture.
Variations and Substitutions
Want to switch things up? Here are some delicious variations:
- Chocolate Peanut Butter Cheesecake – Swirl melted chocolate into the batter or drizzle ganache on top.
- Crunchy Peanut Butter Crust – Add chopped peanuts to the graham cracker crust for extra texture.
- Gluten-Free Option – Use gluten-free graham crackers or almond flour for the crust.
- Dairy-Free Version – Substitute dairy-free cream cheese and coconut yogurt for sour cream.
What to Serve With It
This Peanut Butter Cheesecake is fantastic on its own, but here are some pairing ideas:
- Freshly whipped cream or vanilla ice cream.
- A drizzle of caramel or chocolate sauce.
- A cup of hot coffee or cold milk for balance.
- Fresh berries for a touch of acidity.
How to Store and Reheat
Store leftover cheesecake in the refrigerator, covered tightly with plastic wrap, for up to 5 days. For longer storage, freeze individual slices wrapped in plastic and foil for up to 3 months. Thaw in the fridge before serving. Cheesecake is best enjoyed cold, so reheating isn’t necessary.
Frequently Asked Questions (FAQs)
Can I use natural peanut butter?
Yes, but make sure it’s well-stirred and not overly oily, as separation can affect the texture.
Why did my cheesecake crack?
Cracks usually occur from overmixing, rapid temperature changes, or overbaking. A water bath helps prevent this.
Can I make this without a springform pan?
A springform pan is ideal, but a deep pie dish lined with parchment paper can work in a pinch.
How do I know when the cheesecake is done baking?
The edges should be set, and the center should have a slight jiggle when gently shaken.
Can I add a topping?
Absolutely! Whipped cream, chocolate shavings, or a sprinkle of sea salt all make great additions.
Final Thoughts
This Peanut Butter Cheesecake is a showstopper in every sense—creamy, nutty, and utterly indulgent. Whether you’re a seasoned baker or trying cheesecake for the first time, this recipe is approachable and rewarding. The best part? Every bite delivers that perfect harmony of peanut butter and cheesecake bliss. So go ahead, slice yourself a piece, and savor the magic of homemade dessert at its finest.
Print
Peanut Butter Cheesecake
Description
A creamy, rich peanut butter cheesecake with a chocolate cookie crust, topped with a decadent chocolate ganache. Perfect for peanut butter lovers!
Ingredients
For the Crust:
- For the crust:
- 2 cups chocolate cookie crumbs
- 1/2 cup unsalted butter, melted
- 1/4 cup granulated sugar
- For the filling:
- 24 oz cream cheese, softened
- 1 cup creamy peanut butter
- 1 cup granulated sugar
- 1 cup sour cream
- 3 large eggs
- 1 tsp vanilla extract
- For the ganache:
- 1 cup semi-sweet chocolate chips
- 1/2 cup heavy cream
- Optional toppings:
- Crushed peanuts
- Chocolate shavings
Instructions
1. Prepare the Crust:
- Preheat oven to 325°F (165°C). Grease a 9-inch springform pan.
- Make the crust: Mix cookie crumbs, melted butter, and sugar. Press firmly into the pan bottom. Bake for 10 minutes, then cool.
- Make the filling: Beat cream cheese, peanut butter, and sugar until smooth. Add sour cream and vanilla, then eggs one at a time.
- Pour filling over crust. Bake for 50-60 minutes until center is slightly jiggly. Cool completely, then refrigerate for 4+ hours.
- Make ganache: Heat cream until steaming, pour over chocolate chips, let sit 5 minutes, then stir until smooth. Spread over chilled cheesecake.
- Add optional toppings. Refrigerate another 30 minutes before serving.
Notes
For cleaner slices, dip knife in hot water before cutting. Store refrigerated for up to 5 days. Freeze without toppings for longer storage.