Churro Cheesecake Donut Cookies: A Fusion of Flavor and Texture
If you’re craving the warm cinnamon-sugar taste of churros, the creamy richness of cheesecake, and the fluffy texture of donuts, these Churro Cheesecake Donut Cookies combine the best of all three worlds. This unique dessert is perfect for any occasion, from holiday gatherings to a simple weekend treat. It’s a dessert that looks as incredible as it tastes, guaranteed to impress friends and family alike.
For other desserts with a creative twist, check out our Gone to Heaven Chocolate Pie, another rich, indulgent treat for chocolate lovers.
What Makes Churro Cheesecake Donut Cookies Special?
Churro Cheesecake Donut Cookies combine the familiar warmth of cinnamon and sugar with a creamy cheesecake filling and a donut-like, soft cookie texture. This fusion of flavors makes it an exciting treat that’s:
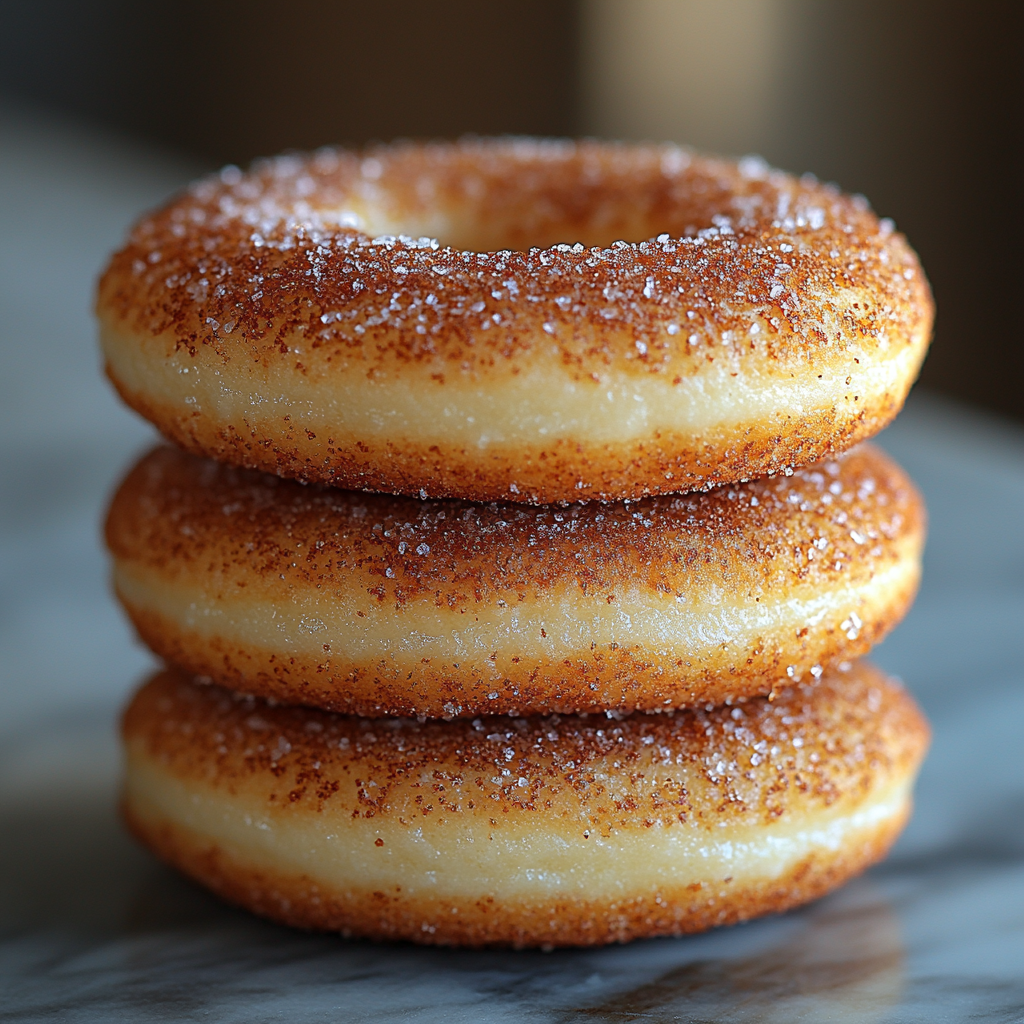
- Visually Appealing: With a golden cinnamon-sugar coating and a creamy cheesecake center, these cookies stand out on any dessert table.
- Flavorful and Rich: The cinnamon coating brings the churro flavor, while the cheesecake filling adds a delicious tanginess.
- Versatile for Occasions: Great for parties, holidays, or as an everyday sweet treat for dessert lovers.
For a similar cinnamon-themed dessert, try our Cinnamon Roll Cookies with Cream Cheese Drizzle, which offers another spin on the classic flavors.
Ingredients Needed for Churro Cheesecake Donut Cookies
Each component of this cookie contributes to its unique flavor and texture. Here’s what you’ll need:
- Cream Cheese: Provides the tangy, smooth filling.
- Butter: Adds richness and helps achieve a tender cookie texture.
- Sugar and Cinnamon: Essential for creating the churro-inspired cinnamon-sugar coating.
- Eggs: Adds structure and moisture.
- Flour and Baking Powder: Forms the base of the cookie and provides the doughy texture.
- Vanilla Extract: Enhances the sweetness and depth of flavor.
Tip: For a smoother, richer dough, make sure all ingredients are at room temperature before mixing.
Step-by-Step Recipe for Churro Cheesecake Donut Cookies
This recipe may look intricate, but it’s straightforward when broken down into steps. Let’s dive into the process.
Step 1: Make the Dough
- Cream Butter and Sugar: In a large mixing bowl, cream the butter and sugar until light and fluffy.
- Add Eggs and Vanilla: Add eggs one at a time, then mix in vanilla extract.
- Incorporate Dry Ingredients: Gradually add flour and baking powder, mixing until just combined.
Similar Recipe: If you love rich dough, try our Classic Homemade Donuts for a light, fluffy treat that pairs well with coffee or tea.
Step 2: Prepare the Cheesecake Filling
- In a separate bowl, blend cream cheese with a bit of sugar and vanilla extract until smooth.
- Ensure the filling is thick enough to hold its shape; this will prevent it from leaking during baking.
Step 3: Assemble the Cookies
- Portion and Flatten Dough: Scoop out a portion of the dough, flatten it, and add a spoonful of the cheesecake filling in the center.
- Cover and Shape: Fold the dough around the filling to form a ball, ensuring the filling is sealed inside.
Step 4: Bake the Cookies
- Preheat and Bake: Preheat the oven to 350°F (175°C) and bake the cookies for 12–15 minutes or until golden brown.
- Watch for Doneness: Remove when edges are slightly golden but center remains soft.
Pro Tip: Check for a lightly golden color to ensure the cookies remain soft and chewy, enhancing the donut-like texture.
Step 5: Roll in Cinnamon-Sugar Coating
- Cinnamon-Sugar Mixture: Combine cinnamon and sugar in a bowl.
- Roll Cookies: Immediately roll warm cookies in the cinnamon-sugar mixture to create the churro-like coating.
For more creative dessert toppings, see our Strawberry Lemon Bars with Shortbread Crust for ideas on adding texture and flavor to your baked goods.
Customizing Your Churro Cheesecake Donut Cookies
These cookies are easily customizable. Here are some variations to try:
- Add Cocoa Powder: For a chocolate twist, add cocoa powder to the dough or filling.
- Alternative Fillings: Experiment with fillings like caramel, Nutella, or fruit jam for a new flavor.
- Spice It Up: Add a pinch of cayenne or pumpkin spice for a seasonal twist.
For more dessert customization ideas, try our Ultimate Peanut Butter Pie, another flexible recipe that you can adjust to your taste.
Tips for Perfect Churro Cheesecake Donut Cookies
Achieving the ideal texture and taste requires a few key techniques:
- Keep Ingredients at Room Temperature: This ensures a smooth, easily mixed dough.
- Seal the Filling Well: Prevents the cheesecake filling from leaking during baking.
- Roll in Cinnamon-Sugar Right After Baking: Rolling warm cookies ensures the coating sticks well, creating the signature churro texture.
External Resource: For more cookie-baking tips, check out Serious Eats’ Guide to Perfect Cookies.
Serving Ideas for Churro Cheesecake Donut Cookies
These cookies are versatile and can be served in various ways:
- On a Dessert Board: Pair with other treats on a dessert board for gatherings.
- With Dipping Sauces: Serve with chocolate or caramel sauce for dipping.
- Holiday Themes: Add festive sprinkles or drizzle with white chocolate for a holiday look.
For a guide to creating visually appealing dessert boards, visit our Ultimate Cheese and Charcuterie Guide.
Frequently Asked Questions (FAQs)
- Can I make these cookies ahead of time?
- Yes, you can prepare the dough and refrigerate it overnight. Assemble and bake when ready.
- How do I store Churro Cheesecake Donut Cookies?
- Store in an airtight container at room temperature for up to three days, or refrigerate for longer freshness.
- Can I freeze the cookies?
- Yes, freeze unbaked dough balls with filling or baked cookies, then thaw and roll in cinnamon-sugar before serving.
- Can I use flavored cream cheese?
- Yes, flavored cream cheese adds a fun twist but may affect the sweetness.
- How do I prevent the filling from leaking?
- Make sure to fully encase the filling and chill the dough briefly if it’s too soft to handle.
Internal Link Opportunity: For other cheesecake-inspired desserts, check out our Easy No-Bake Banana Split Cheesecake.
Nutritional Information and Portion Sizes
Each Churro Cheesecake Donut Cookie is a rich treat, so portion control is essential for those watching their intake.
- Calories: Approximately 200 per cookie
- Carbohydrates: 25g
- Fats: 10g
- Protein: 3g
Serving Size: One batch makes around 12–15 cookies, depending on size.
Wrapping Up: Why You’ll Love Churro Cheesecake Donut Cookies
These Churro Cheesecake Donut Cookies are the ultimate fusion dessert, combining the best flavors of churros, donuts, and cheesecake into one irresistible bite. They’re easy to make, customizable, and perfect for any occasion. Whether you’re a churro enthusiast or a cheesecake fan, these cookies are sure to delight.
For another unique dessert option, try our Blue Ribbon Blueberry Coffee Cake, a crowd-pleaser that’s ideal for brunch or special gatherings.