Cool Whip and Pudding Frosting: Easy, Light, and Delicious

whipped pudding frosting, Cool Whip dessert topping, creamy frosting recipe, pudding mix frosting, light frosting for cakes

Cool Whip and Pudding Frosting: A Simple and Delicious Dessert Topping

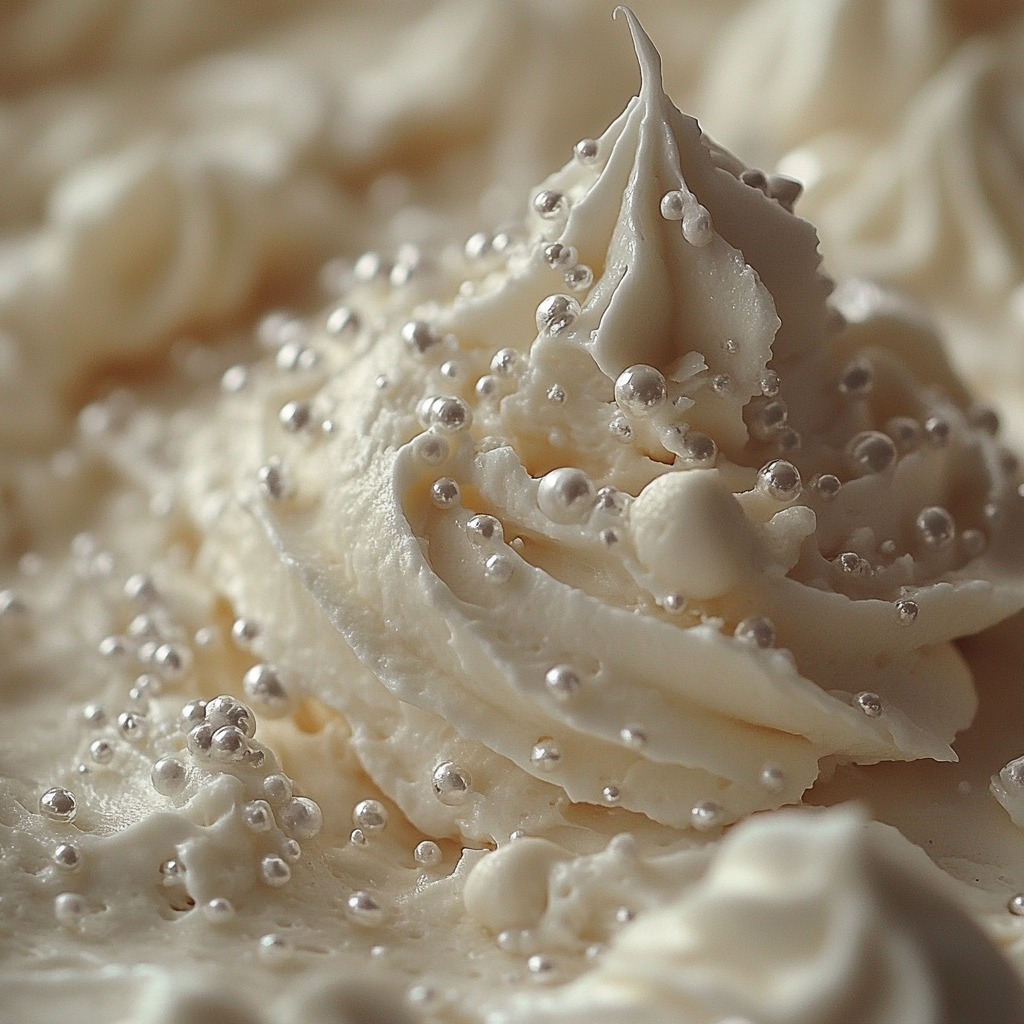
If you’re looking for a light, fluffy, and versatile frosting, Cool Whip and Pudding Frosting is a game-changer. Combining the creamy richness of pudding with the airy texture of Cool Whip, this frosting is perfect for cakes, cupcakes, and even as a fruit dip. Its ease of preparation and endless flavor variations make it a favorite for bakers everywhere.

For helpful techniques on achieving the best results, explore Tips for Perfect Piping Frosting. Additionally, learn How to Soften Cool Whip Correctly for smooth blending.


What Makes Cool Whip and Pudding Frosting Special?

This frosting offers a unique combination of:

  • Lightness: Achieved through the whipped topping.
  • Flavor Depth: Pudding mix provides customizable options.
  • Ease of Use: Simple, no-cook recipe that anyone can make.

For more dessert inspiration, explore recipes like No-Bake Banana Pudding Cheesecake.


Ingredients for Cool Whip and Pudding Frosting

Core Ingredients

  • 1 package (3.4 oz) instant pudding mix (flavor of choice)
  • 1 cup milk (or adjust for desired consistency)
  • 1 container (8 oz) Cool Whip, thawed
  • Optional: 1 tsp vanilla extract or powdered sugar for added sweetness

Optional Variations

  • Add cocoa powder for a richer chocolate flavor.
  • Use sugar-free pudding mix for a lighter option.
  • Incorporate fruit puree for a natural flavor boost.

Step-by-Step Guide to Making Cool Whip and Pudding Frosting

Step 1: Prepare the Pudding Base

  1. In a medium bowl, whisk together the pudding mix and milk until smooth and thickened.
  2. Let the pudding set for a few minutes for the perfect consistency.

Step 2: Fold in the Cool Whip

  1. Gently fold the Cool Whip into the pudding mixture using a spatula.
  2. Ensure even mixing without deflating the whipped topping.

Step 3: Chill and Use

  1. Chill the frosting for at least 30 minutes to firm up before spreading or piping.
  2. Use immediately to frost cakes, cupcakes, or as a dip for fruits and cookies.

Creative Variations and Uses

Flavor Variations

  • Classic Vanilla: Combine vanilla pudding with Cool Whip for a universal frosting.
  • Chocolate Delight: Use chocolate pudding for a rich, decadent option.
  • Fruity Twist: Add strawberry or lemon pudding for fresh, vibrant flavors.

Creative Uses

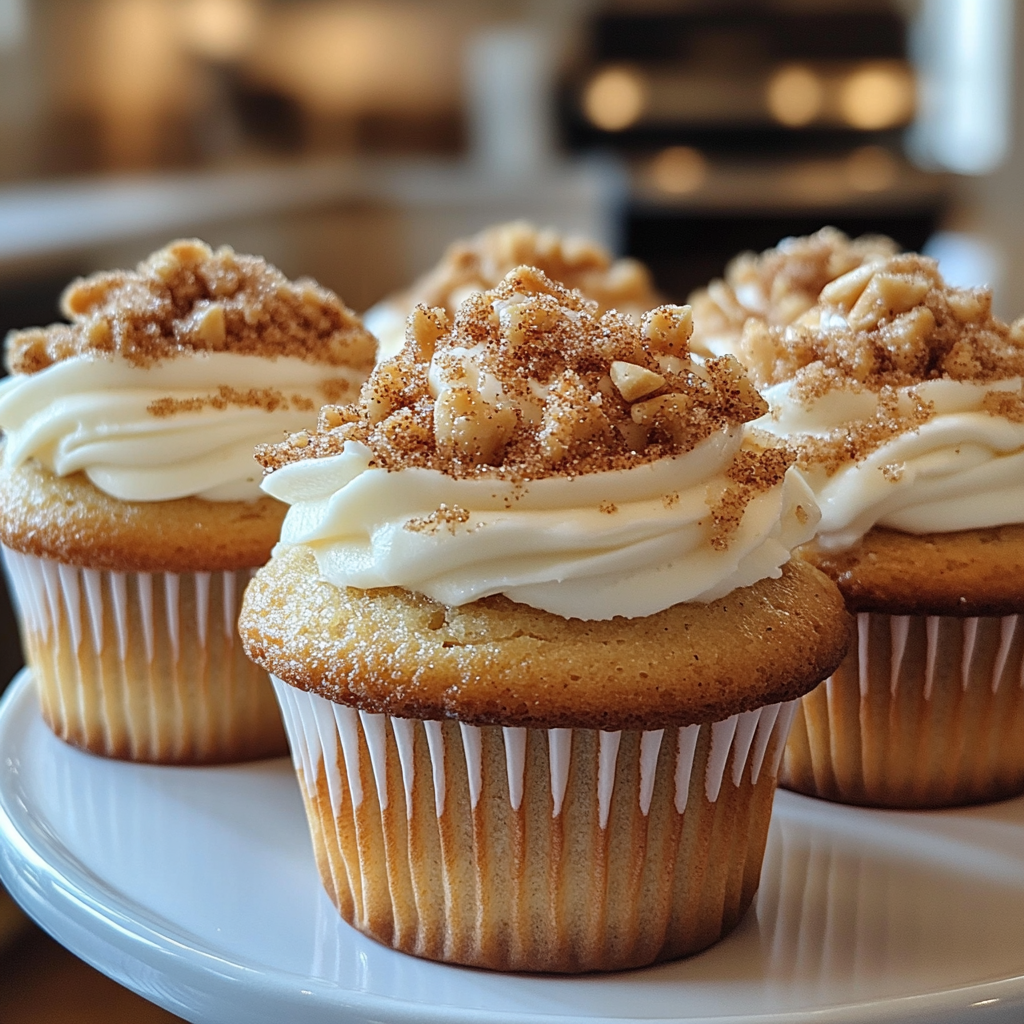
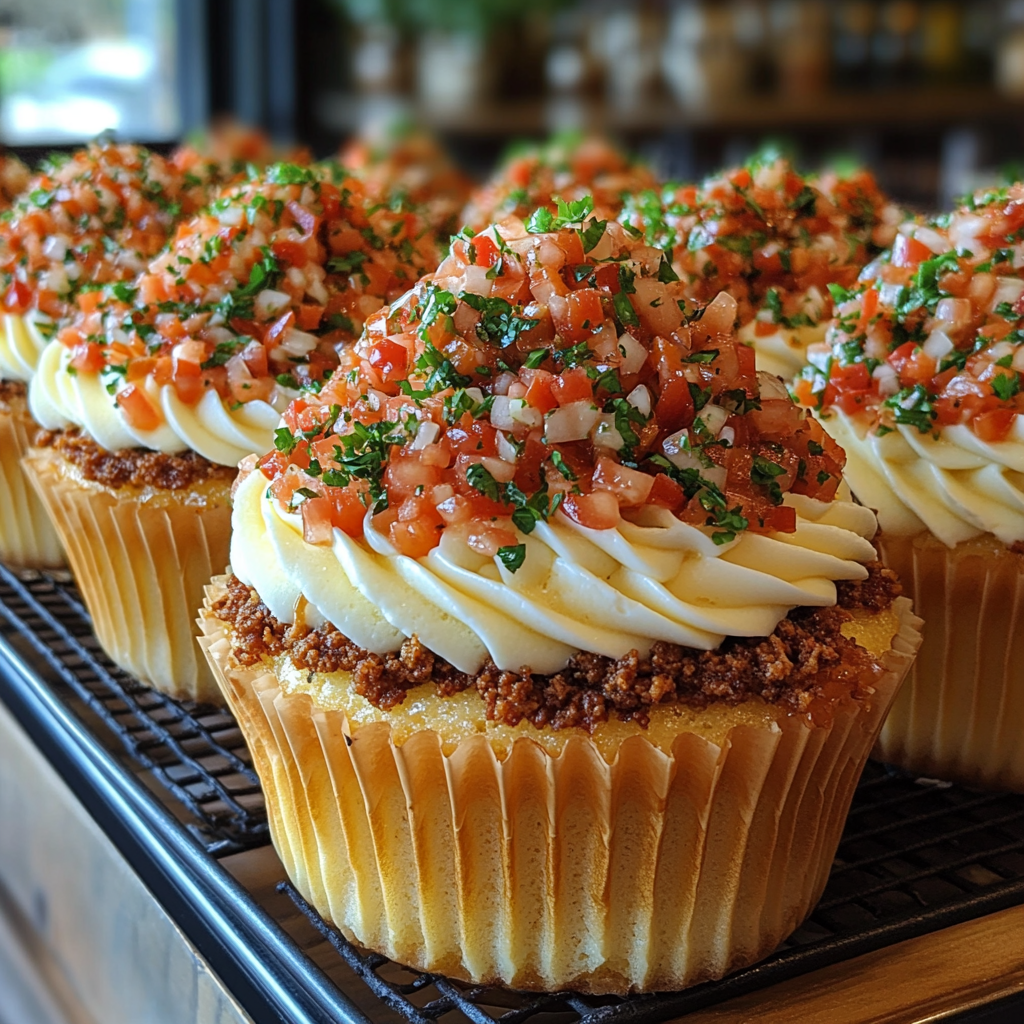
  • Top layered cakes or cupcakes.
  • Pipe onto cookies or brownies.
  • Serve as a dip for strawberries, graham crackers, or marshmallows.

Explore more creative dessert ideas like Cool Whip Cookies for a complete treat experience.


Storage and Shelf Life

  • Refrigeration: Store frosting in an airtight container in the refrigerator for up to 3 days.
  • Freezing: Freeze in a sealed container for up to 1 month. Thaw in the fridge overnight before use.
  • Best Practices: Avoid leaving frosting at room temperature for extended periods to maintain texture.

FAQs About Cool Whip and Pudding Frosting

1. Can I Make This Frosting in Advance?

Yes, prepare it up to 1 day in advance and refrigerate until needed.

2. Is This Frosting Suitable for Piping?

Yes, but ensure the consistency is firm enough by adjusting the milk ratio.

3. Can I Use Homemade Whipped Cream Instead of Cool Whip?

Absolutely! However, the texture may be slightly different and less stable.

4. How Do I Stabilize Cool Whip Frosting?

Add a small amount of gelatin dissolved in water to the pudding mixture before folding in the Cool Whip.

5. What’s the Best Way to Adjust Sweetness?

Add powdered sugar gradually to the mixture while tasting to achieve the desired sweetness.


Internal Linking Opportunities

Enhance your content with these suggested internal links for better user engagement:


Why Cool Whip and Pudding Frosting Is a Must-Try

This frosting is more than just a topping; it’s a versatile addition that elevates any dessert. Whether you’re hosting a party, celebrating a birthday, or just indulging in something sweet, Cool Whip and Pudding Frosting will never disappoint.

For more dessert inspiration, visit ExoRecipes.com.

Cinnamon Cream Cheese Muffins: A Delicious and Easy Recipe

cinnamon cream muffins, cream cheese-filled muffins, cinnamon sugar muffins, breakfast muffins with cream cheese, easy muffin recipe with cream cheese

Cinnamon Cream Cheese Muffins: The Ultimate Sweet Treat

Cinnamon Cream Cheese Muffins combine the warmth of cinnamon with the creamy richness of a cheesecake-like filling. Perfect for breakfast, brunch, or a mid-afternoon treat, these muffins are as delightful to make as they are to eat. With a moist, fluffy base, a swirl of cream cheese, and a cinnamon-sugar topping, they’re guaranteed to impress.

For more baking tips, check out Tips for Perfect Muffins Every Time. If you want to make sure your cream cheese is perfectly softened, visit How to Soften Cream Cheese Quickly.


Why Cinnamon Cream Cheese Muffins Stand Out

These muffins are more than just a breakfast staple:

  • Rich Cream Cheese Filling: A surprise center that adds indulgence.
  • Warm Cinnamon Flavor: Perfect for cozy mornings or fall gatherings.
  • Customizable Recipe: Easy to adapt for different dietary needs or flavor preferences.

For more inspiration on sweet treats, try recipes like Homemade Cinnamon Roll Cake with Cream Cheese Glaze.


Ingredients for Cinnamon Cream Cheese Muffins

For the Muffin Batter

  • 2 cups all-purpose flour
  • 1 cup granulated sugar
  • 1 tbsp baking powder
  • 1 tsp ground cinnamon
  • ½ tsp salt
  • 1 cup milk
  • ½ cup unsalted butter (melted)
  • 2 large eggs
  • 1 tsp vanilla extract

For the Cream Cheese Filling

  • 8 oz cream cheese, softened
  • ½ cup powdered sugar
  • 1 tsp vanilla extract

For the Cinnamon Sugar Topping

  • ½ cup granulated sugar
  • 1 tsp ground cinnamon
  • 2 tbsp melted butter

How to Make Cinnamon Cream Cheese Muffins

Step 1: Prepare the Muffin Batter

  1. Preheat your oven to 375°F (190°C) and line a muffin tin with paper liners.
  2. In a large bowl, whisk together the flour, sugar, baking powder, cinnamon, and salt.
  3. In a separate bowl, combine milk, melted butter, eggs, and vanilla extract. Mix the wet ingredients into the dry ingredients until just combined.

Step 2: Make the Cream Cheese Filling

  1. Beat the softened cream cheese with powdered sugar and vanilla extract until smooth.
  2. Set aside for assembling the muffins.

Step 3: Assemble the Muffins

  1. Fill each muffin cup halfway with the batter.
  2. Add a teaspoon of cream cheese filling to the center of each cup.
  3. Top with another layer of muffin batter, ensuring the filling is completely covered.

Step 4: Add the Cinnamon Sugar Topping

  1. Mix the cinnamon and sugar in a small bowl.
  2. Drizzle the melted butter over each muffin and sprinkle generously with the cinnamon-sugar mixture.

Step 5: Bake and Cool

  1. Bake the muffins for 18-22 minutes or until a toothpick inserted into the edge of a muffin comes out clean.
  2. Allow the muffins to cool for 5 minutes in the tin before transferring them to a wire rack.

Serving Suggestions and Variations

Serving Ideas

  • Pair with a hot cup of coffee or tea for the perfect morning treat.
  • Add a dollop of whipped cream for extra indulgence.

Creative Variations

  • Pumpkin Cinnamon Cream Cheese Muffins: Add ½ cup of pumpkin puree to the batter for a seasonal twist.
  • Nutty Topping: Sprinkle chopped pecans or walnuts on top for added crunch.
  • Gluten-Free Option: Substitute all-purpose flour with a gluten-free baking blend.

For more creative dessert ideas, try Decadent Caramel Chocolate Cupcakes.


Nutritional Breakdown

Each muffin provides approximately:

  • Calories: 250
  • Carbohydrates: 35g
  • Protein: 4g
  • Fat: 10g

To make a lighter version, use low-fat cream cheese and reduce the sugar.


FAQs About Cinnamon Cream Cheese Muffins

1. Can I Make These Muffins Ahead of Time?

Yes! Store them in an airtight container at room temperature for up to 2 days or refrigerate for up to a week.

2. Can I Freeze Cinnamon Cream Cheese Muffins?

Absolutely! Wrap them individually in plastic wrap and store in the freezer for up to 3 months. Thaw overnight in the fridge or reheat in the oven.

3. How Do I Keep the Muffins Moist?

Ensure you don’t overmix the batter, and store them in an airtight container once cooled.

4. Can I Use a Different Filling?

Yes, you can swap cream cheese for Nutella, jam, or even a dollop of peanut butter for variety.

5. How Can I Make Mini Muffins?

Use a mini muffin tin and reduce the baking time to 10-12 minutes.


Internal Linking Opportunities

Include links to these related recipes for improved SEO and user engagement:


Why You’ll Love Cinnamon Cream Cheese Muffins

These Cinnamon Cream Cheese Muffins are the ultimate crowd-pleaser, offering a balance of sweet, creamy, and spicy flavors in every bite. Perfect for any occasion, they’re easy to make, adaptable to your preferences, and sure to become a family favorite.

For more baking inspiration, visit ExoRecipes.com.

OMG Taco Cupcakes: The Ultimate Party-Ready Snack Recipe

taco cupcake recipe, mini taco bites, wonton taco cups, taco muffin snacks, bite-sized tacos, party taco appetizers

OMG Taco Cupcakes: A Tasty Twist on Classic Tacos

When you think tacos, your mind might go straight to crunchy shells or soft tortillas. But OMG Taco Cupcakes take this classic dish to a whole new level. With layers of savory taco goodness baked into crispy wonton wrappers, this bite-sized treat is perfect for parties, snacks, or even a fun weeknight dinner.

For creative uses of wonton wrappers, check out Creative Ways to Use Wonton Wrappers. If you want to customize the seasoning for your taco cupcakes, learn how to Make Your Own Taco Seasoning to suit your taste.


Why Are Taco Cupcakes So Popular?

Taco cupcakes have become a sensation, thanks to their ease and versatility:

  • Perfect for Parties: Individual servings make them easy to eat and share.
  • Customizable Layers: Add your favorite fillings, cheeses, and toppings.
  • Visually Stunning: They’re as fun to look at as they are to eat.

For more party-friendly dishes, explore recipes like The Ultimate Taco Casserole, another crowd-pleasing option.


Ingredients for OMG Taco Cupcakes

Base Ingredients

  • 1 lb ground beef or ground turkey
  • 1 packet taco seasoning (or homemade)
  • 24 wonton wrappers

Cheese and Layers

  • 1 cup shredded cheddar cheese
  • 1 cup shredded Monterey Jack cheese

Optional Toppings

  • Sour cream
  • Salsa
  • Diced tomatoes
  • Guacamole
  • Jalapeños
  • Black olives
  • Green onions

How to Make Taco Cupcakes

Step 1: Prepare the Meat

  1. In a skillet, cook the ground beef or turkey over medium heat until browned.
  2. Drain excess fat and stir in the taco seasoning, following the packet instructions or your homemade blend.

Step 2: Assemble the Layers

  1. Preheat the oven to 375°F (190°C).
  2. Grease a muffin tin and press a wonton wrapper into each cup.
  3. Add a layer of seasoned meat, followed by shredded cheddar cheese.
  4. Place another wonton wrapper on top and repeat the layers.

Step 3: Bake to Perfection

  1. Bake in the preheated oven for 10-12 minutes or until the wonton wrappers are golden and crispy, and the cheese is melted.
  2. Allow the cupcakes to cool slightly before removing them from the tin.

Step 4: Add Toppings

  • Top each cupcake with sour cream, salsa, diced tomatoes, or your favorite garnishes.

Serving Suggestions

Taco cupcakes pair beautifully with:

  • Sides: Serve with chips and guacamole or a light salad.
  • Drinks: A margarita or sparkling water with lime enhances the flavors.
  • Dips: Add a bowl of queso or bean dip for extra indulgence.

Variations to Try

  • Vegetarian Taco Cupcakes: Use refried beans, black beans, or lentils instead of meat.
  • Spicy Kick: Add hot sauce or mix diced jalapeños into the meat filling.
  • Breakfast Version: Substitute the taco ingredients with scrambled eggs, sausage, and cheese for a breakfast twist.

For more creative twists on tacos, check out Dorito Chicken Casserole, another fun take on Mexican-inspired cuisine.


Nutritional Breakdown

Each taco cupcake offers approximately:

  • Calories: ~160
  • Protein: 8g
  • Carbohydrates: 12g
  • Fat: 9g

To reduce calories, opt for lean ground turkey and low-fat cheese.


FAQs About Taco Cupcakes

1. Can I Make Taco Cupcakes Ahead of Time?

Yes! Bake them as instructed, then refrigerate. Reheat in the oven to maintain crispiness.

2. What’s a Good Substitute for Wonton Wrappers?

Phyllo dough or mini tortillas work well as alternatives.

3. Can I Freeze Taco Cupcakes?

Absolutely! Freeze them in a single layer, then transfer to a freezer-safe container. Reheat directly from frozen in the oven.

4. How Long Do Taco Cupcakes Stay Fresh?

Store them in an airtight container in the fridge for up to three days.

5. Are Taco Cupcakes Gluten-Free?

Not with wonton wrappers, but you can substitute with gluten-free tortillas or dough.


Internal Linking Opportunities

To enrich the user experience and provide more relevant content, consider linking to these articles:


Why Taco Cupcakes Are Worth Trying

Taco cupcakes are not just a meal—they’re an experience. Their layered textures, bold flavors, and versatility make them a hit with both kids and adults. Whether you’re hosting a party or whipping up a quick dinner, these little bundles of flavor are sure to impress.

For more delicious recipes and inspiration, visit ExoRecipes.com.

Pecan Cream Pie – A Slice of Heaven: The Ultimate Dessert Recipe

pecan custard pie, creamy pecan pie recipe, southern pecan cream pie, decadent pecan dessert, classic pecan pie with cream

Pecan Cream Pie – A Slice of Heaven

If you’re a fan of decadent desserts, Pecan Cream Pie is a must-try. This rich and creamy pie combines the nutty crunch of pecans with a luscious cream filling, all cradled in a buttery crust. Perfect for holidays, special gatherings, or simply indulging in something heavenly, this dessert is a showstopper. With its timeless appeal, pecan cream pie is a dessert that everyone should have in their recipe collection.

To learn more about how pecans have shaped Southern cuisine, visit The History of Pecans in Southern Cooking. If you’re looking to up your baking skills, mastering the art of pie crusts can elevate this recipe even further. Check out Tips for a Perfect Pie Crust for expert advice.


What Makes Pecan Cream Pie Special?

Pecan Cream Pie is not just another dessert—it’s a symphony of textures and flavors:

  • Nutty Crunch: Toasted pecans add a deep, earthy flavor and a satisfying crunch.
  • Silky Cream Filling: A custard base creates a smooth, velvety texture.
  • Flaky Butter Crust: Provides the perfect foundation for the rich filling.

For more dessert inspirations, explore recipes like Kentucky Butter Cake – A Slice of Southern Comfort, another Southern classic with irresistible flavor.


Ingredients You’ll Need

For the Crust:

  • 1 ½ cups all-purpose flour
  • ½ cup unsalted butter, chilled and cubed
  • 2–3 tbsp ice water
  • 1 tsp sugar (optional)
  • ½ tsp salt

For the Filling:

  • 1 cup heavy cream
  • ½ cup granulated sugar
  • 3 egg yolks
  • 2 tbsp cornstarch
  • 1 tsp vanilla extract
  • 1 ½ cups toasted pecans, roughly chopped

For Topping (Optional):

  • Whipped cream
  • Whole pecans or caramel drizzle for garnish

How to Make Pecan Cream Pie

Step 1: Prepare the Crust

  1. In a large bowl, combine flour, sugar, and salt. Cut in the butter until the mixture resembles coarse crumbs.
  2. Add ice water, 1 tablespoon at a time, and mix until the dough forms a ball. Wrap in plastic wrap and refrigerate for at least 30 minutes.
  3. Roll out the dough on a floured surface and fit it into a 9-inch pie pan. Trim and crimp the edges as desired.
  4. Blind bake the crust at 375°F (190°C) for 15 minutes or until lightly golden.

Step 2: Make the Cream Filling

  1. In a saucepan, whisk together the sugar, cornstarch, and egg yolks until smooth.
  2. Gradually add the heavy cream, whisking continuously to prevent lumps.
  3. Cook over medium heat, stirring constantly, until the mixture thickens and begins to bubble. Remove from heat and stir in vanilla extract.

Step 3: Assemble the Pie

  1. Spread a layer of toasted pecans over the baked crust.
  2. Pour the cream filling over the pecans, spreading it evenly.
  3. Chill the pie in the refrigerator for at least 4 hours or overnight to allow the filling to set.

Step 4: Garnish and Serve

  • Before serving, top with whipped cream, whole pecans, or a drizzle of caramel for added flair.

Serving Suggestions and Variations

Serving Ideas

  • Pair with a hot cup of coffee or tea for a perfect dessert experience.
  • Serve alongside a scoop of vanilla or butter pecan ice cream for added indulgence.

Recipe Variations

  • Chocolate Pecan Cream Pie: Add a layer of melted chocolate to the crust before pouring in the filling.
  • Bourbon-Infused Version: Mix 1–2 tablespoons of bourbon into the cream filling for a Southern twist.
  • Gluten-Free Option: Use a store-bought or homemade gluten-free crust.

If you love experimenting with desserts, don’t miss Mom’s Lemon Cream Pie for another creamy delight.


Nutritional Highlights

A standard slice of Pecan Cream Pie provides:

  • Calories: ~350
  • Fat: 22g
  • Carbohydrates: 30g
  • Protein: 5g

To make a lighter version, substitute heavy cream with a low-fat alternative and reduce the sugar.


FAQs About Pecan Cream Pie

1. Can I Make This Pie Ahead of Time?

Yes, this pie is perfect for advance preparation. Make it a day ahead and store it in the fridge until serving.

2. How Do I Store Leftovers?

Cover the pie tightly with plastic wrap or foil and refrigerate for up to 4 days.

3. Can I Freeze Pecan Cream Pie?

Absolutely! Freeze it whole or in slices, wrapped tightly in plastic wrap and foil. Thaw in the refrigerator before serving.

4. What Can I Use Instead of Pecans?

Walnuts or almonds make great substitutes, but the flavor will vary slightly.

5. How Do I Prevent a Soggy Crust?

Blind baking the crust and letting it cool completely before adding the filling helps keep the crust crisp.


Internal Linking Opportunities

Enhance user navigation with these suggested internal links:


Why You’ll Love This Recipe

Pecan Cream Pie combines the best of creamy, nutty, and buttery flavors into one irresistible dessert. Its versatility allows for creative variations, making it a favorite for family dinners and holiday gatherings alike. Easy to prepare yet impressively elegant, this pie is a recipe to cherish.

For more indulgent recipes, visit ExoRecipes.com.

Old-Fashioned Potato & Bacon Soup: A Timeless Comfort Food Recipe

potato and bacon soup, classic potato soup, creamy bacon potato soup, old-fashioned soup recipe, hearty bacon soup

Old-Fashioned Potato & Bacon Soup: A Timeless Comfort Food

Old-Fashioned Potato & Bacon Soup is a heartwarming classic that has graced tables for generations. Its rich, creamy texture, combined with smoky bacon and tender potatoes, makes it a dish that satisfies both the stomach and the soul. Whether it’s a cold winter evening or a comforting family dinner, this soup is always a welcome choice.

For a deeper appreciation of its nutritional value, consider the benefits of potatoes as a high-fiber, potassium-rich food. Learn more from Health Benefits of Potatoes. Additionally, perfecting the bacon for this recipe involves rendering the fat properly, a technique explained in Perfect Bacon Fat Rendering Tips.


Why Old-Fashioned Potato & Bacon Soup Is a Must-Try

This soup stands out for its simplicity and robust flavors. Each ingredient plays a unique role in building layers of taste and texture.

Key Ingredients

  • Potatoes: The base of the soup, delivering a creamy and hearty foundation.
  • Bacon: Smoky and crispy, adding depth to the dish.
  • Vegetables: A combination of onions, celery, and carrots enhances the overall flavor.
  • Stock and Cream: A perfect blend of chicken stock and cream creates the soup’s silky finish.

Explore similar comforting potato dishes, like The Ultimate Comfort Food: Crockpot Potato Soup with Hashbrowns.


How to Make Old-Fashioned Potato & Bacon Soup

Here’s a detailed, step-by-step guide to creating this delightful dish.

Ingredients

You’ll need:

  • 4 medium russet potatoes, peeled and diced
  • ½ pound bacon, chopped
  • 1 large onion, diced
  • 2 celery stalks, chopped
  • 2 carrots, diced
  • 4 cups chicken stock
  • ½ cup heavy cream
  • 1 tsp garlic powder
  • Salt and pepper to taste
  • Fresh parsley for garnish

Preparation Steps

1. Prepare the Ingredients

  • Wash, peel, and dice the potatoes.
  • Dice the bacon and vegetables for even cooking.

2. Cook the Bacon

  • In a large pot, fry the bacon until crispy. Remove and set aside, leaving the rendered fat in the pot.

3. Sauté the Vegetables

  • Add the onions, celery, and carrots to the pot. Sauté them in the bacon grease until softened and fragrant.

4. Simmer with Potatoes and Stock

  • Add the diced potatoes and chicken stock to the pot. Bring to a boil, then lower the heat to a simmer. Cook for about 20 minutes or until the potatoes are tender.

5. Blend for Creaminess

  • Use an immersion blender to purée part of the soup, leaving some chunks for texture.

6. Add Cream and Seasonings

  • Stir in the heavy cream, garlic powder, salt, and pepper. Return the bacon to the pot and simmer for 5 minutes.

7. Garnish and Serve

  • Serve the soup hot, garnished with parsley and a side of crusty bread or crackers.

For more inspiration, see Rediscovering Comfort: Sour Cream and French Fried Onion Pork Chops.


Serving Suggestions

This soup is best paired with:

  • Bread: Crusty sourdough or garlic bread enhances the dining experience.
  • Salad: A light green salad balances the richness of the soup.
  • Beverages: Pair with a crisp white wine or a refreshing lemonade.

Variations to Try

If you’re feeling creative, experiment with these delicious variations:

1. Vegetarian Potato Soup

  • Replace bacon with smoked paprika for a smoky flavor.
  • Use vegetable stock instead of chicken stock.

2. Cheese-Enriched Soup

  • Stir in shredded cheddar or Parmesan for a cheesy twist.

3. Spicy Potato & Bacon Soup

  • Add chopped jalapeños or a pinch of cayenne for a spicy kick.

Check out other exciting recipes like Ultimate Bacon Potato Casserole for more inspiration.


FAQs About Old-Fashioned Potato & Bacon Soup

Can This Soup Be Made Ahead?

Yes! The soup can be prepared a day in advance and reheated before serving.

What Potatoes Work Best?

Russet potatoes are ideal for their starchy, creamy texture. Yukon Gold is a good alternative for a slightly waxy finish.

Can I Freeze This Soup?

Certainly. Allow the soup to cool completely before transferring it to freezer-safe containers. Reheat gently to prevent the cream from separating. For more tips, visit Soup Freezing Tips.


Internal Linking Opportunities

To guide readers through related recipes, consider linking these internal pages:


Nutritional Insights

Here’s a quick breakdown of the nutritional profile per serving:

  • Calories: ~320
  • Protein: 10g
  • Carbohydrates: 30g
  • Fat: 18g
  • Fiber: 4g

Potatoes provide a good source of potassium and fiber, while bacon adds protein and flavor. Adjust the cream and bacon quantities for lighter versions.


Why This Recipe Is Timeless

Old-Fashioned Potato & Bacon Soup is more than a meal—it’s a nostalgic experience. Its rich flavors and creamy texture bring comfort to any table. As you prepare this dish, you’re not just making soup; you’re creating memories.

For more comforting dishes, explore ExoRecipes.com.