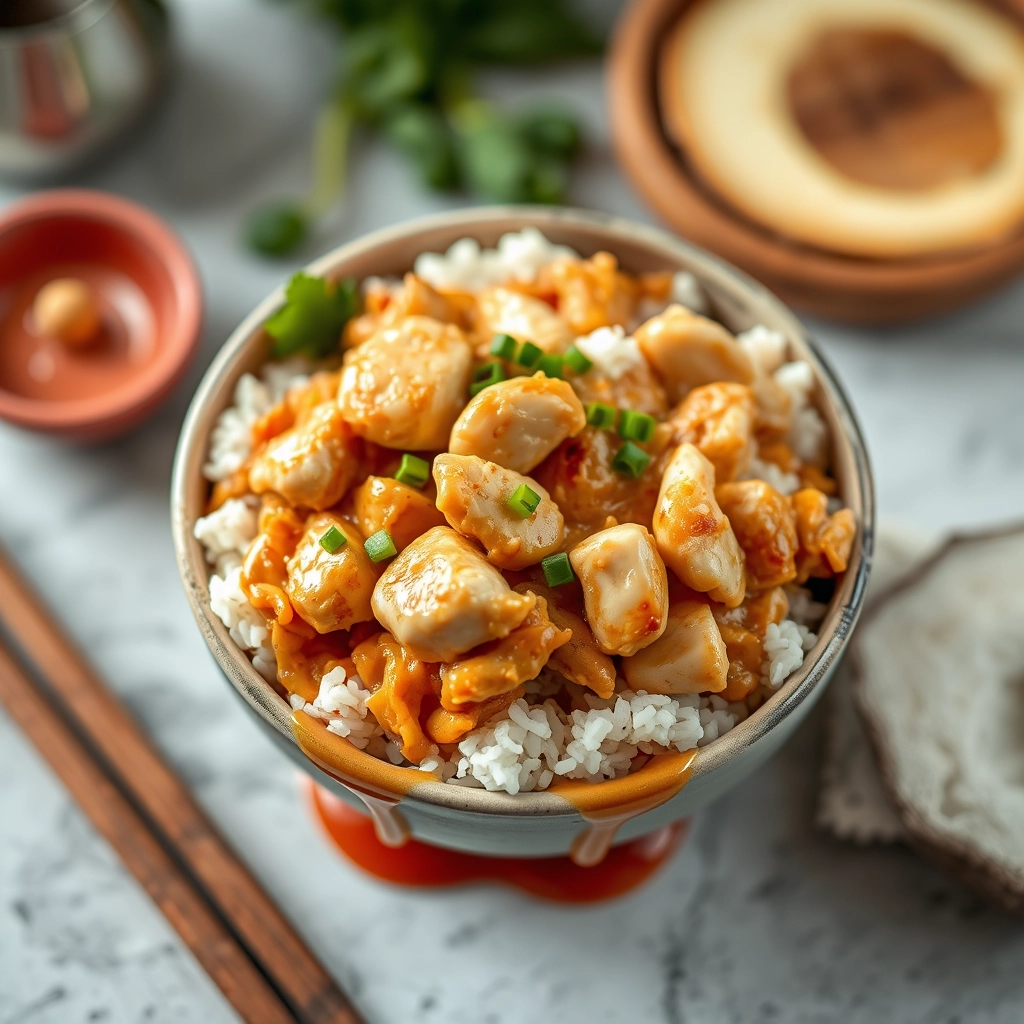
Coconut Chicken Rice Bowl

coconut-chicken-rice-bowl

The Coconut Chicken Rice Bowl That Feels Like a Hug

Do you ever have those days when you crave something comforting, yet fresh? A meal that wraps you in warmth but still feels light and nourishing? That’s exactly how I felt last Tuesday, when the rain tapped endlessly against my kitchen window and my stomach rumbled for something more exciting than my usual lunch routine. That’s when this coconut chicken rice bowl was born – a little tropical escape right at my dining table.

Ingredients That Sing Together

  • 1 lb boneless chicken thighs – I swear by thighs for their juicy tenderness, but breasts work too if you prefer leaner meat
  • 1 cup jasmine rice – that floral fragrance is everything
  • 1 can (13.5 oz) coconut milk – go for full-fat for that luxurious creaminess
  • 2 cloves garlic, minced – because what’s life without garlic?
  • 1 thumb-sized piece of ginger, grated – the zingy soul of this dish
  • 1 tbsp curry powder – my secret is using Malaysian curry powder for its complex sweetness
  • 1 lime – for that bright finish that makes all the difference
  • Handful of cilantro – controversial, I know, but it adds such freshness
  • 1 cucumber, thinly sliced – the cool crunch we all need
  • 1 red chili, sliced – optional, but I love the gentle heat

Let’s Make Magic Happen

First, let’s give that chicken some love. Pat the thighs dry with paper towels – this helps them get beautifully golden later. Season generously with salt, pepper, and half the curry powder. Let them sit while you prep everything else; this little rest makes all the difference in flavor.

Now, the rice. Rinse it until the water runs clear – yes, it’s an extra step, but it prevents that gummy texture we all dread. In your rice cooker or pot, combine the rinsed rice with coconut milk instead of water (isn’t that already dreamy?), a pinch of salt, and the remaining curry powder. The aroma at this stage will make your kitchen smell like a Southeast Asian street market.

While the rice cooks, heat a glug of oil in your favorite skillet over medium-high. Add the chicken thighs skin-side down if they have skin (and oh, they should). Here’s my golden rule: don’t peek for at least 5 minutes! Let that crust form beautifully. Flip when golden, then add the garlic and ginger, letting them sizzle around the chicken for about 30 seconds – just until fragrant.
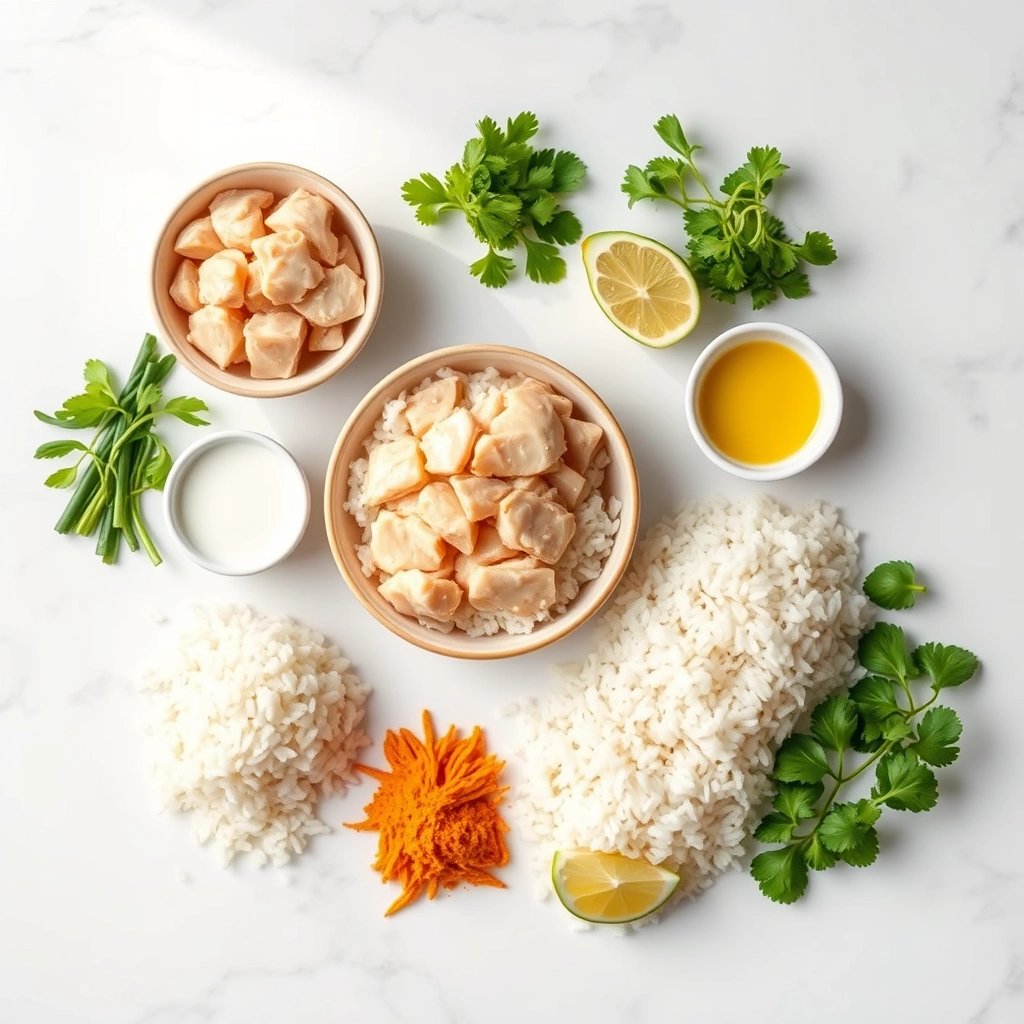
Pro Tips for the Perfect Coconut Chicken Rice Bowl

To make your coconut chicken rice bowl truly shine, here are a few insider secrets:

  • Toast the coconut milk: Simmering the coconut milk for a minute or two before adding other ingredients deepens the flavor.
  • Use chicken thighs: They stay juicier than breasts when cooked in the coconut sauce.
  • Fresh garnishes matter: A squeeze of lime and handful of fresh cilantro right before serving makes all the difference.
  • Don’t skip the resting time: Let the chicken sit in the sauce for 5 minutes after cooking for maximum flavor absorption.

Delicious Variations to Try

This recipe is wonderfully adaptable:

  • Vegetarian version: Swap chicken for chickpeas or cubed tofu (add them at the end to prevent crumbling).
  • Spice it up: Add a diced jalapeño or 1/2 teaspoon red pepper flakes with the garlic.
  • Different proteins: Shrimp or sliced pork work beautifully with the coconut sauce.
  • Rice alternatives: Serve over quinoa, cauliflower rice, or even noodles for a fun twist.

What to Serve With Your Coconut Chicken Bowl

While this dish is satisfying on its own, these accompaniments take it to the next level:

  • Quick-pickled vegetables (carrots, radishes, or cucumbers)
  • Steamed or roasted broccoli
  • Mango or pineapple salsa
  • Crispy shallots or peanuts for crunch
  • A simple green salad with lime vinaigrette

Storage and Reheating Tips

Leftovers taste even better the next day! Here’s how to keep them perfect:

  • Storage: Keep in an airtight container in the fridge for up to 3 days.
  • Freezing: The chicken and sauce freeze well for up to 2 months (rice is best made fresh).
  • Reheating: Warm gently in a skillet with a splash of water or coconut milk to refresh the sauce.
  • Pro tip: Store garnishes separately and add fresh when serving.

Frequently Asked Questions

Can I use light coconut milk?
Yes, but the sauce will be thinner and less rich. You may want to simmer it longer to thicken.

My sauce is too thin – how can I thicken it?
Mix 1 teaspoon cornstarch with 1 tablespoon cold water, then stir into the simmering sauce.

Can I make this in a slow cooker?
Absolutely! Cook chicken and sauce on low for 4-5 hours, then shred or slice the chicken before serving.

What if I don’t have fresh ginger?
Use 1/4 teaspoon ground ginger instead, but fresh really makes the flavor pop.

A Bowl of Comfort

There’s something magical about how the creamy coconut sauce hugs each grain of rice, how the tender chicken soaks up all those warm flavors, and how the fresh garnishes brighten every bite. This isn’t just dinner – it’s a hug in bowl form, perfect for busy weeknights when you need something both effortless and extraordinary. I hope this recipe becomes one of your go-to comfort foods, just like it has in our home. Don’t forget to make a little extra – tomorrow’s lunch will thank you!

Print
clock clock iconcutlery cutlery iconflag flag iconfolder folder iconinstagram instagram iconpinterest pinterest iconfacebook facebook iconprint print iconsquares squares iconheart heart iconheart solid heart solid icon

Coconut Chicken Rice Bowl

  • Author: Trusted Blog

Description

A flavorful and creamy coconut chicken served over rice with a hint of lime and cilantro.


Ingredients

Scale

For the Crust:

  • 1 lb boneless, skinless chicken thighs, cut into bite-sized pieces
  • 1 cup jasmine rice, uncooked
  • 1 can (13.5 oz) coconut milk
  • 1 tbsp coconut oil
  • 1 tbsp ginger, minced
  • 2 cloves garlic, minced
  • 1 tbsp lime juice
  • 1 tsp turmeric
  • 1/2 tsp red pepper flakes
  • Salt and pepper to taste
  • Fresh cilantro for garnish
  • Lime wedges for serving

Instructions

1. Prepare the Crust:

  1. Rinse the jasmine rice under cold water until the water runs clear. Cook according to package instructions and set aside.
  2. In a large skillet, heat coconut oil over medium heat. Add ginger and garlic, sauté for 1 minute until fragrant.
  3. Add chicken pieces to the skillet and cook until browned on all sides, about 5-6 minutes.
  4. Pour in coconut milk, lime juice, turmeric, red pepper flakes, salt, and pepper. Stir well and bring to a simmer.
  5. Reduce heat to low and let the chicken cook in the coconut sauce for 15-20 minutes, stirring occasionally, until the sauce thickens and the chicken is fully cooked.
  6. Serve the coconut chicken over the cooked rice. Garnish with fresh cilantro and lime wedges.

Notes

You can customize the seasonings to taste.
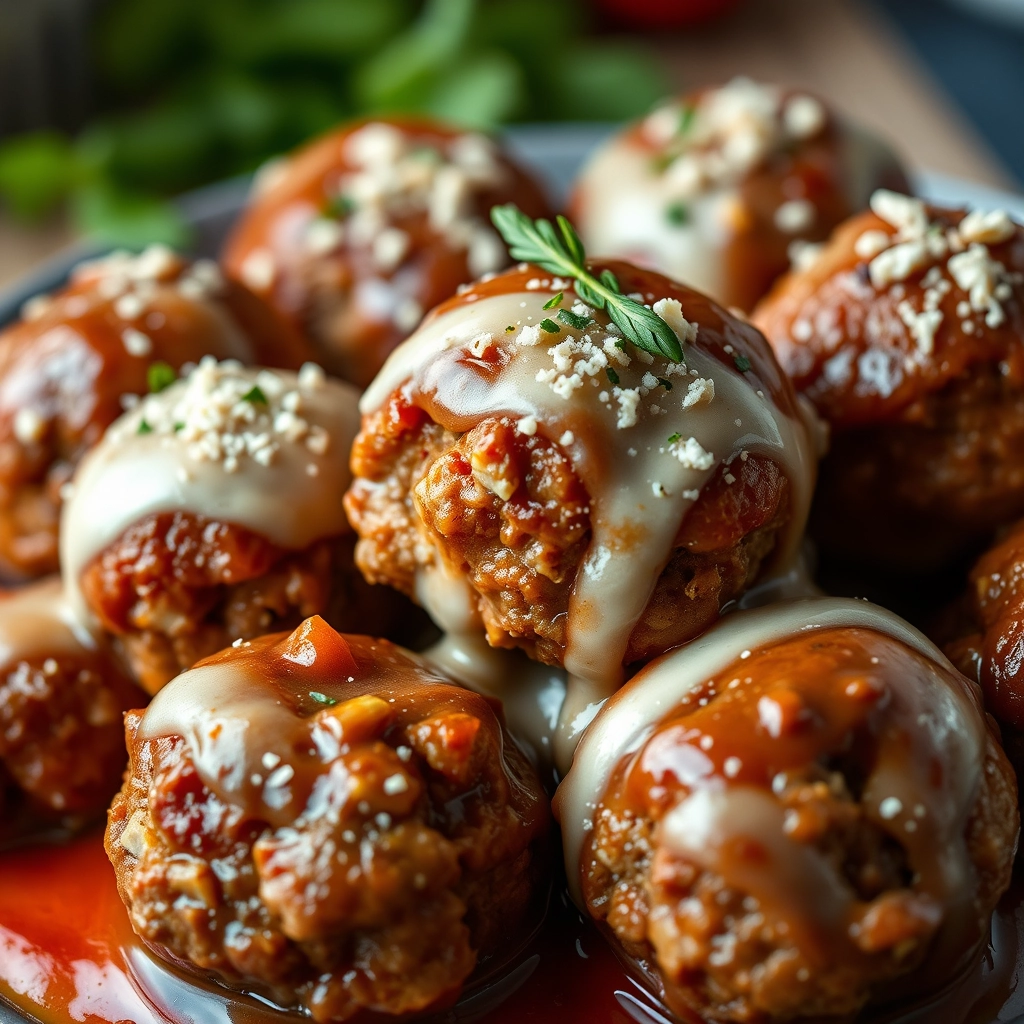
Greek Meatballs – Crunchy Creamy Sweet

greek-meatballs-crunchy-creamy-sweet

Greek Meatballs – A Little Taste of the Mediterranean in Every Bite

There’s something magical about the way food can transport you—one bite, and suddenly, you’re sitting at a sun-drenched taverna by the Aegean Sea, the scent of oregano and lemon mingling with the salty breeze. That’s exactly how I felt the first time I tried homemade Greek meatballs, or keftedes, as they’re lovingly called in Greece. Crispy on the outside, tender within, and bursting with bright, herby flavors, they’re the kind of dish that makes you close your eyes and savor every morsel.

I’ll never forget the summer I spent in Santorini, where a sweet yiayia (grandmother) taught me her secret: a splash of ouzo in the meat mixture for that unmistakable Greek flair. While I don’t always keep ouzo on hand, I’ve perfected a version that brings all that sunshine to my kitchen, no matter the season. Whether you’re serving them as an appetizer with tzatziki or piling them onto warm pita for a hearty meal, these Greek meatballs are pure joy on a plate.

Ingredients You’ll Need

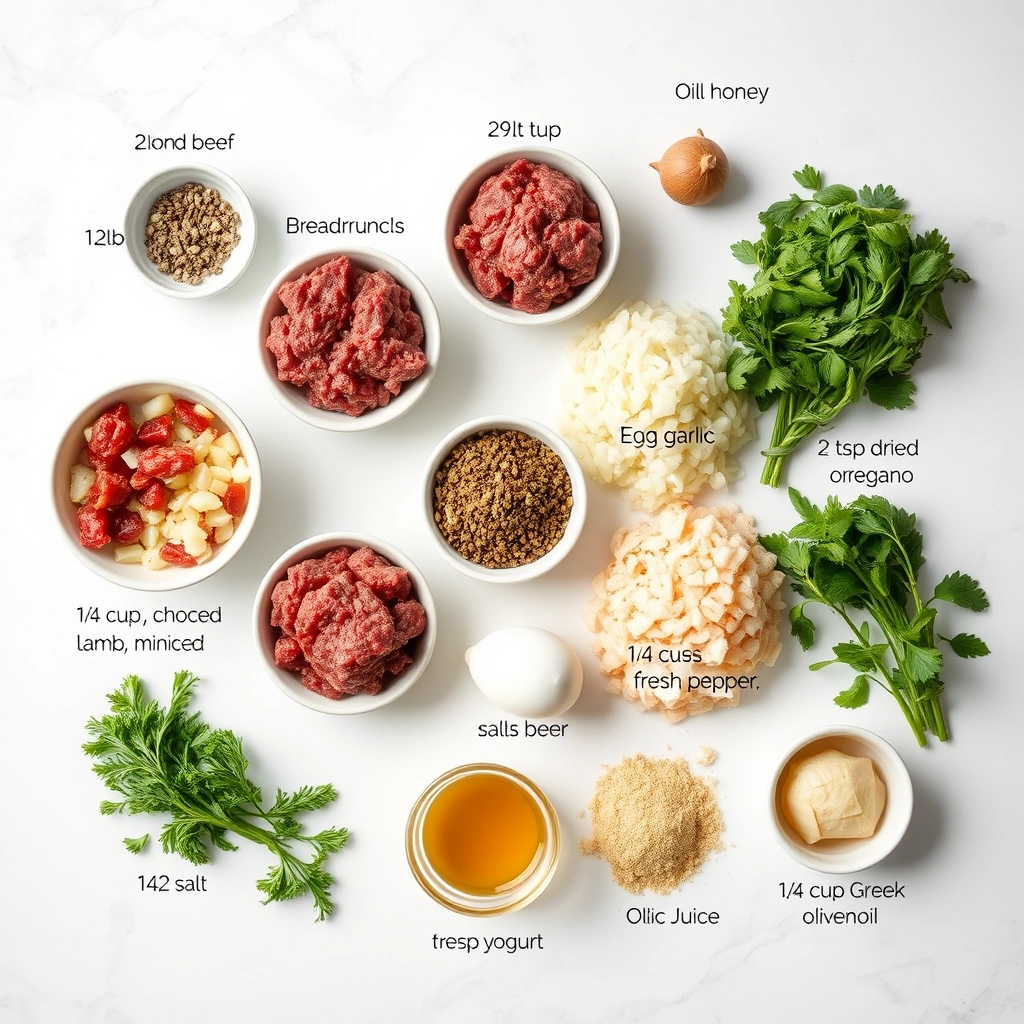
  • 1 lb ground lamb (or beef) – The star of the show! Lamb adds that authentic richness, but beef works beautifully too.
  • ½ cup breadcrumbs – Panko gives extra crunch, but plain works just fine.
  • 1 small red onion, finely grated – Grating ensures no one bites into a big chunk—just sweet, mellow flavor.
  • 2 garlic cloves, minced – Because what’s a meatball without garlic?
  • 1 egg, lightly beaten – Our trusty binder to keep everything together.
  • 2 tbsp fresh mint, finely chopped – The herb that makes these taste unmistakably Greek.
  • 1 tbsp dried oregano – Rub it between your fingers to wake up the aroma.
  • 1 tsp ground cumin – A warm, earthy note that’s subtle but essential.
  • Zest of 1 lemon – For that sunny brightness.
  • ½ tsp cinnamon – Just a whisper—trust me, it’s magical.
  • Salt and pepper – Season generously!
  • Olive oil, for frying – A good glug for that golden crust.

Let’s Make Some Magic

1. Mix with love. In a large bowl, combine the ground meat, breadcrumbs, onion, garlic, egg, mint, oregano, cumin, lemon zest, cinnamon, salt, and pepper. Use your hands—yes, really!—to gently mix everything. Overworking the meat makes for tough meatballs, so think of it as a light, affectionate knead.

2. Shape your happiness. Roll the mixture into golf ball-sized rounds (about 1.5 inches). If the mix feels sticky, dampen your hands with a bit of water. Pro tip: For even cooking, try to make them all the same size—I sometimes use a small cookie scoop for precision.

3. Heat the pan. Pour enough olive oil into a large skillet to coat the bottom generously and heat it over medium-high. To test if it’s ready, flick in a breadcrumb—if it sizzles, you’re golden (pun intended).

4. Fry to crispy perfection. Working in batches to avoid crowding, add the meatballs and cook for about 3-4 minutes per side, turning gently with tongs until they’re deeply browned all over and cooked through. Transfer them to a paper towel-lined plate to drain, and resist the urge to pop one straight into your mouth… or don’t. I won’t judge.

Pro Tips, Variations, and Substitutions

Making the perfect Greek meatballs is all about balancing flavors and textures. Here are some insider tips to elevate your dish:

  • For extra tenderness: Soak your breadcrumbs in milk for 10 minutes before mixing into the meat mixture
  • Grill option: These meatballs can be cooked on a grill pan or outdoor grill for smoky flavor
  • Lamb lovers: Substitute half the beef with ground lamb for authentic Greek flavor
  • Gluten-free: Use gluten-free breadcrumbs or almond flour instead of regular breadcrumbs
  • Herb variations: Fresh dill or parsley can be added for extra freshness

What to Serve With Greek Meatballs

These versatile meatballs pair beautifully with so many sides! Here are our favorite combinations:

  • Classic tzatziki sauce and warm pita bread
  • Greek salad with feta, olives, and cucumber
  • Lemon garlic roasted potatoes
  • Fluffy couscous or orzo pasta
  • Grilled vegetables like zucchini and eggplant

Storage and Reheating Tips

Greek meatballs make fantastic leftovers! Here’s how to keep them tasting fresh:

  • Refrigerator: Store in airtight container for 3-4 days
  • Freezer: Freeze cooked meatballs on baking sheet, then transfer to freezer bags for up to 3 months
  • Reheating: Warm in 350°F oven for 10-15 minutes or microwave at 50% power in 30-second intervals
  • Pro tip: Add a splash of water or broth when reheating to keep them moist

Frequently Asked Questions

Can I make these meatballs ahead of time?
Absolutely! You can prepare the mixture up to 24 hours in advance and keep it refrigerated until ready to cook. This actually helps the flavors meld together beautifully.

What’s the best way to keep meatballs from falling apart?
Make sure your mixture isn’t too wet, chill the formed meatballs for 30 minutes before cooking, and avoid overhandling the meat when forming the balls.

Can I bake these instead of pan-frying?
Yes! Bake at 400°F for 15-20 minutes on a parchment-lined baking sheet, flipping halfway through for even browning.

Are these meatballs kid-friendly?
Definitely! The mild spices and familiar flavors make these a hit with kids. You can even make them smaller for little hands.

A Taste of Greece in Every Bite

There’s something truly special about these Greek meatballs that brings people together. Maybe it’s the way the warm spices mingle with the fresh herbs, or how the crispy exterior gives way to a tender, flavorful center. Whether you’re serving them at a family dinner, a potluck with friends, or meal prepping for the week ahead, these meatballs are sure to become a cherished recipe in your collection. The aromas alone will transport you to a sun-drenched Greek taverna – no passport required!

Print
clock clock iconcutlery cutlery iconflag flag iconfolder folder iconinstagram instagram iconpinterest pinterest iconfacebook facebook iconprint print iconsquares squares iconheart heart iconheart solid heart solid icon

Greek Meatballs – Crunchy Creamy Sweet

  • Author: Trusted Blog

Description

Juicy and flavorful Greek meatballs with a perfect balance of crunch and creaminess, served with a sweet dipping sauce.


Ingredients

Scale

For the Crust:

  • 1 lb ground beef
  • 1/2 lb ground lamb
  • 1/2 cup breadcrumbs
  • 1/4 cup finely chopped onion
  • 2 cloves garlic, minced
  • 1 egg
  • 1 tsp dried oregano
  • 1/2 tsp ground cumin
  • 1/4 cup chopped fresh parsley
  • 1/2 tsp salt
  • 1/4 tsp black pepper
  • 1/4 cup olive oil
  • 1/2 cup Greek yogurt
  • 1 tbsp honey
  • 1 tbsp lemon juice

Instructions

1. Prepare the Crust:

  1. In a large bowl, combine ground beef, ground lamb, breadcrumbs, onion, garlic, egg, oregano, cumin, parsley, salt, and pepper. Mix until well combined.
  2. Shape the mixture into 1-inch meatballs and place on a plate.
  3. Heat olive oil in a large skillet over medium heat. Add meatballs in batches and cook until browned on all sides and cooked through, about 8-10 minutes per batch.
  4. In a small bowl, whisk together Greek yogurt, honey, and lemon juice to make the dipping sauce.
  5. Serve meatballs warm with the dipping sauce on the side.

Notes

You can customize the seasonings to taste.
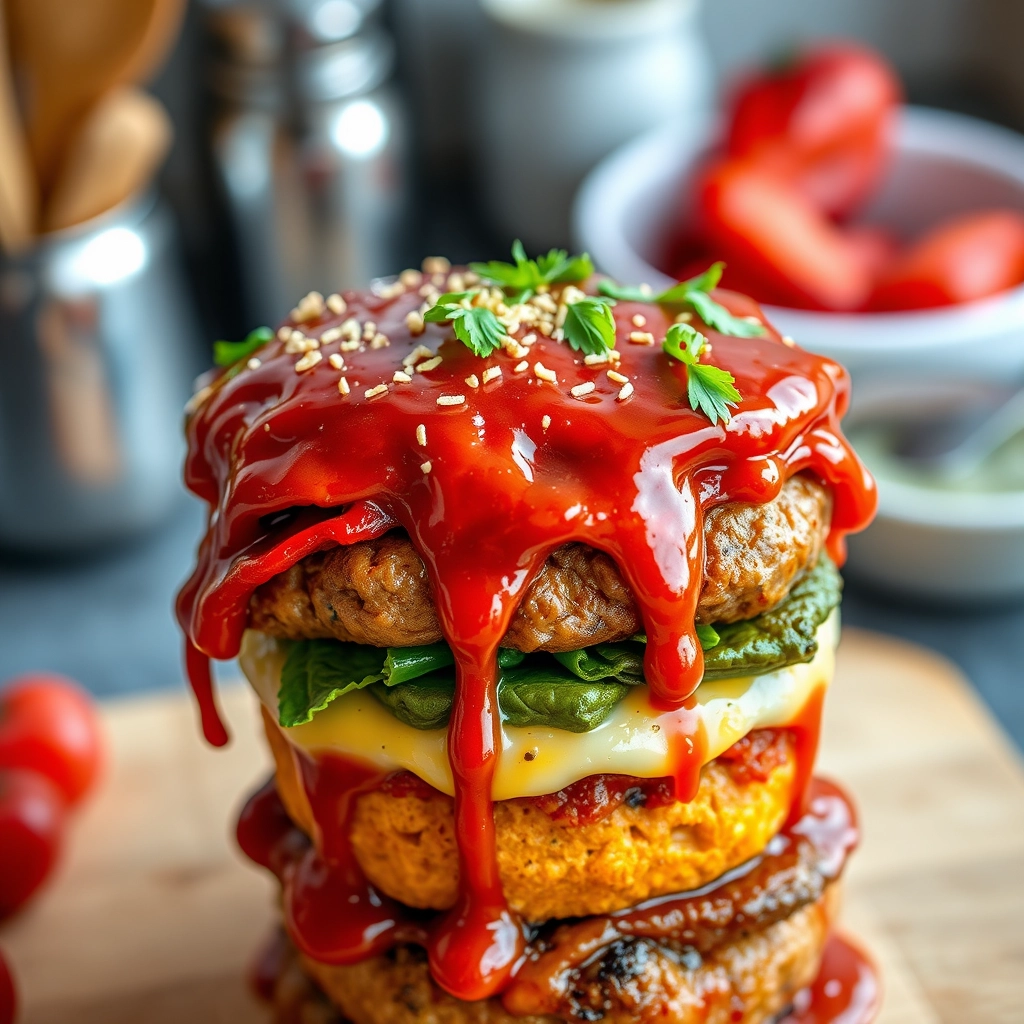
125 Quick Low Carb Dinners Ready in 30 Minutes or Less

quick-low-carb-dinners-30-minutes

When Time is Tight but You Still Want Nourishment (Without the Carbs)

You know those evenings when the clock seems to speed up the second you walk through the door? The kids are hangry, your partner’s scrolling through takeout menus, and all you want is something wholesome—fast. I’ve been there more times than I’d like to admit, standing in front of the fridge like it might magically offer up a solution. That’s why I’ve spent months perfecting this collection of 125 low-carb dinners that come together in 30 minutes or less. Because on busy nights, you deserve a plate that feels like a hug, not a hassle.

The Pantry Heroes You’ll Lean On

These recipes are built on simple, flavorful staples that keep well and play nicely together. Here’s what I always have on hand for effortless low-carb magic:

  • Proteins with Personality: Thin-cut chicken breasts (they cook in a flash!), shrimp (thawed under running water in minutes), and my secret weapon—pre-cooked rotisserie chicken.
  • Veggies That Won’t Betray You: Zucchini noodles (store-bought or spiralized ahead), crisp-tender broccoli florets, and those little grape tomatoes that burst with sweetness when sautéed.
  • The Flavor Boosters: A block of good Parmesan (none of the powdery stuff), jars of briny capers and olives, and my beloved garlic-infused olive oil for when I’m too tired to mince.

Let’s Make Magic: 3 Speedy Favorites to Start With

1. Lemon Garlic Butter Shrimp Over Zoodles

This is my 10-minute lifesaver. The trick? Get your zoodles draining in a colander first—they’ll lose excess water while you cook. In a hot skillet, melt a generous knob of butter with minced garlic (or that garlic oil I mentioned). When it’s fragrant, toss in the shrimp. They’ll curl into perfect pink commas in about 2 minutes per side. Squeeze half a lemon over everything, shower with parsley if you’re feeling fancy, and pile it onto those zoodles. The warmth will gently wilt them into silky ribbons.

2. Crispy Chicken Cutlets with Avocado Salsa

Pound chicken breasts thin between parchment paper (therapeutic after a long day!) and dredge in almond flour mixed with smoked paprika. Pan-fry in avocado oil—it won’t smoke at high heat. While they crisp, dice avocado with cherry tomatoes, red onion, and lime juice. The cool salsa melts into the hot chicken in the most divine way. Pro tip: Double the salsa and save half for tomorrow’s salad.

3. One-Pan Sausage & Cabbage Sauté

Slice smoked sausage coins and let them get golden in your trustiest skillet. Push them to the side and add shredded cabbage—the pre-bagged kind is fine here. Let it soften just enough to lose its crunch but keep some personality. A splash of apple cider vinegar and caraway seeds makes it taste like you slow-cooked it for hours. This one’s so good, my kids don’t even realize they’re eating cabbage.


“`html

Pro Tips for Speedy Low Carb Success

After testing hundreds of quick low carb dinners, I’ve learned a few secrets to make weeknight cooking even easier:

  • Prep your proteins – Cook extra chicken breasts or hard-boil eggs on Sunday to throw into salads or stir-fries later
  • Embrace frozen veggies – They’re just as nutritious as fresh and cut prep time in half
  • Make friends with your air fryer – It crisps up low carb ingredients like zucchini and cauliflower in minutes
  • Double batch when possible – Many of these meals taste even better as leftovers

Simple Swaps for Dietary Needs

These recipes are wonderfully adaptable:

  • Dairy-free? Use nutritional yeast instead of cheese, or coconut milk in creamy sauces
  • Nut allergies? Swap almond flour for sunflower seed flour in breading
  • Vegetarian? Replace meats with extra-firm tofu, tempeh, or portobello mushrooms
  • Need more carbs? Add a small serving of quinoa, sweet potato, or brown rice

Perfect Pairings

Round out your quick low carb dinners with these easy sides:

  • Crispy kale chips (bake at 350°F for 10 minutes with olive oil and sea salt)
  • Quick-pickled vegetables (just 15 minutes in vinegar brine!)
  • Cauliflower rice (frozen versions steam in 5 minutes)
  • Simple green salad with lemon vinaigrette

Keeping It Fresh

To make your low carb meals last:

  • Storage: Most cooked dishes keep 3-4 days in airtight containers
  • Freezing: Sauces and soups freeze beautifully for up to 3 months
  • Reheating: Add a splash of broth when microwaving to prevent dryness
  • Reviving leftovers: Toss cooked proteins into fresh salads or scramble with eggs

Your Low Carb Dinner Questions Answered

Can I meal prep these recipes?

Absolutely! About 80% of these dinners taste great reheated. I recommend prepping components separately (like keeping dressings and crunchy toppings apart) and assembling just before eating.

What if I don’t have specialty low carb ingredients?

No problem! Regular ingredients often work fine – use breadcrumbs instead of almond flour, or regular yogurt instead of Greek. The meals will still be lower carb than traditional versions.

How do I add more flavor without carbs?

My secret weapons are: smoked paprika, fresh herbs, citrus zest, garlic-infused oils, and umami boosters like nutritional yeast or anchovy paste.

Are these recipes family-friendly?

Yes! Most picky eaters won’t even notice they’re eating low carb. For skeptical kids, try the “cheesy cauliflower rice” or “zucchini pizza bites” first – they’re always hits at my table.

Happy Low Carb Cooking!

There’s something so satisfying about putting a nourishing, delicious dinner on the table without spending hours in the kitchen. I hope these quick low carb recipes bring more joy (and less stress) to your evenings. Remember – eating well doesn’t have to be complicated. Some of the most satisfying meals come together in the time it takes to set the table. Wishing you many happy, healthy meals ahead!

“`
Print

clock clock iconcutlery cutlery iconflag flag iconfolder folder iconinstagram instagram iconpinterest pinterest iconfacebook facebook iconprint print iconsquares squares iconheart heart iconheart solid heart solid icon

Garlic Butter Steak with Zucchini Noodles

  • Author: Trusted Blog

Description

A quick and delicious low-carb dinner featuring juicy garlic butter steak served over fresh zucchini noodles.


Ingredients

Scale

For the Crust:

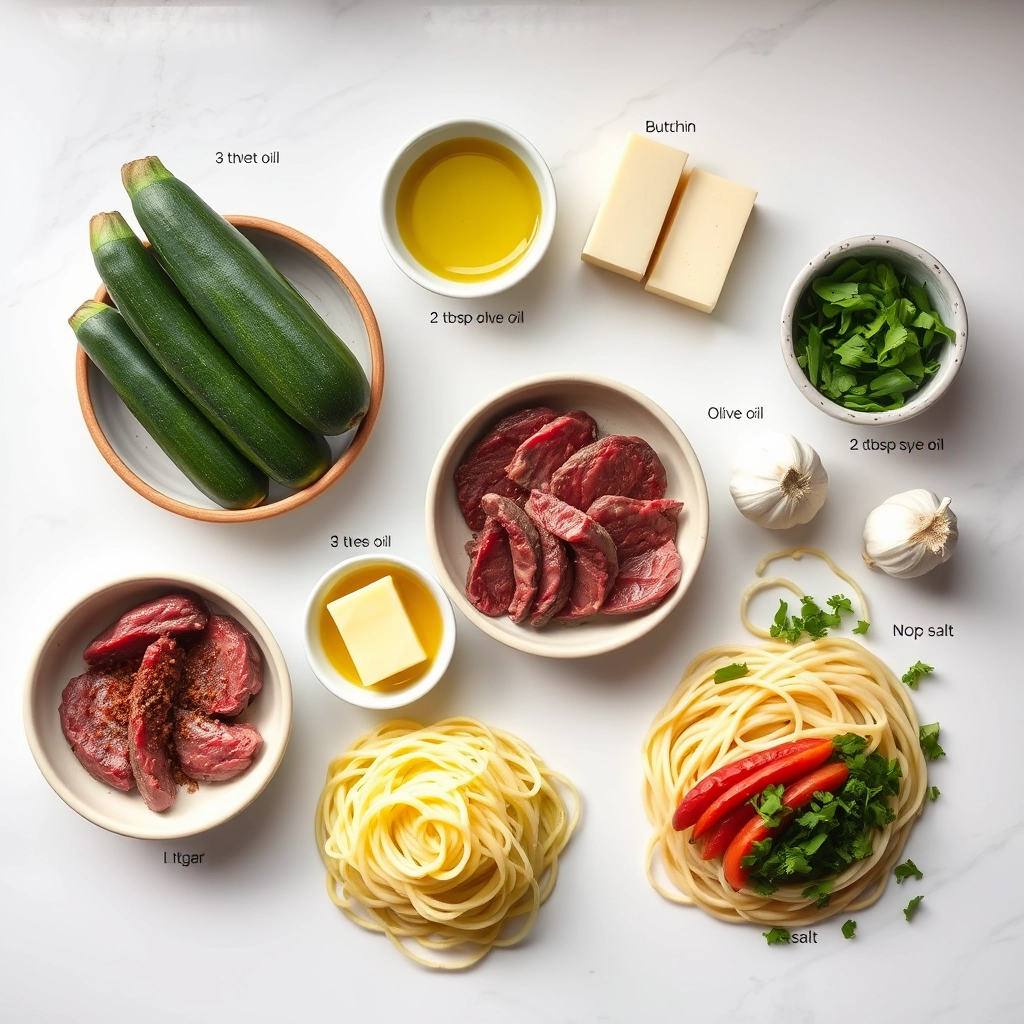
  • 1 lb sirloin steak, sliced thin
  • 2 medium zucchinis, spiralized into noodles
  • 3 tbsp butter
  • 3 cloves garlic, minced
  • 1 tbsp olive oil
  • 1 tsp salt
  • 1/2 tsp black pepper
  • 1/4 tsp red pepper flakes (optional)
  • 1 tbsp fresh parsley, chopped

Instructions

1. Prepare the Crust:

  1. Heat olive oil in a large skillet over medium-high heat. Add steak slices and season with salt and black pepper. Cook for 3-4 minutes until browned. Remove from skillet and set aside.
  2. In the same skillet, melt butter over medium heat. Add minced garlic and red pepper flakes (if using), sauté for 30 seconds until fragrant.
  3. Add zucchini noodles to the skillet and toss to coat in the garlic butter. Cook for 2-3 minutes until just tender.
  4. Return the cooked steak to the skillet, toss everything together, and cook for 1 more minute to heat through.
  5. Garnish with fresh parsley and serve immediately.

Notes

You can customize the seasonings to taste.
30 High Protein Anti-Inflammatory Dinners

high-protein-anti-inflammatory-dinners

30 High Protein Anti-Inflammatory Dinners to Nourish Your Body & Soul

There’s something deeply comforting about a meal that not only satisfies your hunger but also makes you feel good from the inside out. I remember the first time I truly understood the power of anti-inflammatory eating—it was after a long week of feeling sluggish, achy, and just… off. A dear friend, who happens to be a nutritionist, gently nudged me toward meals rich in protein and inflammation-fighting ingredients. The difference? Like night and day. Now, I keep a rotation of these nourishing dinners in my back pocket—because good food should heal as much as it delights.

Ingredients That Do Double Duty

These dinners are built on ingredients that pack a punch—both in flavor and wellness benefits. Here’s what you’ll often find in my kitchen for these recipes:

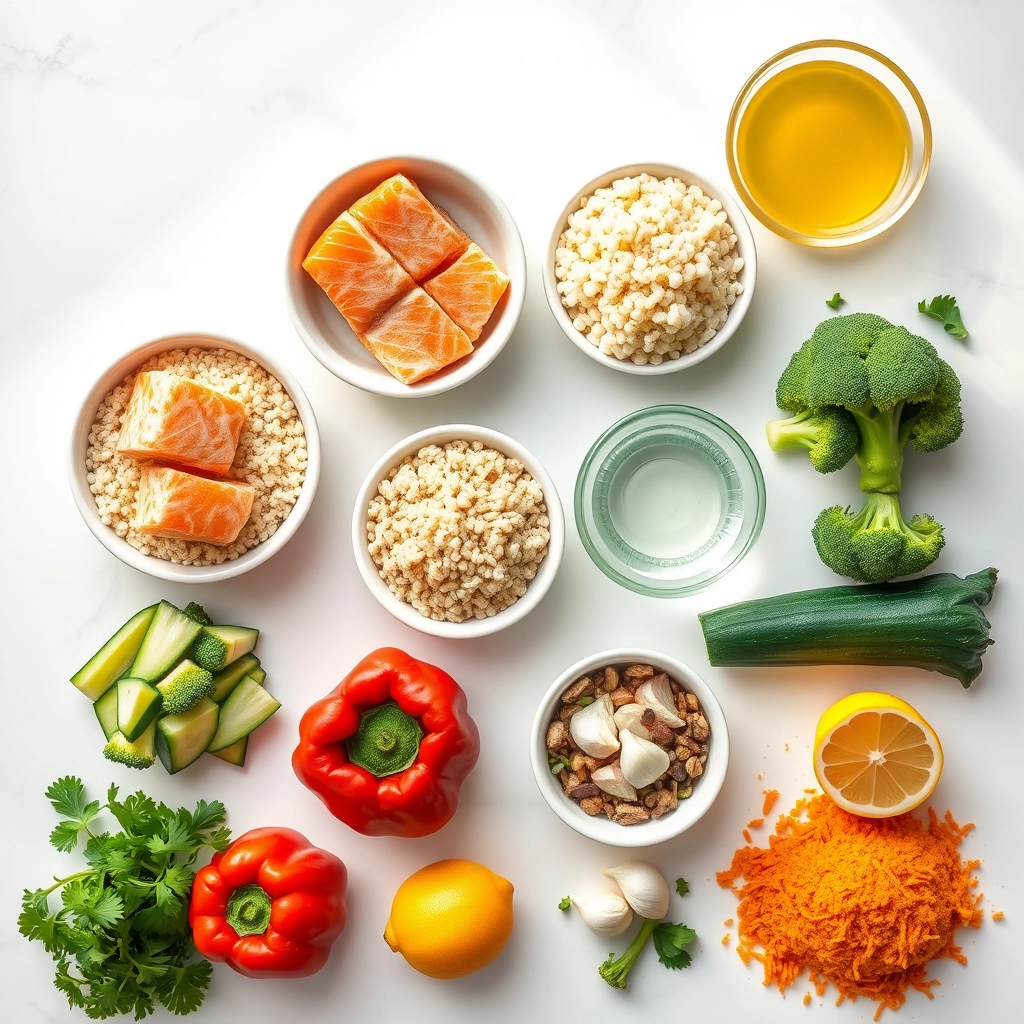
  • Wild-caught salmon – A superstar for omega-3s and lean protein. I opt for wild-caught when possible—it’s richer in nutrients and has a cleaner flavor.
  • Turmeric & ginger – My golden duo for fighting inflammation. Fresh ginger adds a lovely zing, while turmeric (paired with black pepper for absorption) brings warmth.
  • Leafy greens (kale, spinach, Swiss chard) – I toss them into everything! They’re packed with antioxidants and fiber, and they wilt beautifully into soups and stir-fries.
  • Lentils & chickpeas – Plant-based protein powerhouses that keep meals hearty. I love how versatile they are—creamy in curries, crispy in salads.
  • Extra virgin olive oil – A drizzle of good-quality EVOO not only enhances flavor but also delivers healthy fats that help reduce inflammation.

Let’s Get Cooking: A Cozy Step-by-Step

One of my go-to weeknight favorites is a Turmeric-Ginger Salmon Bowl—it’s quick, vibrant, and packed with all the good stuff. Here’s how I make it:

  1. Marinate the salmon: In a small bowl, whisk together 1 tbsp grated ginger, 1 tsp turmeric, 1 minced garlic clove, 1 tbsp olive oil, and a squeeze of lemon. Coat two salmon fillets and let them sit for 10 minutes (or up to 30 if you have time). Tip: This is when I prep the rest of my ingredients—multitasking magic!
  2. Roast to perfection: Preheat your oven to 400°F (200°C). Place the salmon on a parchment-lined tray and roast for 12-15 minutes, depending on thickness. You’ll know it’s done when it flakes easily with a fork.
  3. Sauté your greens: While the salmon cooks, heat a drizzle of olive oil in a pan. Add a big handful of chopped kale or spinach and a pinch of salt. Sauté just until wilted—about 2 minutes. Personal touch: A sprinkle of red pepper flakes here adds a lovely warmth.

And just like that, you’re halfway to a bowl of vibrant, healing goodness. But wait—there’s more! The next steps (think: fluffy quinoa, creamy avocado, and a drizzle of tahini) will turn this into a meal you’ll crave. Stay tuned for the rest of the recipe and 29 more dinners that’ll make your body sing.

Pro Tips, Variations, and Substitutions

One of the best things about high-protein, anti-inflammatory dinners is how adaptable they can be! Here are a few ways to tweak these meals to suit your taste or dietary needs:

  • Protein Swaps: If a recipe calls for salmon but you’re not a fan, try wild-caught cod or even grilled chicken for a different flavor profile.
  • Vegetable Variations: Swap out spinach for kale or Swiss chard in sautéed dishes—just adjust cooking times slightly.
  • Spice Adjustments: If turmeric isn’t your thing, ginger and cinnamon also offer anti-inflammatory benefits and add warmth to dishes.
  • Dairy-Free Options: Use coconut milk or almond yogurt in place of dairy to keep things creamy without the inflammation.

What to Serve It With

Pairing your high-protein dinner with the right sides can elevate the meal and boost nutrition. Here are some perfect accompaniments:

  • Quinoa or Brown Rice: These whole grains add fiber and make the meal more filling.
  • Roasted Sweet Potatoes: A delicious source of complex carbs and beta-carotene.
  • Steamed Greens: Broccoli, asparagus, or Brussels sprouts add crunch and extra anti-inflammatory benefits.
  • Avocado Salad: A simple mix of avocado, cherry tomatoes, and lemon juice adds healthy fats and freshness.

Storage and Reheating Tips

Meal prepping these dinners? Here’s how to keep them tasting great:

  • Refrigerate: Store leftovers in airtight containers for up to 3–4 days.
  • Freeze: Most cooked proteins and stews freeze well for up to 3 months—just thaw overnight before reheating.
  • Reheating: Gently warm soups and stews on the stovetop with a splash of broth to maintain moisture. For grilled proteins, use an oven at 300°F to prevent drying out.

Frequently Asked Questions

Can I make these meals ahead of time?

Absolutely! Many of these dinners, like soups, stews, and roasted proteins, taste even better the next day as flavors meld. Just store them properly and reheat gently.

Are these recipes suitable for meal prep?

Yes! These meals are perfect for meal prep—just portion them into containers and refrigerate or freeze for easy weeknight dinners.

What if I don’t eat meat?

No problem! Swap animal proteins for plant-based options like lentils, chickpeas, or tempeh. They’re just as high in protein and anti-inflammatory benefits.

How can I make these meals more kid-friendly?

Try milder spices, smaller portions, or fun shapes (like turkey meatballs) to make these dinners appealing to little ones. Pairing them with familiar sides like whole-grain pasta or roasted carrots helps too!

Final Thoughts

Eating well doesn’t have to mean sacrificing flavor or comfort. These high-protein, anti-inflammatory dinners are designed to nourish your body while keeping your taste buds happy. Whether you’re meal prepping for the week or cooking a special dinner tonight, these recipes are here to make life a little easier—and a lot more delicious. Here’s to happy, healthy eating!

Print
clock clock iconcutlery cutlery iconflag flag iconfolder folder iconinstagram instagram iconpinterest pinterest iconfacebook facebook iconprint print iconsquares squares iconheart heart iconheart solid heart solid icon

Lemon Garlic Salmon with Quinoa and Roasted Vegetables

  • Author: Trusted Blog

Description

A high-protein, anti-inflammatory dinner featuring omega-3 rich salmon, fiber-packed quinoa, and nutrient-dense roasted vegetables.


Ingredients

Scale

For the Crust:

  • 4 salmon fillets (6 oz each)
  • 1 cup quinoa, rinsed
  • 2 cups water or vegetable broth
  • 2 cups broccoli florets
  • 1 red bell pepper, sliced
  • 1 zucchini, sliced
  • 2 tbsp olive oil
  • 3 cloves garlic, minced
  • 1 lemon, juiced and zested
  • 1 tsp turmeric
  • 1/2 tsp black pepper
  • 1/2 tsp sea salt
  • 1 tbsp fresh parsley, chopped

Instructions

1. Prepare the Crust:

  1. Preheat oven to 400°F (200°C). Line a baking sheet with parchment paper.
  2. Toss broccoli, bell pepper, and zucchini with 1 tbsp olive oil, 1/2 tsp turmeric, and 1/4 tsp each salt and pepper. Spread on baking sheet.
  3. Roast vegetables for 20 minutes, stirring halfway through.
  4. While vegetables roast, cook quinoa in water or broth according to package instructions.
  5. In a small bowl, mix remaining olive oil, garlic, lemon juice, zest, turmeric, salt, and pepper. Brush over salmon fillets.
  6. After vegetables have roasted for 20 minutes, push to one side of pan and add salmon. Roast for 10-12 more minutes until salmon flakes easily.
  7. Fluff quinoa with fork and divide among plates. Top with salmon and vegetables. Garnish with fresh parsley.

Notes

You can customize the seasonings to taste.
Easy Mongolian Meatballs

easy-mongolian-meatballs

A Cozy Night In with Easy Mongolian Meatballs

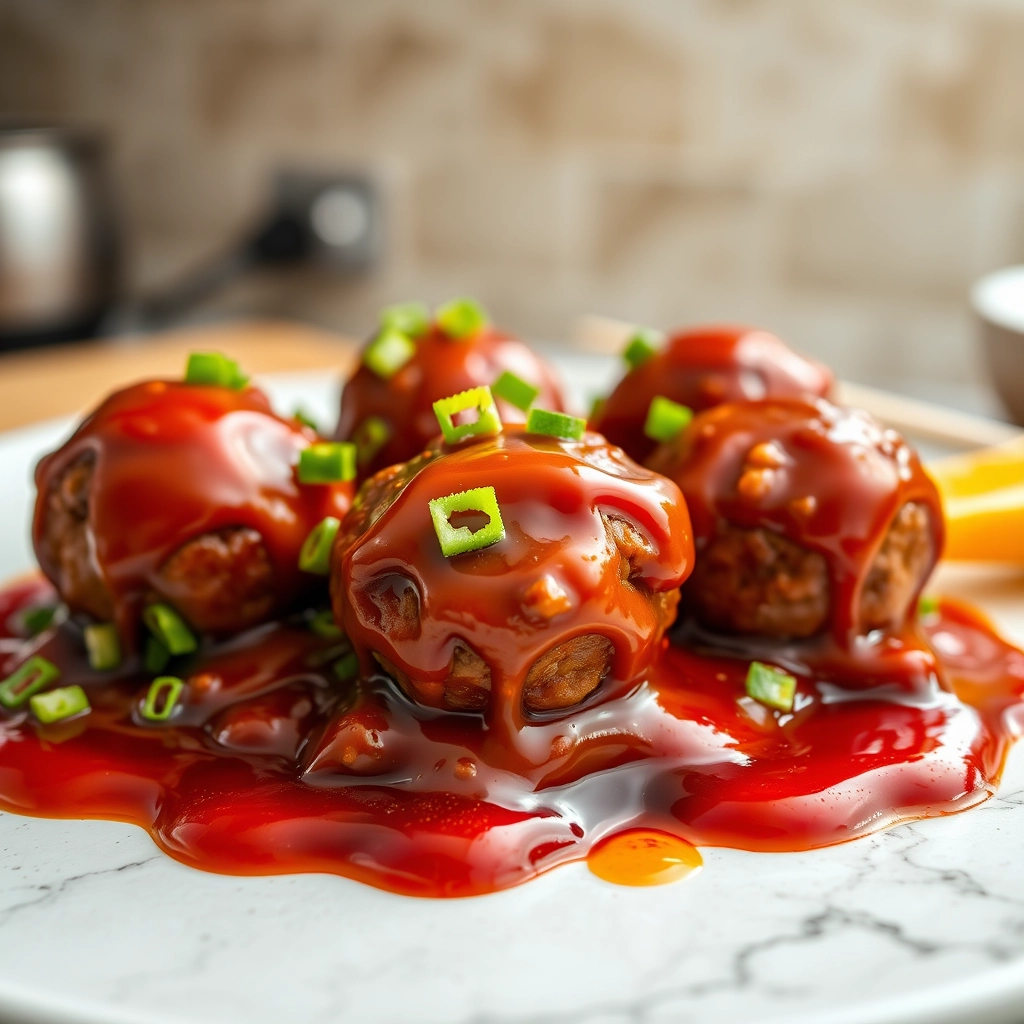
There’s something about a chilly evening that makes me crave the kind of meal that wraps you in warmth—something savory, a little sweet, and utterly comforting. Last week, as rain tapped gently against the window, I found myself longing for the bold flavors of Mongolian beef but wanted something a bit more playful. That’s when these Easy Mongolian Meatballs were born. Tender, juicy meatballs glazed in a sticky, garlicky sauce—they’re the kind of dish that disappears before you’ve even set the table properly. And the best part? They come together in just about 30 minutes, making them perfect for busy weeknights or last-minute gatherings.

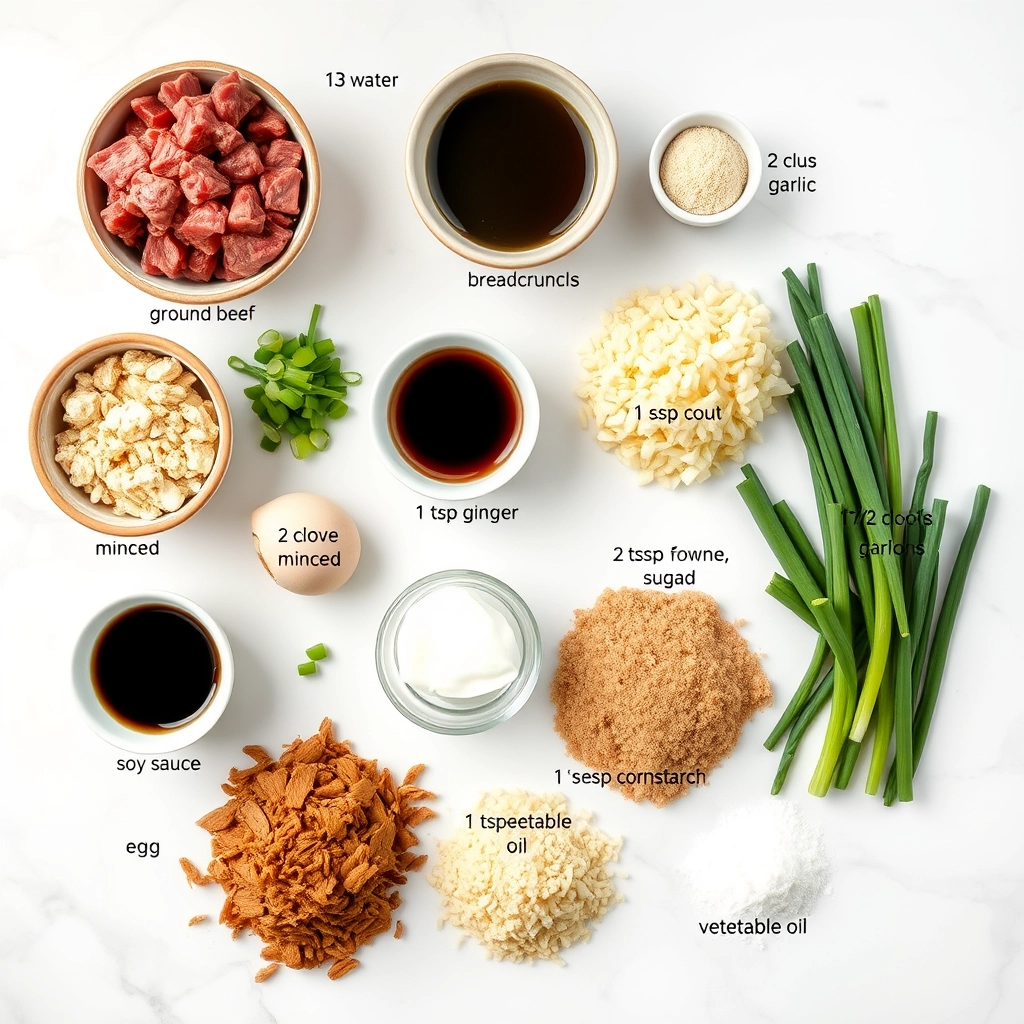
Ingredients You’ll Need

Before we dive into the recipe, let’s gather our ingredients. These meatballs are simple but packed with flavor, and the sauce? Oh, it’s downright addictive.

  • For the Meatballs:
    • 1 lb ground beef (I prefer 85/15 for juiciness, but leaner works too)
    • 1/2 cup breadcrumbs (Panko gives a lovely crunch!)
    • 1 large egg (our trusty binder)
    • 2 cloves garlic, minced (because more garlic is always better)
    • 1 tsp ginger, freshly grated (it adds such a bright, warm note)
    • 2 green onions, finely chopped (for a little freshness)
    • 1 tbsp soy sauce (the umami backbone)
    • 1/2 tsp black pepper (just a gentle kick)
  • For the Mongolian Sauce:
    • 1/2 cup soy sauce (low-sodium if you prefer)
    • 1/2 cup brown sugar (for that caramelized sweetness)
    • 1/4 cup water (to balance the richness)
    • 3 cloves garlic, minced (yes, again—it’s essential!)
    • 1 tsp ginger, grated (double the ginger, double the joy)
    • 1 tbsp hoisin sauce (for depth and a hint of spice)
    • 1 tbsp cornstarch (to thicken the sauce to glossy perfection)
    • 1 tbsp sesame oil (for that nutty finish)

Let’s Make the Meatballs

Now, onto the fun part—bringing these little flavor bombs to life! Don’t worry if you’re not a meatball pro; this recipe is forgiving and fuss-free.

  1. Prep the Meatball Mixture: In a large bowl, combine the ground beef, breadcrumbs, egg, minced garlic, grated ginger, chopped green onions, soy sauce, and black pepper. Use your hands to gently mix everything together—just until combined. Overworking the meat can make the meatballs tough, so a light touch is key.
  2. Shape the Meatballs: Roll the mixture into 1-inch balls (about the size of a walnut). If the mixture sticks to your hands, lightly dampen them with water. This batch should make around 20-24 meatballs, perfect for sharing (or not!).
  3. Cook to Golden Perfection: Heat a large skillet over medium-high heat and add a drizzle of oil. Once hot, add the meatballs in a single layer, leaving a little space between them. Let them cook undisturbed for about 2-3 minutes per side, until they’re beautifully browned all over. They don’t need to be fully cooked through yet—we’ll finish them in the sauce. Transfer them to a plate and set aside.

At this point, your kitchen will smell incredible—garlic, ginger, and savory beef mingling in the air. But trust me, the best is yet to come. Next, we’ll whip up that luscious Mongolian sauce and bring everything together in a sticky, sweet, and savory embrace.

Pro Tips, Variations, and Substitutions

Making these Mongolian meatballs is wonderfully flexible—here are some ways to make them your own:

  • Protein Swap: Ground turkey or chicken works just as well as beef for a lighter version.
  • Gluten-Free Option: Swap soy sauce for tamari or coconut aminos to keep it gluten-free.
  • Extra Veggies: Finely grated carrots or zucchini can be mixed into the meatballs for added nutrition.
  • Spice It Up: Add a pinch of red pepper flakes or a drizzle of sriracha to the sauce for heat.

What to Serve with Mongolian Meatballs

These flavorful meatballs pair beautifully with so many sides! Here are a few favorites:

  • Steamed jasmine rice or fluffy quinoa to soak up the sauce
  • Stir-fried vegetables like bell peppers, broccoli, or snap peas
  • Crisp sesame green beans or a simple cucumber salad
  • Buttery egg noodles for a comforting twist

Storage and Reheating Tips

Leftovers? No problem! Here’s how to keep them tasting fresh:

  • Refrigerator: Store in an airtight container for up to 3 days.
  • Freezer: Freeze cooked meatballs (without sauce) for up to 2 months. Thaw overnight before reheating.
  • Reheating: Warm in a skillet over medium heat with a splash of water or broth to revive the sauce.

Frequently Asked Questions

Can I make these meatballs ahead of time?
Absolutely! Prepare the meatballs and sauce separately, then combine and reheat when ready to serve.

Can I bake the meatballs instead of pan-frying?
Yes! Bake at 375°F (190°C) for 18–20 minutes until cooked through.

What’s the best way to keep meatballs tender?
Avoid overmixing the meat—gently combine ingredients just until incorporated.

Can I use frozen meatballs?
You can, but homemade will have better texture and flavor. If using frozen, thaw first and simmer in the sauce longer.

Final Thoughts

There’s something so comforting about these Mongolian meatballs—tender, saucy, and packed with flavor. Whether you’re serving them over rice for a weeknight dinner or bringing them to a potluck, they’re sure to be a hit. I hope this recipe becomes a staple in your kitchen, just like it is in mine. Happy cooking, friends!

Print
clock clock iconcutlery cutlery iconflag flag iconfolder folder iconinstagram instagram iconpinterest pinterest iconfacebook facebook iconprint print iconsquares squares iconheart heart iconheart solid heart solid icon

Easy Mongolian Meatballs

  • Author: Trusted Blog

Description

Juicy meatballs coated in a sweet and savory Mongolian sauce, perfect for a quick weeknight dinner.


Ingredients

Scale

For the Crust:

  • 1 lb ground beef
  • 1/2 cup breadcrumbs
  • 1 egg
  • 2 cloves garlic, minced
  • 1 tsp ginger, grated
  • 1/4 cup green onions, chopped
  • 1/2 cup soy sauce
  • 1/2 cup brown sugar
  • 1/4 cup water
  • 1 tbsp cornstarch
  • 1 tsp sesame oil
  • 1 tbsp vegetable oil

Instructions

1. Prepare the Crust:

  1. Preheat oven to 400°F (200°C). Line a baking sheet with parchment paper.
  2. In a large bowl, mix ground beef, breadcrumbs, egg, minced garlic, grated ginger, and half of the chopped green onions until well combined.
  3. Shape the mixture into 1-inch meatballs and place them on the prepared baking sheet.
  4. Bake for 15-20 minutes, or until the meatballs are cooked through.
  5. While the meatballs bake, prepare the sauce: In a saucepan over medium heat, combine soy sauce, brown sugar, water, and cornstarch. Stir until the sauce thickens, about 5 minutes. Remove from heat and stir in sesame oil.
  6. Heat vegetable oil in a large skillet over medium heat. Add the baked meatballs and pour the sauce over them. Toss gently to coat.
  7. Garnish with remaining green onions and serve hot over rice or noodles.

Notes

You can customize the seasonings to taste.