Garlic Butter Chicken Bites with Savory Creamy Parmesan Pasta

garlic-butter-chicken-parmesan-pasta

Garlic Butter Chicken Bites with Savory Creamy Parmesan Pasta: A Weeknight Love Story

There’s something magical about the way golden, buttery chicken bites sizzle in a pan—especially on those evenings when you crave comfort but don’t want to spend hours in the kitchen. This recipe was born on one such night, when my pantry was nearly bare, but my heart (and stomach) demanded something indulgent. The result? Tender garlic-kissed chicken nestled in a creamy parmesan pasta that feels like a hug in a bowl. It’s the kind of dish that makes you pause mid-bite, close your eyes, and sigh happily.

Ingredients You’ll Need

  • For the Garlic Butter Chicken Bites:
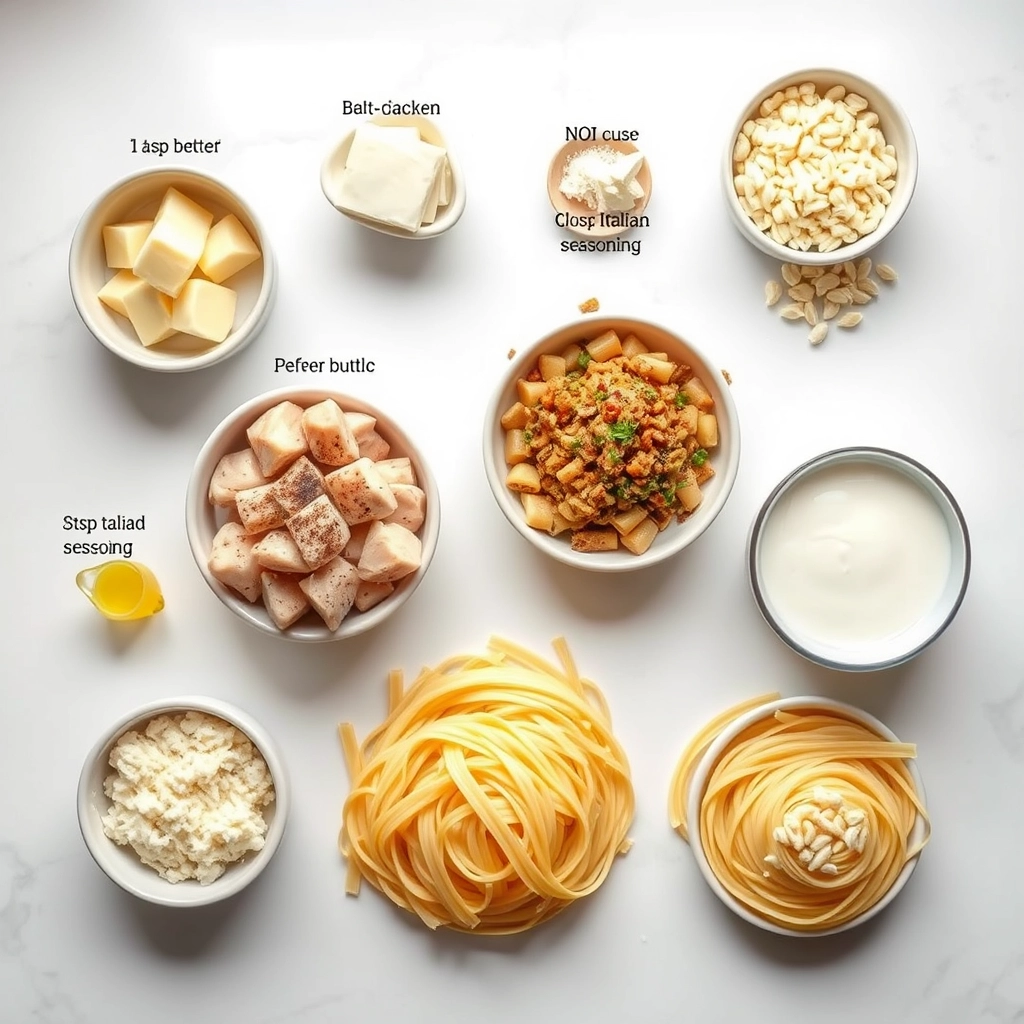
    • 1 lb boneless, skinless chicken thighs (or breasts, if you prefer)—cut into bite-sized pieces. Thighs stay juicier, but either works!
    • 3 tbsp unsalted butter (because everything’s better with butter).
    • 4 garlic cloves, minced (or 1 tbsp garlic paste for a shortcut—no judgment here).
    • 1 tsp smoked paprika (for that subtle warmth).
    • ½ tsp red pepper flakes (optional, but a tiny kick never hurt anybody).
    • Salt and freshly cracked black pepper (to taste—don’t be shy).
  • For the Creamy Parmesan Pasta:
    • 8 oz fettuccine or linguine (though any pasta shape will do—even penne in a pinch).
    • 1 cup heavy cream (the richer, the better).
    • ½ cup freshly grated parmesan cheese (please, no pre-shredded—it melts like a dream when freshly grated).
    • 2 tbsp cream cheese (trust me, this adds the silkiest texture).
    • 1 tsp Italian seasoning (or a pinch each of dried oregano, basil, and thyme).
    • Reserved pasta water (your secret weapon for saucy perfection).

Let’s Get Cooking: Step-by-Step

  1. Prep the Chicken: Pat your chicken pieces dry with a paper towel (this ensures a gorgeous sear). Season generously with salt, pepper, and smoked paprika. Let them sit for 5 minutes—this little rest lets the flavors settle in.
  2. Brown the Chicken: In a large skillet over medium-high heat, melt 2 tbsp of butter. Add the chicken in a single layer (crowding the pan steams instead of sears—so patience is key!). Cook for 3-4 minutes per side until golden and just cooked through. Remove and set aside on a plate, covered loosely with foil.
  3. Garlic Butter Bliss: In the same skillet (don’t wash it—those browned bits are flavor gold!), melt the remaining butter. Add the minced garlic and red pepper flakes, stirring for just 30 seconds until fragrant. Be careful not to burn the garlic—it turns bitter fast!
  4. Pasta Time: While the chicken rests, cook your pasta in salted boiling water until al dente. Reserve ½ cup of pasta water before draining—this starchy liquid is magic for thickening the sauce later.

At this point, your kitchen should smell like a cozy Italian trattoria. Take a deep breath—the creamy parmesan pasta is coming together next, and it’s every bit as dreamy as it sounds. Stay tuned for the second half of this recipe, where we’ll bring it all together in a luscious, fork-twirling finale!
Pro Tips, Variations, and Substitutions

This Garlic Butter Chicken Bites with Savory Creamy Parmesan Pasta is a versatile dish that can be tweaked to suit your preferences. Here are some ideas to make it your own:

  • Protein Swap: Not a fan of chicken? Try shrimp, salmon, or even crispy tofu for a vegetarian twist.
  • Pasta Choices: Fettuccine, penne, or even gluten-free pasta work beautifully with this creamy sauce.
  • Extra Veggies: Toss in sautéed mushrooms, spinach, or sun-dried tomatoes for added flavor and nutrition.
  • Spice It Up: Add a pinch of red pepper flakes or a dash of hot sauce for a little kick.
  • Herb Boost: Fresh basil, parsley, or thyme can elevate the dish with a burst of freshness.

What to Serve It With

This dish is rich and satisfying on its own, but pairing it with the right sides can make it even more special. Here are a few ideas:

  • A crisp Caesar salad with homemade croutons for a refreshing contrast.
  • Garlic bread or a warm baguette to soak up every last drop of that creamy sauce.
  • Roasted asparagus or green beans for a simple, veggie-forward side.
  • A glass of chilled white wine, like Chardonnay or Pinot Grigio, to complement the buttery flavors.

Storage and Reheating Tips

If you have leftovers (which is rare with this dish!), here’s how to keep them tasting delicious:

  • Storage: Place in an airtight container and refrigerate for up to 3 days.
  • Reheating: Gently warm in a skillet over low heat, adding a splash of milk or broth to loosen the sauce. Avoid microwaving, as it can make the pasta gummy.
  • Freezing: While possible, the creamy sauce may separate slightly when thawed. If freezing, store without the pasta and cook fresh noodles when ready to serve.

Frequently Asked Questions

Can I use pre-cooked chicken?
Yes! If you have leftover rotisserie chicken or grilled chicken, simply chop it up and add it to the sauce to warm through.

What if I don’t have heavy cream?
Half-and-half or whole milk can work in a pinch, though the sauce will be slightly less rich. For a dairy-free option, try coconut milk or cashew cream.

How do I prevent the sauce from clumping?
Make sure your pasta water is well-salted, and reserve some starchy water to help emulsify the sauce. Stir constantly while adding the cheese to ensure smoothness.

Can I make this ahead of time?
The sauce can be prepared in advance and stored separately. Reheat gently and toss with freshly cooked pasta for the best texture.

A Cozy Final Thought

There’s something undeniably comforting about a plate of tender garlic butter chicken bites nestled in creamy, cheesy pasta. Whether you’re cooking for a weeknight dinner or a special gathering, this dish is sure to bring warmth and satisfaction to the table. Don’t be surprised if it becomes a regular in your recipe rotation—it’s just that good. Happy cooking, and even happier eating!

Print
clock clock iconcutlery cutlery iconflag flag iconfolder folder iconinstagram instagram iconpinterest pinterest iconfacebook facebook iconprint print iconsquares squares iconheart heart iconheart solid heart solid icon

Garlic Butter Chicken Bites with Savory Creamy Parmesan Pasta

  • Author: Trusted Blog

Description

Juicy garlic butter chicken bites served over a creamy parmesan pasta for a rich and satisfying meal.


Ingredients

Scale

For the Crust:

  • 1 lb boneless, skinless chicken breasts, cubed
  • 2 tbsp butter
  • 4 cloves garlic, minced
  • 1 tsp Italian seasoning
  • Salt and pepper to taste
  • 8 oz fettuccine pasta
  • 1 cup heavy cream
  • 1/2 cup grated parmesan cheese
  • 1 tbsp olive oil
  • 1/4 tsp red pepper flakes (optional)

Instructions

1. Prepare the Crust:

  1. Cook pasta according to package instructions. Drain and set aside.
  2. Season chicken cubes with salt, pepper, and Italian seasoning.
  3. Heat olive oil in a large skillet over medium-high heat. Add chicken and cook until golden brown and cooked through, about 6-8 minutes. Remove chicken and set aside.
  4. In the same skillet, melt butter and sauté garlic until fragrant, about 1 minute.
  5. Reduce heat to low, pour in heavy cream, and stir in parmesan cheese until smooth and creamy.
  6. Add cooked pasta and chicken back to the skillet, tossing to coat evenly. Sprinkle with red pepper flakes if desired.
  7. Serve immediately and enjoy.

Notes

You can customize the seasonings to taste.
Taco Casserole

taco-casserole-recipe

A Cozy Twist on Taco Night: My Hearty Taco Casserole

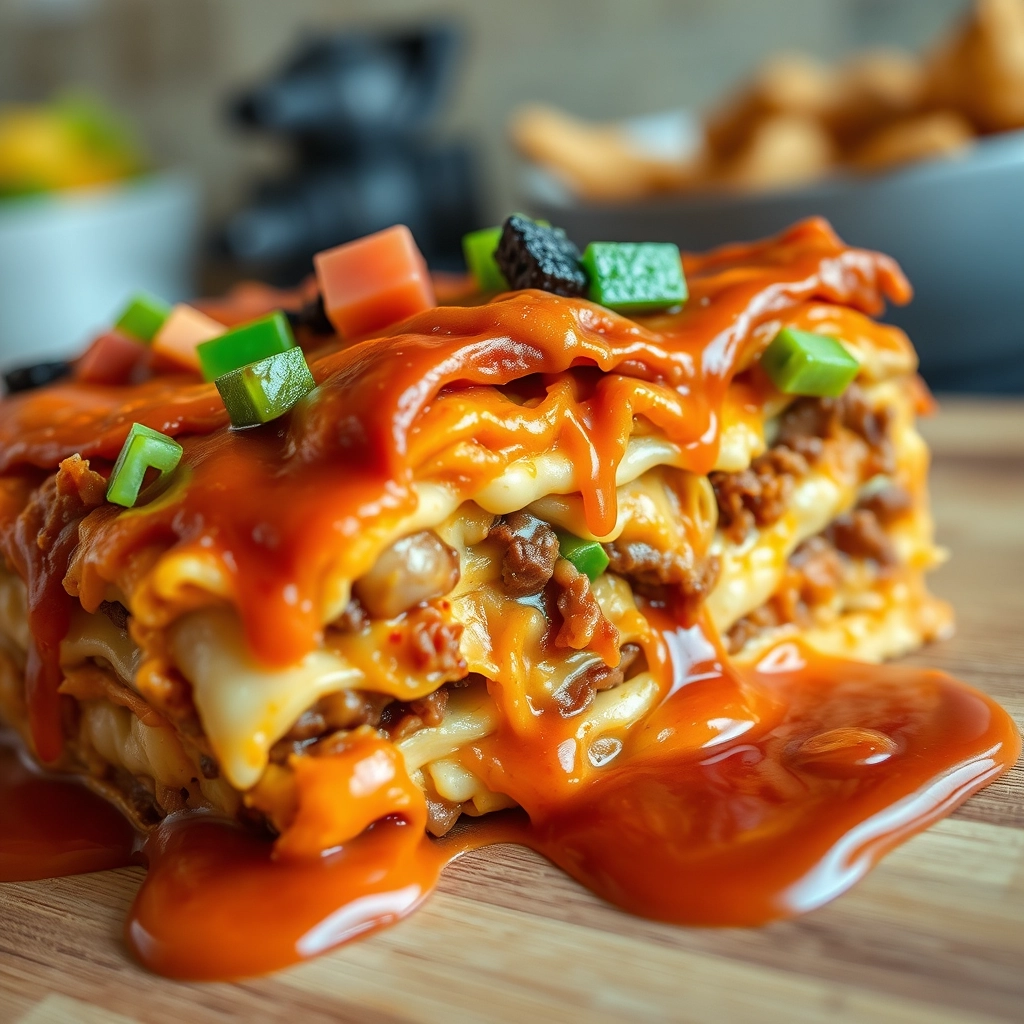
There’s something magical about taco night in our house—the sizzle of seasoned beef, the vibrant toppings scattered across the counter, and the laughter that bubbles up as we all pile our plates high. But on those evenings when I crave the same bold flavors with a little less fuss, this Taco Casserole becomes my go-to. It’s the comforting embrace of a classic taco, baked into a bubbly, cheesy dish that brings everyone running to the table. Whether it’s a busy weeknight or a casual gathering with friends, this recipe never fails to deliver warmth and satisfaction.

Ingredients You’ll Need

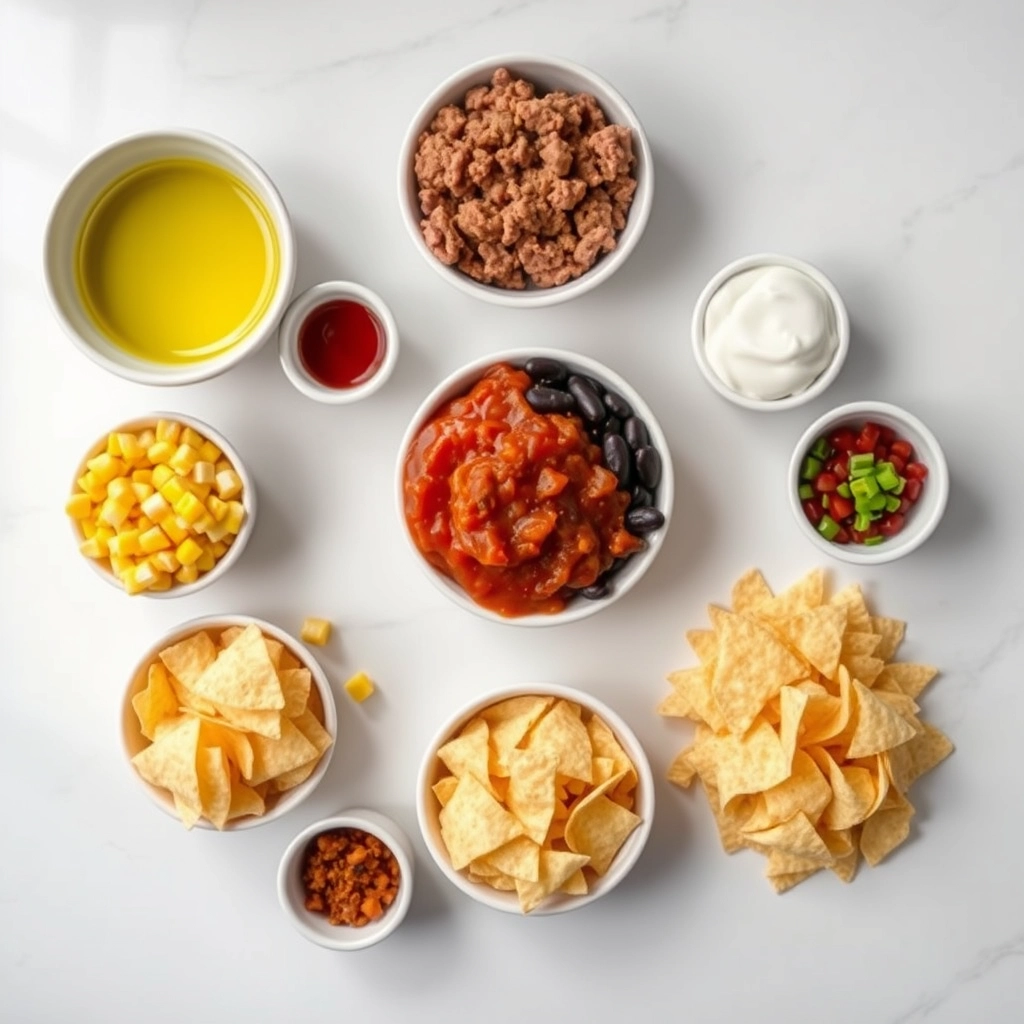
  • 1 lb ground beef (or turkey) – I love the richness of 80/20 beef here, but leaner options work too!
  • 1 packet taco seasoning – Homemade or store-bought, whichever you prefer. (I sometimes add a pinch of smoked paprika for extra depth.)
  • 1 can black beans, drained & rinsed – They add protein and a lovely texture.
  • 1 cup corn kernels – Fresh, frozen, or canned—whatever’s handy!
  • 1 cup salsa – Choose your heat level. A roasted salsa adds a smoky note.
  • 1 cup sour cream – For that creamy, tangy layer.
  • 2 cups shredded cheddar cheese – Because more cheese is always better.
  • 1 bag tortilla chips – Crushed slightly for the perfect base and crunch.
  • Toppings galore! – Think diced avocado, fresh cilantro, jalapeños, or a squeeze of lime.

Let’s Get Layering

This casserole is all about building flavors, one cozy layer at a time. Here’s how I do it:

  1. Preheat & Prep: Fire up your oven to 375°F (190°C) and grab a 9×13 baking dish. Lightly grease it—trust me, cleanup will be a breeze.
  2. Brown the Beef: In a skillet over medium heat, cook the ground beef until no pink remains. Drain any excess fat, then stir in the taco seasoning and a splash of water. Let it simmer for a minute until fragrant.
  3. Layer the Crunch: Spread half of the crushed tortilla chips evenly in the baking dish. They’ll soak up all the delicious juices and stay wonderfully crisp.
  4. Add the Good Stuff: Spoon the seasoned beef over the chips, followed by black beans and corn. Drizzle with salsa, then dollop sour cream over the top (don’t worry about perfect swirls—it’ll melt into gooey perfection).

Now, here’s my little secret: I like to let the layers sit for just a minute before adding the cheese. It helps everything meld together beautifully. Speaking of cheese…

Pro Tips, Variations, and Substitutions

This taco casserole is wonderfully adaptable to suit your tastes or what you have on hand. Here are some ways to make it your own:

  • Protein swap: Ground turkey, chicken, or even plant-based crumbles work beautifully in place of beef.
  • Spice level: Adjust the heat by using mild or hot taco seasoning, or add diced jalapeños for extra kick.
  • Vegetable boost: Stir in sautéed bell peppers, zucchini, or corn for extra nutrition and texture.
  • Chip alternative: No tortilla chips? Crushed nacho cheese Doritos add a fun twist.
  • Cheese choices: Pepper jack, Monterey Jack, or a Mexican blend all work wonderfully.

What to Serve With Taco Casserole

This hearty dish stands well on its own, but these sides make it a complete fiesta:

  • Cooling toppings like sour cream, guacamole, or pico de gallo
  • A crisp green salad with lime vinaigrette
  • Mexican street corn or roasted zucchini
  • Refried beans or black beans
  • Margaritas or horchata for a festive drink pairing

Storage and Reheating Tips

Leftovers taste even better the next day! Here’s how to keep them delicious:

  • Refrigerator: Store covered for 3-4 days.
  • Freezer: Freeze portions for up to 3 months (thaw overnight before reheating).
  • Reheating: Warm in the oven at 350°F until heated through (about 20 minutes), or microwave individual portions with a damp paper towel to prevent drying.
  • Pro tip: Add fresh toppings after reheating for the best texture.

Frequently Asked Questions

Can I make this casserole ahead?
Absolutely! Assemble up to a day in advance (hold the chips until baking), cover, and refrigerate. Add 5-10 minutes to the baking time if going straight from fridge to oven.

What if I don’t have an oven-safe skillet?
No problem! Simply brown the meat in any pan, then transfer everything to a greased 9×13 baking dish before adding the final layers.

How can I make this gluten-free?
Use certified GF taco seasoning and corn tortilla chips. Double check all packaged ingredients for hidden gluten.

Can I use fresh tortillas instead of chips?
Yes! Cut corn or flour tortillas into wedges and layer them like lasagna noodles for a softer texture.

Final Thoughts

There’s something magical about how this taco casserole brings together all the vibrant flavors we love in a comforting, shareable dish. Whether it’s a busy weeknight, game day gathering, or potluck contribution, this recipe never fails to satisfy. The best part? Watching everyone scoop up seconds while the melted cheese stretches from plate to serving spoon. May your kitchen be filled with the warm aromas of cumin and laughter, and your table surrounded by good company. Happy cooking, friends!

Print
clock clock iconcutlery cutlery iconflag flag iconfolder folder iconinstagram instagram iconpinterest pinterest iconfacebook facebook iconprint print iconsquares squares iconheart heart iconheart solid heart solid icon

Taco Casserole

  • Author: Trusted Blog

Description

A hearty and flavorful taco-inspired casserole that’s easy to make and perfect for weeknight dinners.


Ingredients

Scale

For the Crust:

  • 1 lb ground beef
  • 1 packet taco seasoning
  • 1 cup water
  • 1 can (15 oz) black beans, drained and rinsed
  • 1 cup corn kernels
  • 1 cup salsa
  • 2 cups shredded cheddar cheese
  • 1 bag (10 oz) tortilla chips, crushed
  • 1/2 cup sour cream
  • 1/4 cup chopped fresh cilantro

Instructions

1. Prepare the Crust:

  1. Preheat oven to 375°F (190°C).
  2. In a large skillet, brown the ground beef over medium heat. Drain excess fat.
  3. Stir in taco seasoning and water. Simmer for 5 minutes.
  4. Add black beans, corn, and salsa to the skillet. Mix well and cook for another 2 minutes.
  5. Layer half of the crushed tortilla chips in the bottom of a 9×13-inch baking dish.
  6. Spread the beef mixture evenly over the chips. Sprinkle with half of the cheese.
  7. Top with remaining chips and cheese.
  8. Bake for 15-20 minutes, until cheese is melted and bubbly.
  9. Garnish with sour cream and cilantro before serving.

Notes

You can customize the seasonings to taste.
Grilled Shrimp Bowl with Avocado, Corn Salsa & Creamy Garlic Sauce

grilled-shrimp-bowl-avocado-corn

Grilled Shrimp Bowl with Avocado, Corn Salsa & Creamy Garlic Sauce

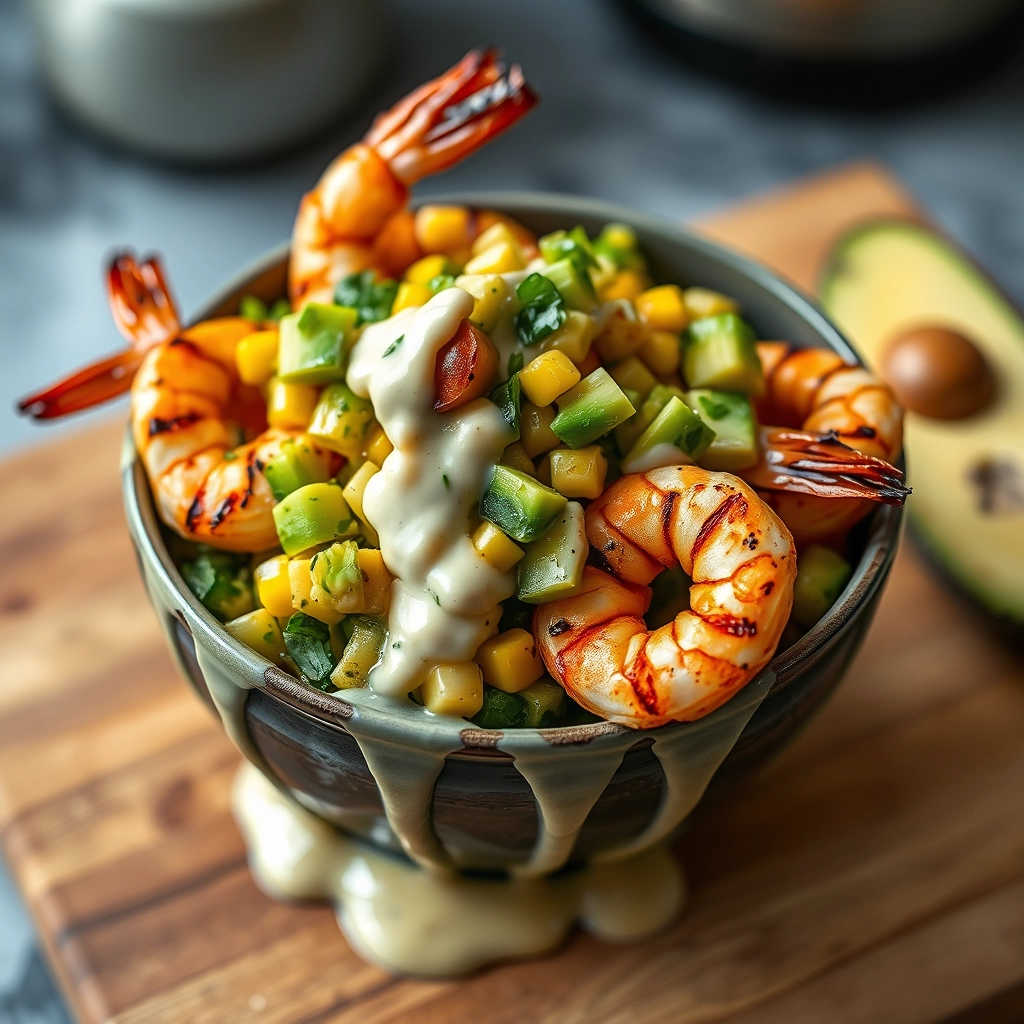
There’s something about summer evenings that makes me crave meals that are both light and bursting with flavor—dishes that feel like a celebration of sunshine and simplicity. This grilled shrimp bowl is exactly that. I first made it on a whim last July when friends dropped by unexpectedly, and now it’s become my go-to for lazy dinners on the patio or quick lunches that still feel special. The smoky shrimp, sweet corn salsa, and that luscious garlic sauce? Pure magic.

Ingredients You’ll Need

Let’s gather our vibrant cast of characters—each one brings something special to the bowl:

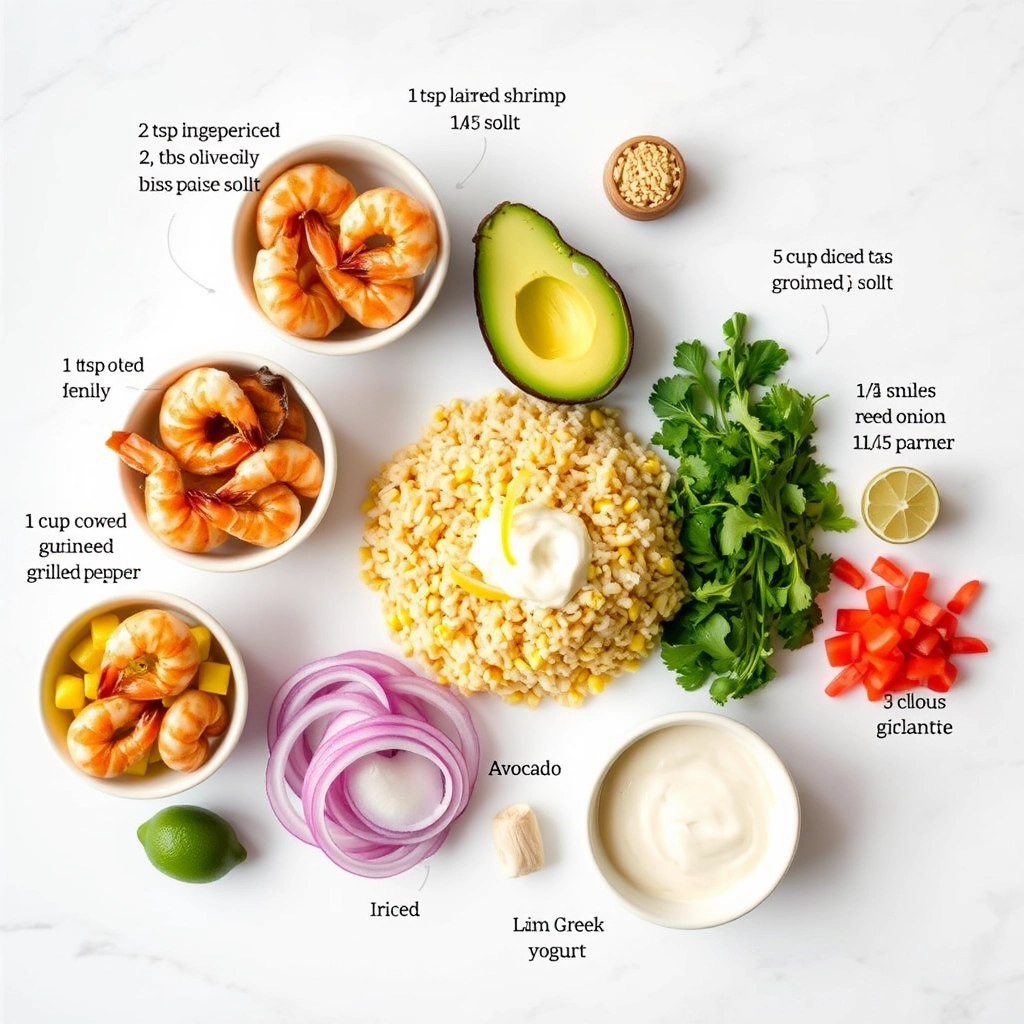
  • Shrimp (1 lb, peeled & deveined) – Go for large or jumbo shrimp; they’re juicier and harder to overcook on the grill.
  • Olive oil (2 tbsp) – A good glug for tossing the shrimp and brushing the grill.
  • Smoked paprika (1 tsp) – This is the secret to that irresistible smoky depth.
  • Fresh corn (2 ears) – Charred kernels add sweetness and crunch. Frozen works in a pinch, but fresh is dreamy.
  • Avocado (1, diced) – Creamy, buttery goodness to balance the spice.
  • Cherry tomatoes (1 cup, halved) – Little bursts of acidity to brighten everything up.
  • Red onion (¼ cup, finely diced) – Soak them in ice water for 5 minutes if you want a milder bite.
  • Cilantro (¼ cup, chopped) – Skip it if you’re team “cilantro tastes like soap,” but I adore its freshness.
  • Lime (1, juiced) – A squeeze to tie the salsa together.
  • Greek yogurt (½ cup) – The base of our creamy sauce—tangy and light.
  • Garlic (2 cloves, minced) – Because everything’s better with garlic.
  • Honey (1 tsp) – Just a hint to round out the flavors.

Let’s Get Cooking

This bowl comes together in three easy acts: the shrimp, the salsa, and the sauce. Here’s how I like to do it:

  1. Marinate the shrimp: In a bowl, toss the shrimp with olive oil, smoked paprika, a pinch of salt, and a crack of black pepper. Let them sit for 10 minutes (or up to 30 if you have time) while you prep the rest.
  2. Char the corn: Heat a grill or grill pan to medium-high. Brush the corn with a little oil and grill, turning occasionally, until lightly charred—about 8 minutes. Let it cool slightly, then slice off the kernels. (Pro tip: Hold the cob upright in a bowl to catch runaway kernels!)
  3. Mix the salsa: In a large bowl, combine the corn, avocado, tomatoes, red onion, cilantro, and lime juice. Gently fold everything together—avocado is delicate, so treat it kindly. Season with salt to taste.

At this point, your kitchen will smell like summer itself. Now, onto the star of the show—those gorgeous shrimp…

Pro Tips, Variations, and Substitutions

This grilled shrimp bowl is endlessly adaptable! Here are some ways to make it your own:

  • Protein Swap: Not a shrimp fan? Try grilled chicken, salmon, or even tofu for a vegetarian twist.
  • Corn Salsa Shortcut: Short on time? Use store-bought pico de gallo and mix in some fresh corn kernels.
  • Spice Level: Adjust the heat by adding more or less jalapeño to the salsa, or include a pinch of cayenne in the garlic sauce.
  • Greens Base: Swap the rice for quinoa, cauliflower rice, or a bed of fresh spinach for a lighter option.

What to Serve It With

This bowl is a complete meal on its own, but if you’d like to round it out, here are a few delicious pairings:

  • A crisp, chilled white wine like Sauvignon Blanc or a light beer
  • Warm tortilla chips and guacamole for a starter
  • A simple side of black beans or charred zucchini

Storage and Reheating Tips

While this dish is best enjoyed fresh, leftovers can still be tasty with a little care:

  • Storage: Keep components separate in airtight containers in the fridge for up to 2 days.
  • Reheating: Gently warm the shrimp in a skillet over low heat. The salsa and avocado are best served cold, so add them fresh when serving.
  • Make Ahead: Prep the garlic sauce and corn salsa a day in advance—just wait to assemble until you’re ready to eat.

Frequently Asked Questions

Can I use frozen shrimp?
Absolutely! Just thaw them completely in the fridge overnight and pat them dry before marinating.

How do I prevent the shrimp from sticking to the grill?
Make sure your grill grates are clean and well-oiled before cooking. A quick brush of oil on the shrimp helps too!

Can I make this dairy-free?
Yes! Swap the sour cream in the garlic sauce for coconut yogurt or a dairy-free alternative.

What if I don’t have a grill?
No problem—you can cook the shrimp in a grill pan or even under the broiler for a similar charred effect.

Final Thoughts

There’s something so satisfying about a meal that’s both vibrant and comforting—and this grilled shrimp bowl delivers just that. Whether you’re enjoying it on a warm summer evening or craving a taste of sunshine in the colder months, it’s a dish that always feels like a little celebration. I hope it brings as much joy to your table as it does to mine. Happy cooking, friends!

Print
clock clock iconcutlery cutlery iconflag flag iconfolder folder iconinstagram instagram iconpinterest pinterest iconfacebook facebook iconprint print iconsquares squares iconheart heart iconheart solid heart solid icon

Creamy Strawberry Cheesecake Cookies

  • Author: Trusted Blog

Description

Soft, chewy cookies with a creamy cheesecake filling and bursts of fresh strawberry flavor.


Ingredients

Scale

For the Crust:

  • 1 cup all-purpose flour
  • 1/2 tsp baking powder
  • 1/4 tsp salt
  • 1/2 cup unsalted butter, softened
  • 1/2 cup granulated sugar
  • 1 large egg
  • 1 tsp vanilla extract
  • 4 oz cream cheese, softened
  • 1/4 cup powdered sugar
  • 1/2 cup diced fresh strawberries

Instructions

1. Prepare the Crust:

  1. Preheat oven to 350°F (175°C) and line a baking sheet with parchment paper.
  2. In a bowl, whisk together flour, baking powder, and salt. Set aside.
  3. In another bowl, cream together butter and granulated sugar until light and fluffy. Beat in egg and vanilla.
  4. Gradually mix in the dry ingredients until just combined.
  5. In a separate bowl, beat cream cheese and powdered sugar until smooth.
  6. Fold diced strawberries into the cream cheese mixture.
  7. Drop tablespoon-sized portions of cookie dough onto the baking sheet. Make a small well in the center of each and fill with a teaspoon of the strawberry cheesecake mixture. Cover with more cookie dough.
  8. Bake for 12-15 minutes until edges are lightly golden. Let cool on the baking sheet for 5 minutes before transferring to a wire rack.

Notes

You can customize the seasonings to taste.
Ground Turkey Sweet Potato Skillet – Quick, Healthy, and Delicious

ground-turkey-sweet-potato-skillet

Ground Turkey Sweet Potato Skillet – Quick, Healthy, and Delicious

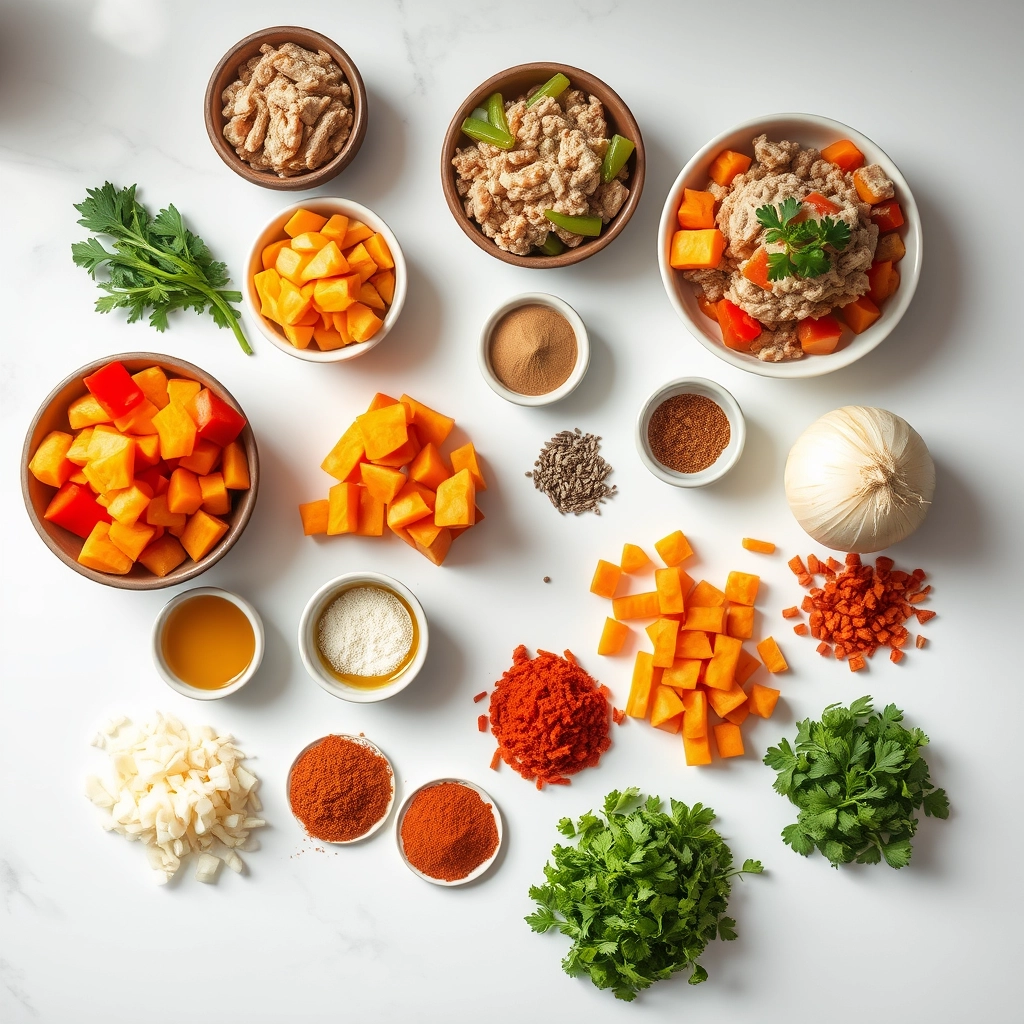
There’s something so comforting about a one-pan meal, isn’t there? Especially on those evenings when the day has been long, but you still crave something wholesome and satisfying. This Ground Turkey Sweet Potato Skillet has become my go-to on busy weeknights—packed with flavor, nourishing ingredients, and minimal cleanup (because who wants to scrub a mountain of dishes?). The sweetness of the potatoes, the savory turkey, and just the right hint of spice make it a dish that feels indulgent while still being light and nourishing. It’s the kind of meal that leaves you full but not sluggish, happy but not guilty—and really, isn’t that the dream?

Ingredients You’ll Need

  • 1 lb ground turkey – I prefer 93% lean for the perfect balance of flavor and tenderness, but any variety works.
  • 2 medium sweet potatoes – Diced into small cubes for quicker cooking. Their natural sweetness caramelizes beautifully!
  • 1 bell pepper – Any color you like—I’m partial to red for that extra pop of sweetness.
  • 1 small onion – Yellow or white, finely chopped. It’s the aromatic base that makes everything sing.
  • 2 cloves garlic – Minced. Because what’s a skillet meal without garlic?
  • 1 tsp smoked paprika – This adds a subtle depth that makes the dish feel extra cozy.
  • ½ tsp cumin – Just a whisper for warmth without overpowering.
  • Salt & black pepper – To taste, of course. Don’t be shy!
  • 1 tbsp olive oil – For sautéing. A good glug to keep things from sticking.
  • Fresh parsley or cilantro – For garnish. A little green makes everything prettier.

Let’s Get Cooking

This skillet comes together in under 30 minutes—truly a weeknight lifesaver. Here’s how I make it:

  1. Sauté the aromatics. Heat the olive oil in a large skillet over medium heat. Add the onions and bell pepper, stirring occasionally until they soften—about 3-4 minutes. Toss in the garlic and let it bloom for just 30 seconds, until fragrant. (Pro tip: Don’t let the garlic brown, or it’ll turn bitter!)
  2. Brown the turkey. Push the veggies to the side and add the ground turkey, breaking it up with a wooden spoon as it cooks. Sprinkle with salt, pepper, smoked paprika, and cumin. Let it brown nicely—this is where the flavor builds!
  3. Add the sweet potatoes. Stir in those vibrant orange cubes, making sure they’re nestled in with the turkey and veggies. Cover the skillet with a lid (or foil if you don’t have one) and let everything cook for about 10 minutes, stirring occasionally. The steam helps soften the sweet potatoes faster.
  4. Check for doneness. Pierce a sweet potato cube with a fork—it should be tender but not mushy. If needed, give it another few minutes. (If things are sticking, a splash of broth or water helps loosen everything up.)

At this point, your kitchen should smell absolutely heavenly—savory, slightly sweet, and utterly inviting. But we’re not done yet! The finishing touches make all the difference, and I’ll share those in the next part of this post.

This ground turkey sweet potato skillet is one of those magical meals that comes together in a flash but tastes like you spent hours in the kitchen. The best part? It’s packed with wholesome ingredients that will leave you feeling satisfied without weighing you down. Let’s talk about how to make it even better!

Pro Tips, Variations, and Substitutions

Every home cook knows that flexibility is key in the kitchen. Here are some ways to tweak this recipe to suit your taste or pantry:

  • Swap the protein: Not a fan of ground turkey? Try ground chicken, lean beef, or even plant-based crumbles for a vegetarian twist.
  • Spice it up: Add a pinch of cayenne pepper, smoked paprika, or even a dash of hot sauce if you like a little heat.
  • Veggie variations: Toss in some diced bell peppers, zucchini, or spinach for extra color and nutrients.
  • Cheesy goodness: Sprinkle some shredded cheddar or crumbled feta on top before serving for a creamy finish.

What to Serve With Your Skillet

This dish is hearty enough to stand alone, but if you’re looking to round out the meal, here are some delicious pairings:

  • A simple green salad with a tangy vinaigrette
  • Warm, crusty bread or fluffy cornbread
  • Steamed or roasted vegetables like broccoli or Brussels sprouts
  • A dollop of Greek yogurt or avocado slices for extra creaminess

Storage and Reheating Tips

Leftovers? No problem! This skillet meal keeps beautifully for quick lunches or dinners later in the week.

  • Refrigerator: Store in an airtight container for up to 3–4 days.
  • Freezer: Portion into freezer-safe containers and freeze for up to 3 months. Thaw overnight in the fridge before reheating.
  • Reheating: Warm on the stovetop over medium heat with a splash of broth or water to keep it moist, or microwave in 30-second intervals until heated through.

Frequently Asked Questions

Can I use frozen sweet potatoes?

Absolutely! Just make sure to thaw and drain them well before cooking to avoid excess moisture in the skillet.

Is this recipe gluten-free?

Yes, as written, this recipe is naturally gluten-free. Just double-check any packaged ingredients (like broth or seasonings) to be safe.

Can I make this in advance?

Definitely! Prep the ingredients ahead of time, then cook when ready. Leftovers also reheat beautifully for meal prep.

What if I don’t have a skillet?

No worries—a large, deep frying pan or even a Dutch oven will work just fine.

Final Thoughts

There’s something so comforting about a one-pan meal that’s as nourishing as it is delicious. This ground turkey sweet potato skillet is proof that healthy eating doesn’t have to be complicated—just wholesome ingredients, simple prep, and big flavor. Whether you’re cooking for a busy weeknight or meal prepping for the days ahead, this dish is sure to become a staple in your kitchen. Happy cooking, friends!

Print
clock clock iconcutlery cutlery iconflag flag iconfolder folder iconinstagram instagram iconpinterest pinterest iconfacebook facebook iconprint print iconsquares squares iconheart heart iconheart solid heart solid icon

Ground Turkey Sweet Potato Skillet – Quick, Healthy, and Delicious

  • Author: Trusted Blog

Description

A flavorful and nutritious one-pan meal featuring ground turkey, sweet potatoes, and fresh vegetables.


Ingredients

Scale

For the Crust:

  • 1 lb ground turkey
  • 2 medium sweet potatoes, diced
  • 1 bell pepper, chopped
  • 1 small onion, diced
  • 2 cloves garlic, minced
  • 1 tsp olive oil
  • 1 tsp paprika
  • 1/2 tsp cumin
  • 1/2 tsp salt
  • 1/4 tsp black pepper
  • 1/4 cup fresh parsley, chopped

Instructions

1. Prepare the Crust:

  1. Heat olive oil in a large skillet over medium heat.
  2. Add ground turkey and cook until browned, breaking it apart with a spoon.
  3. Add onion, bell pepper, and garlic. Sauté for 3-4 minutes until softened.
  4. Stir in sweet potatoes, paprika, cumin, salt, and black pepper. Cook for 15-20 minutes, stirring occasionally, until sweet potatoes are tender.
  5. Garnish with fresh parsley before serving.

Notes

You can customize the seasonings to taste.
Crock Pot Bourbon Chicken

crock-pot-bourbon-chicken

The Coziest Crock Pot Bourbon Chicken You’ll Ever Make

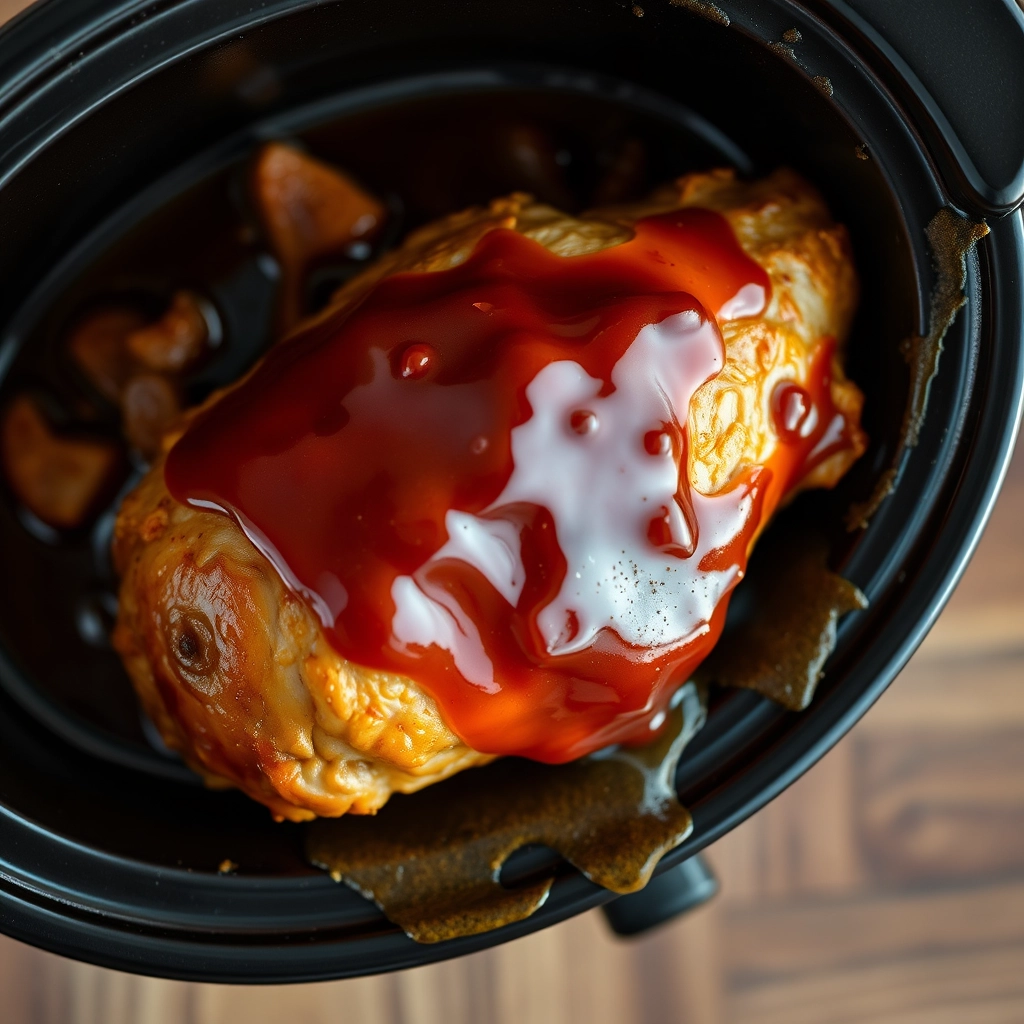
There’s something magical about walking into a house that smells like bourbon chicken—that sweet, smoky aroma wrapping around you like a warm hug. I first fell in love with this dish at a little food court in my hometown, where the sticky, caramelized edges of the chicken always had me licking my fingers shamelessly. Years later, I set out to recreate that nostalgic flavor at home, but with the lazy-girl twist we all crave: letting my trusty crock pot do all the heavy lifting.

Ingredients That’ll Make Your Kitchen Smell Like Heaven

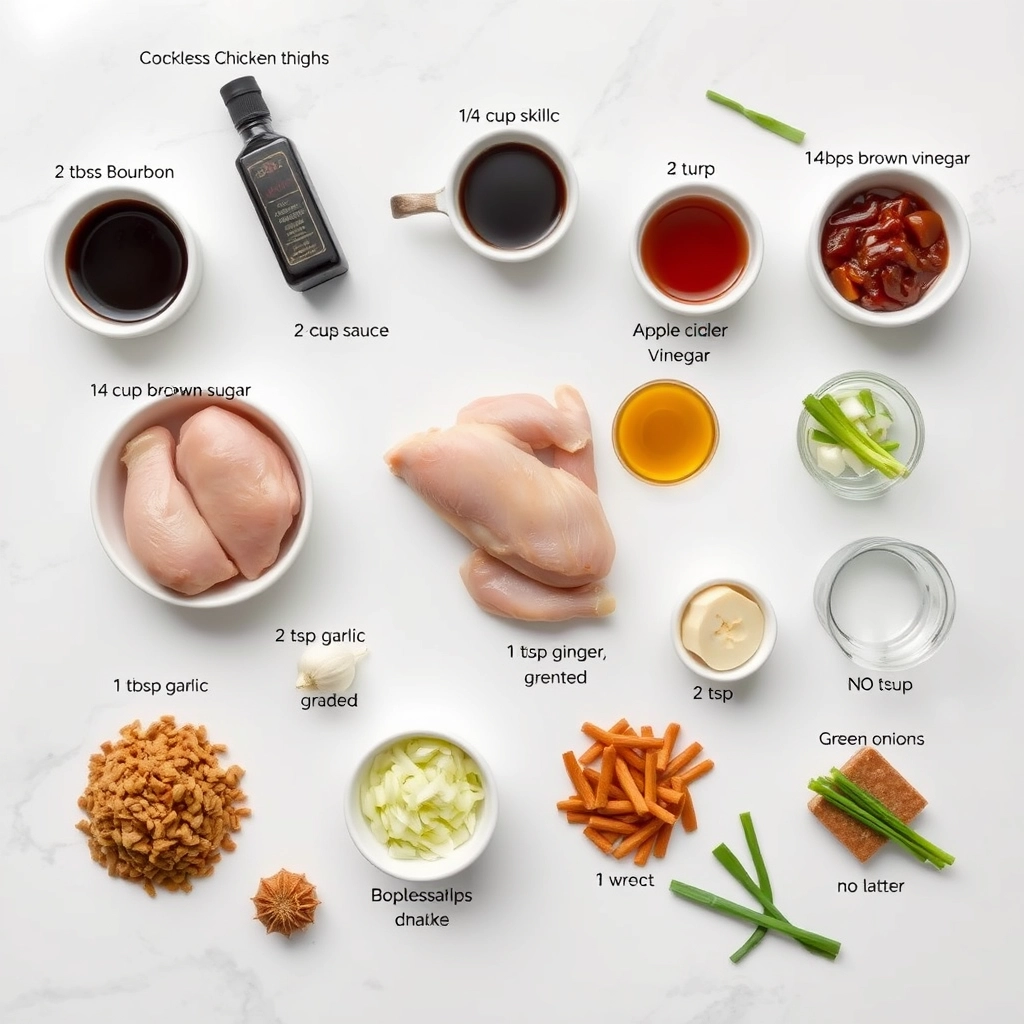
  • 2 lbs boneless, skinless chicken thighs – Thighs stay juicier than breasts during slow cooking, but feel free to swap if you prefer!
  • 1/3 cup bourbon – The star! Use a mid-range bourbon you’d actually drink (no cooking wine here, friends).
  • 1/3 cup soy sauce – I use low-sodium to control the saltiness.
  • 1/4 cup honey – For that irresistible glaze. Local honey adds lovely floral notes.
  • 3 cloves garlic, minced – Because everything’s better with garlic.
  • 1 tbsp fresh ginger, grated – The zingy counterpart to all that sweetness.
  • 1/2 tsp crushed red pepper flakes – Just enough warmth to keep things interesting.
  • 1 tbsp cornstarch + 2 tbsp water – Our magical thickening duo for the perfect sauce consistency.
  • Sesame seeds & sliced green onions – For that pretty finishing touch!

Let’s Get Cozy: Step-by-Step Magic

  1. The Easy Prep: Place chicken thighs in your crock pot—no need to brown first! (Though if you’re feeling fancy, a quick sear adds depth.)
  2. The Flavor Bath: Whisk together bourbon, soy sauce, honey, garlic, ginger, and red pepper flakes directly in a measuring cup. Pour this liquid gold over the chicken, making sure each piece gets coated.
  3. The Waiting Game: Cover and cook on LOW for 5-6 hours (or HIGH for 3-4). Your house will smell like a Southern kitchen meets Chinese takeout—in the best way.
  4. The Grand Finale: When chicken is fall-apart tender, remove it gently with tongs. Whisk cornstarch and water, then stir into the crock pot juices. Return chicken and let everything thicken for 15 glorious minutes.

Now, here’s my favorite tip: Let it sit for 10 minutes before serving—the sauce clings better to the chicken when it’s not piping hot. And don’t you dare skip sprinkling those green onions on top! They add the perfect fresh crunch against the sticky-sweet glaze.

Pro Tips, Variations, and Substitutions

Making Crock Pot Bourbon Chicken is wonderfully forgiving, but a few extra touches can take it from good to unforgettable:

  • Bourbon Substitute: No bourbon? Use apple juice + 1 tsp vanilla extract for similar depth
  • Spice It Up: Add red pepper flakes or sriracha for heat lovers
  • Thicker Sauce: Mix 1 tbsp cornstarch with 2 tbsp cold water, stir in during last 30 minutes
  • Vegetarian Twist: Swap chicken for portobello mushrooms or tofu (reduce cooking time)

The Perfect Pairings

This saucy, flavorful chicken plays well with so many sides:

  • Fluffy jasmine rice to soak up every drop of that bourbon glaze
  • Roasted Brussels sprouts with a drizzle of honey
  • Buttery mashed sweet potatoes for cozy contrast
  • Crisp green apple slices cut through the richness beautifully

Storage & Reheating Like a Pro

Leftovers? Lucky you! Store in an airtight container for:

  • Fridge: 3-4 days
  • Freezer: 2-3 months (thaw overnight in fridge)

Reheating Magic: Gently warm in a saucepan over medium-low with a splash of water or broth to revive the sauce. Microwave works too (cover with damp paper towel to prevent drying).

Your Bourbon Chicken Questions Answered

Q: Can I use frozen chicken?
A: Yes! Add 1-2 hours to cooking time and check internal temp reaches 165°F.

Q: My sauce is too thin – help!
A: Remove chicken, simmer sauce uncovered for 15-20 minutes or use the cornstarch slurry trick above.

Q: What if I don’t have a slow cooker?
A: Simmer covered on stove for 45 minutes (stir occasionally) or bake at 325°F for 1 hour.

A Cozy Final Thought

There’s something magical about coming home to the sweet, boozy aroma of this bourbon chicken filling your kitchen. Whether it’s a busy weeknight or you’re feeding a crowd on game day, this recipe wraps everyone in warmth and comfort. The best part? That moment when your family scrapes their plates clean and asks, “When are you making this again?” Don’t be surprised if this becomes your new signature dish – it’s that good. Now go forth and let your slow cooker work its magic!

Print
clock clock iconcutlery cutlery iconflag flag iconfolder folder iconinstagram instagram iconpinterest pinterest iconfacebook facebook iconprint print iconsquares squares iconheart heart iconheart solid heart solid icon

Crock Pot Bourbon Chicken

  • Author: Trusted Blog

Description

A delicious and easy slow-cooked chicken dish with a sweet and savory bourbon glaze.


Ingredients

Scale

For the Crust:

  • 2 lbs boneless, skinless chicken thighs
  • 1/2 cup bourbon
  • 1/4 cup soy sauce
  • 1/4 cup brown sugar
  • 2 tbsp ketchup
  • 1 tbsp apple cider vinegar
  • 2 cloves garlic, minced
  • 1 tsp ginger, grated
  • 1/2 tsp crushed red pepper flakes
  • 2 tbsp cornstarch
  • 2 tbsp water
  • Green onions, sliced (for garnish)

Instructions

1. Prepare the Crust:

  1. In a bowl, whisk together bourbon, soy sauce, brown sugar, ketchup, apple cider vinegar, garlic, ginger, and red pepper flakes.
  2. Place chicken thighs in the crock pot and pour the sauce over them. Stir to coat evenly.
  3. Cover and cook on low for 4-5 hours or on high for 2-3 hours, until chicken is tender.
  4. In a small bowl, mix cornstarch and water to create a slurry. Stir into the crock pot and cook for an additional 15-20 minutes until the sauce thickens.
  5. Garnish with sliced green onions before serving.

Notes

You can customize the seasonings to taste.