Classic Meatloaf Recipe

classic-meatloaf-recipe

The Comforting Embrace of Classic Meatloaf

There’s something deeply comforting about the aroma of meatloaf wafting through the kitchen as evening falls. It takes me back to my grandmother’s house, where the worn wooden table always had room for one more plate. She’d serve thick slices with a side of buttery mashed potatoes, and suddenly all the worries of the day would melt away. That’s the magic of this humble dish – it’s not just dinner, it’s a warm hug on a plate.

Ingredients You’ll Need

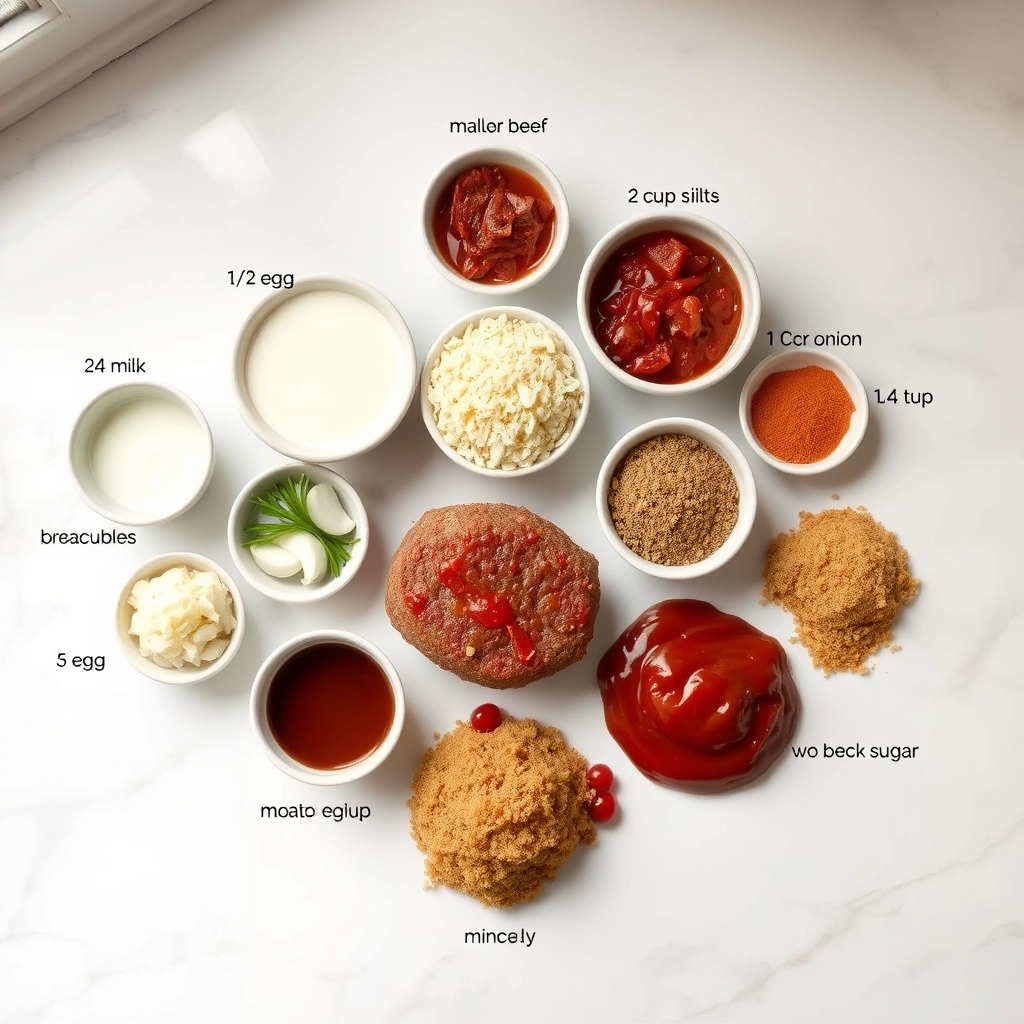
  • 2 lbs ground beef (80/20 blend) – The slight fat content keeps it juicy
  • 1 cup breadcrumbs – Panko works wonderfully for texture
  • 1 large onion, finely diced – Cook until translucent for sweetness
  • 2 cloves garlic, minced – Because everything’s better with garlic
  • 2 eggs – Our binding agent that holds the love together
  • 1/2 cup whole milk – Adds moisture and richness
  • 1/4 cup ketchup + extra for glaze – The classic sweet-tangy touch
  • 1 tbsp Worcestershire sauce – That umami depth we crave
  • 1 tsp dried thyme – My secret flavor booster
  • Salt and pepper – Season generously, friends!

Creating Your Comfort Masterpiece

First, preheat your oven to 350°F (175°C) and lightly grease a loaf pan. There’s something therapeutic about preparing the pan – it’s like tucking in your ingredients for a cozy bake.

Step 1: In a skillet over medium heat, sauté your onions until they turn soft and translucent, about 5 minutes. Add the garlic in the last 30 seconds – we want fragrant, not burnt! Let this mixture cool slightly before adding to your meat. (Hot onions can start cooking the eggs prematurely – learned that the hard way!)

Step 2: In a large mixing bowl, combine the ground beef, breadcrumbs, sautéed onions and garlic. Make a well in the center and crack in the eggs. Pour in the milk, ketchup, Worcestershire sauce, and all your seasonings. Now comes the fun part – roll up your sleeves and mix gently with your hands. There’s no better tool than your fingers to feel when the consistency is just right – evenly combined but not overworked.

Step 3: Transfer the mixture to your prepared loaf pan, shaping it gently. I like to make a slight indentation down the center to prevent doming. Now for the crowning glory – spread a generous layer of ketchup over the top. Some folks like to mix their ketchup with brown sugar or mustard, but I’m a purist when it comes to this nostalgic glaze.
Pro Tips, Variations, and Substitutions

Every home cook has their own twist on classic meatloaf, and that’s what makes it so special! Here are some ways to make this recipe your own:

  • For extra moisture: Add ¼ cup of grated zucchini or shredded carrots to the mix.
  • Gluten-free option: Swap breadcrumbs for gluten-free oats or crushed crackers.
  • Spice it up: A dash of Worcestershire sauce or a spoonful of Dijon mustard adds depth.
  • Leaner meat: Use ground turkey or chicken instead of beef, but add an extra egg to keep it tender.
  • Sweet & tangy glaze: Mix ketchup with a little brown sugar and apple cider vinegar for a caramelized finish.

What to Serve with Meatloaf

Meatloaf is the ultimate comfort food, and it pairs beautifully with classic sides. Here are a few favorites:

  • Creamy mashed potatoes
  • Buttery green beans or roasted carrots
  • Mac and cheese for the ultimate comfort meal
  • A simple garden salad with a tangy vinaigrette

Storage and Reheating Tips

Leftover meatloaf is just as delicious the next day! Here’s how to keep it fresh and tasty:

  • Storage: Let it cool completely, then wrap tightly in foil or store in an airtight container for up to 4 days in the fridge.
  • Freezing: Slice and freeze individual portions for up to 3 months. Thaw in the fridge before reheating.
  • Reheating: Warm slices in a 350°F oven for 10–15 minutes or microwave covered with a damp paper towel to keep them moist.

Frequently Asked Questions

Can I make meatloaf ahead of time?
Absolutely! Assemble the meatloaf, cover it, and refrigerate for up to 24 hours before baking. You may need to add a few extra minutes to the cooking time.

Why does my meatloaf fall apart?
If your meatloaf crumbles, it may need more binding agents. Try adding an extra egg or a bit more breadcrumbs next time.

Can I cook meatloaf without a loaf pan?
Yes! Shape it into a free-form loaf on a baking sheet for a crispy exterior, or use a muffin tin for individual portions (bake for 20–25 minutes instead).

How do I know when it’s done?
The internal temperature should reach 160°F. If you don’t have a thermometer, look for the juices to run clear and the edges to pull away slightly from the pan.

A Comforting Final Thought

There’s something truly special about a well-made meatloaf—warm, hearty, and full of nostalgia. Whether it’s a weeknight dinner or a Sunday family meal, this classic dish never fails to bring comfort to the table. So gather your loved ones, slice into that tender loaf, and savor every bite. Happy cooking!

Print
clock clock iconcutlery cutlery iconflag flag iconfolder folder iconinstagram instagram iconpinterest pinterest iconfacebook facebook iconprint print iconsquares squares iconheart heart iconheart solid heart solid icon

Classic Meatloaf Recipe

  • Author: Trusted Blog

Description

A comforting and hearty meatloaf with a sweet and tangy glaze, perfect for family dinners.


Ingredients

Scale

For the Crust:

  • 1 1/2 lbs ground beef
  • 1 cup breadcrumbs
  • 1/2 cup milk
  • 1 large egg
  • 1 small onion, finely chopped
  • 2 cloves garlic, minced
  • 1/4 cup ketchup
  • 1 tbsp Worcestershire sauce
  • 1 tsp salt
  • 1/2 tsp black pepper
  • 1/4 cup brown sugar
  • 1/4 cup ketchup (for glaze)
  • 1 tbsp mustard (for glaze)

Instructions

1. Prepare the Crust:

  1. Preheat oven to 350°F (175°C). Lightly grease a loaf pan.
  2. In a large bowl, combine ground beef, breadcrumbs, milk, egg, onion, garlic, ketchup, Worcestershire sauce, salt, and pepper. Mix until well combined.
  3. Transfer the mixture into the prepared loaf pan and shape into a loaf.
  4. In a small bowl, mix brown sugar, ketchup, and mustard for the glaze. Spread evenly over the meatloaf.
  5. Bake for 50-60 minutes, or until the internal temperature reaches 160°F (70°C). Let rest for 10 minutes before slicing.

Notes

You can customize the seasonings to taste.
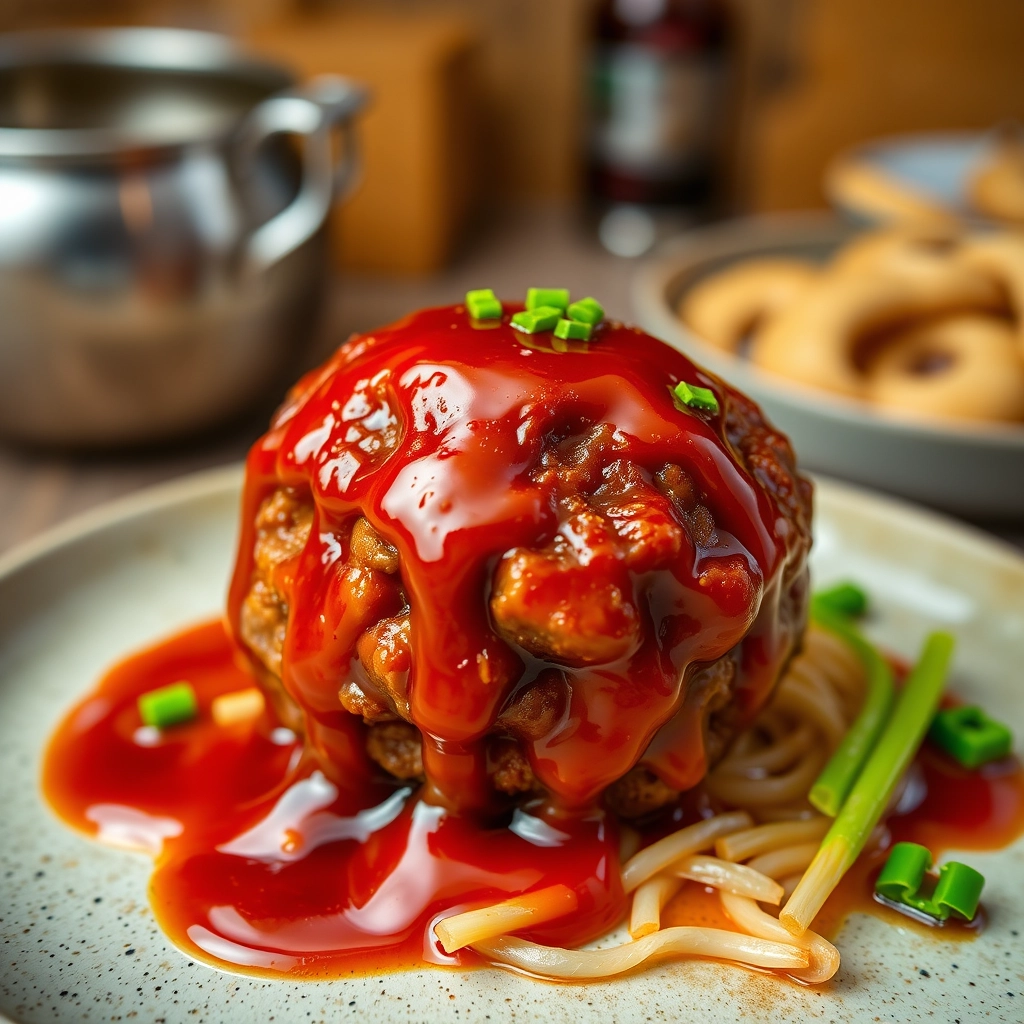
30-Minute Mongolian Beef Meatballs

30-minute-mongolian-beef-meatballs

30-Minute Mongolian Beef Meatballs: A Weeknight Savior

There’s something about the sizzle of beef hitting a hot pan that feels like a warm hug after a long day. Maybe it’s the aroma—rich, savory, and just a little sweet—or maybe it’s the promise of a meal that’s both comforting and exciting. That’s exactly what these Mongolian Beef Meatballs deliver. I first whipped them up on one of those evenings when takeout menus were calling my name, but my stubborn love for homemade won out. Thirty minutes later, I was dipping a fork into tender, juicy meatballs glazed in that sticky, garlicky sauce we all adore. Spoiler: There were no leftovers.

Ingredients You’ll Need

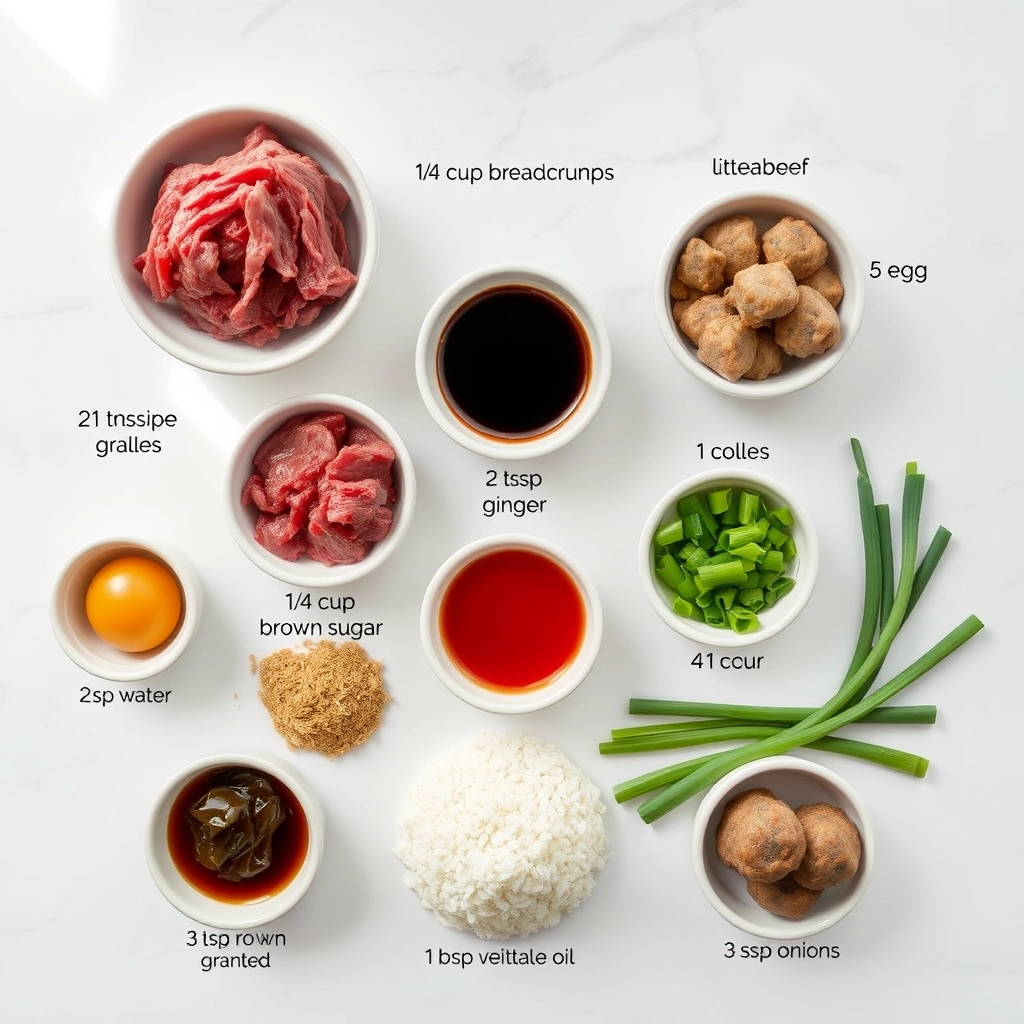
Let’s gather our flavor-packed lineup. Don’t be fooled by the short ingredient list—every element here pulls its weight:

  • Ground beef (85% lean) – The star! Lean enough to avoid greasiness but with enough fat to keep the meatballs succulent.
  • Panko breadcrumbs – My secret for light, tender meatballs that don’t turn dense. Regular breadcrumbs work too, but panko’s flaky texture is magic.
  • Egg – The binder that holds everything together without making things heavy.
  • Garlic & ginger – Freshly minced, please! They infuse the meatballs with warmth and depth.
  • Soy sauce & hoisin – The dynamic duo for that umami-rich base. If you don’t have hoisin, a dash of brown sugar and extra soy sauce will do in a pinch.
  • Brown sugar – Just enough to caramelize into that glossy, irresistible glaze.
  • Sesame oil – A drizzle at the end for that nutty, aromatic finish. Don’t skip it—it’s the exclamation point on this dish!

Let’s Make the Magic Happen

Now, onto the fun part! Here’s how we turn these humble ingredients into a meal that’ll have everyone asking for seconds:

  1. Mix with love. In a large bowl, combine the ground beef, panko, egg, minced garlic, ginger, and a tablespoon of soy sauce. Use your hands (yes, get messy!) to gently mix until just combined. Overworking the meat will make the meatballs tough—think of it as a gentle hug, not a squeeze.
  2. Roll with intention. Shape the mixture into 1.5-inch meatballs (about the size of a walnut). Pro tip: Lightly wet your hands to prevent sticking. You should get about 18-20 meatballs—perfect for sharing (or not).
  3. Brown to perfection. Heat a large skillet over medium-high heat with a drizzle of oil. Add the meatballs in a single layer, giving them space to breathe. Let them sizzle undisturbed for 2-3 minutes per side until golden brown. They don’t need to be fully cooked through yet—we’re building flavor here!

While the meatballs are browning, I like to whisper a little promise to them: Just wait until you meet the sauce. And oh, what a sauce it is… (Stay tuned for the next half of this recipe, where we’ll dive into the glazing, the garnishing, and the triumphant moment when you take that first bite!)

Pro Tips, Variations, and Substitutions

These Mongolian beef meatballs are wonderfully adaptable to suit your tastes and what you have on hand. Here are a few ideas to make them your own:

  • Protein Swap: Ground turkey or chicken work beautifully if you prefer a lighter option.
  • Vegetarian Twist: Swap the beef for plant-based ground meat or finely chopped mushrooms for a meatless version.
  • Spice It Up: Add a pinch of red pepper flakes or a drizzle of sriracha to the sauce for a spicy kick.
  • Gluten-Free: Use tamari or coconut aminos instead of soy sauce, and ensure your breadcrumbs are gluten-free.

What to Serve With Mongolian Beef Meatballs

These flavorful meatballs pair perfectly with so many sides! Here are a few of our favorites:

  • Steamed jasmine rice or fluffy quinoa to soak up the delicious sauce
  • Stir-fried vegetables like broccoli, snap peas, or bell peppers
  • Quick-pickled cucumbers or carrots for a refreshing crunch
  • Buttery noodles or cauliflower rice for a low-carb option

Storage and Reheating Tips

Leftovers? No problem! Here’s how to keep them tasting fresh:

  • Refrigerator: Store in an airtight container for up to 3 days.
  • Freezer: Freeze cooked meatballs (without sauce) for up to 2 months. Thaw overnight before reheating.
  • Reheating: Warm gently in a skillet with a splash of water to revive the sauce, or microwave at 50% power in 30-second intervals.

Frequently Asked Questions

Can I make these meatballs ahead of time?
Absolutely! Prepare the meatballs up to a day in advance and refrigerate until ready to cook. The sauce can also be made ahead and reheated when needed.

Can I bake these instead of pan-frying?
Yes! Bake at 400°F for 15-18 minutes on a parchment-lined sheet pan. Finish by tossing in the sauce.

What if my sauce is too thin?
Let it simmer a few extra minutes to thicken, or mix 1 teaspoon cornstarch with 1 tablespoon cold water and stir it in.

Can I use frozen meatballs?
While homemade tastes best, you can use high-quality frozen meatballs in a pinch. Thaw first, then warm through in the sauce.

Cozy Comfort in Every Bite

There’s something so satisfying about these Mongolian beef meatballs – the perfect balance of savory, sweet, and just a little bit sticky. Whether you’re serving them over rice for a quick weeknight dinner or packing the leftovers for lunch tomorrow, they’re guaranteed to bring comfort to your table. The best part? In just 30 minutes, you can transform simple ingredients into something truly special. Here’s to meals that warm both the belly and the heart!

Print
clock clock iconcutlery cutlery iconflag flag iconfolder folder iconinstagram instagram iconpinterest pinterest iconfacebook facebook iconprint print iconsquares squares iconheart heart iconheart solid heart solid icon

30-Minute Mongolian Beef Meatballs

  • Author: Trusted Blog

Description

Quick and flavorful Mongolian-inspired beef meatballs with a sweet and savory glaze.


Ingredients

Scale

For the Crust:

  • 1 lb ground beef
  • 1/4 cup breadcrumbs
  • 1 egg
  • 2 cloves garlic, minced
  • 1 tsp ginger, grated
  • 2 tbsp soy sauce
  • 1/4 cup brown sugar
  • 1/4 cup water
  • 1 tbsp cornstarch
  • 2 green onions, sliced
  • 1 tbsp vegetable oil

Instructions

1. Prepare the Crust:

  1. In a bowl, mix ground beef, breadcrumbs, egg, half the minced garlic, and half the grated ginger. Form into 1-inch meatballs.
  2. Heat oil in a large skillet over medium heat. Cook meatballs until browned on all sides and cooked through, about 8-10 minutes. Remove from skillet.
  3. In the same skillet, add remaining garlic and ginger. Stir in soy sauce, brown sugar, water, and cornstarch. Cook until sauce thickens, about 2-3 minutes.
  4. Return meatballs to the skillet, tossing to coat in the sauce. Garnish with sliced green onions before serving.

Notes

You can customize the seasonings to taste.
Korean BBQ Meatballs with Spicy Mayo Dip

korean-bbq-meatballs-spicy-mayo

Korean BBQ Meatballs with Spicy Mayo Dip: A Flavor Explosion You Need in Your Life

There’s something magical about the sizzle of meat hitting a hot pan—the aroma that fills the kitchen, the promise of something delicious just minutes away. Last weekend, I found myself craving the bold, sweet-spicy flavors of Korean BBQ but wanted something a little more playful than the usual grilled meats. Enter these Korean BBQ Meatballs—juicy, tender, and packed with that irresistible gochujang-kissed glaze. Paired with a creamy, fiery mayo dip, they disappeared faster than I could snap a photo. (My husband may or may not have hovered by the stove, stealing them straight from the tray.)

Ingredients You’ll Need

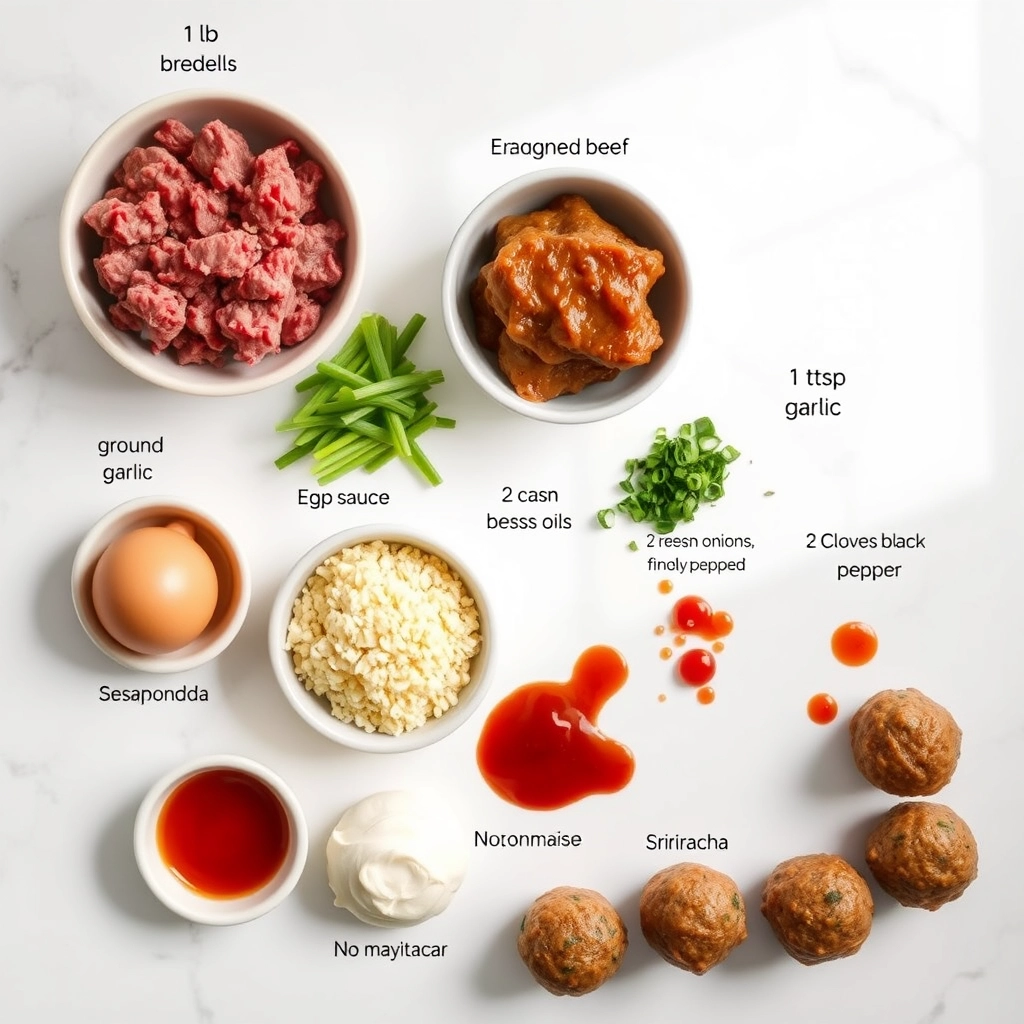
For the meatballs:

  • 1 lb ground pork or beef (or a mix of both—I love pork for its richness!)
  • ½ cup panko breadcrumbs (they keep the meatballs light and tender)
  • 1 egg (our trusty binder)
  • 3 garlic cloves, minced (because can you ever have too much garlic?)
  • 1 tbsp freshly grated ginger (for that warm, zingy kick)
  • 2 green onions, finely chopped (adds a fresh, oniony brightness)
  • 1 tbsp soy sauce (I use low-sodium to control the saltiness)
  • 1 tbsp sesame oil (that nutty aroma is everything)

For the Korean BBQ glaze:

  • ¼ cup gochujang paste (adjust to your spice tolerance—this is the soul of the dish!)
  • 2 tbsp honey (or brown sugar for deeper caramel notes)
  • 1 tbsp rice vinegar (balances the sweetness with a little tang)
  • 1 tbsp soy sauce
  • 1 tsp grated garlic (yes, more garlic!)

For the spicy mayo dip:

  • ½ cup mayonnaise (full-fat for the creamiest texture)
  • 1 tbsp gochujang (or sriracha if you prefer)
  • 1 tsp lime juice (a bright finish to cut through the richness)
  • A drizzle of honey (just a whisper to round it out)

Let’s Make These Flavor Bombs

Step 1: Preheat your oven to 400°F (200°C) and line a baking sheet with parchment paper. Trust me, this makes cleanup a breeze—no one wants to scrub stuck-on glaze later.

Step 2: In a large bowl, combine all the meatball ingredients. Use your hands to mix gently—overworking the meat can make the texture tough. I like to squish everything together just until it’s uniform, then stop. (Pro tip: Wet your hands slightly to keep the mixture from sticking!)

Step 3: Roll the mixture into 1½-inch balls—about the size of a walnut. Place them on the baking sheet, leaving a little space between each. Pop them in the oven for 15 minutes while you whip up the glaze.

Step 4: In a small saucepan, whisk together all the glaze ingredients over medium heat. Let it simmer for 2–3 minutes until slightly thickened—it should coat the back of a spoon. The smell at this stage is downright intoxicating.

Pro Tips, Variations, and Substitutions

These Korean BBQ meatballs are wonderfully versatile, so don’t be afraid to make them your own! Here are some ideas to customize them:

  • Protein Swap: Ground chicken or turkey works just as well as beef for a lighter option.
  • Vegetarian Twist: Use plant-based ground meat or finely chopped mushrooms for a meat-free version.
  • Extra Heat: Add a teaspoon of gochujang (Korean chili paste) to the meatball mixture for an extra kick.
  • Gluten-Free: Swap breadcrumbs for gluten-free panko or almond flour.
  • Sticky Glaze Option: Brush the meatballs with extra Korean BBQ sauce before serving for a glossy finish.

What to Serve with Korean BBQ Meatballs

These meatballs are delicious on their own, but pairing them with the right sides takes them to the next level. Here are some of my favorites:

  • Steamed Rice or Cauliflower Rice: A simple base to soak up all that saucy goodness.
  • Quick-Pickled Cucumbers: The tangy crunch balances the richness of the meatballs.
  • Kimchi: A classic Korean side that adds a spicy, fermented kick.
  • Roasted Veggies: Try bok choy, carrots, or bell peppers for a healthy contrast.
  • Noodles: Toss them with udon or soba noodles for a heartier meal.

Storage and Reheating Tips

These meatballs are perfect for meal prep or leftovers—here’s how to keep them tasting fresh:

  • Refrigerator: Store in an airtight container for up to 3–4 days.
  • Freezer: Freeze cooked meatballs (without the dip) for up to 3 months. Thaw overnight in the fridge before reheating.
  • Reheating: Warm them in a skillet over medium heat with a splash of water or microwave in 30-second intervals until heated through.

Frequently Asked Questions

Can I make these meatballs ahead of time?

Absolutely! You can prepare the meatball mixture up to a day in advance and store it in the fridge. Shape and bake when ready to serve.

What can I use instead of Korean BBQ sauce?

If you don’t have Korean BBQ sauce, a mix of soy sauce, honey, garlic, and a splash of sesame oil makes a great substitute.

Can I air-fry these meatballs?

Yes! Air-fry at 375°F for 10–12 minutes, shaking the basket halfway through for even cooking.

Is the spicy mayo dip necessary?

While it adds a delicious creamy-spicy element, you can skip it or serve with a simpler dipping sauce like soy sauce mixed with a little vinegar.

Final Thoughts

There’s something so comforting about biting into a tender, flavorful meatball—especially when it’s packed with the sweet, savory, and spicy notes of Korean BBQ. Whether you’re serving these as an appetizer for a crowd or enjoying them as a cozy weeknight dinner, I hope they bring as much joy to your table as they do to mine. Don’t forget to drizzle (or dunk!) generously in that spicy mayo—it’s the perfect finishing touch. Happy cooking!

Print
clock clock iconcutlery cutlery iconflag flag iconfolder folder iconinstagram instagram iconpinterest pinterest iconfacebook facebook iconprint print iconsquares squares iconheart heart iconheart solid heart solid icon

Korean BBQ Meatballs with Spicy Mayo Dip

  • Author: Trusted Blog

Description

Juicy meatballs glazed with sweet and savory Korean BBQ sauce, served with a creamy spicy mayo dip.


Ingredients

Scale

For the Crust:

  • 1 lb ground beef
  • 1/2 cup breadcrumbs
  • 1 egg
  • 2 green onions, finely chopped
  • 2 cloves garlic, minced
  • 1 tbsp soy sauce
  • 1 tsp sesame oil
  • 1/2 tsp black pepper
  • 1/2 cup Korean BBQ sauce
  • 1/4 cup mayonnaise
  • 1 tbsp sriracha
  • 1 tsp rice vinegar

Instructions

1. Prepare the Crust:

  1. Preheat oven to 375°F (190°C). Line a baking sheet with parchment paper.
  2. In a large bowl, mix ground beef, breadcrumbs, egg, green onions, garlic, soy sauce, sesame oil, and black pepper until well combined.
  3. Shape the mixture into 1-inch meatballs and place them on the prepared baking sheet.
  4. Bake for 20-25 minutes or until fully cooked.
  5. Brush the meatballs with Korean BBQ sauce and return to the oven for 5 minutes.
  6. In a small bowl, whisk together mayonnaise, sriracha, and rice vinegar to make the spicy mayo dip.
  7. Serve the meatballs warm with the spicy mayo dip on the side.

Notes

You can customize the seasonings to taste.

Fiery Chicken Ramen with Creamy Garlic Sauce

fiery-chicken-ramen-creamy-garlic

Fiery Chicken Ramen with Creamy Garlic Sauce: A Bowl of Bold Comfort

There’s something magical about a steaming bowl of ramen on a chilly evening—the kind that warms you from the inside out. Last week, after a particularly long day of deadlines and drizzling rain, I found myself craving something with a little kick, a little creaminess, and a whole lot of soul. That’s when this Fiery Chicken Ramen with Creamy Garlic Sauce was born. It’s the perfect balance of spicy, savory, and indulgent, with tender chicken, springy noodles, and a sauce so rich, you’ll want to lick the bowl clean.

Ingredients You’ll Need

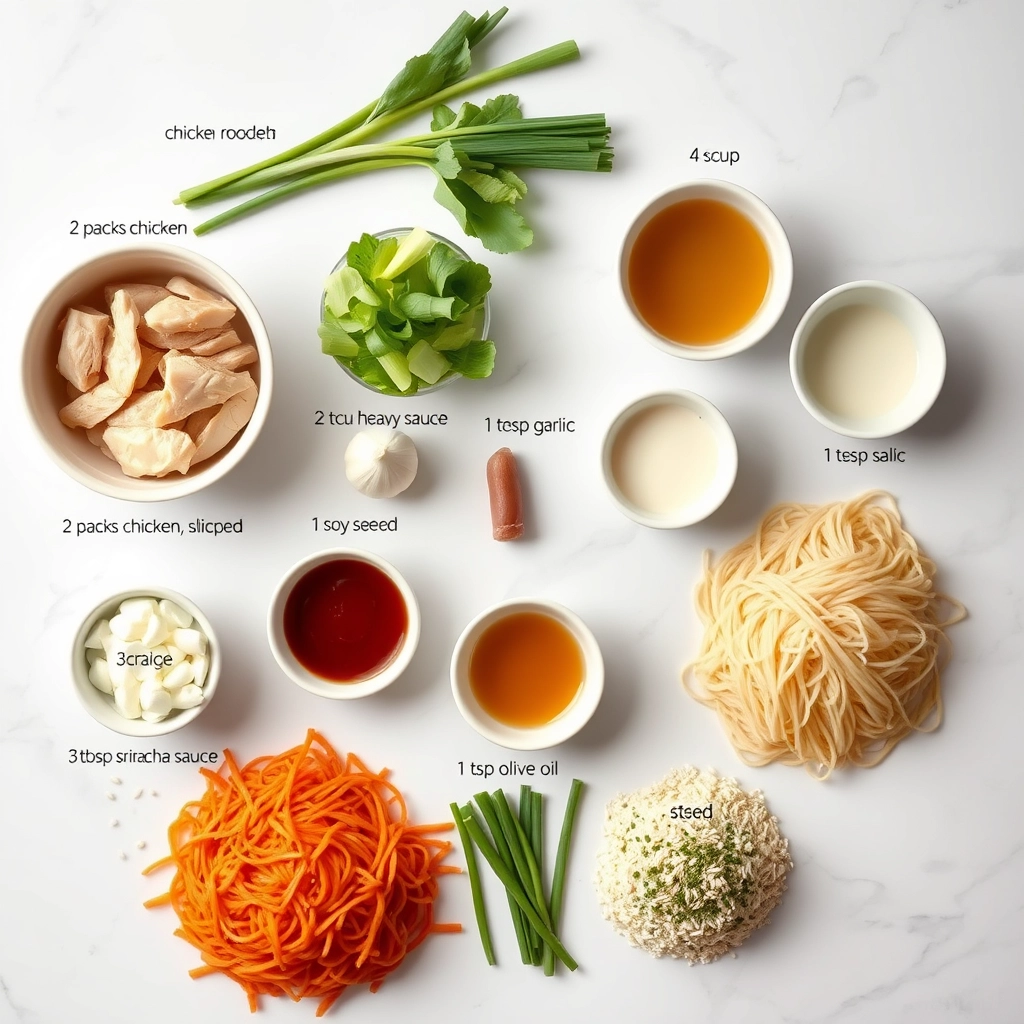
  • 2 boneless, skinless chicken breasts – Thinly sliced for quick cooking and maximum tenderness.
  • 3 packs of ramen noodles – Discard the seasoning packets (we’re making our own flavor magic today!).
  • 4 cloves of garlic, minced – Because garlic is life, especially when it’s creamy.
  • 1 tbsp gochujang paste – This Korean chili paste adds depth and a slow-building heat.
  • 1 cup heavy cream – The secret to that luscious, velvety sauce.
  • 2 tbsp soy sauce – For that umami punch.
  • 1 tsp honey – Just a touch to balance the spice.
  • 1 tbsp butter – Because everything’s better with butter.
  • Green onions and sesame seeds – For that fresh, crunchy finish.
  • Soft-boiled eggs (optional but highly recommended) – A ramen bowl isn’t complete without that oozy yolk.

Let’s Get Cooking: Step-by-Step

Step 1: Prep Your Chicken
Slice your chicken breasts into thin strips—this ensures they cook quickly and stay juicy. Season lightly with salt and pepper. Pro tip: If you have time, marinate them in a splash of soy sauce and a pinch of sugar for 15 minutes for extra flavor.

Step 2: Cook the Noodles
Bring a pot of water to boil and cook your ramen noodles according to the package instructions (usually about 3 minutes). Drain and rinse under cold water to stop the cooking process. This keeps them springy and prevents mushiness.

Step 3: Sizzle the Garlic
In a large pan, melt the butter over medium heat. Add the minced garlic and sauté until fragrant—about 30 seconds. Be careful not to burn it! Burnt garlic turns bitter, and we want sweet, toasty notes.

Step 4: Sear the Chicken
Add the chicken strips to the pan and cook until they’re golden and just cooked through, about 4-5 minutes. Remove them from the pan and set aside. Don’t worry if there are browned bits left behind—those are flavor gold!

Step 5: Build the Sauce
In the same pan, lower the heat and add the gochujang paste, stirring it into the leftover garlicky goodness. Slowly pour in the heavy cream, soy sauce, and honey, whisking until smooth. Let it simmer for 2-3 minutes until it thickens slightly. Taste and adjust—add more honey if you like it sweeter or a splash of chili oil for extra heat.

Pro Tips, Variations, and Substitutions

This fiery chicken ramen is wonderfully adaptable to suit your taste and pantry staples. Here are some ways to make it your own:

  • Spice Level: Adjust the heat by using less chili paste or adding a dollop of honey for balance.
  • Protein Swap: Not a fan of chicken? Try shrimp, tofu, or even thinly sliced beef for a different twist.
  • Veggie Boost: Toss in mushrooms, baby corn, or snap peas for extra crunch and nutrition.
  • Noodle Options: If you don’t have ramen noodles, udon or soba noodles work beautifully too.

What to Serve with Fiery Chicken Ramen

While this dish is hearty enough to stand on its own, a few simple sides can round out the meal:

  • A crisp Asian cucumber salad for a refreshing contrast
  • Steamed edamame sprinkled with sea salt
  • Gyoza or potstickers for dipping in the creamy garlic sauce
  • A cold Japanese beer or iced green tea to cool the palate

Storage and Reheating Tips

Leftovers? No problem! Here’s how to keep your ramen tasting fresh:

  • Store broth and noodles separately in airtight containers for up to 3 days.
  • When reheating, add a splash of water or broth to loosen the sauce.
  • For best texture, reheat noodles separately in hot water for 30 seconds before combining with the broth.
  • Garnishes like green onions and sesame seeds should always be added fresh.

Frequently Asked Questions

Can I make this dish vegetarian?

Absolutely! Swap the chicken for tofu or mushrooms and use vegetable broth instead of chicken broth.

How can I make the garlic sauce thicker?

Simmer the sauce longer to reduce it, or add a cornstarch slurry (1 tsp cornstarch + 1 tbsp water).

Is there a gluten-free version?

Yes! Use gluten-free tamari instead of soy sauce and rice noodles instead of wheat ramen.

Can I freeze this ramen?

We don’t recommend freezing the assembled dish, but the garlic sauce freezes beautifully for up to 2 months.

Final Thoughts

There’s something magical about a bowl of steaming ramen that warms you from the inside out. This fiery chicken version with its luscious garlic sauce is comfort food with a kick – perfect for chilly evenings, lazy weekends, or whenever you need a flavorful pick-me-up. Don’t be afraid to make it your own by playing with ingredients and spice levels. After all, the best recipes are the ones that bring you joy in both the making and the eating. Now go forth and slurp happily!

Print
clock clock iconcutlery cutlery iconflag flag iconfolder folder iconinstagram instagram iconpinterest pinterest iconfacebook facebook iconprint print iconsquares squares iconheart heart iconheart solid heart solid icon

Fiery Chicken Ramen with Creamy Garlic Sauce

  • Author: Trusted Blog

Description

A spicy and creamy ramen dish featuring tender chicken and a rich garlic sauce.


Ingredients

Scale

For the Crust:

  • 2 chicken breasts, sliced
  • 2 packs ramen noodles
  • 4 cups chicken broth
  • 3 cloves garlic, minced
  • 1/2 cup heavy cream
  • 1 tbsp sriracha sauce
  • 1 tbsp soy sauce
  • 1 tsp red pepper flakes
  • 1 tbsp olive oil
  • 2 green onions, chopped
  • 1 tsp sesame seeds

Instructions

1. Prepare the Crust:

  1. Heat olive oil in a large pot over medium heat. Add chicken and cook until browned, about 5 minutes.
  2. Add minced garlic and sauté for 1 minute until fragrant.
  3. Pour in chicken broth, soy sauce, and sriracha. Bring to a boil.
  4. Add ramen noodles and cook for 3-4 minutes until tender.
  5. Stir in heavy cream and red pepper flakes. Simmer for 2 minutes.
  6. Garnish with green onions and sesame seeds before serving.

Notes

You can customize the seasonings to taste.
Olive Garden Pasta e Fagioli

olive-garden-pasta-e-fagioli

A Bowl of Comfort: Olive Garden’s Pasta e Fagioli at Home

There’s something magical about walking into Olive Garden on a chilly evening, the scent of garlic and simmering tomatoes wrapping around you like a warm hug. But what if I told you that same cozy magic could be recreated right in your own kitchen? This Pasta e Fagioli—a hearty Italian soup brimming with tender pasta, creamy beans, and savory herbs—has been my go-to comfort dish for years. Whether it’s a busy weeknight or a lazy Sunday, this recipe never fails to bring a little restaurant-style joy to the table.

Ingredients You’ll Need

Gathering these ingredients feels like prepping for a little Italian feast. Here’s what you’ll need:

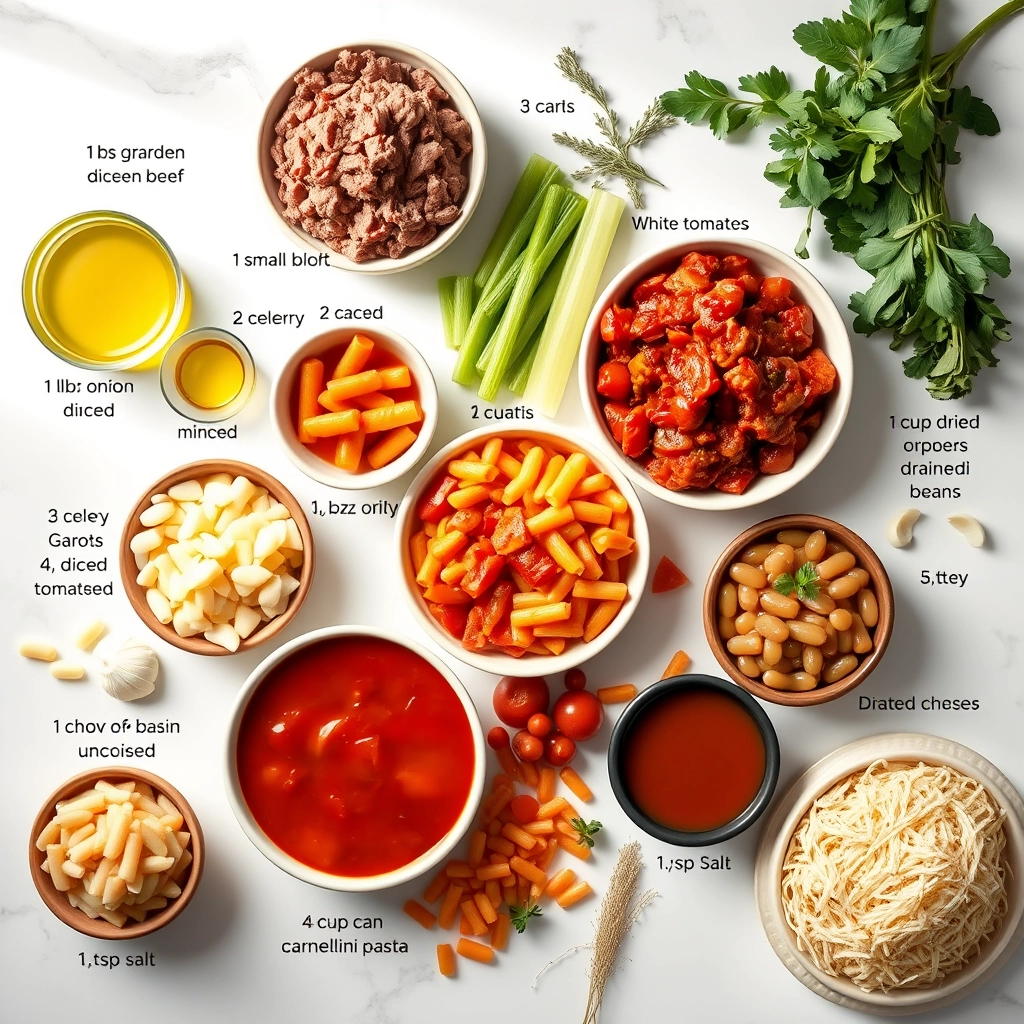
  • 1 tablespoon olive oil – The foundation of so many good things, it adds that rich, fruity depth to the soup.
  • 1 pound ground beef – I like using 85% lean for the perfect balance of flavor without too much grease.
  • 1 small onion, diced – Sweet and aromatic, it’s the first layer of flavor.
  • 2 carrots, peeled and diced – A pop of color and natural sweetness.
  • 2 celery stalks, diced – Don’t skip this! It adds that classic Italian soffritto base.
  • 3 cloves garlic, minced – Because what’s an Italian dish without garlic?
  • 1 (15 oz) can diced tomatoes – Juicy, tangy, and full of brightness.
  • 1 (15 oz) can red kidney beans, drained and rinsed – Creamy and hearty, they make the soup so satisfying.
  • 1 (15 oz) can great northern beans, drained and rinsed – A mix of beans gives the best texture.
  • 4 cups beef broth – Homemade is wonderful, but store-bought works just fine.
  • 1 teaspoon dried oregano – Earthy and fragrant, it ties everything together.
  • 1 teaspoon dried basil – A touch of sweetness and warmth.
  • 1/2 teaspoon dried thyme – A subtle, herby note that makes a difference.
  • 1/2 teaspoon red pepper flakes (optional) – For those who like a little kick!
  • 1 cup ditalini pasta – The perfect tiny tubes for scooping up all that goodness.
  • Salt and pepper to taste – Because seasoning is everything.
  • Freshly grated Parmesan and chopped parsley for serving – The crowning glory!

Let’s Get Cooking

Now, let’s turn these humble ingredients into a pot of soul-warming goodness. Follow along—I’ll share my little tricks along the way!

Step 1: Sauté the Aromatics

Heat the olive oil in a large pot or Dutch oven over medium heat. Add the ground beef, breaking it up with a wooden spoon as it browns. Once the beef is no longer pink, toss in the onion, carrots, and celery. Sauté until the veggies soften and the onion turns translucent—about 5 minutes. This is where the magic starts! The smell alone will have your kitchen feeling like an Italian trattoria.

Step 2: Garlic & Tomatoes

Stir in the minced garlic and let it cook for just 30 seconds—long enough to release its fragrance but not so long it burns. Then, pour in the diced tomatoes with their juices. Let everything simmer together for another 2-3 minutes, allowing the flavors to meld. Tip: If you love a richer tomato flavor, a splash of tomato paste here works wonders!

Step 3: Beans & Broth

Add both cans of beans—kidney and great northern—along with the beef broth. Sprinkle in the oregano, basil, thyme, and red pepper flakes if using. Give it a good stir, then bring the soup to a gentle boil. Reduce the heat to low, cover, and let it simmer for about 15 minutes. This slow simmer lets the herbs infuse the broth with all their cozy, savory goodness.

Pro Tips, Variations, and Substitutions

This Olive Garden Pasta e Fagioli is wonderfully forgiving, so don’t be afraid to make it your own! Here are some ideas to customize it to your taste:

  • Vegetable swaps: Swap carrots for celery or add a handful of spinach for extra greens.
  • Protein boost: Stir in cooked ground turkey or Italian sausage for a heartier version.
  • Beans: Cannellini beans are classic, but kidney beans or even chickpeas work beautifully.
  • Pasta: Ditalini is traditional, but small shells or elbow macaroni are great substitutes.
  • Slow cooker friendly: Sauté the veggies first, then transfer everything (except pasta) to a slow cooker and cook on low for 6–8 hours. Add cooked pasta just before serving.

What to Serve with Pasta e Fagioli

This soup is a meal in itself, but a few simple sides can turn it into a feast:

  • A crusty loaf of garlic bread or warm breadsticks for dipping.
  • A crisp Italian salad with romaine, olives, and pepperoncini.
  • A glass of Chianti or a sparkling water with lemon for a refreshing contrast.

Storage and Reheating Tips

Like many soups, this one tastes even better the next day! Here’s how to keep it fresh:

  • Refrigerator: Store in an airtight container for up to 4 days.
  • Freezer: Freeze without pasta for up to 3 months. Thaw overnight in the fridge and add freshly cooked pasta when reheating.
  • Reheating: Warm gently on the stovetop over medium-low heat, adding a splash of broth if the soup thickens too much.

Frequently Asked Questions

Can I make this soup vegetarian?

Absolutely! Simply use vegetable broth instead of chicken broth, and omit the pancetta (or swap it for sautéed mushrooms for depth).

Why does my soup taste bland?

Don’t skimp on seasoning! Taste and adjust with extra salt, a pinch of red pepper flakes, or a splash of balsamic vinegar to brighten the flavors.

Can I use dried beans instead of canned?

Yes, but you’ll need to soak and cook them first. Use ¾ cup dried beans (soaked overnight) to replace one 15-oz can.

How do I prevent the pasta from getting mushy?

Cook the pasta separately and add it to individual bowls when serving, especially if you plan to store leftovers.

A Bowl of Comfort Awaits

There’s something magical about a steaming bowl of Pasta e Fagioli—it’s the kind of meal that warms you from the inside out, just like Nonna used to make. Whether you’re craving a taste of Olive Garden at home or need a cozy dinner to share with loved ones, this soup delivers every time. Ladle it up, sprinkle with Parmesan, and savor each comforting bite. After all, the best meals are the ones made with love (and maybe an extra garlic breadstick or two).

Print
clock clock iconcutlery cutlery iconflag flag iconfolder folder iconinstagram instagram iconpinterest pinterest iconfacebook facebook iconprint print iconsquares squares iconheart heart iconheart solid heart solid icon

Olive Garden Pasta e Fagioli

  • Author: Trusted Blog

Description

A hearty Italian soup with pasta, beans, and vegetables, inspired by the Olive Garden classic.


Ingredients

Scale

For the Crust:

  • 1 tbsp olive oil
  • 1 lb ground beef
  • 1 small onion, diced
  • 2 carrots, diced
  • 2 celery stalks, diced
  • 3 cloves garlic, minced
  • 1 (15 oz) can diced tomatoes
  • 1 (15 oz) can red kidney beans, drained and rinsed
  • 1 (15 oz) can white cannellini beans, drained and rinsed
  • 4 cups beef broth
  • 1 (15 oz) can tomato sauce
  • 1 tsp dried oregano
  • 1 tsp dried basil
  • 1/2 tsp dried thyme
  • 1/2 tsp salt
  • 1/4 tsp black pepper
  • 1 cup ditalini pasta, uncooked
  • Grated Parmesan cheese for serving

Instructions

1. Prepare the Crust:

  1. Heat olive oil in a large pot over medium heat. Add ground beef and cook until browned, breaking it into small pieces. Drain excess fat.
  2. Add onion, carrots, celery, and garlic to the pot. Cook for 5 minutes, stirring occasionally, until vegetables soften.
  3. Stir in diced tomatoes, kidney beans, cannellini beans, beef broth, tomato sauce, oregano, basil, thyme, salt, and pepper. Bring to a boil.
  4. Reduce heat to low and simmer for 15 minutes, stirring occasionally.
  5. Add ditalini pasta and cook for an additional 10 minutes, or until pasta is tender.
  6. Serve hot, garnished with grated Parmesan cheese.

Notes

You can customize the seasonings to taste.