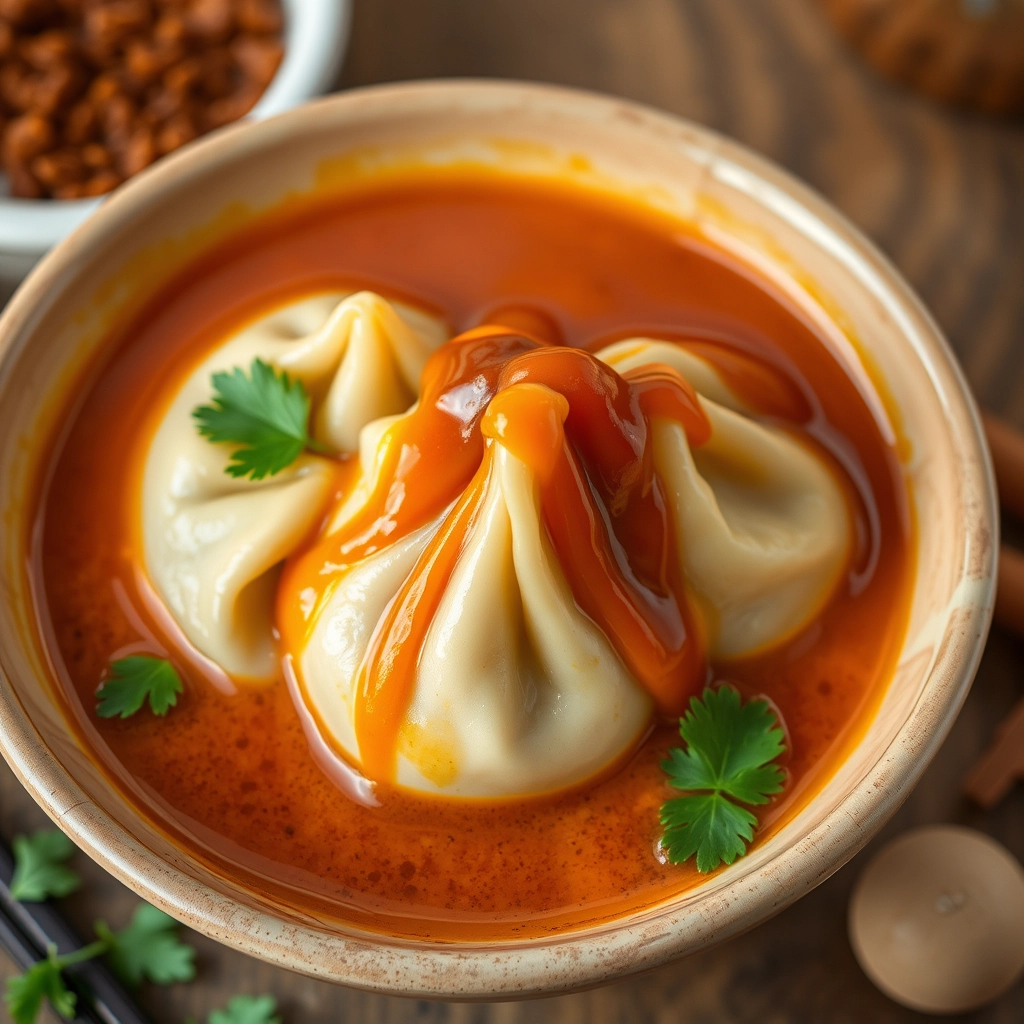
Best Curry Dumpling Soup – Easy Homemade Recipe

best-curry-dumpling-soup-recipe

Best Curry Dumpling Soup – Easy Homemade Recipe

There’s something magical about a bowl of soup that cradles plump, tender dumplings—especially when they’re steeped in the warm embrace of curry. This recipe came to me on one of those evenings when the rain tapped gently against the window, and all I craved was comfort in a spoon. My grandmother used to say that dumplings were little clouds of love, and when paired with the golden depth of curry, they become something truly extraordinary. Whether you’re curled up on the couch or sharing a meal with loved ones, this curry dumpling soup is a hug in a bowl.

Ingredients You’ll Need

  • For the Dumplings:
    • 1 cup all-purpose flour – the foundation of our fluffy little clouds.
    • 2 tsp baking powder – for that perfect rise.
    • ½ tsp salt – just enough to enhance the flavors.
    • ½ cup milk (or plant-based milk for a dairy-free option) – adds tenderness.
    • 2 tbsp melted butter – because richness never hurt anyone.
    • 1 tbsp fresh parsley, finely chopped – a whisper of freshness.
  • For the Soup:
    • 1 tbsp olive oil or butter – to start our aromatic base.
    • 1 small onion, diced – the sweet backbone of the soup.
    • 2 garlic cloves, minced – because every good story starts with garlic.
    • 1 tbsp curry powder (adjust to taste) – the star of the show, warm and inviting.
    • 4 cups vegetable or chicken broth – homemade if you have it, but store-bought works beautifully too.
    • 1 cup coconut milk – for creaminess with a hint of tropical charm.
    • Salt and pepper to taste – the final seasoning touch.

Let’s Make the Soup, Step by Step

Step 1: Sauté the Aromatics
In a large pot, warm the olive oil or butter over medium heat. Add the diced onion and sauté until it turns translucent and sweet—about 5 minutes. Toss in the minced garlic and let it dance in the pan for another minute, filling your kitchen with that irresistible fragrance.

Step 2: Bloom the Curry
Sprinkle in the curry powder, stirring it into the onions and garlic. Let it toast for just 30 seconds to awaken its flavors. This little step makes all the difference—it’s like unlocking the secret depth of the spice.

Step 3: Build the Broth
Pour in the vegetable or chicken broth, stirring to combine everything beautifully. Bring it to a gentle simmer, then reduce the heat to low and let it bubble softly while you prepare the dumplings. The broth will start to deepen in color, promising all the goodness to come.

Step 4: Mix the Dumpling Batter
In a medium bowl, whisk together the flour, baking powder, and salt. Add the milk and melted butter, stirring just until combined—don’t overmix, or the dumplings will be tough. Fold in the fresh parsley for that little pop of green.
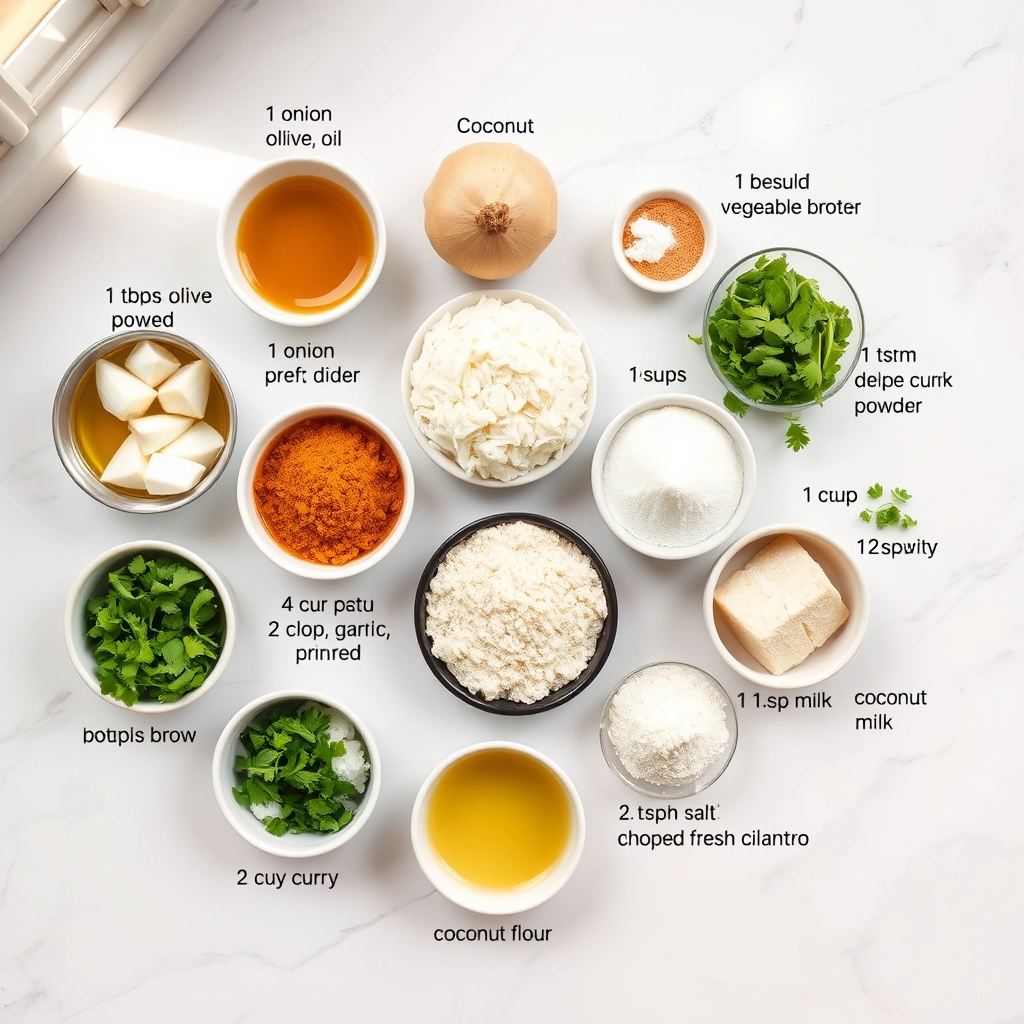
There’s something magical about the way curry spices mingle with plump dumplings in a steaming bowl of soup. This easy homemade recipe is my go-to comfort food when I need warmth from the inside out. Let me share some extra tips to make your curry dumpling soup experience even better!

Pro Tips & Variations

  • Spice level: Adjust the curry powder to your taste – start with 1 tablespoon and add more if you love bold flavors
  • Vegetable boost: Toss in some chopped kale or spinach during the last 5 minutes of cooking
  • Protein options: Swap dumplings for cooked chicken, tofu, or shrimp if preferred
  • Creamy version: Stir in 1/4 cup coconut milk at the end for extra richness

Perfect Pairings

This versatile soup plays well with many sides:

  • Crusty bread for dipping
  • Simple cucumber salad with rice vinegar
  • Steamed jasmine rice to make it heartier
  • Crispy spring rolls for texture contrast

Storage & Reheating

Leftovers taste even better the next day! Store in an airtight container for up to 3 days in the refrigerator. To reheat:

  • Stovetop: Warm gently over medium-low heat, adding a splash of broth if needed
  • Microwave: Cover and heat in 1-minute intervals, stirring between each

Note: Dumplings may soften upon storage – if you prefer firmer texture, make fresh dumplings when reheating.

Frequently Asked Questions

Can I use frozen dumplings?

Absolutely! Frozen dumplings work perfectly – just add 1-2 minutes to the cooking time. No need to thaw first.

What if I don’t have curry powder?

Make your own blend with 1 tsp each of turmeric, cumin, coriander, and a pinch of ginger. It won’t be identical but still delicious!

How can I make this gluten-free?

Use gluten-free dumplings (many Asian markets carry them) and substitute tamari for soy sauce.

Can I freeze this soup?

The broth freezes well for up to 2 months, but dumplings may become mushy when thawed. I recommend freezing just the broth and adding fresh dumplings when serving.

As the steam rises from your bowl and the first spoonful warms your soul, I hope this curry dumpling soup becomes a cherished recipe in your home just as it is in mine. It’s the kind of meal that turns an ordinary evening into something special – simple enough for weeknights, yet flavorful enough to impress. May your kitchen be filled with the wonderful aromas of spices and the contentment that comes from a homemade meal made with love.

Print
clock clock iconcutlery cutlery iconflag flag iconfolder folder iconinstagram instagram iconpinterest pinterest iconfacebook facebook iconprint print iconsquares squares iconheart heart iconheart solid heart solid icon

Curry Dumpling Soup

  • Author: Trusted Blog

Description

A comforting and flavorful soup with tender dumplings in a rich curry broth.


Ingredients

Scale

For the Crust:

  • 1 tbsp olive oil
  • 1 onion, diced
  • 2 cloves garlic, minced
  • 1 tbsp curry powder
  • 4 cups vegetable broth
  • 1 cup coconut milk
  • 1 cup all-purpose flour
  • 2 tsp baking powder
  • 1/2 tsp salt
  • 1/2 cup milk
  • 2 tbsp chopped fresh cilantro

Instructions

1. Prepare the Crust:

  1. Heat olive oil in a large pot over medium heat. Add onion and garlic, sauté until softened.
  2. Stir in curry powder and cook for 1 minute until fragrant.
  3. Pour in vegetable broth and coconut milk. Bring to a simmer.
  4. In a bowl, mix flour, baking powder, and salt. Add milk and stir until a dough forms.
  5. Drop spoonfuls of the dumpling dough into the simmering soup. Cover and cook for 15 minutes.
  6. Garnish with fresh cilantro before serving.

Notes

You can customize the seasonings to taste.
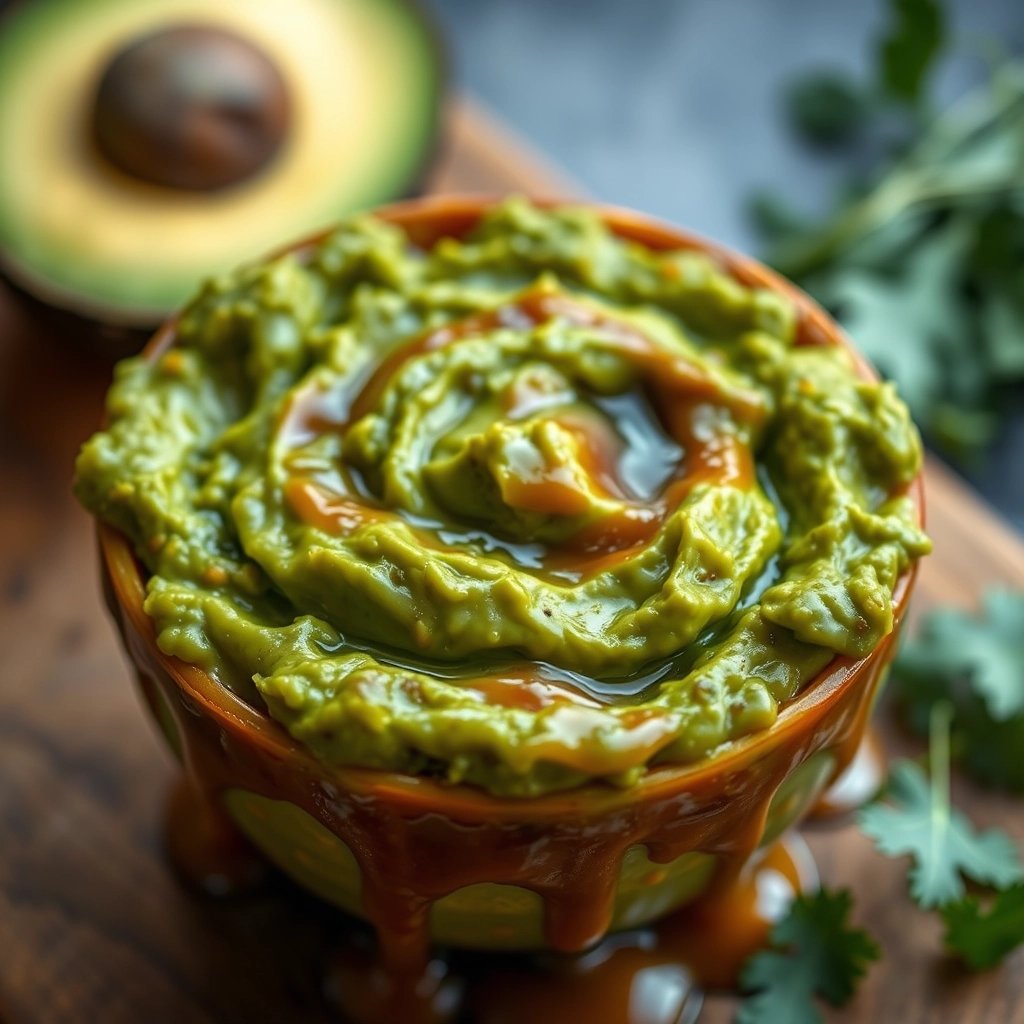
Best Ever Guacamole – Easy Homemade Recipe

best-ever-guacamole-recipe

The Best Ever Guacamole – A Bowl of Sunshine

There’s something magical about a perfectly made guacamole. It’s the kind of dish that brings people together—whether it’s a casual weeknight snack with my husband or the star of our weekend gatherings with friends. I still remember the first time I tasted truly great guacamole at a little taqueria in Mexico City. The creamy texture, the bright citrus, the gentle heat of fresh chilies… it was love at first bite. Since then, I’ve spent years perfecting my own version, and today, I’m sharing my ultimate recipe with you. This isn’t just any guacamole—it’s the best ever, and I promise, once you try it, there’s no going back.

Ingredients You’ll Need

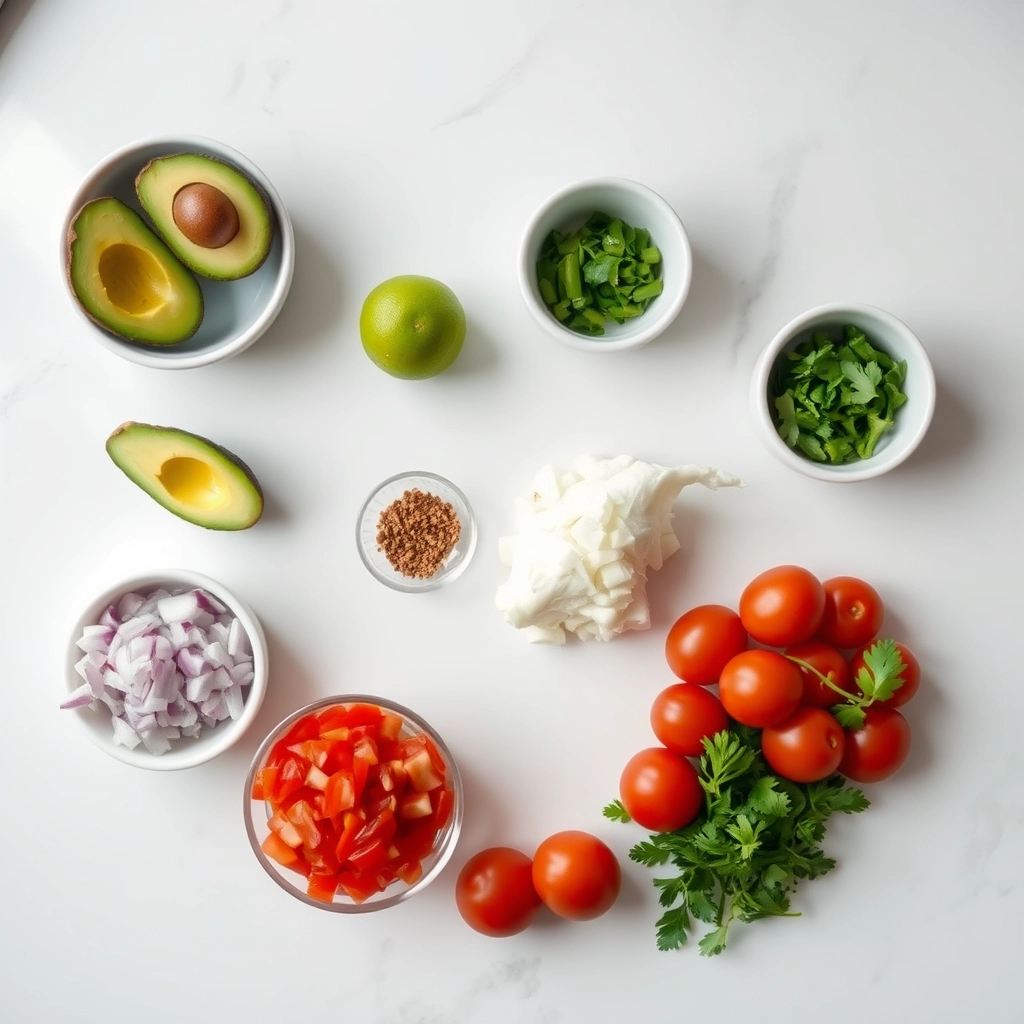
  • 3 ripe avocados – Look for ones that yield slightly to gentle pressure. Too firm, and they won’t mash well; too soft, and they might be overripe.
  • 1 small red onion, finely diced – Red onion adds a lovely sharpness, but if you prefer milder flavor, soak the diced pieces in cold water for 5 minutes before adding.
  • 1-2 jalapeños, seeds removed and minced – Adjust to your spice tolerance! I love a little kick, so I usually go for two.
  • 1 large lime, juiced – Fresh lime juice is non-negotiable here. It keeps the guac vibrant and adds that essential tang.
  • ½ cup fresh cilantro, chopped – If cilantro isn’t your thing, you can skip it, but it really does elevate the flavor.
  • 1 ripe tomato, seeds removed and diced – I prefer Roma tomatoes since they’re less watery, but any ripe tomato will work.
  • ½ tsp sea salt – Start with this and adjust to taste—good guac needs proper seasoning!
  • 1 clove garlic, minced (optional) – I add this when I want an extra punch, but it’s just as delicious without.

Let’s Make the Best Guacamole Together

Making guacamole is as much about technique as it is about ingredients. Here’s how I do it:

  1. Prep your avocados. Slice them in half, remove the pits, and scoop the flesh into a large bowl. I like to leave some chunks for texture, so I use a fork to mash them just until creamy but still rustic.
  2. Add the lime juice immediately. This not only adds flavor but also keeps the avocados from browning. Give it a quick stir to coat every bit.
  3. Fold in the aromatics. Gently mix in the diced onion, jalapeño, cilantro, and garlic (if using). The key here is to distribute everything evenly without over-mashing.
  4. Season and taste. Sprinkle in the salt, then give it a try. Need more lime? A pinch more salt? This is your moment to adjust.
  5. Add the tomatoes last. Stir them in just before serving so they stay fresh and don’t make the guac watery.

And here’s my little secret: let it sit for 10 minutes before serving. The flavors meld together beautifully, making each bite even more irresistible.

Pro Tips for the Best Guacamole Ever

Want to take your guacamole from good to legendary? Here are my favorite secrets:

  • Ripe avocados are key – They should yield slightly to gentle pressure, like a perfectly ripe peach
  • Use a molcajete if you have one – the traditional Mexican mortar and pestle creates the perfect chunky texture
  • Add lime juice gradually – Start with half a lime and adjust to taste
  • Let it rest – 15 minutes of sitting time allows the flavors to marry beautifully

Delicious Variations to Try

While classic guacamole is perfection, sometimes it’s fun to mix things up:

  • Spicy – Add 1 minced jalapeño (seeds removed for less heat)
  • Fruity – Mix in 1/2 cup diced mango or pineapple
  • Smoky – Stir in 1/2 teaspoon smoked paprika
  • Creamy – Blend with 2 tablespoons Greek yogurt for extra richness

What to Serve with Your Guacamole

This versatile dip plays well with so many partners:

  • Crispy tortilla chips (the classic!)
  • Fresh vegetable sticks – try jicama for a sweet crunch
  • As a topping for tacos, nachos, or baked potatoes
  • Spread on sandwiches instead of mayo
  • Served alongside grilled meats or fish

Keeping Your Guacamole Fresh

The eternal question – how to prevent browning? Here’s what works:

  • Press plastic wrap directly onto the surface of the guacamole
  • Store in an airtight container with a thin layer of water on top (pour off before serving)
  • Squeeze extra lime juice over the top before covering
  • Best enjoyed within 24 hours (though it rarely lasts that long!)

Guacamole FAQs

Can I make guacamole ahead of time?
Yes! Prepare it up to 4 hours in advance. Follow the storage tips above and give it a quick stir before serving.

What if my avocados aren’t ripe yet?
Speed up ripening by placing them in a paper bag with a banana overnight. For emergency guac, you can microwave unripe avocados for 30 seconds to soften slightly.

Is guacamole healthy?
Absolutely! Avocados are packed with healthy fats, fiber, and vitamins. Just watch portion sizes if you’re counting calories.

Can I freeze guacamole?
Technically yes, but the texture changes. If you must freeze, leave out the onions and tomatoes and add them fresh after thawing.

The Perfect Party Starter

There’s something magical about a bowl of fresh guacamole that brings people together. Whether it’s game day, taco Tuesday, or just a quiet night in, this simple recipe has a way of making ordinary moments feel special. The beauty lies in its simplicity – just good ingredients prepared with care. I hope this becomes your go-to guacamole recipe, the one your friends beg you to make and the one that becomes part of your family’s food story. Now go grab those avocados and get dipping!

Print
clock clock iconcutlery cutlery iconflag flag iconfolder folder iconinstagram instagram iconpinterest pinterest iconfacebook facebook iconprint print iconsquares squares iconheart heart iconheart solid heart solid icon

Best Ever Guacamole

  • Author: Trusted Blog

Description

A creamy, zesty guacamole with the perfect balance of flavors. Great for parties or snacking!


Ingredients

Scale

For the Crust:

  • 3 ripe avocados
  • 1 lime, juiced
  • 1/2 teaspoon salt
  • 1/2 teaspoon ground cumin
  • 1/2 teaspoon cayenne pepper
  • 1/2 medium onion, diced
  • 2 Roma tomatoes, diced
  • 1 tablespoon fresh cilantro, chopped
  • 1 clove garlic, minced

Instructions

1. Prepare the Crust:

  1. Cut the avocados in half, remove the pits, and scoop the flesh into a bowl.
  2. Mash the avocados with a fork to your desired consistency.
  3. Stir in the lime juice, salt, cumin, and cayenne pepper.
  4. Fold in the onion, tomatoes, cilantro, and garlic.
  5. Cover and refrigerate for 30 minutes before serving to let flavors meld.

Notes

You can customize the seasonings to taste.
Best Crockpot Chicken Noodle Soup – Easy & Hearty

best-crockpot-chicken-noodle-soup

The Coziest Crockpot Chicken Noodle Soup for Soulful Evenings

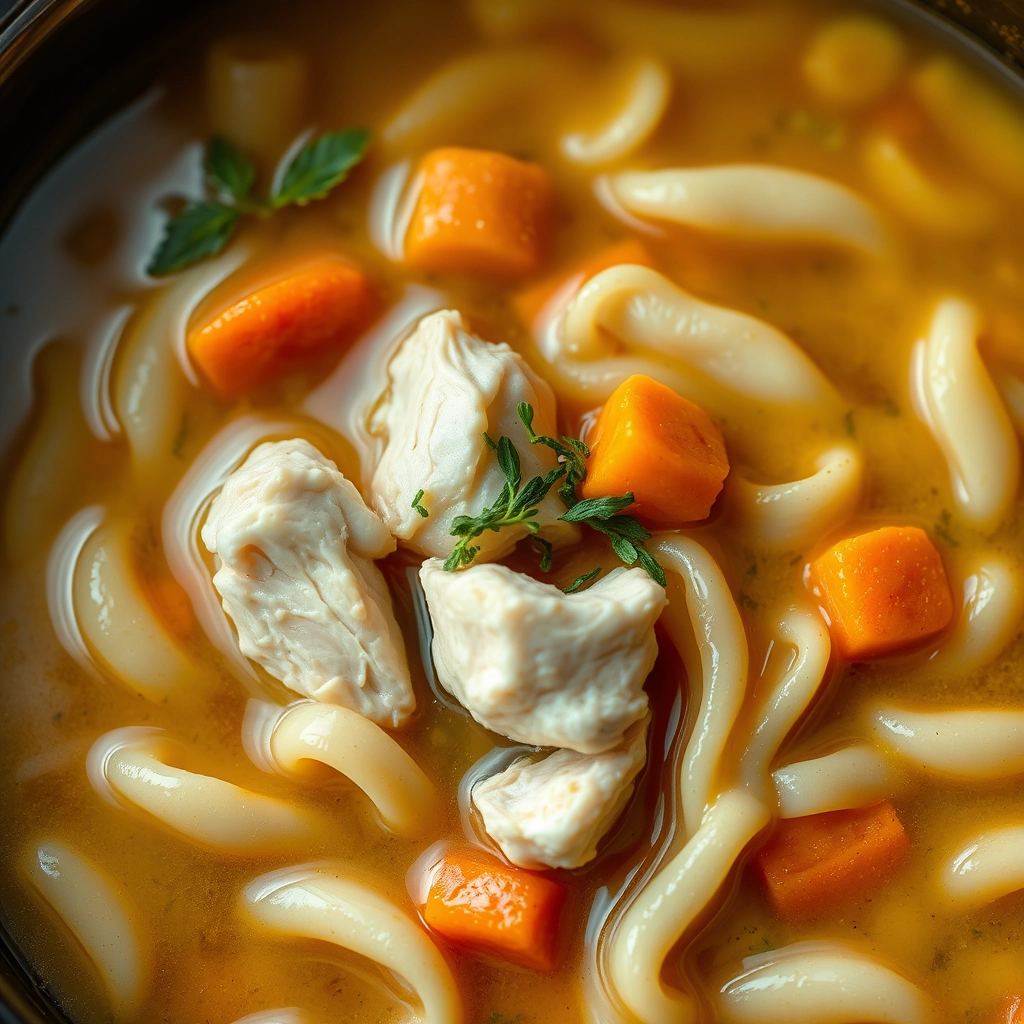
There’s something almost magical about the way a simmering pot of chicken noodle soup can turn a dreary day into a warm, comforting embrace. I remember coming home from school as a child, my cheeks still stinging from the autumn wind, to find my grandmother’s kitchen filled with the scent of tender chicken, earthy herbs, and buttery noodles. She’d wrap me in a quilt at the kitchen table and serve me a steaming bowl—her secret? Letting the slow cooker do all the loving work while she simply stirred in the noodles at the end. Today, I’m sharing my version of that nostalgia, a crockpot chicken noodle soup that’s as effortless as it is soul-warming.

Ingredients You’ll Need

  • 1.5 lbs boneless, skinless chicken thighs – Thighs stay juicier than breasts during slow cooking, but feel free to swap if you prefer white meat.
  • 6 cups chicken broth – Homemade is dreamy, but a good-quality store-bought broth works beautifully.
  • 3 carrots, sliced into coins – Their natural sweetness balances the savory broth.
  • 3 celery stalks, chopped – Don’t skip the leaves! They add a lovely herbaceous note.
  • 1 yellow onion, diced – The humble onion is the flavor foundation here.
  • 3 garlic cloves, minced – Because every great soup starts with garlic.
  • 1 tsp dried thyme – Earthy and warm, like a hug in spice form.
  • 2 bay leaves – They’ll infuse the broth with depth—just remember to fish them out later!
  • 2 cups wide egg noodles – The classic choice, but any short pasta will do.
  • Salt & pepper to taste – Season as you go, but especially at the end.
  • Fresh parsley (optional) – A bright green sprinkle before serving makes it extra inviting.

Let’s Make Some Comfort

  1. Layer the aromatics: Start by scattering the onions, carrots, and celery in the bottom of your crockpot. This creates a flavorful “bed” for the chicken. Toss in the garlic, thyme, and bay leaves—no need to stir yet!
  2. Nestle in the chicken: Place the chicken thighs on top of the veggies in a single layer. Season generously with salt and pepper. Pour the broth over everything; it should nearly cover the chicken (add a splash of water if needed).
  3. Slow cook to tenderness: Cover and cook on LOW for 6-7 hours or HIGH for 3-4 hours. The chicken should shred easily with a fork when done. (Tip: If you’re home, give it a gentle stir halfway through—but no peeking otherwise! Keeping the lid on ensures rich flavor.)
  4. Shred & simmer: Use two forks to shred the chicken right in the pot. It’ll soak up even more broth this way. Then, stir in the egg noodles, submerging them completely. Cover and cook on HIGH for 10-15 more minutes, just until the noodles are al dente.

At this point, your kitchen will smell like every happy childhood memory. But we’re not done yet—stay tuned for the finishing touches (think: buttery richness, herbaceous freshness) and my favorite ways to serve this hug-in-a-bowl…

Pro Tips, Variations, and Substitutions

This crockpot chicken noodle soup is wonderfully forgiving, so don’t be afraid to make it your own! Here are some ways to customize it:

  • Swap the protein: Use leftover turkey instead of chicken for a post-holiday twist.
  • Make it creamy: Stir in a splash of heavy cream or a dollop of cream cheese at the end for a richer broth.
  • Veggie lovers: Add mushrooms, zucchini, or kale for extra nutrients and texture.
  • Gluten-free option: Use gluten-free noodles or swap them for rice or quinoa.
  • Herb boost: Fresh thyme, rosemary, or a bay leaf will deepen the flavor.

What to Serve With Your Soup

This soup is a meal in itself, but a few cozy sides can make it even more satisfying:

  • Warm, crusty bread or buttery rolls for dipping
  • A simple green salad with a tangy vinaigrette
  • Grilled cheese sandwiches (because who can resist?)
  • Garlic knots or flaky biscuits

Storage and Reheating Tips

This soup keeps beautifully, making it perfect for meal prep or leftovers:

  • Refrigerator: Store in an airtight container for up to 4 days.
  • Freezer: Freeze without noodles for up to 3 months. Add fresh noodles when reheating.
  • Reheating: Warm gently on the stovetop over low heat. If the broth thickens, add a splash of water or broth.

Frequently Asked Questions

Can I use frozen chicken?
Yes! Just add it straight to the crockpot—no need to thaw. Increase the cooking time by about an hour to ensure it cooks through.

Why do the noodles get mushy?
Noodles absorb liquid over time. For the best texture, cook them separately and add them to individual bowls when serving, or wait until the last 30 minutes of cooking.

Can I make this soup in an Instant Pot?
Absolutely! Sauté the veggies first, then pressure cook on high for 10 minutes with a quick release. Add the noodles and cook on “Sauté” until tender.

How can I make it more flavorful?
Browning the chicken first or using homemade broth will add depth. A squeeze of lemon juice or a sprinkle of Parmesan at the end brightens the flavors, too.

Final Thoughts

There’s something magical about a bowl of homemade chicken noodle soup—it’s comfort in every spoonful. Whether you’re fighting off a cold, craving something cozy, or just need an easy dinner, this crockpot version delivers. The best part? It fills your home with the most irresistible aroma while doing all the work for you. So grab your slow cooker, snuggle up, and let this soup warm your soul. Happy cooking!

Print
clock clock iconcutlery cutlery iconflag flag iconfolder folder iconinstagram instagram iconpinterest pinterest iconfacebook facebook iconprint print iconsquares squares iconheart heart iconheart solid heart solid icon

Crockpot Chicken Noodle Soup

  • Author: Trusted Blog

Description

A comforting and hearty chicken noodle soup made effortlessly in the crockpot.


Ingredients

Scale

For the Crust:

  • 1 lb boneless, skinless chicken breasts
  • 6 cups chicken broth
  • 3 carrots, sliced
  • 3 celery stalks, sliced
  • 1 onion, diced
  • 2 cloves garlic, minced
  • 1 tsp dried thyme
  • 1 tsp dried parsley
  • 1/2 tsp salt
  • 1/4 tsp black pepper
  • 2 cups egg noodles
  • 1 tbsp olive oil

Instructions

1. Prepare the Crust:

  1. Heat olive oil in a skillet over medium heat. Add chicken breasts and cook for 3-4 minutes per side until lightly browned.
  2. Transfer chicken to the crockpot. Add chicken broth, carrots, celery, onion, garlic, thyme, parsley, salt, and pepper.
  3. Cover and cook on low for 6-7 hours or high for 3-4 hours.
  4. Remove chicken and shred with two forks. Return shredded chicken to the crockpot.
  5. Add egg noodles and cook on high for an additional 15-20 minutes until noodles are tender.
  6. Serve hot and enjoy.

Notes

You can customize the seasonings to taste.
Best Easy Baked Honey Dijon Chicken Recipe

best-easy-baked-honey-dijon-chicken

The Coziest Honey Dijon Chicken You’ll Ever Make

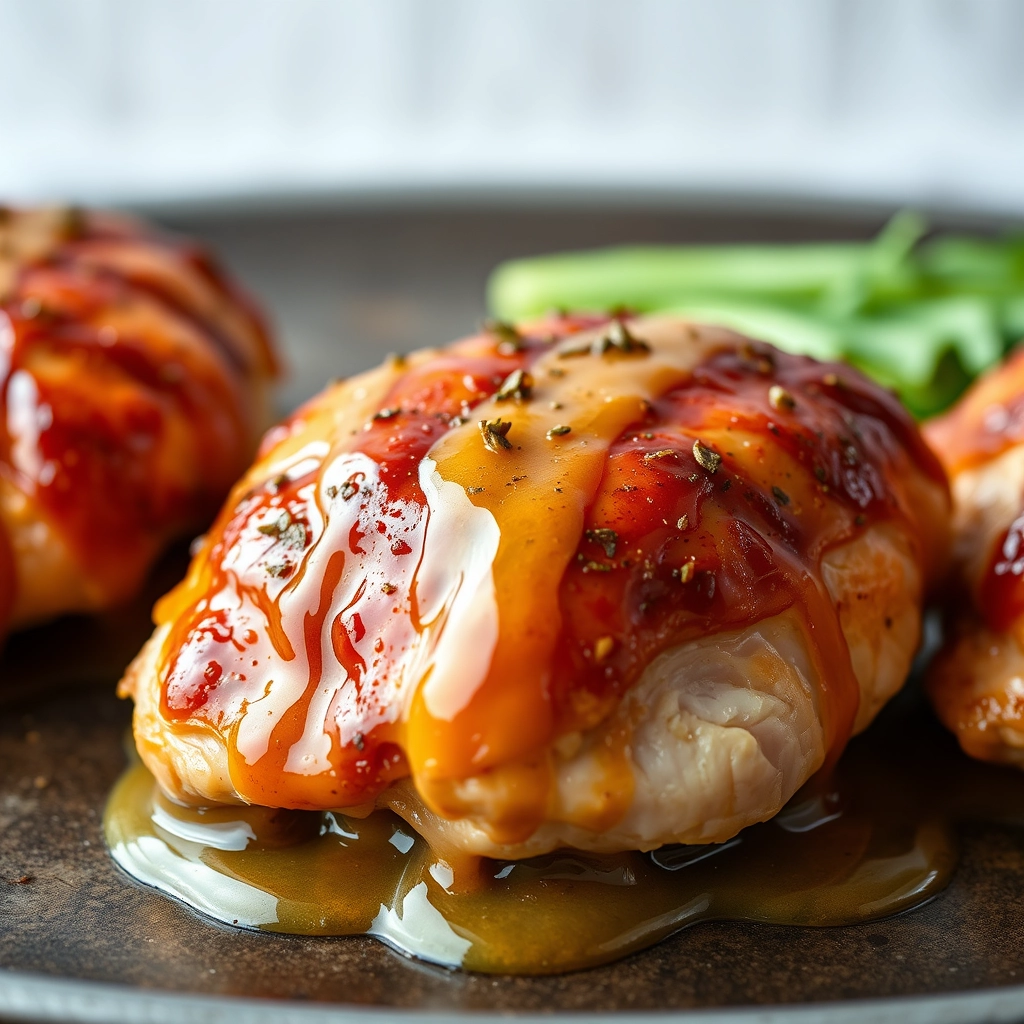
There’s something about golden, sticky chicken straight from the oven that feels like a warm hug on a busy weeknight. I remember the first time I whipped up this honey Dijon chicken—it was one of those evenings when the fridge seemed bare, but a few humble ingredients came together in the most magical way. The sweet honey, the tangy Dijon, and the way the chicken caramelizes into tender perfection… well, let’s just say it’s been on repeat ever since. This recipe is for those nights when you want something effortlessly delicious without sacrificing flavor. Let’s get cooking!

Ingredients You’ll Need

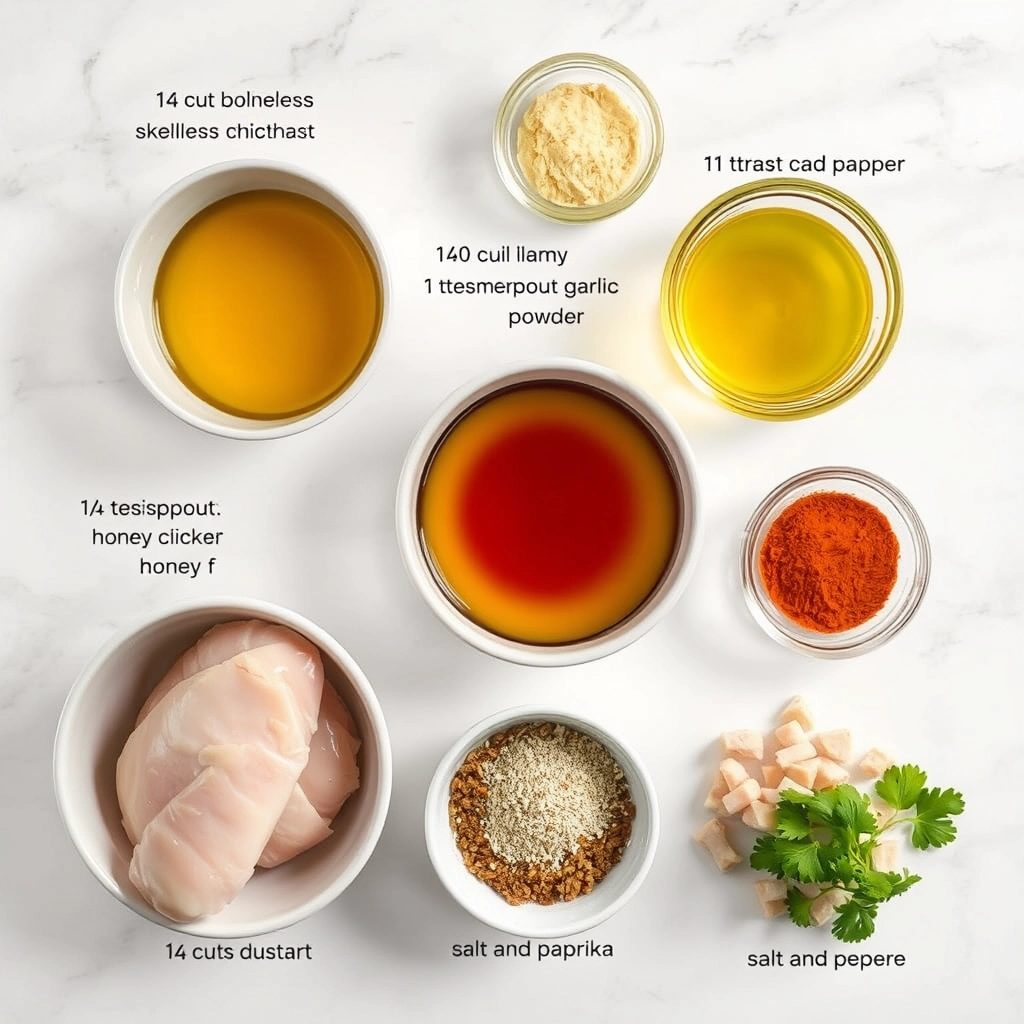
  • 4 boneless, skinless chicken breasts – The star of the show! If they’re thick, I like to gently pound them to an even thickness for even cooking.
  • ¼ cup honey – Use the good stuff—local honey adds a lovely depth, but any will do.
  • 2 tablespoons Dijon mustard – That tangy kick is what makes this dish sing.
  • 2 tablespoons olive oil – For richness and to help the marinade cling to the chicken.
  • 2 cloves garlic, minced – Because garlic makes everything better.
  • 1 tablespoon apple cider vinegar – A little acidity balances the sweetness.
  • ½ teaspoon smoked paprika – Just a whisper of smokiness—trust me on this.
  • Salt and freshly ground black pepper – To taste, of course!
  • Fresh thyme or parsley (optional) – For a pretty, herby finish.

Let’s Make This Honey Dijon Chicken

First, preheat your oven to 375°F (190°C). While it warms up, let’s prepare the chicken. If your chicken breasts are on the thicker side, place them between two sheets of parchment paper and gently pound them to an even thickness—about ½ inch works beautifully. This ensures they cook evenly and stay juicy.

Next, whisk together the honey, Dijon mustard, olive oil, minced garlic, apple cider vinegar, smoked paprika, and a generous pinch of salt and pepper in a small bowl. Taste it—yes, really! Adjust the sweetness or tang to your liking. If it’s too sweet, add a splash more vinegar; if it’s too sharp, a drizzle more honey will mellow it out.

Now, place the chicken breasts in a baking dish (I love using my trusty ceramic one for this) and pour that glorious honey Dijon sauce over them, making sure every inch is coated. If you have time, let them marinate for 15–20 minutes—though I won’t judge if you’re too hungry to wait!

Pop the dish into the oven and bake for 20–25 minutes, or until the chicken reaches an internal temperature of 165°F (74°C). About halfway through, I like to spoon some of the pan juices over the chicken for extra flavor and that irresistible sticky glaze.

Pro Tips, Variations, and Substitutions

This honey Dijon chicken recipe is wonderfully flexible, so feel free to make it your own! Here are some ways to customize it:

  • Spice it up: Add a pinch of cayenne or red pepper flakes to the glaze for a subtle kick.
  • Herb lovers: Stir fresh thyme or rosemary into the marinade for extra fragrance.
  • Dairy-free option: Replace the butter with olive oil—it still caramelizes beautifully.
  • Chicken cuts: Works great with thighs or drumsticks too! Just adjust baking time as needed.

What to Serve With Honey Dijon Chicken

This dish pairs beautifully with so many sides! Our favorites include:

  • Fluffy mashed potatoes (perfect for soaking up the glaze)
  • Roasted carrots or Brussels sprouts
  • A crisp green apple salad
  • Buttery egg noodles or wild rice

Storage and Reheating Tips

Leftovers? Lucky you! Store them in an airtight container in the fridge for up to 3 days. To reheat:

  • Oven method: Place chicken on a baking sheet at 350°F for 10-15 minutes until warmed through.
  • Skillet method: Warm gently in a pan with a splash of water to keep it moist.

Pro tip: The glaze tastes even better the next day as the flavors meld!

Frequently Asked Questions

Can I make this ahead of time?

Absolutely! Marinate the chicken overnight for maximum flavor. Just wait to bake until you’re ready to serve.

My glaze is too thin—how can I thicken it?

Simmer it in a small saucepan for 2-3 minutes until it reduces. Or mix 1 tsp cornstarch with 1 tbsp cold water and stir it in while heating.

Can I use regular mustard instead of Dijon?

You can, but the flavor will be sharper. We recommend using half Dijon and half yellow mustard if that’s what you have.

Is this recipe freezer-friendly?

Yes! Freeze baked chicken (without garnishes) for up to 2 months. Thaw overnight in the fridge before reheating.

Final Thoughts

There’s something so comforting about this honey Dijon chicken—the way the sweet and tangy glaze caramelizes in the oven, how the chicken stays impossibly juicy, and how effortlessly it comes together. It’s the kind of meal that feels special enough for company but simple enough for busy weeknights. I hope this recipe finds its way into your regular rotation and becomes one of those dependable dishes your family requests again and again. Happy cooking, friends—may your kitchen be warm and your plates be full!

Print
clock clock iconcutlery cutlery iconflag flag iconfolder folder iconinstagram instagram iconpinterest pinterest iconfacebook facebook iconprint print iconsquares squares iconheart heart iconheart solid heart solid icon

Easy Baked Honey Dijon Chicken

  • Author: Trusted Blog

Description

A simple and flavorful baked chicken dish with a sweet and tangy honey Dijon glaze.


Ingredients

Scale

For the Crust:

  • 4 boneless, skinless chicken breasts
  • 1/4 cup Dijon mustard
  • 1/4 cup honey
  • 1 tablespoon olive oil
  • 1 teaspoon garlic powder
  • 1/2 teaspoon paprika
  • Salt and pepper to taste
  • Fresh parsley for garnish (optional)

Instructions

1. Prepare the Crust:

  1. Preheat oven to 375°F (190°C). Lightly grease a baking dish.
  2. In a small bowl, whisk together Dijon mustard, honey, olive oil, garlic powder, paprika, salt, and pepper.
  3. Place chicken breasts in the prepared baking dish and coat evenly with the honey Dijon mixture.
  4. Bake for 25-30 minutes or until chicken reaches an internal temperature of 165°F (74°C).
  5. Garnish with fresh parsley if desired and serve warm.

Notes

You can customize the seasonings to taste.
Easy Slow Cooker Orange Chicken – Simple & Delicious

easy-slow-cooker-orange-chicken

A Cozy Kitchen Miracle: Slow Cooker Orange Chicken

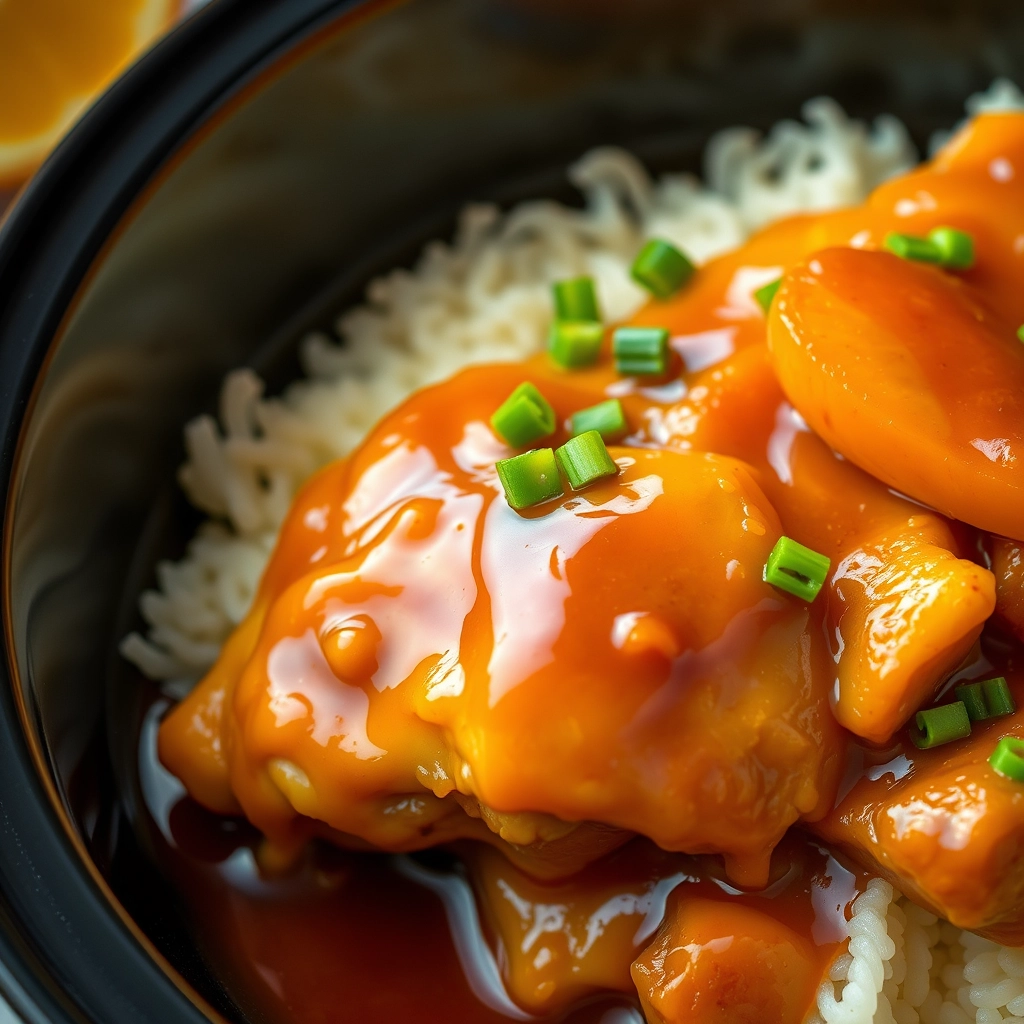
There’s something magical about walking into a home that smells like citrus and spice—like sunshine and comfort all at once. That’s exactly what happened last Sunday when I decided to toss a few simple ingredients into my slow cooker before heading out for a morning walk. By the time I returned, the tangy-sweet aroma of orange chicken had taken over the house, and my family was already hovering near the kitchen, forks in hand. No fuss, no endless stirring—just tender, flavorful chicken waiting to be devoured. If that’s not a weeknight (or lazy weekend) win, I don’t know what is!

Ingredients You’ll Need

Gather these pantry staples and fresh favorites—most of them might already be in your kitchen!

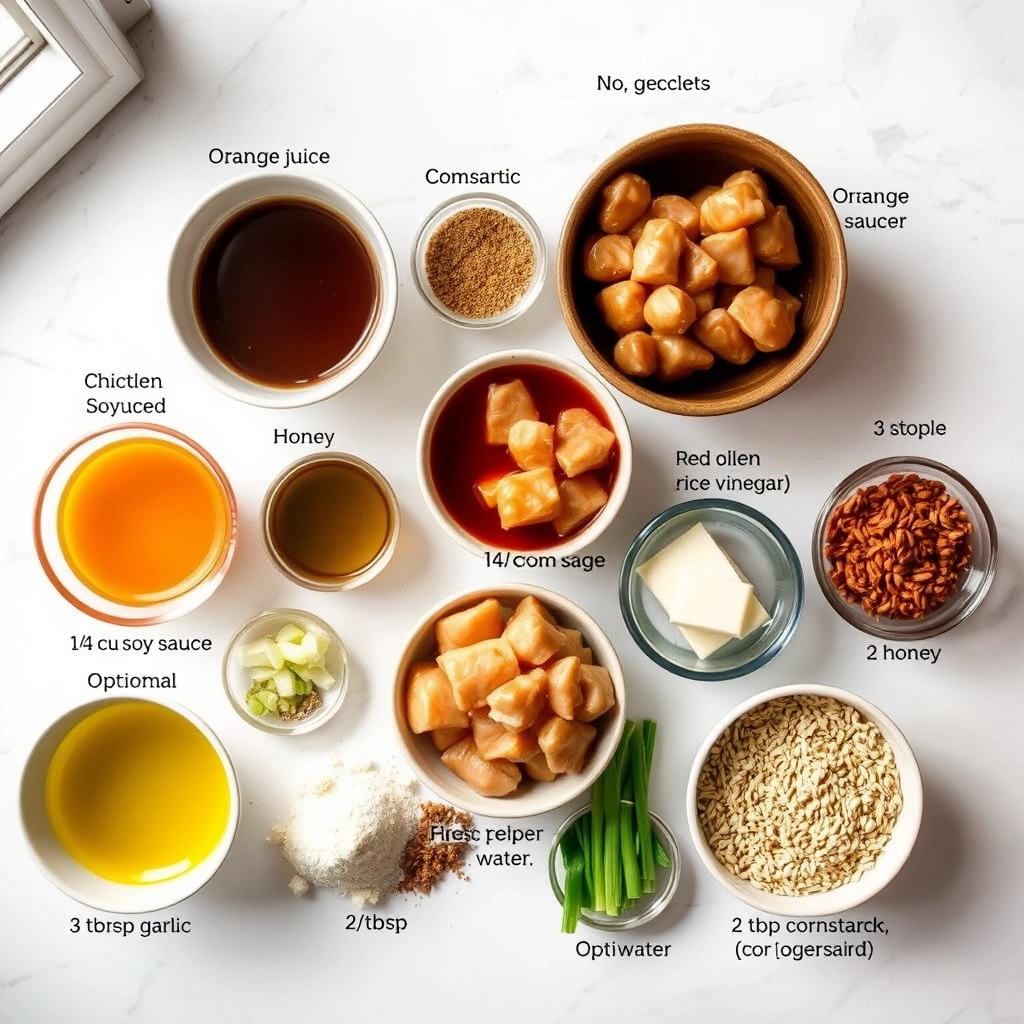
  • Boneless, skinless chicken thighs (1.5 lbs) – Thighs stay juicier in the slow cooker, but breasts work too if you prefer leaner meat.
  • Fresh orange juice (1 cup) – Squeeze it yourself for the brightest flavor, or use good-quality store-bought in a pinch.
  • Soy sauce (1/3 cup) – The salty backbone of our sauce. I use low-sodium to control the saltiness.
  • Honey (1/4 cup) – For that perfect sticky-sweet balance. Maple syrup works beautifully too!
  • Rice vinegar (2 tbsp) – A little tang to keep things interesting.
  • Fresh garlic (4 cloves, minced) – Because everything’s better with garlic.
  • Grated ginger (1 tbsp) – Warm, peppery, and oh-so-cozy.
  • Orange zest (1 tbsp) – Don’t skip this! It’s where the magic lives.
  • Red pepper flakes (1/2 tsp) – Just enough heat to make you smile.
  • Cornstarch (2 tbsp) – Our trusty sauce thickener.

Let’s Get Cooking: Effortless Steps to Flavor Town

This recipe is so simple, you’ll wonder why you ever ordered takeout. Here’s how we do it:

  1. Prep the chicken. Pat your chicken thighs dry (this helps the sauce cling better) and place them in the slow cooker. No need to chop—they’ll shred beautifully later!
  2. Whisk the sauce. In a bowl, combine orange juice, soy sauce, honey, rice vinegar, garlic, ginger, orange zest, and red pepper flakes. Give it a taste—adjust the sweetness or spice if needed. Pour this glorious liquid over the chicken.
  3. Slow cook to perfection. Cover and cook on LOW for 4-5 hours (or HIGH for 2-3). Your kitchen will smell like a dream!
  4. Thicken the sauce. Once the chicken is fork-tender, remove it and shred lightly. Mix cornstarch with 2 tbsp of cold water, stir into the slow cooker, and let it bubble for 10-15 minutes until the sauce coats the back of a spoon.

Tip: If you’re home while it cooks, baste the chicken with the sauce once or twice—it’s not necessary, but it adds extra flavor love!

Pro Tips, Variations, and Substitutions

This slow cooker orange chicken is wonderfully forgiving, making it easy to tweak to your taste. Here are some ways to make it your own:

  • Spice it up: Add a teaspoon of red pepper flakes or a dash of sriracha for a spicy kick.
  • Make it gluten-free: Swap soy sauce for tamari or coconut aminos.
  • Use fresh oranges: If you have fresh oranges on hand, replace the orange juice with 1/2 cup freshly squeezed juice and add a tablespoon of zest for extra brightness.
  • Swap the protein: This sauce works beautifully with shrimp, tofu, or even pork for a fun twist.

What to Serve With Slow Cooker Orange Chicken

This dish is a star when paired with simple sides that let the flavors shine:

  • Steamed jasmine or basmati rice to soak up the delicious sauce
  • Stir-fried or roasted broccoli for a crisp, fresh contrast
  • Quick-pickled cucumbers or carrots for a tangy bite
  • Fortune cookies and hot tea for a fun, takeout-inspired finish

Storage and Reheating Tips

This orange chicken keeps beautifully, making it perfect for meal prep:

  • Refrigerator: Store in an airtight container for up to 4 days.
  • Freezer: Freeze portions in freezer-safe bags for up to 3 months. Thaw overnight in the refrigerator before reheating.
  • Reheating: Warm gently in a skillet over medium-low heat with a splash of water or broth to refresh the sauce. Microwave works too – just cover and heat in 30-second intervals.

Frequently Asked Questions

Can I make this orange chicken in an Instant Pot?
Absolutely! Use the sauté function to brown the chicken first, then pressure cook on high for 5 minutes with a quick release.

Is there a way to make this less sweet?
Yes! Reduce the brown sugar to 2 tablespoons and add an extra tablespoon of soy sauce for balance.

Can I use frozen chicken?
It’s best to thaw first for even cooking, but you can use frozen in a pinch – just extend the cooking time by 1-2 hours.

How do I thicken the sauce if it’s too thin?
Mix 1 tablespoon cornstarch with 2 tablespoons cold water, stir into the slow cooker, and cook on high for 15 minutes uncovered.

Cozy Final Thoughts

There’s something so comforting about coming home to the sweet, citrusy aroma of this orange chicken filling your kitchen. Whether you’re craving a nostalgic takeout favorite or need an effortless weeknight dinner, this slow cooker version delivers all the flavor with none of the fuss. I love how the chicken becomes meltingly tender while the sauce develops deep, balanced flavors – it’s the kind of meal that makes everyone at the table happy. Wishing you many cozy meals ahead with this simple, satisfying recipe!

Print
clock clock iconcutlery cutlery iconflag flag iconfolder folder iconinstagram instagram iconpinterest pinterest iconfacebook facebook iconprint print iconsquares squares iconheart heart iconheart solid heart solid icon

Easy Slow Cooker Orange Chicken

  • Author: Trusted Blog

Description

A delicious and simple slow cooker orange chicken recipe with a sweet and tangy sauce.


Ingredients

Scale

For the Crust:

  • 1.5 lbs boneless, skinless chicken thighs, cut into bite-sized pieces
  • 1/2 cup orange juice
  • 1/4 cup soy sauce
  • 1/4 cup honey
  • 2 tbsp rice vinegar
  • 3 cloves garlic, minced
  • 1 tbsp ginger, grated
  • 1 tsp red pepper flakes (optional)
  • 1 tbsp cornstarch
  • 2 tbsp water
  • 2 green onions, sliced (for garnish)
  • 1 tbsp sesame seeds (for garnish)

Instructions

1. Prepare the Crust:

  1. In a slow cooker, combine orange juice, soy sauce, honey, rice vinegar, garlic, ginger, and red pepper flakes (if using). Stir well.
  2. Add the chicken pieces to the slow cooker and toss to coat evenly with the sauce.
  3. Cover and cook on low for 4-5 hours or on high for 2-3 hours, until chicken is cooked through.
  4. In a small bowl, mix cornstarch and water to create a slurry. Stir the slurry into the slow cooker to thicken the sauce.
  5. Cook for an additional 15-20 minutes until the sauce has thickened.
  6. Garnish with sliced green onions and sesame seeds before serving.

Notes

You can customize the seasonings to taste.